Patio Paver Border Inlays & Accent Courses
Creating a beautiful outdoor space is a challenge many homeowners face. One effective way to enhance your patio’s aesthetic and functionality is through patio paver border inlays and accent courses. These features not only elevate your outdoor area’s curb appeal but also offer safety benefits and lower maintenance costs in the long run. In this article, we’ll cover the essentials of installing paver inlays and accent courses, including the tools you’ll need, step-by-step instructions, and important considerations for your project.
Description
What the Service Includes
When you choose to add patio paver border inlays and accent courses, the following tasks are typically included:
- Design Consultation: Discussing layout options and material choices.
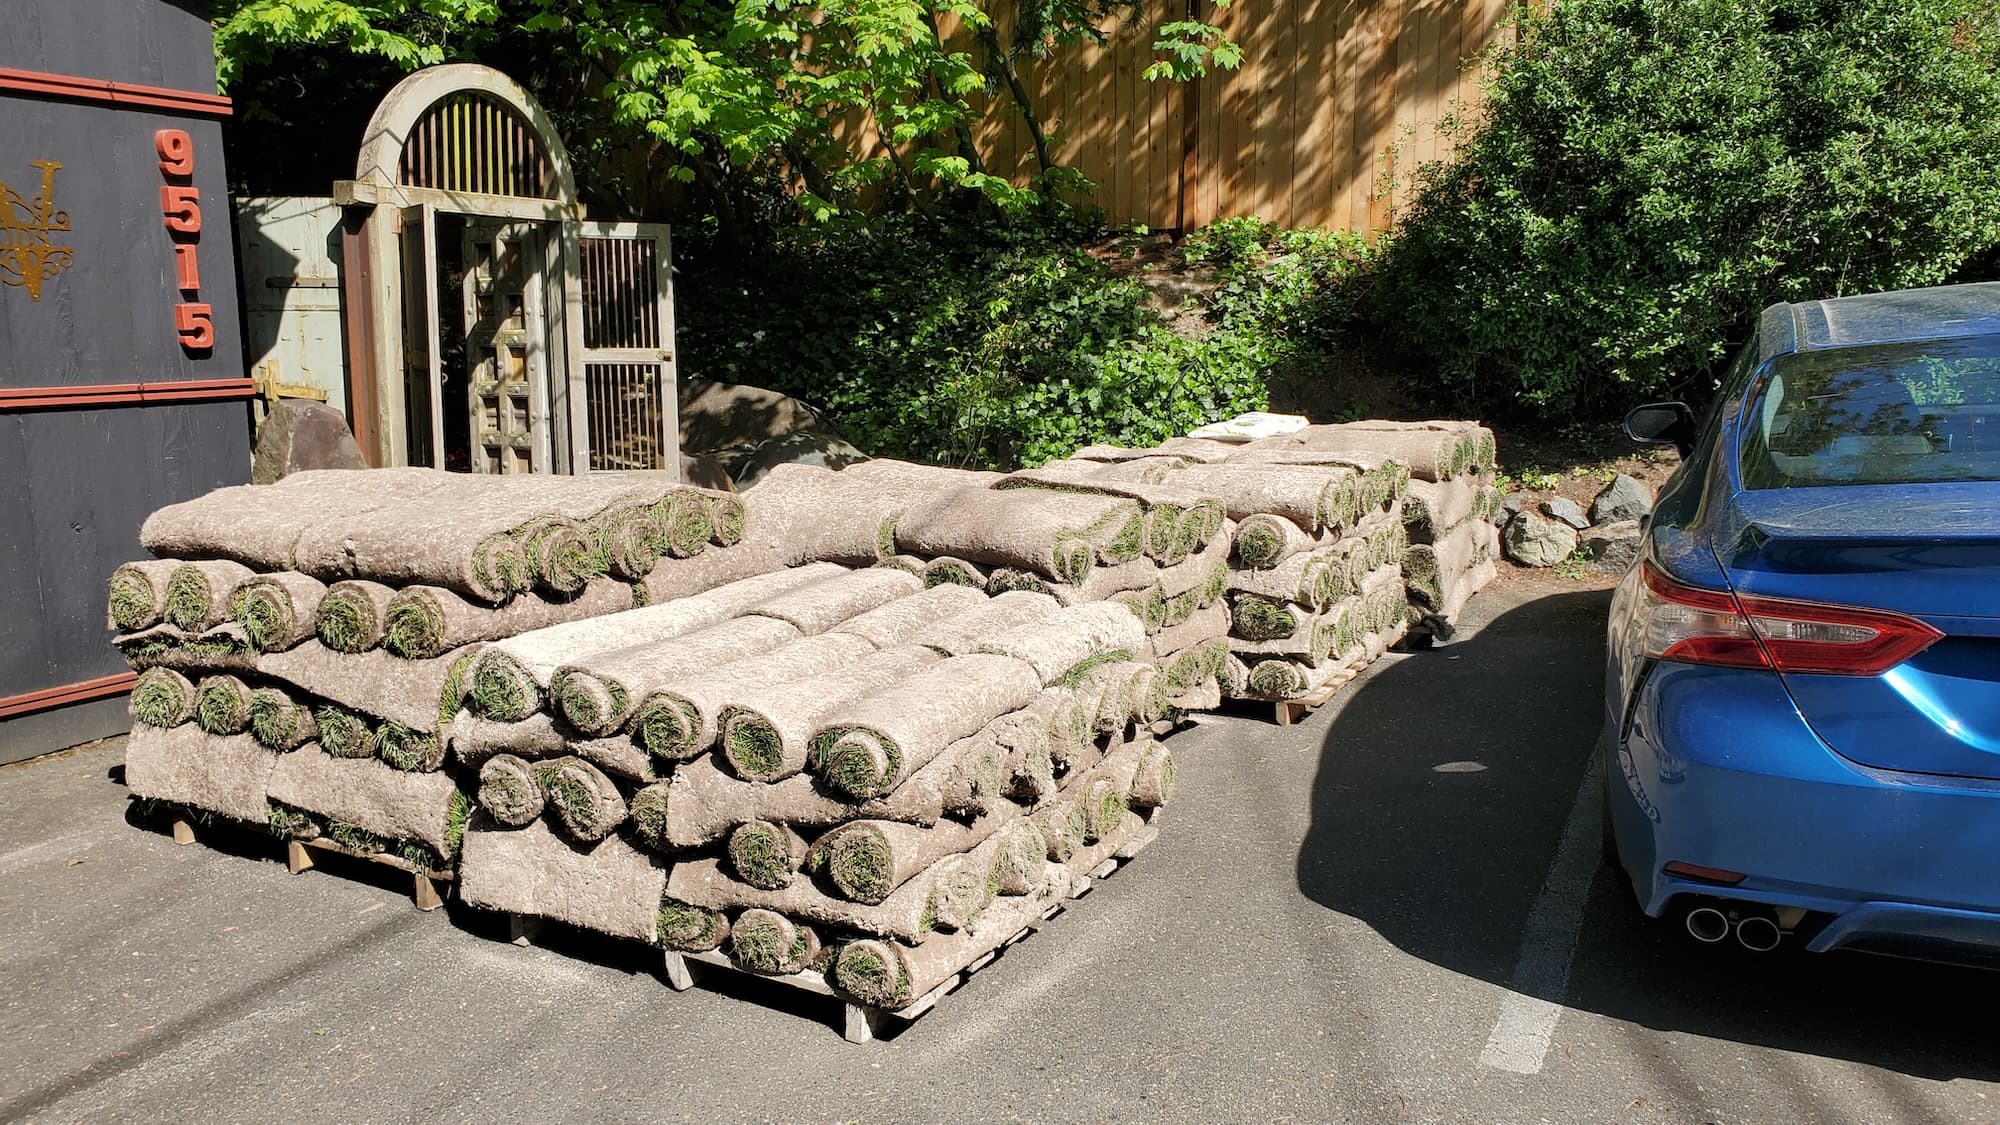
- Site Preparation: Clearing the area and leveling the ground.
- Installation: Laying the pavers according to the design.
- Finishing Touches: Filling joints with sand and sealing if necessary.
Key Benefits
- Improved Appearance: Adds visual interest and a polished look to your patio.
- Durability: High-quality pavers resist wear and tear, ensuring your investment lasts.
- Safety: Defined borders can prevent tripping and make the patio easier to navigate.
- Eco-Friendly Options: Choose permeable pavers for better water drainage and reduced runoff.
Why Hire a Pro
While DIY is an option, hiring a professional offers several advantages, including:
- Local Expertise: Knowledge of local soil and climate conditions.
- Licensed & Insured Crew: Protection against accidents and damage.
- Professional Tools: Access to specialized equipment for a quality finish.
Our Approach
Step-by-Step Breakdown of Tasks
Design Planning: Collaborate on the layout and materials.
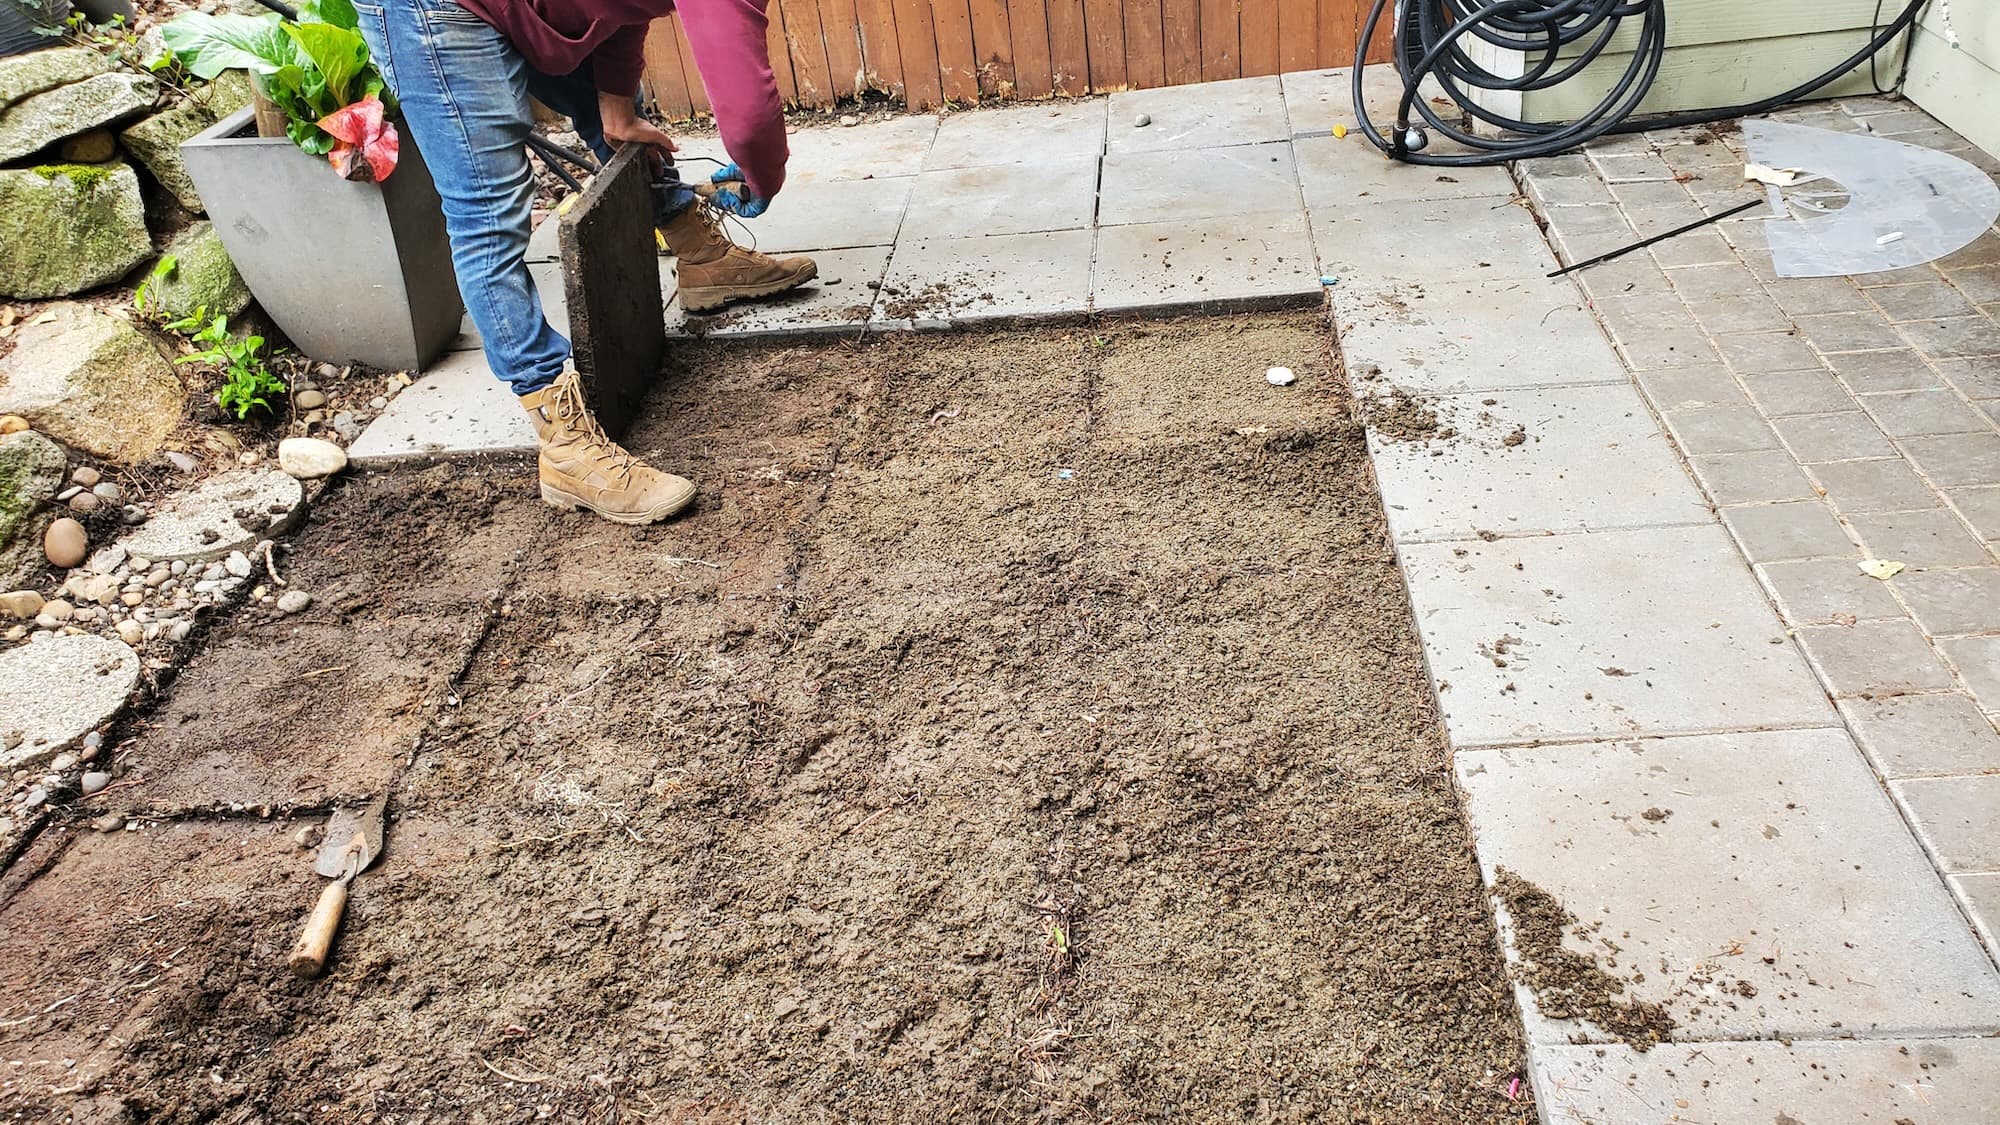
Site Preparation:
- Clear the area of debris and existing materials.
- Excavate the ground to the appropriate depth.
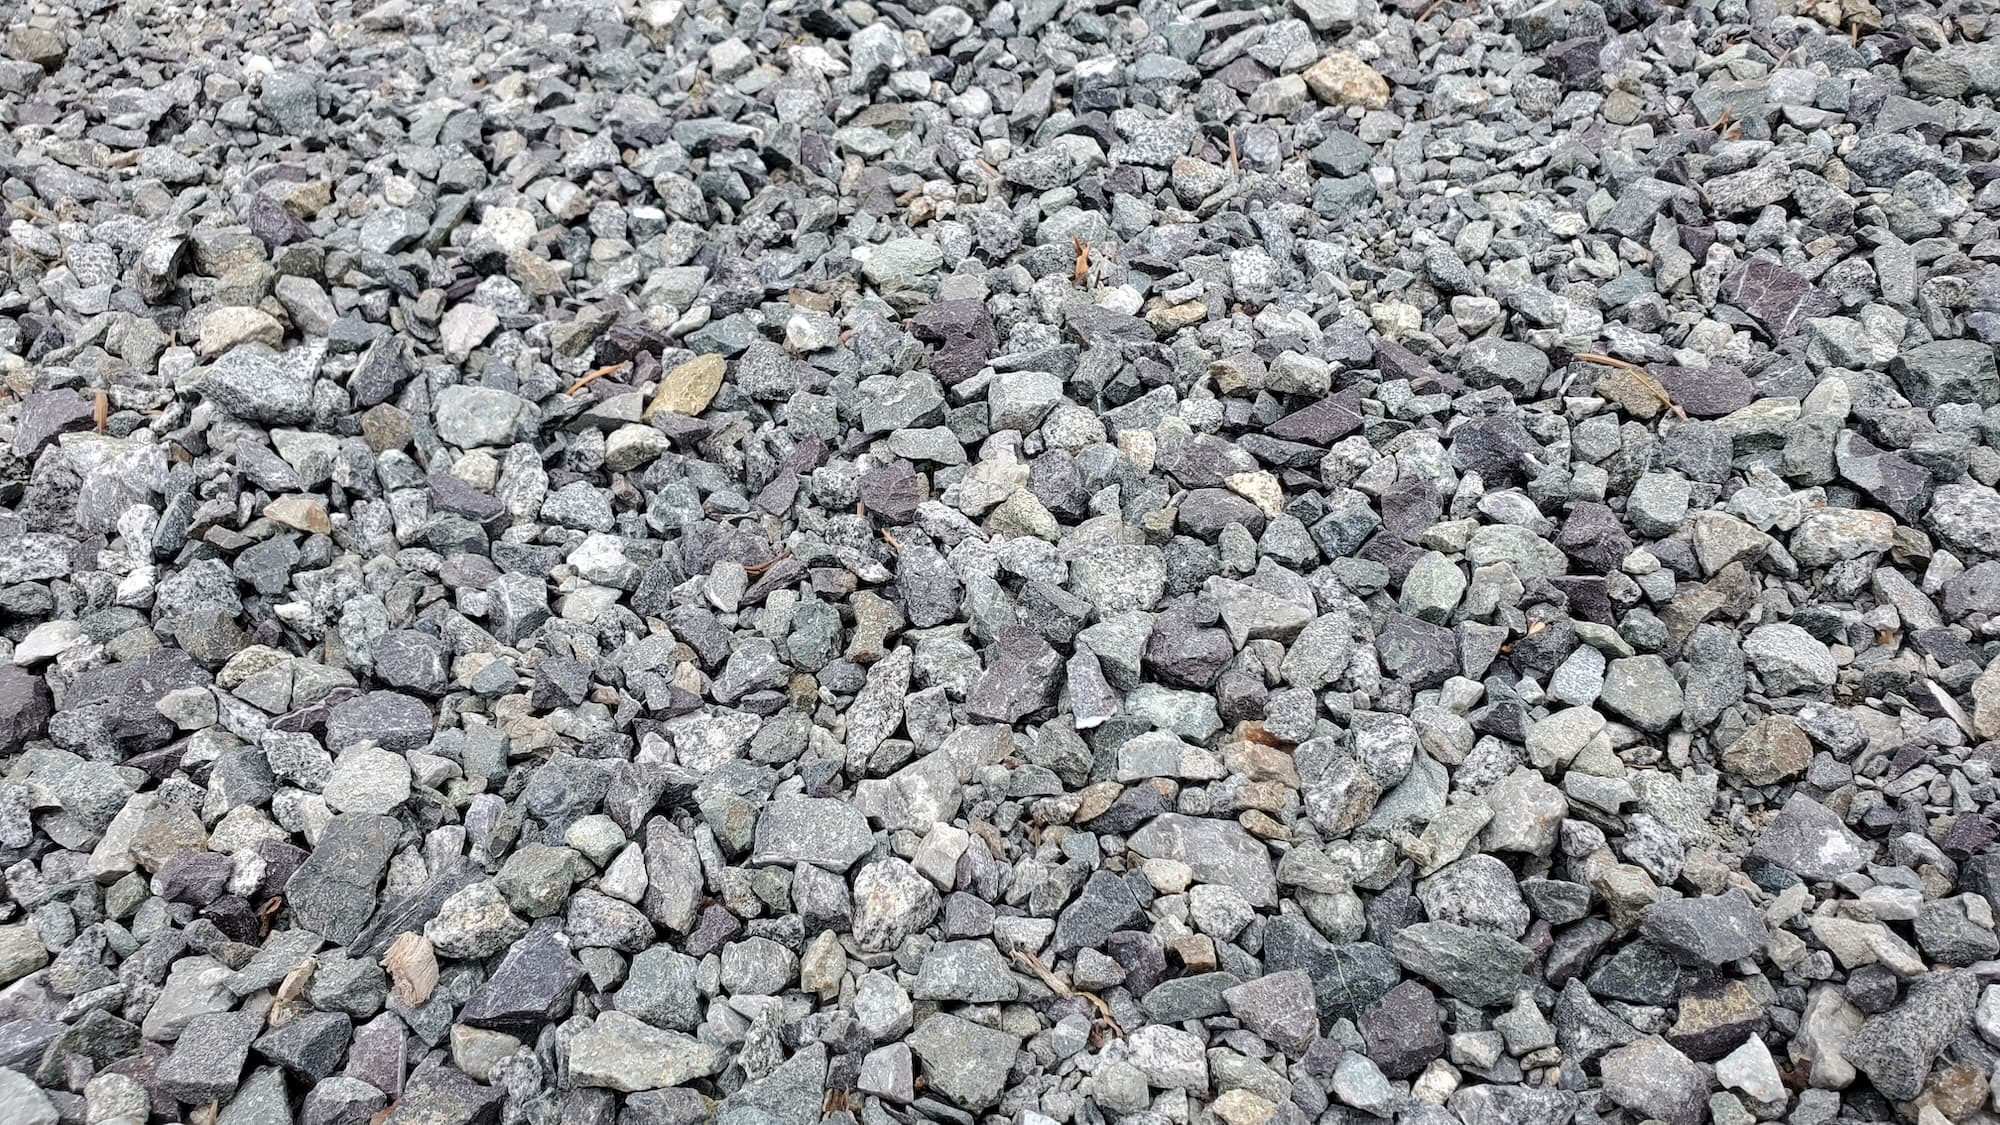
- Level the base with a compacted gravel or sand layer.
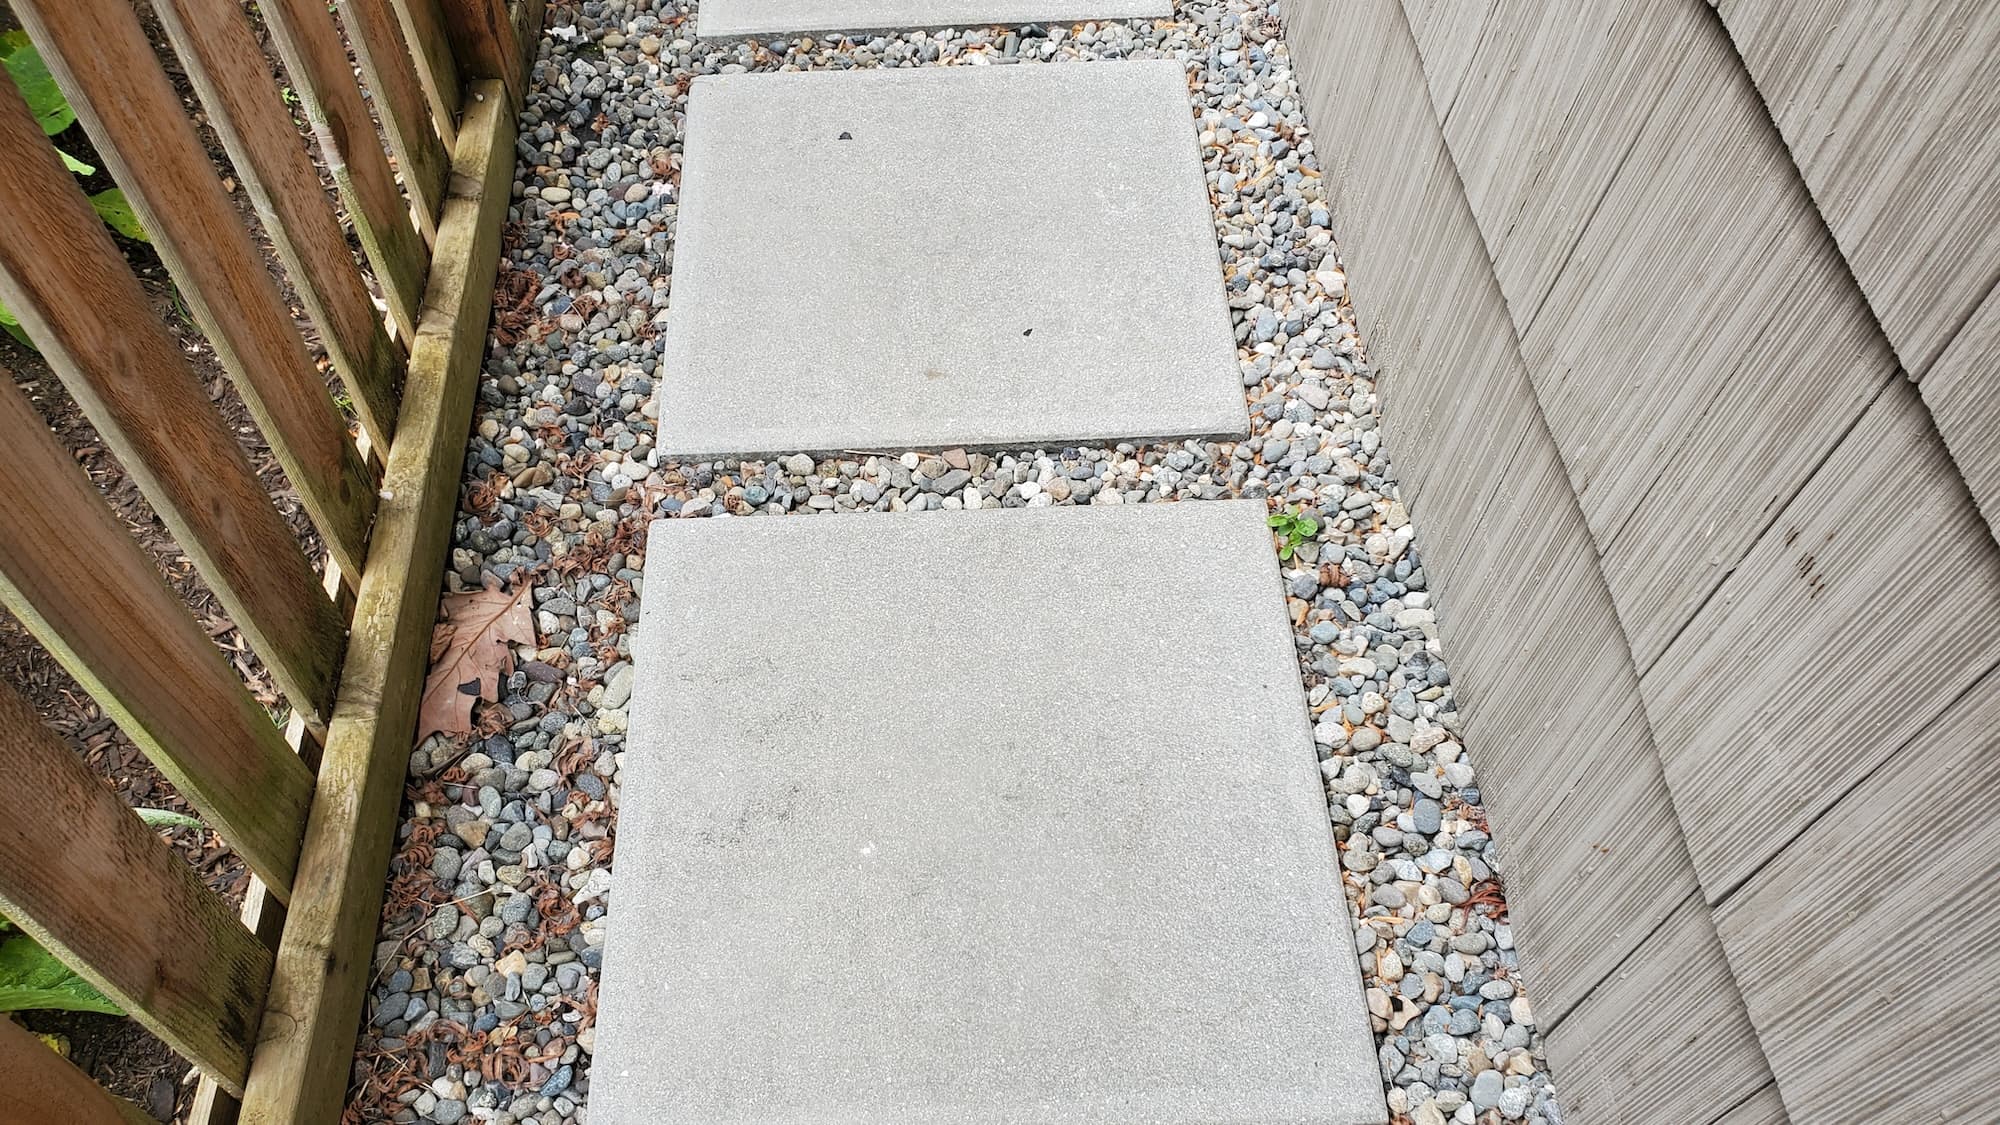
Paver Installation:
- Lay the pavers according to the planned design, starting from a corner or edge.
- Use a rubber mallet to set pavers in place firmly.
- Ensure consistent spacing for joint filling.
Finishing Touches:
- Fill gaps with polymeric sand or jointing sand.
- Compact the pavers with a plate compactor.
- Seal the surface if desired for added protection.
Efficiency and Safety
Our crew emphasizes efficiency and safety throughout the project. We use proper lifting techniques and personal protective equipment (PPE) to ensure a safe working environment. Homeowners can expect clear communication and a tidy job site.
Service Pricing
Pricing Structure
- Flat Rate: For standard installations based on square footage.
- Custom Pricing: Factors like lot size, complexity, and material choice can affect costs.
Cost Ranges
- Basic Inlay Installation: $15–$25 per square foot.
- Accent Courses: $20–$30 per square foot.
- Remember, these are general ranges—local rates may vary.
Additional Costs
- Tax: Applicable based on local regulations.
- Dump Fees: For disposal of old materials.
- Extra Hauling Charges: For difficult access or additional debris removal.
What’s Included
Core Services
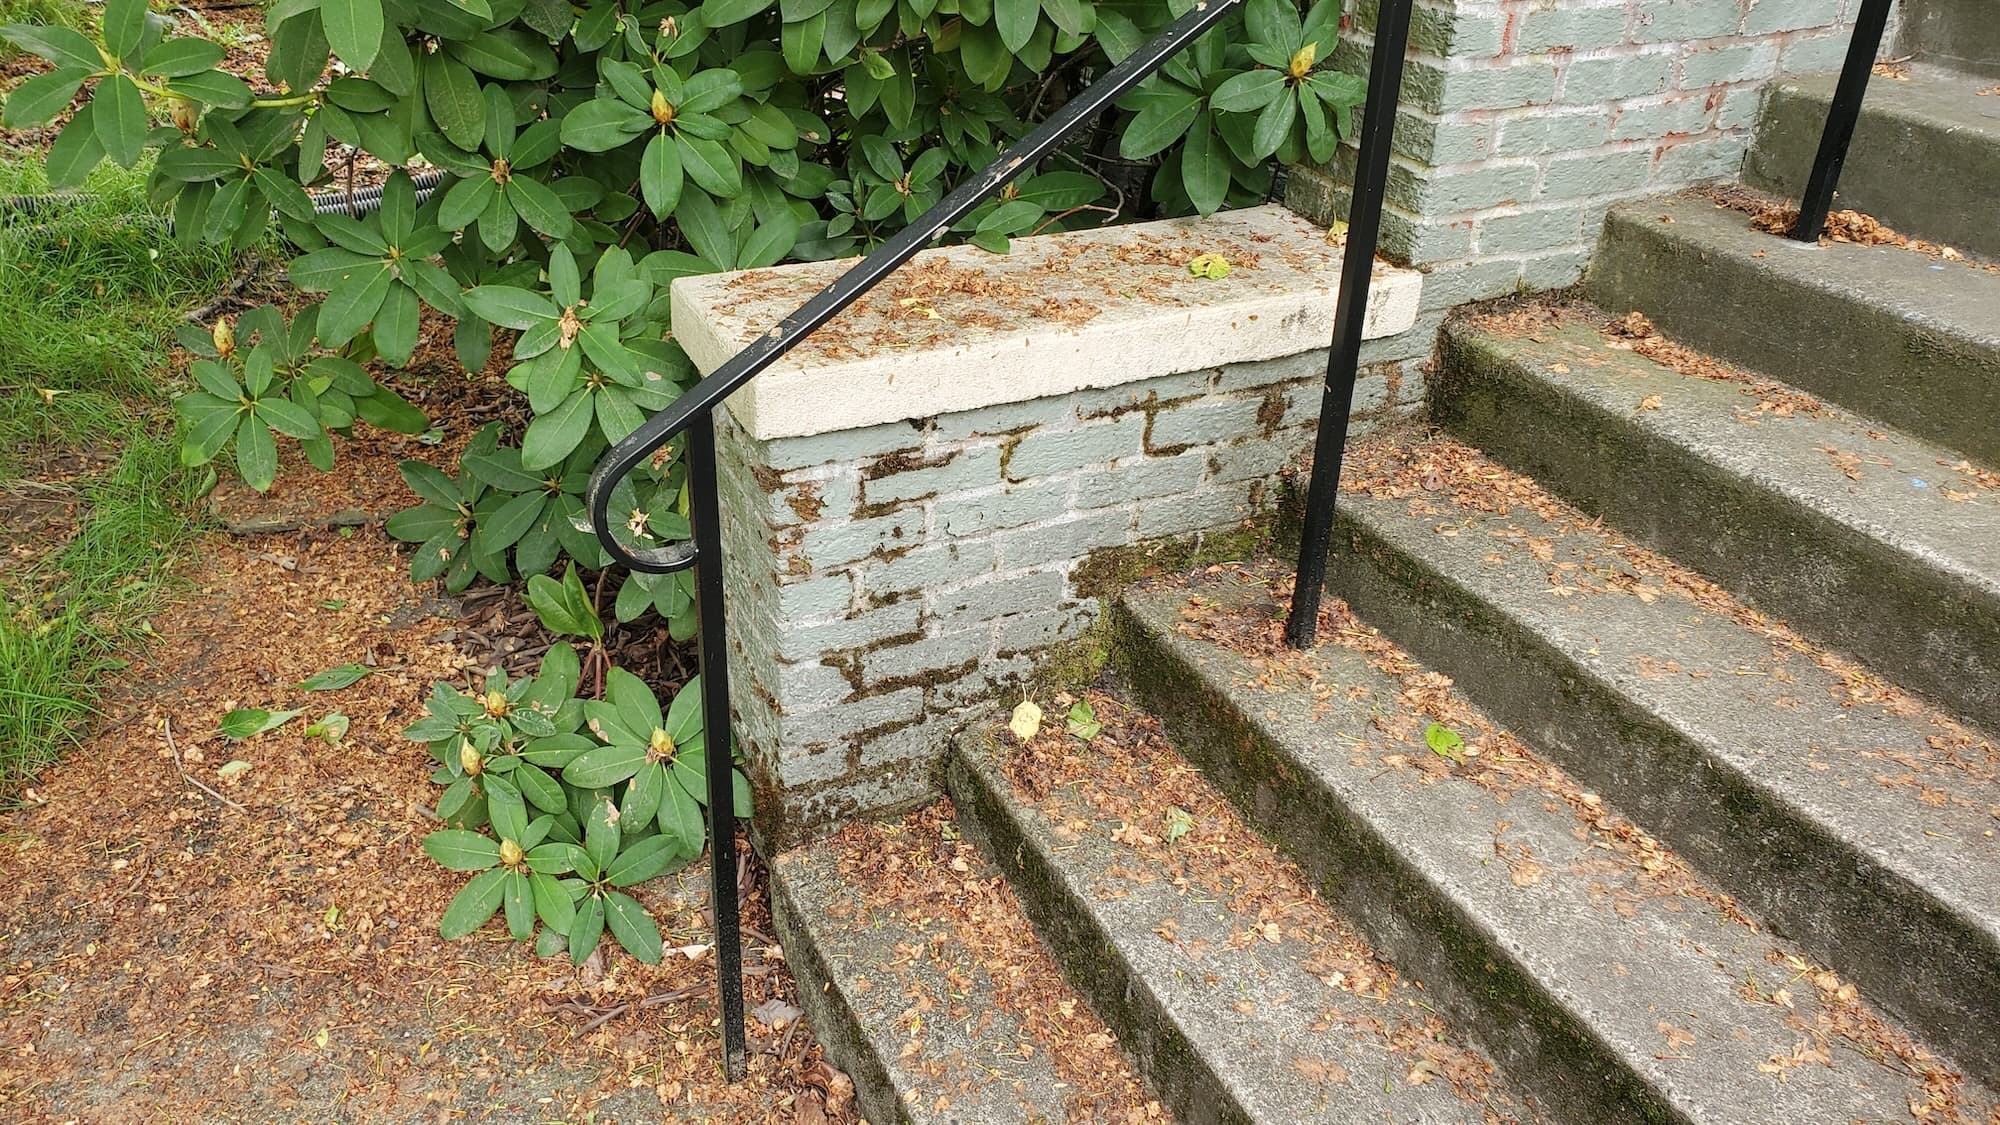
- Trimming: Neatening up edges around the patio.
- Edging: Defining the patio’s perimeter.
- Weeding: Removing unwanted plants from the area.
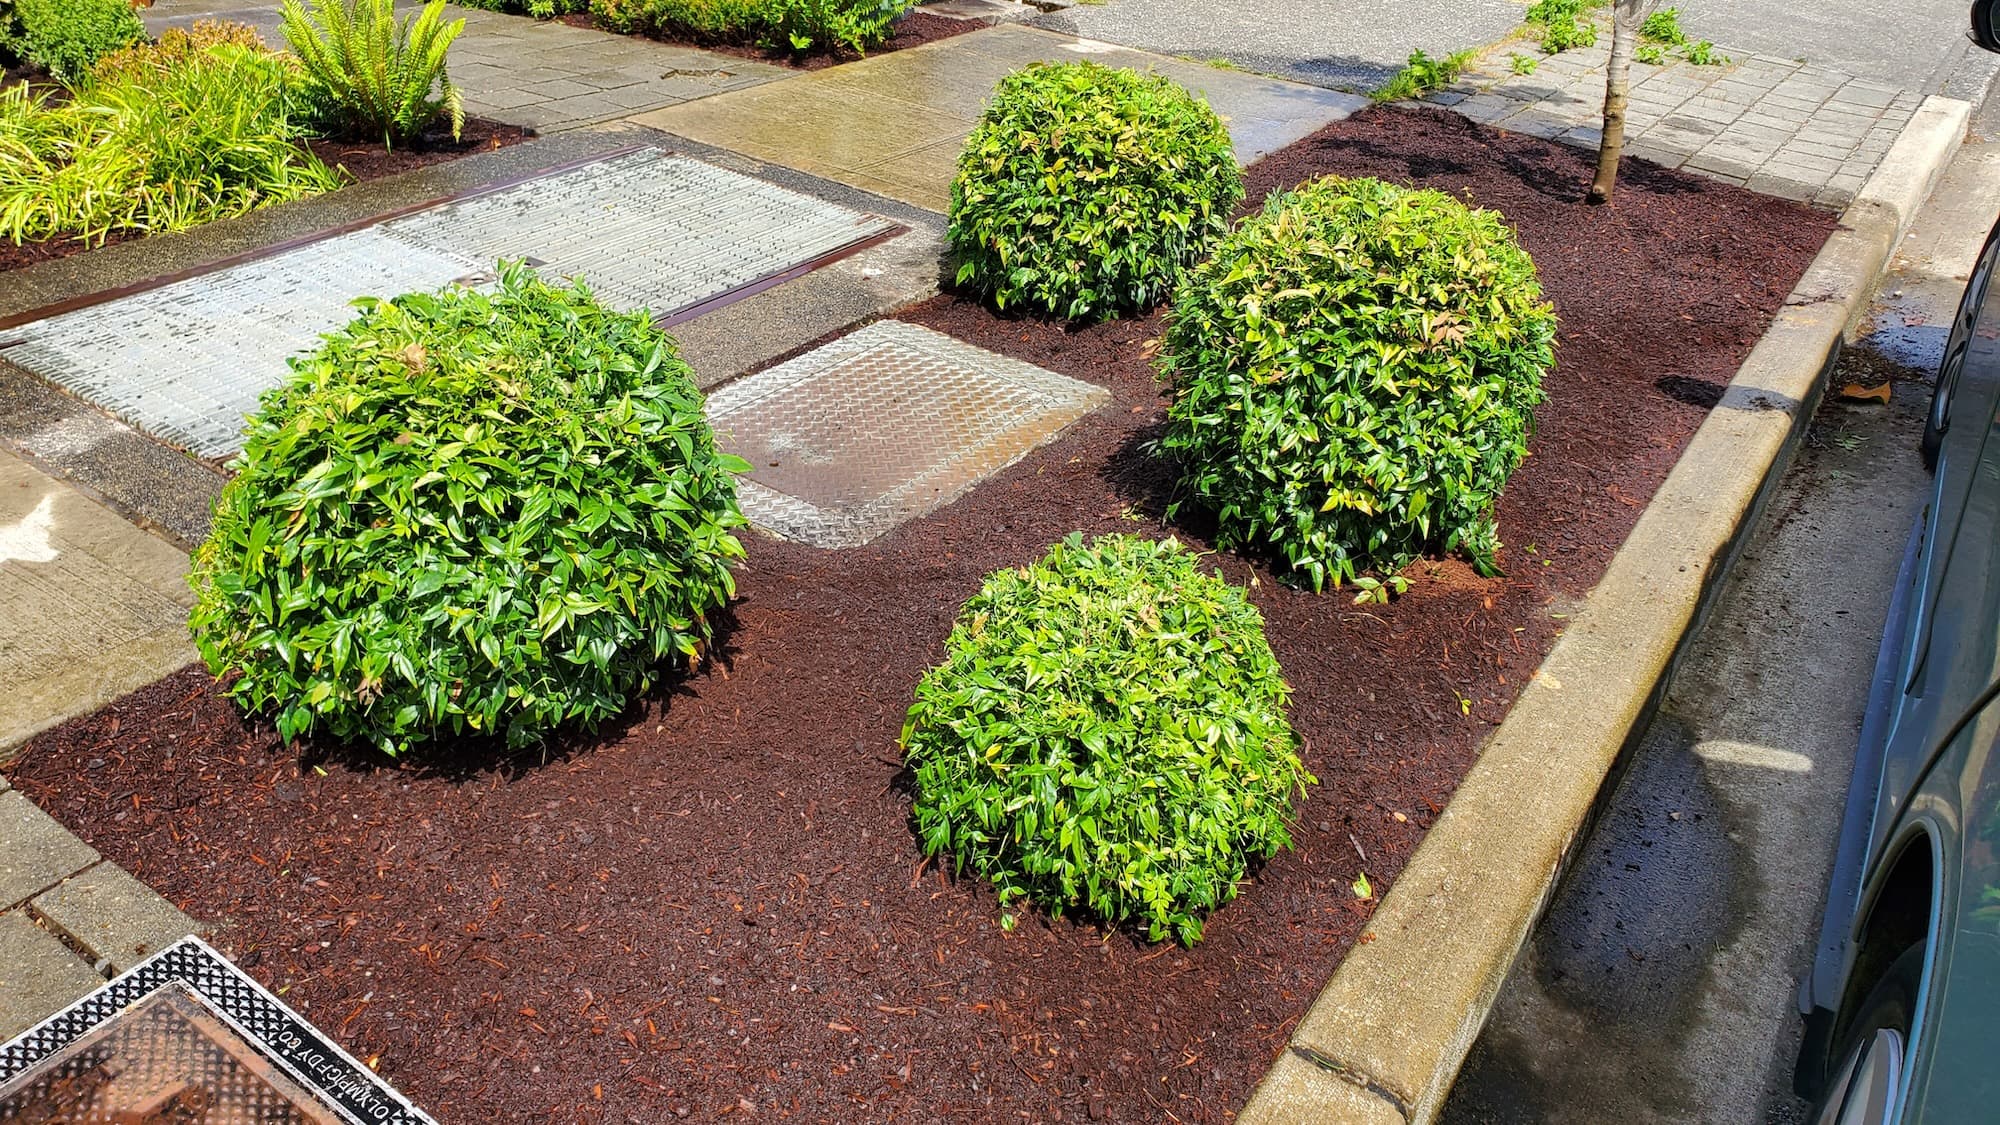
- Mulching: Improving aesthetics and moisture retention.
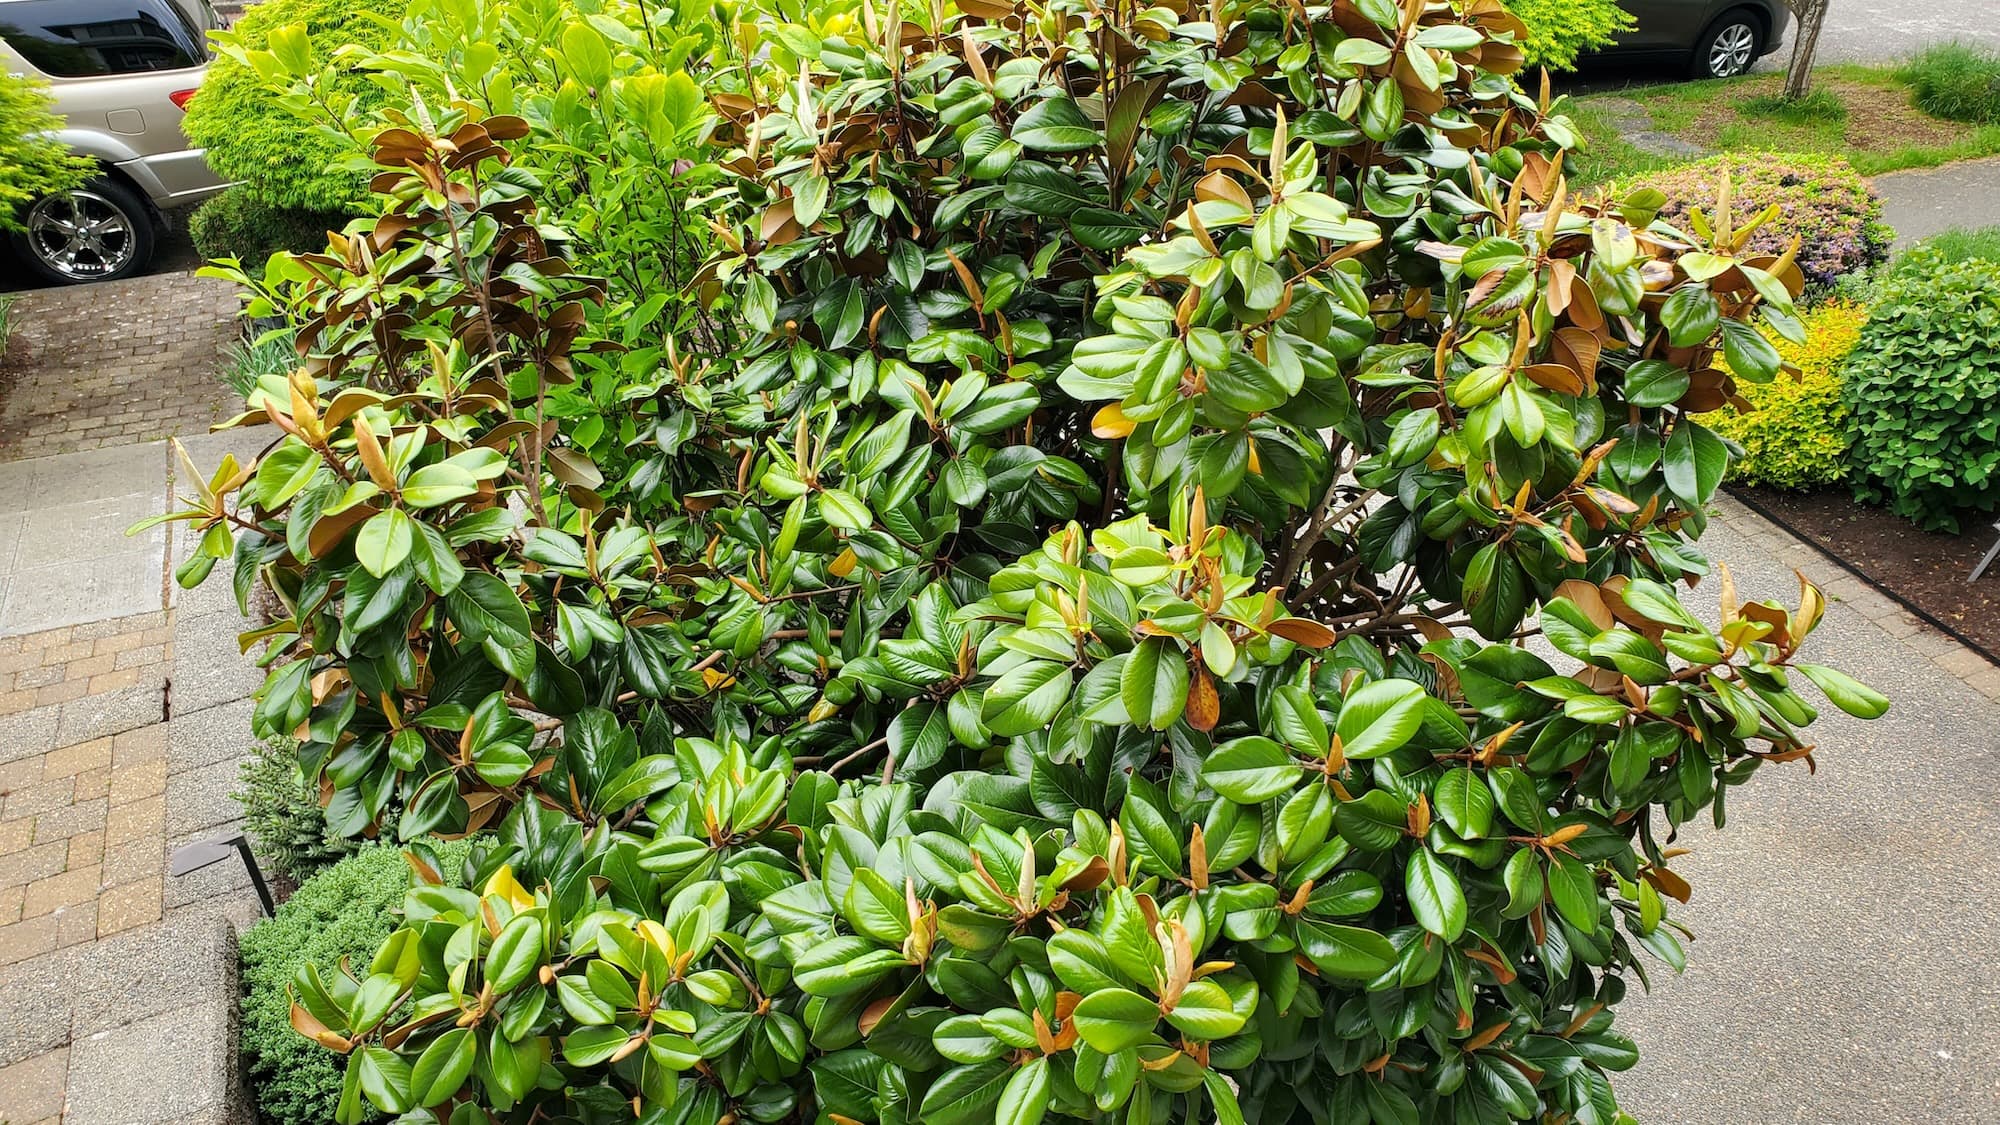
- Pruning: Shaping surrounding plants for better visibility.
Optional Extras
- Gravel Base: For improved drainage.
- Landscape Fabric: To prevent weed growth.
- Planting: Adding greenery or flowers for added beauty.
- Seasonal Upgrades: Such as decorative lighting or seasonal plantings.
FAQs
Common Customer Concerns
- Scheduling: Most projects can be completed within a few days, depending on size.
- Turnaround Time: Expect 1-2 weeks from consultation to completion.
- Dump Fees: Discussed upfront to avoid surprises.
Maintenance Tips
- Regular Cleaning: Sweep away debris to prevent staining.
- Joint Sand Replacement: Top up sand as needed to prevent weed growth.
- Sealing: Reseal every few years for longevity.
Why Choose Lee’s General Landscaping
- Experienced Local Crew: We know the area and its specific landscaping needs.
- Licensed, Bonded & Insured: Your project is safe with us.
- Hundreds of 5-Star Reviews: Our reputation speaks for itself on Yelp and Google.
Ready for a yard that stays neat?
Call or text Lee’s General Landscaping for a quick quote and a maintenance plan that fits your property.
⭐⭐⭐⭐⭐ 400+ Yelp Reviews • ⭐⭐⭐⭐⭐ 130+ Google Map Reviews
📧 Email: lees.g.landscaping@gmail.com
📞 Office: 206-259-7919
🕘 Hours: Mon–Sun: 9AM–6PM
🔒 Licensed • Bonded • Insured
DIY vs. Pro
While DIY enthusiasts can tackle patio paver installations, hiring a professional ensures a seamless finish and saves you time. If you’re unsure about your skills or the scope of the project, it’s best to consult with a pro.
Common Mistakes
- Skipping Site Prep: Proper ground leveling is crucial for stability.
- Poor Material Choice: Not all pavers are created equal; choose based on durability and climate.
- Neglecting Drainage: Ensure water flows away from the patio to avoid pooling.
With this guide, you’re well on your way to enhancing your outdoor space with beautiful patio paver border inlays and accent courses. Whether you choose to DIY or hire a professional, the benefits will be clear in both appearance and functionality!