Straight Paver Walkways with Clean Edges
Creating a straight paver walkway with clean edges can be a rewarding project for homeowners. However, many face challenges like uneven surfaces, misaligned stones, and the time-consuming nature of the job. The best solution? A well-planned approach that ensures your walkway looks professional and stands the test of time. Not only will this enhance your curb appeal, but it also improves safety and reduces maintenance. In this article, we’ll cover everything you need to know about installing a straight paver walkway.
Description
What the Service Includes
When you choose to install a straight paver walkway, the service typically includes:
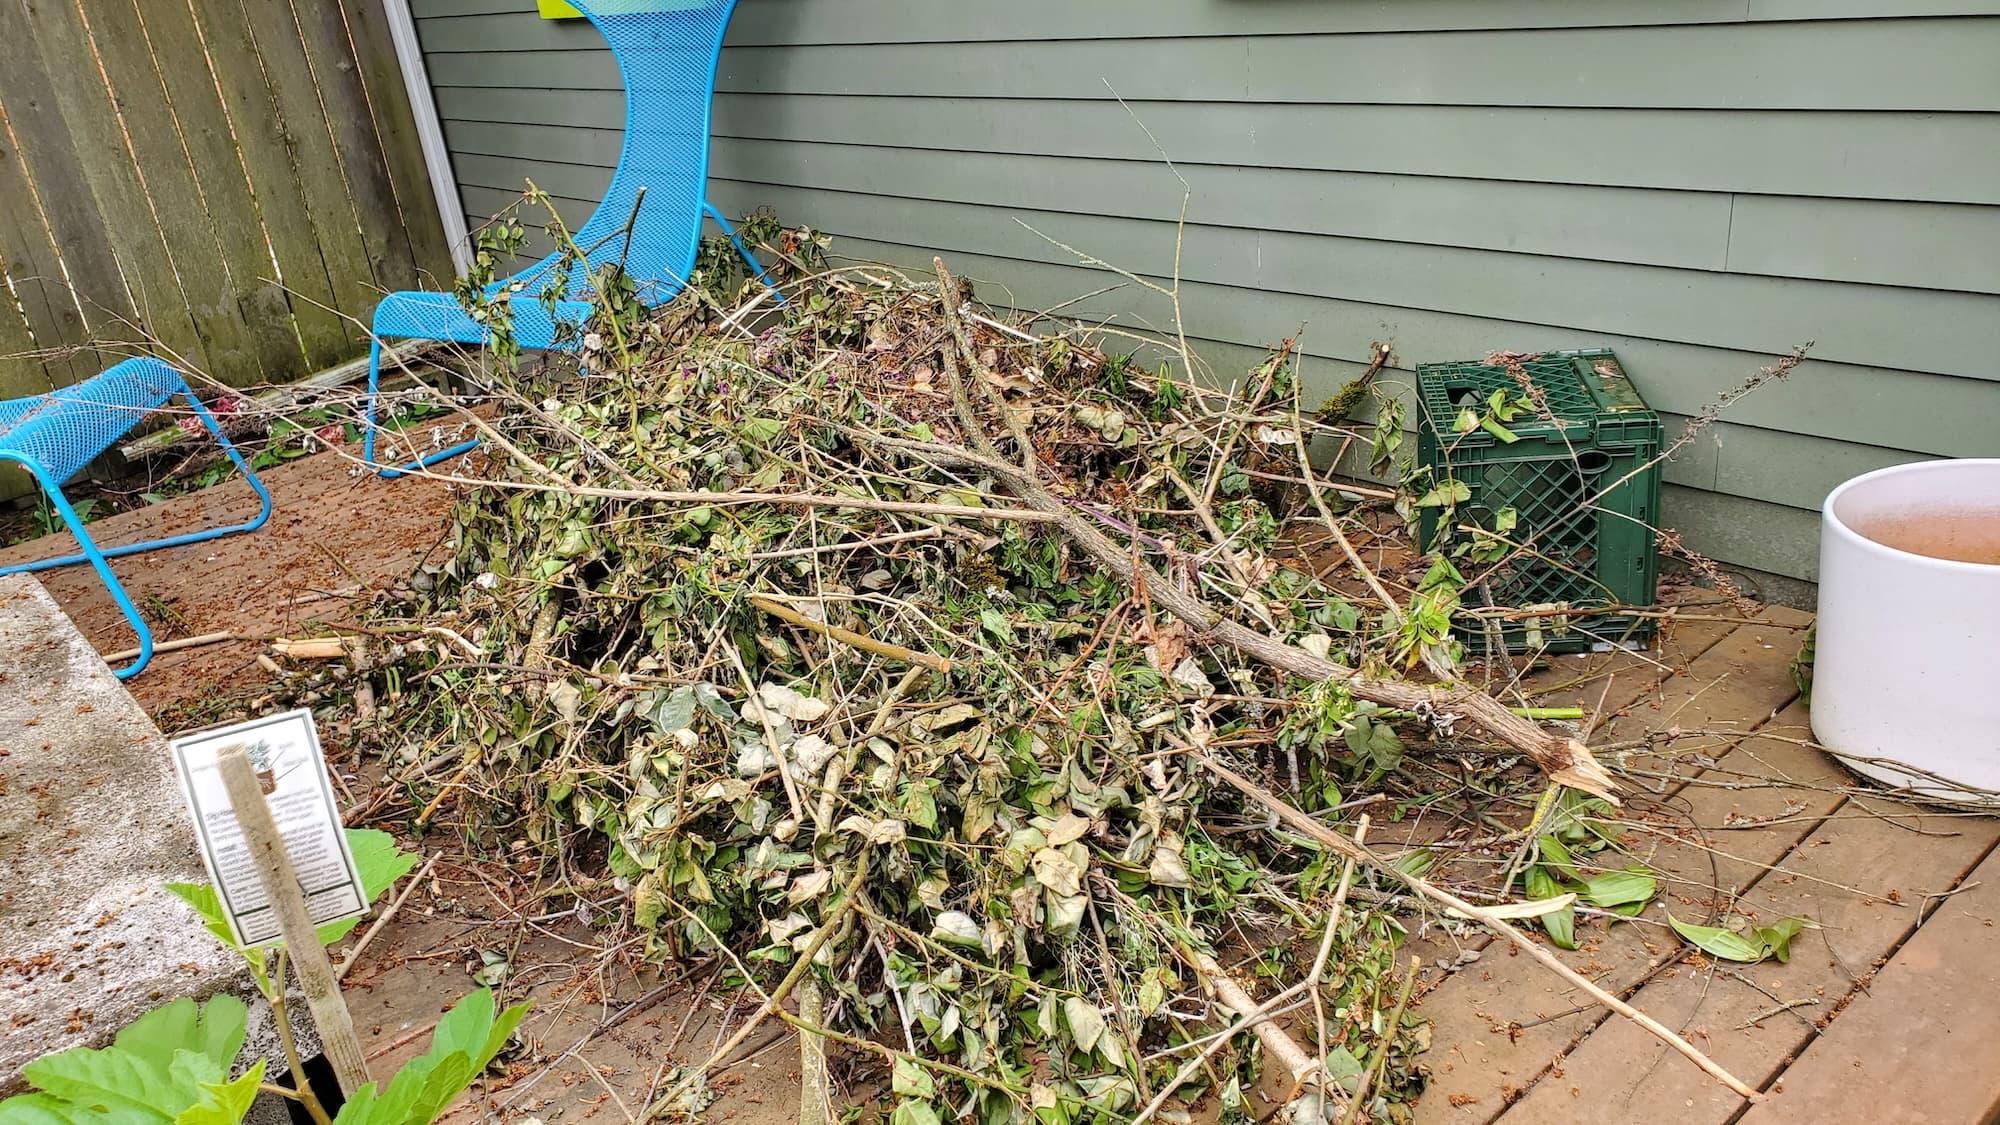
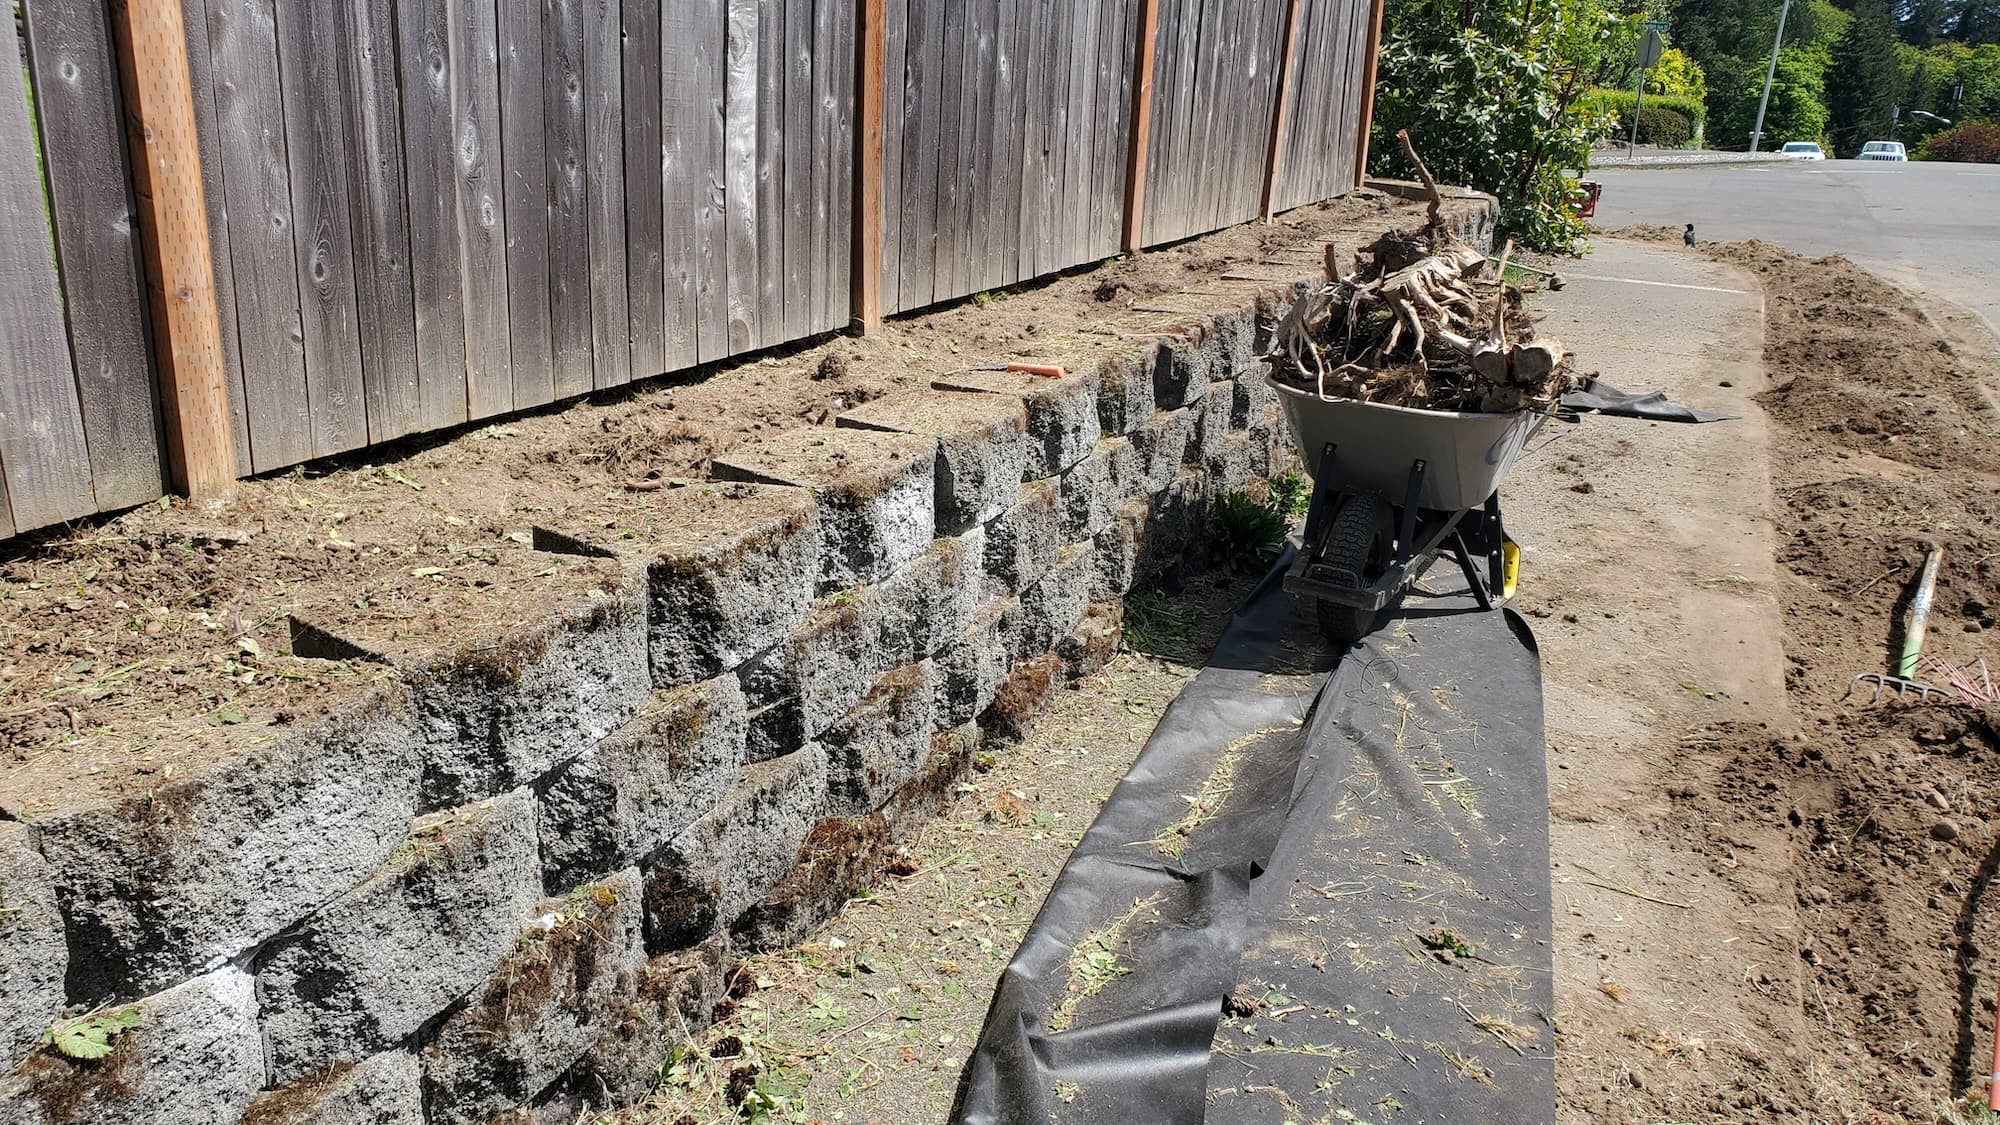
- Site preparation: Clearing the area of grass, weeds, and debris.
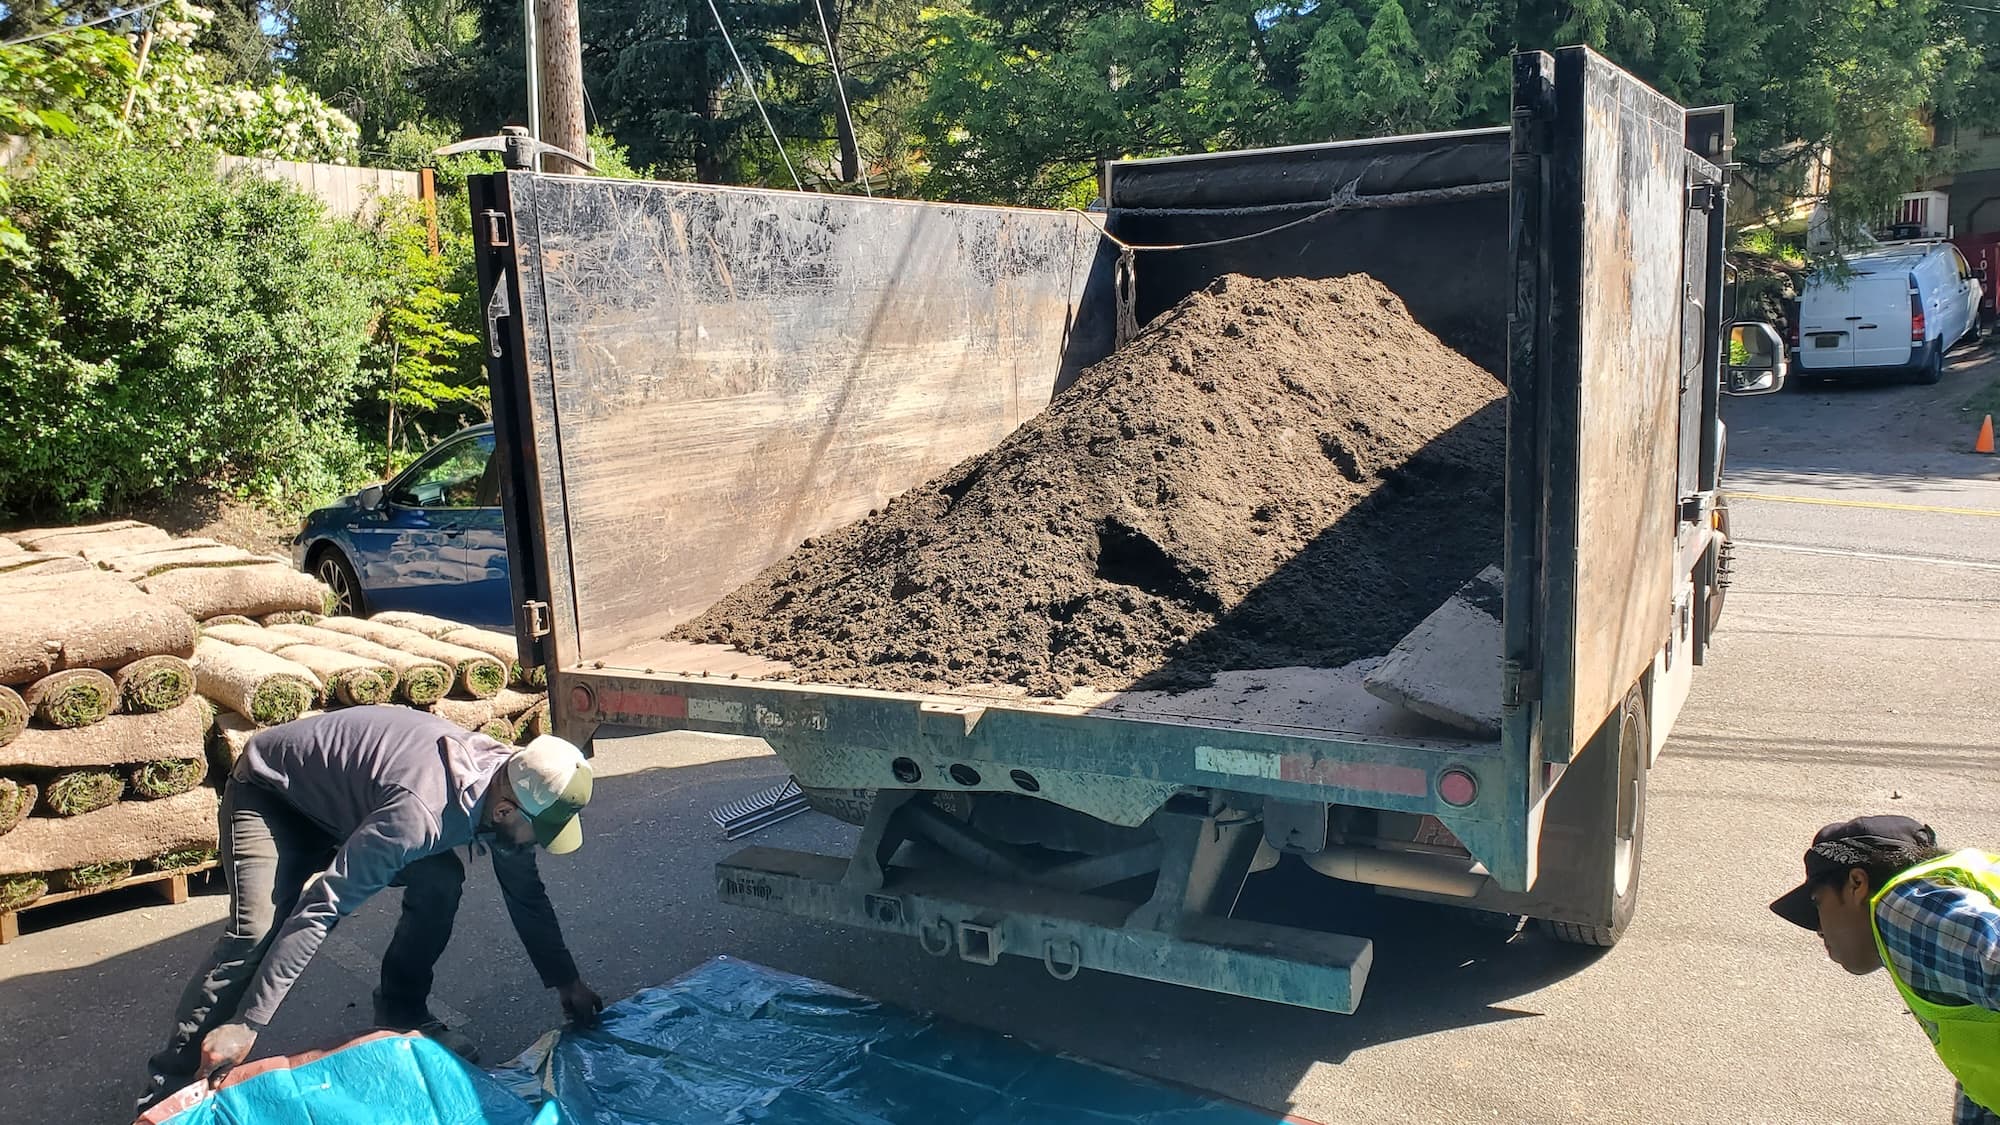
- Excavation: Digging a trench to the proper depth for paver installation.
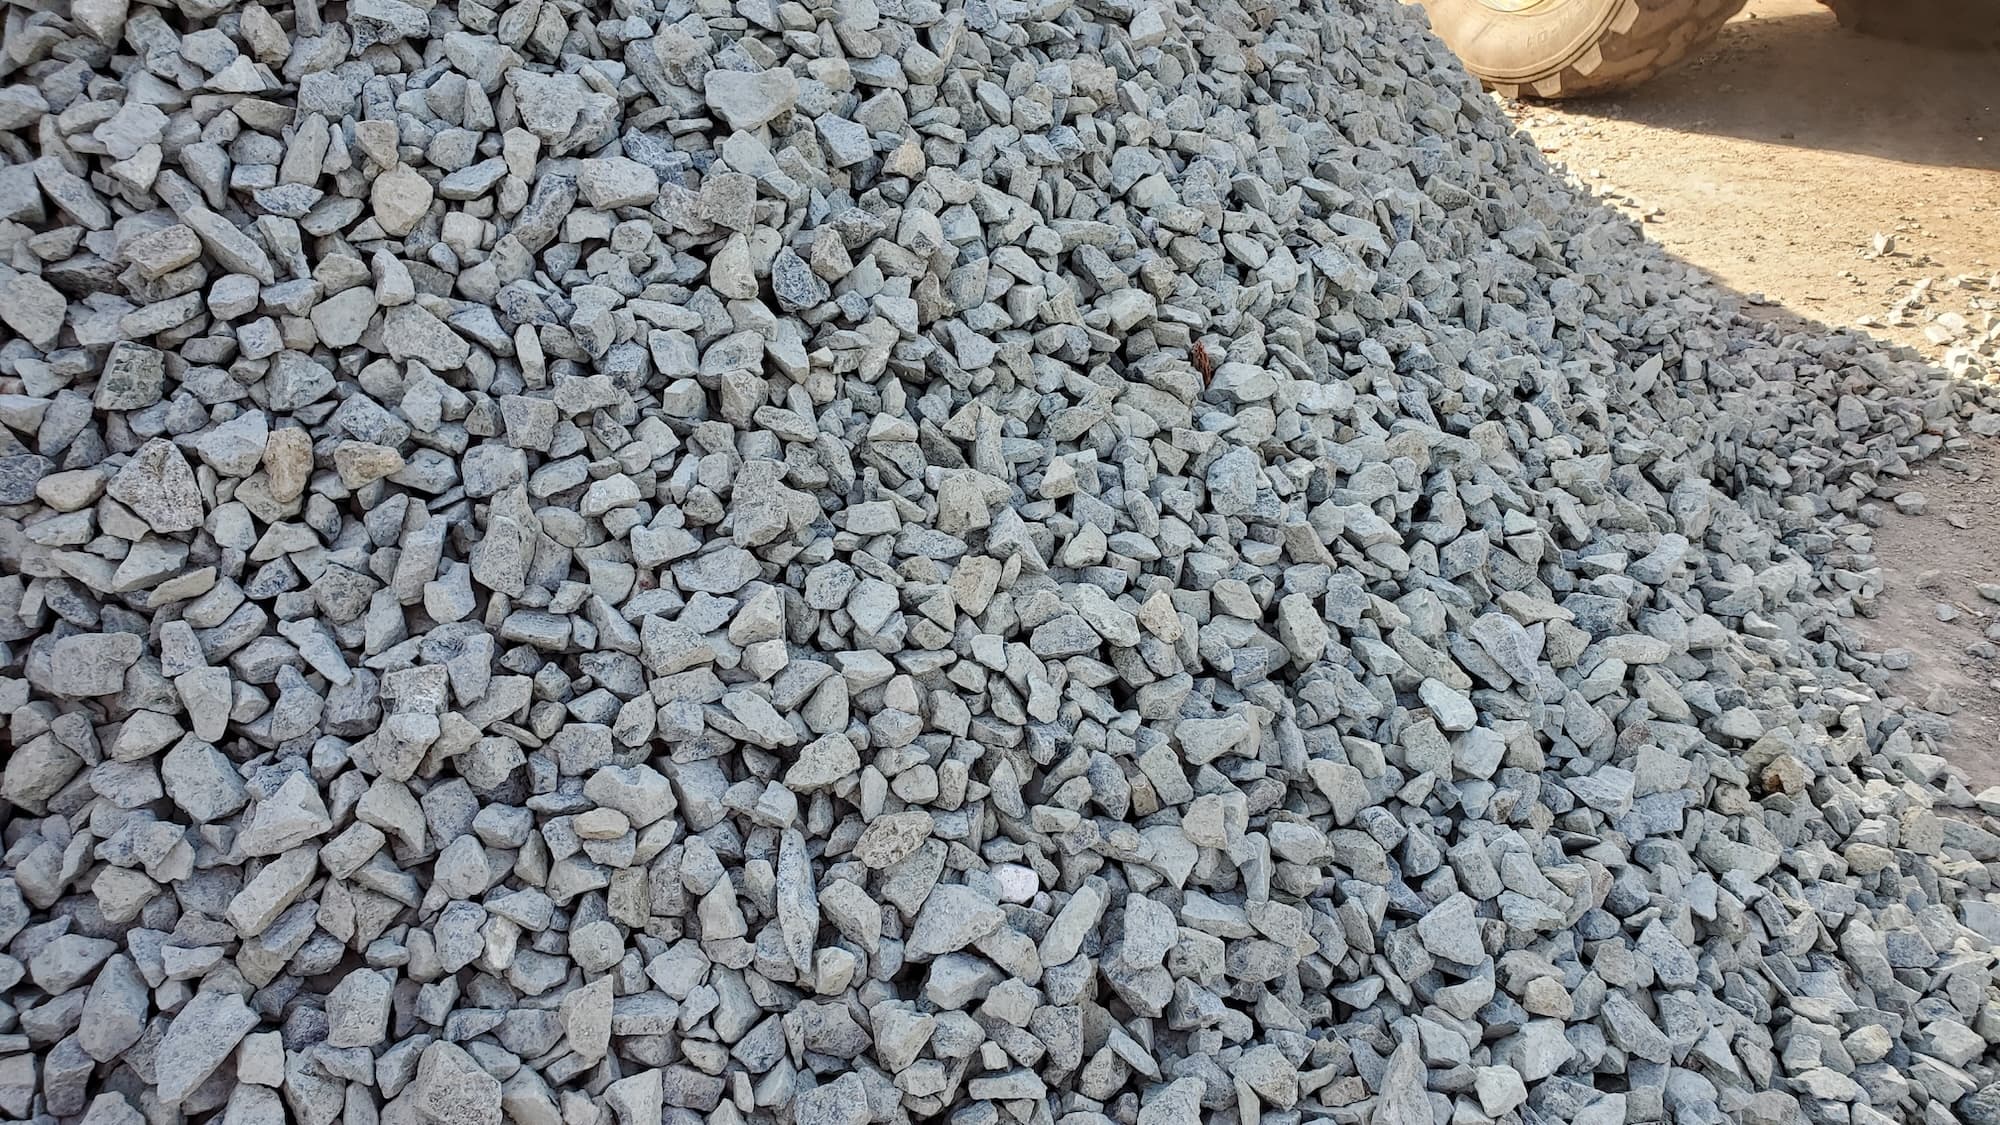
- Base layer installation: Adding gravel or sand to create a stable foundation.
- Paver placement: Arranging pavers in a straight line with clean edges.
- Joint filling: Applying sand or polymeric sand between pavers for stability.
- Compaction and finishing touches: Compacting the surface to ensure everything is level.
Key Benefits
- Improved Appearance: A well-laid walkway enhances your landscape’s visual appeal.
- Durability: High-quality pavers can withstand heavy foot traffic and weather conditions.
- Safety: A stable walkway reduces the risk of slips and falls.
- Eco-Friendly Options: Permeable pavers allow water drainage, promoting sustainable landscaping.
Why Hire a Pro
Hiring a professional crew has its advantages:
- Local Expertise: Knowledge of soil types and climate conditions.
- Licensed & Insured: Peace of mind knowing the job is done correctly.
- Professional Tools: Access to specialized tools for efficient work.
Our Approach
Step-by-Step Breakdown
- Planning: Measure the area and decide on paver size and layout.
- Gather Tools and Materials:
- Tools: shovel, level, rubber mallet, tamper, edging material, landscape fabric, and a saw (if cutting pavers).
- Materials: pavers, gravel/sand for the base, polymeric sand, and edging.
- Site Preparation: Clear the walkway area of any vegetation and debris.
- Excavation: Dig to a depth of about 6-8 inches, ensuring a level surface.
- Base Layer Installation: Add a 4-6 inch layer of gravel or sand and level it.
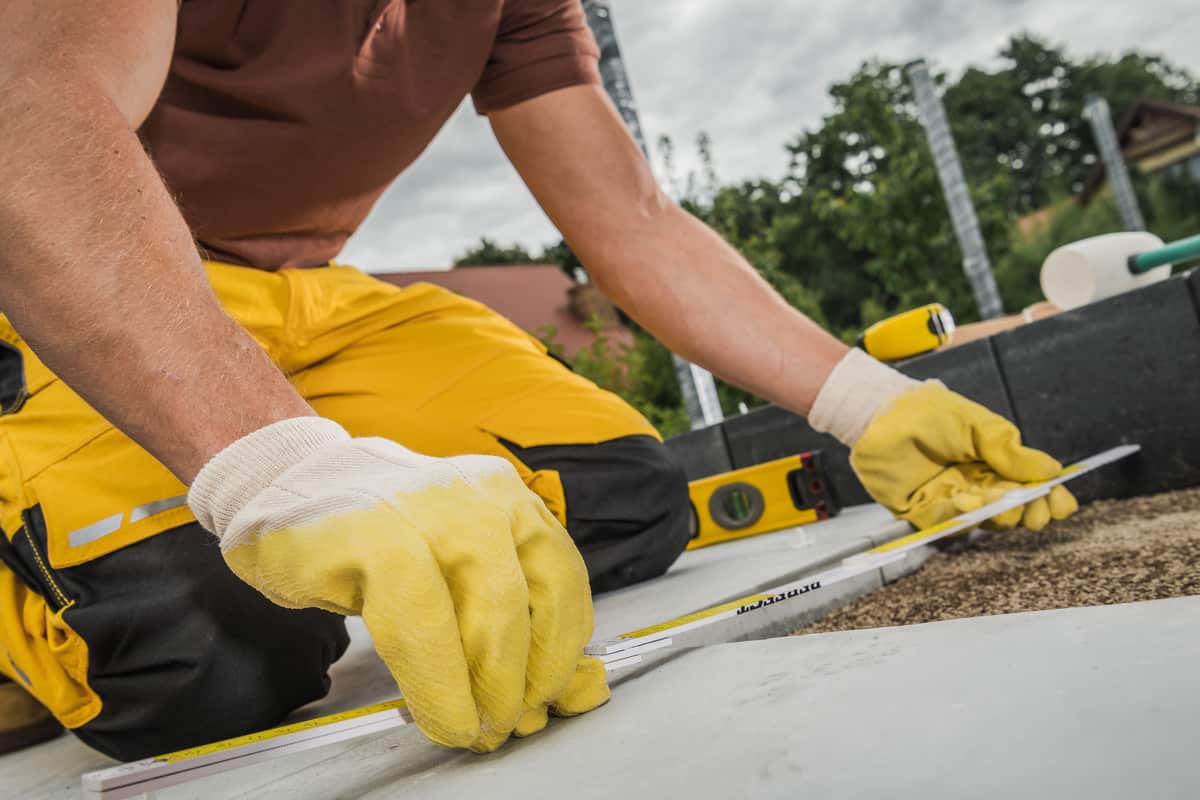
- Paver Placement: Start laying pavers, using a level to ensure they are even. Use spacers for uniform gaps.
- Joint Filling: Fill gaps with polymeric sand and sweep away excess.
- Compaction: Use a plate compactor to ensure the pavers are set firmly in place.
- Finishing Touches: Install edging if desired to maintain clean lines.
On-Site Expectations
The crew will work efficiently, often completing the installation in a day, depending on the walkway’s size. Homeowners can expect a clean worksite and a professional finish.
Service Pricing
Pricing Structure
- Flat Rate vs. Custom: Costs may vary based on the complexity of the project. A flat rate is often available for standard sizes, while custom designs may incur additional fees.
- Variables Influencing Cost:
- Lot Size: Larger areas require more materials and labor.
- Debris Volume: More time needed for clearing and excavation.
- Access: Difficult access may increase labor time.
- Add-Ons: Features like edging or decorative patterns will add to the cost.
Additional Costs
- Tax and Fees: Be aware of local taxes and potential dump fees for debris removal.
What’s Included
Core Services
- Excavation and base preparation
- Paver installation
- Joint filling and compaction
Optional Extras
- Edging installation
- Landscape fabric under the pavers
- Decorative gravel or planting around the walkway
- Seasonal upgrades for maintenance
FAQs
Common Customer Concerns
- Scheduling: Most projects can be scheduled within a few weeks, depending on the season.
- Turnaround Time: A typical walkway installation takes 1-2 days.
- Dump Fees: Discuss any potential additional fees upfront to avoid surprises.
Maintenance Tips
- Regular Cleaning: Sweep away debris to prevent weed growth.
- Resanding: Top off the joint sand once a year to maintain stability.
- Weed Control: Consider using a weed barrier fabric during installation.
DIY vs. Pro
DIY Considerations
- Time Commitment: DIY can take longer, especially if you’re new to the process.
- Skill Level: Requires some knowledge of landscaping and tools.
- Cost Savings: Potentially lower costs, but factor in your time and possible mistakes.
When to Hire a Pro
- Large or Complex Projects: If your walkway involves curves or intricate designs.
- Lack of Time or Tools: Professionals have the right equipment and experience to get it done efficiently.
Common Mistakes
- Poor Planning: Not measuring accurately can lead to material shortages or excess.
- Skipping the Base Layer: A solid foundation is crucial for durability.
- Misaligned Pavers: Take your time to ensure everything is straight and level.
Why Choose Lee’s General Landscaping
- Experienced Local Crew: We pride ourselves on clean and efficient work.
- Licensed, Bonded & Insured: Your project is safe with us.
- Hundreds of 5-Star Reviews: Our reputation speaks for itself across Yelp and Google.
Ready for a yard that stays neat?
Call or text Lee’s General Landscaping for a quick quote and a maintenance plan that fits your property.
⭐⭐⭐⭐⭐ 400+ Yelp Reviews • ⭐⭐⭐⭐⭐ 130+ Google Map Reviews
📧 Email: lees.g.landscaping@gmail.com
📞 Office: 206-259-7919
🕘 Hours: Mon–Sun: 9AM–6PM
🔒 Licensed • Bonded • Insured