Sprinkler zone valve installation
Installing a sprinkler zone valve can be a daunting task for many homeowners. It’s essential for maintaining an efficient irrigation system that keeps your lawn lush and healthy. A well-functioning sprinkler system not only enhances curb appeal but also reduces water waste and lowers maintenance costs. In this article, we’ll guide you through the installation process, including tools needed, step-by-step instructions, and tips to avoid common pitfalls.
Description
What the service includes
- Assessment of the landscape: Evaluating the current irrigation setup and determining the best placement for the new valve.
- Installation of the valve: Connecting the new valve to the existing system, ensuring proper flow and operation.
- Testing: Verifying that the new valve operates correctly and efficiently.
Key benefits
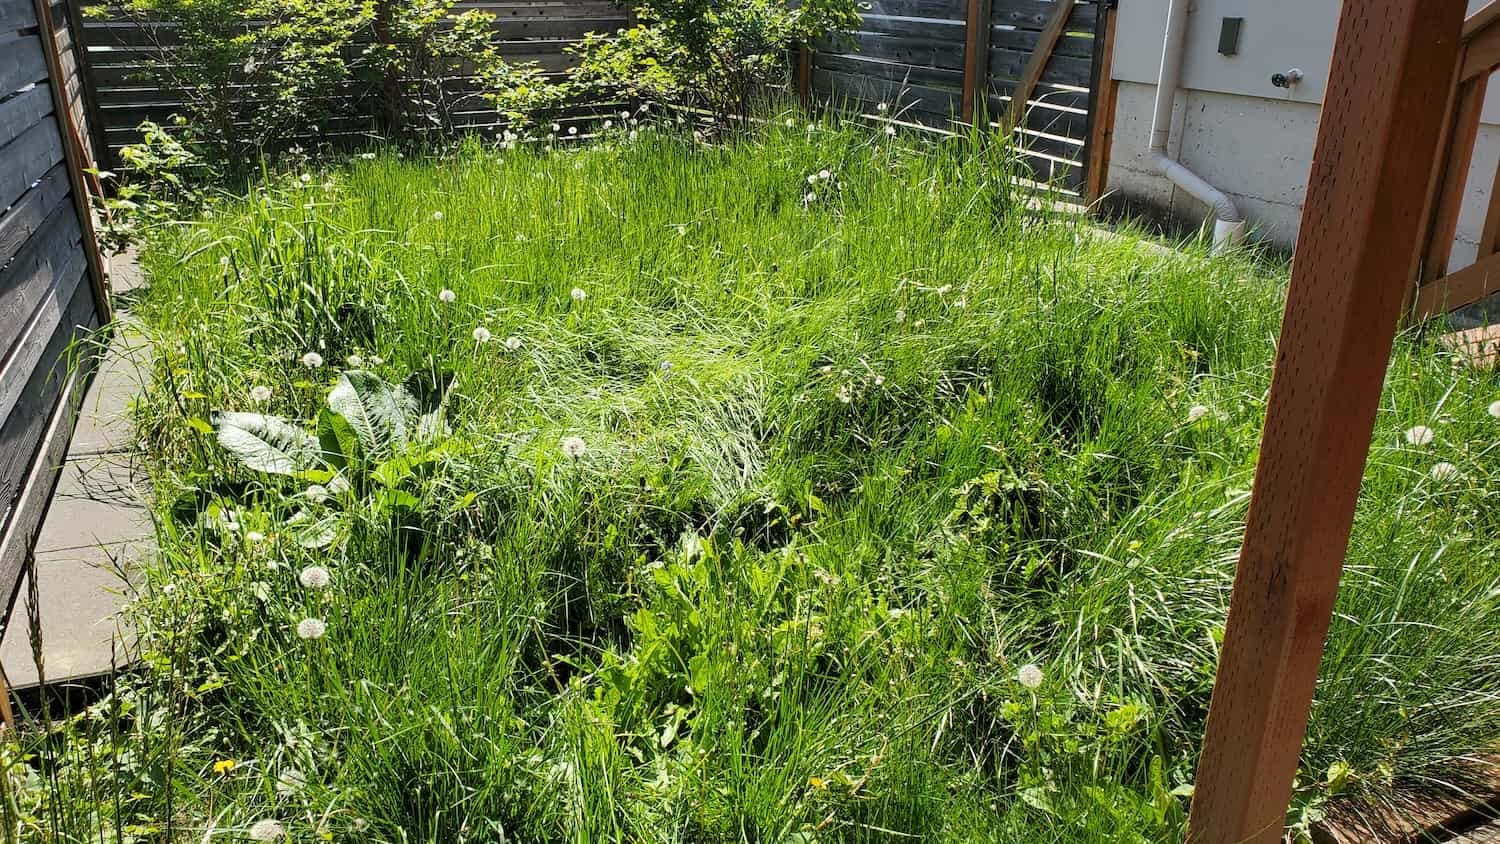
- Improved Appearance: A properly functioning sprinkler system keeps your lawn and garden looking vibrant.
- Durability: Quality installations lead to longer-lasting systems, reducing the need for frequent repairs.
- Safety: Prevents water pooling that can lead to slips or mosquito breeding grounds.
- Eco-friendly options: Many modern valves are designed to conserve water.
Why hire a pro
While DIY installations can save money, hiring a professional ensures that the job is done right. A licensed and insured crew brings local expertise, professional tools, and experience that can save you time and headaches down the line.
Our Approach
Step-by-step breakdown of tasks
Gather tools and materials:
- Tools: Pipe wrench, screwdriver, shovel, Teflon tape, wire strippers, and a multimeter.
- Materials: New zone valve, PVC pipes (if needed), connectors, and wire.
Turn off the water supply: Before starting, ensure the water supply to the sprinkler system is turned off.
Locate the existing valve: Identify where the new valve will be installed, ideally close to the existing system for easier connections.
Excavate the area: Use a shovel to dig around the existing pipes, ensuring enough room to work.
Remove the old valve: Disconnect the old valve by unscrewing the fittings and cutting any necessary pipes.
Install the new valve: Connect the new valve using PVC pipes and fittings. Make sure to apply Teflon tape on threaded connections to prevent leaks.
Wire the valve: Connect the electrical components, ensuring proper wire connections. Use wire strippers to expose the ends and secure them tightly.
Test the installation: Turn the water supply back on and test the new valve’s operation. Check for leaks and ensure that it opens and closes correctly.
Efficiency, safety, and long-lasting results
Our crew works diligently to minimize disruption to your yard while ensuring safety and efficiency. We always follow best practices for installation, which leads to durable results that save you time and money on future repairs.
Service Pricing
Pricing structure
- Flat rate vs. custom pricing: Installation can vary based on the complexity of the job. Expect a flat rate for straightforward installations, while more complex jobs may require a custom quote.
Variables influencing cost
- Lot size: Larger areas may require more materials and labor.
- Debris volume: Removing old systems or landscaping can add to the cost.
- Access: If your yard is hard to reach, it may increase labor costs.
- Add-ons: Including additional features like timers or sensors will affect the overall price.
Additional costs
Keep in mind that there may be taxes, dump fees, or extra hauling charges depending on the scope of work.
What’s Included
Core services
- Installation of the new zone valve.
- Testing and adjustments to ensure optimal performance.
Optional extras
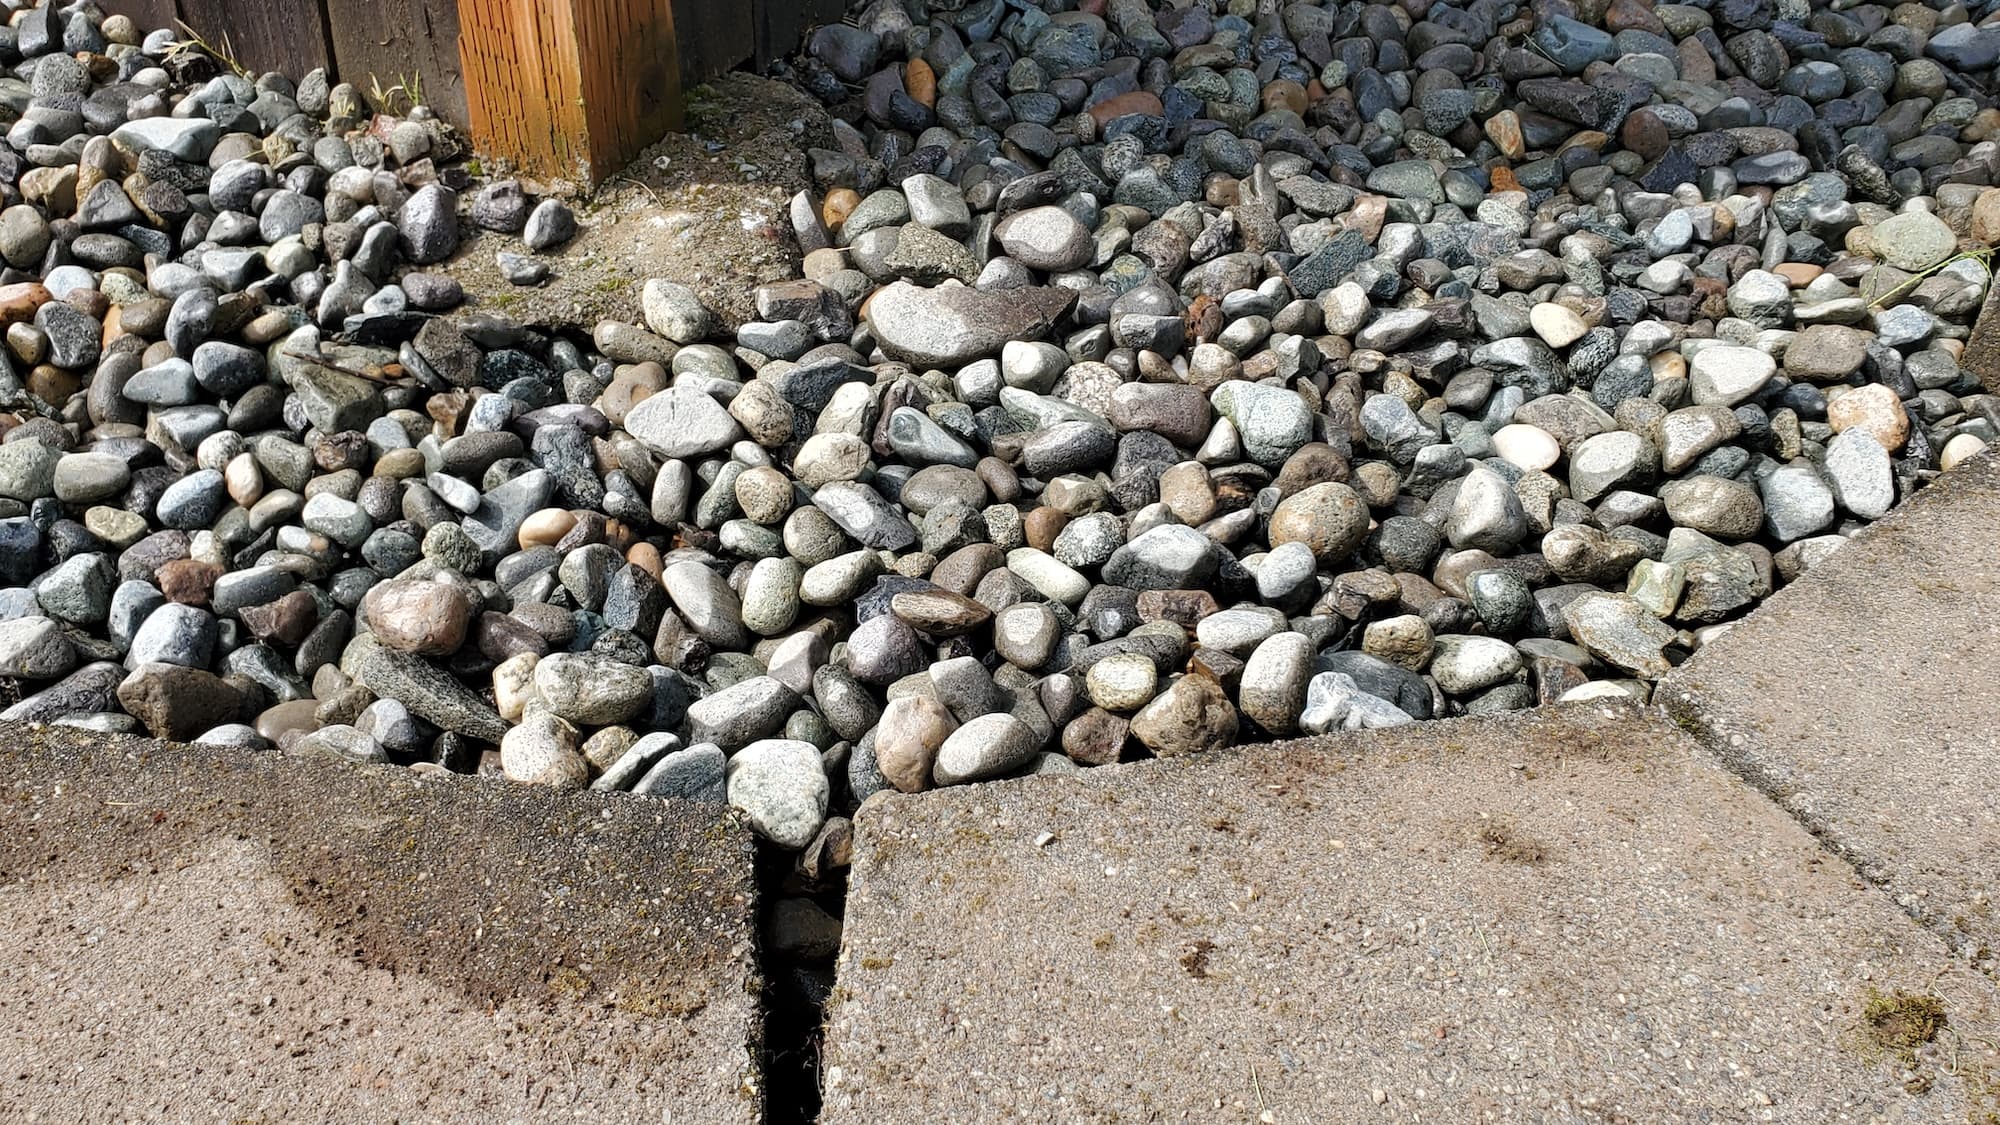
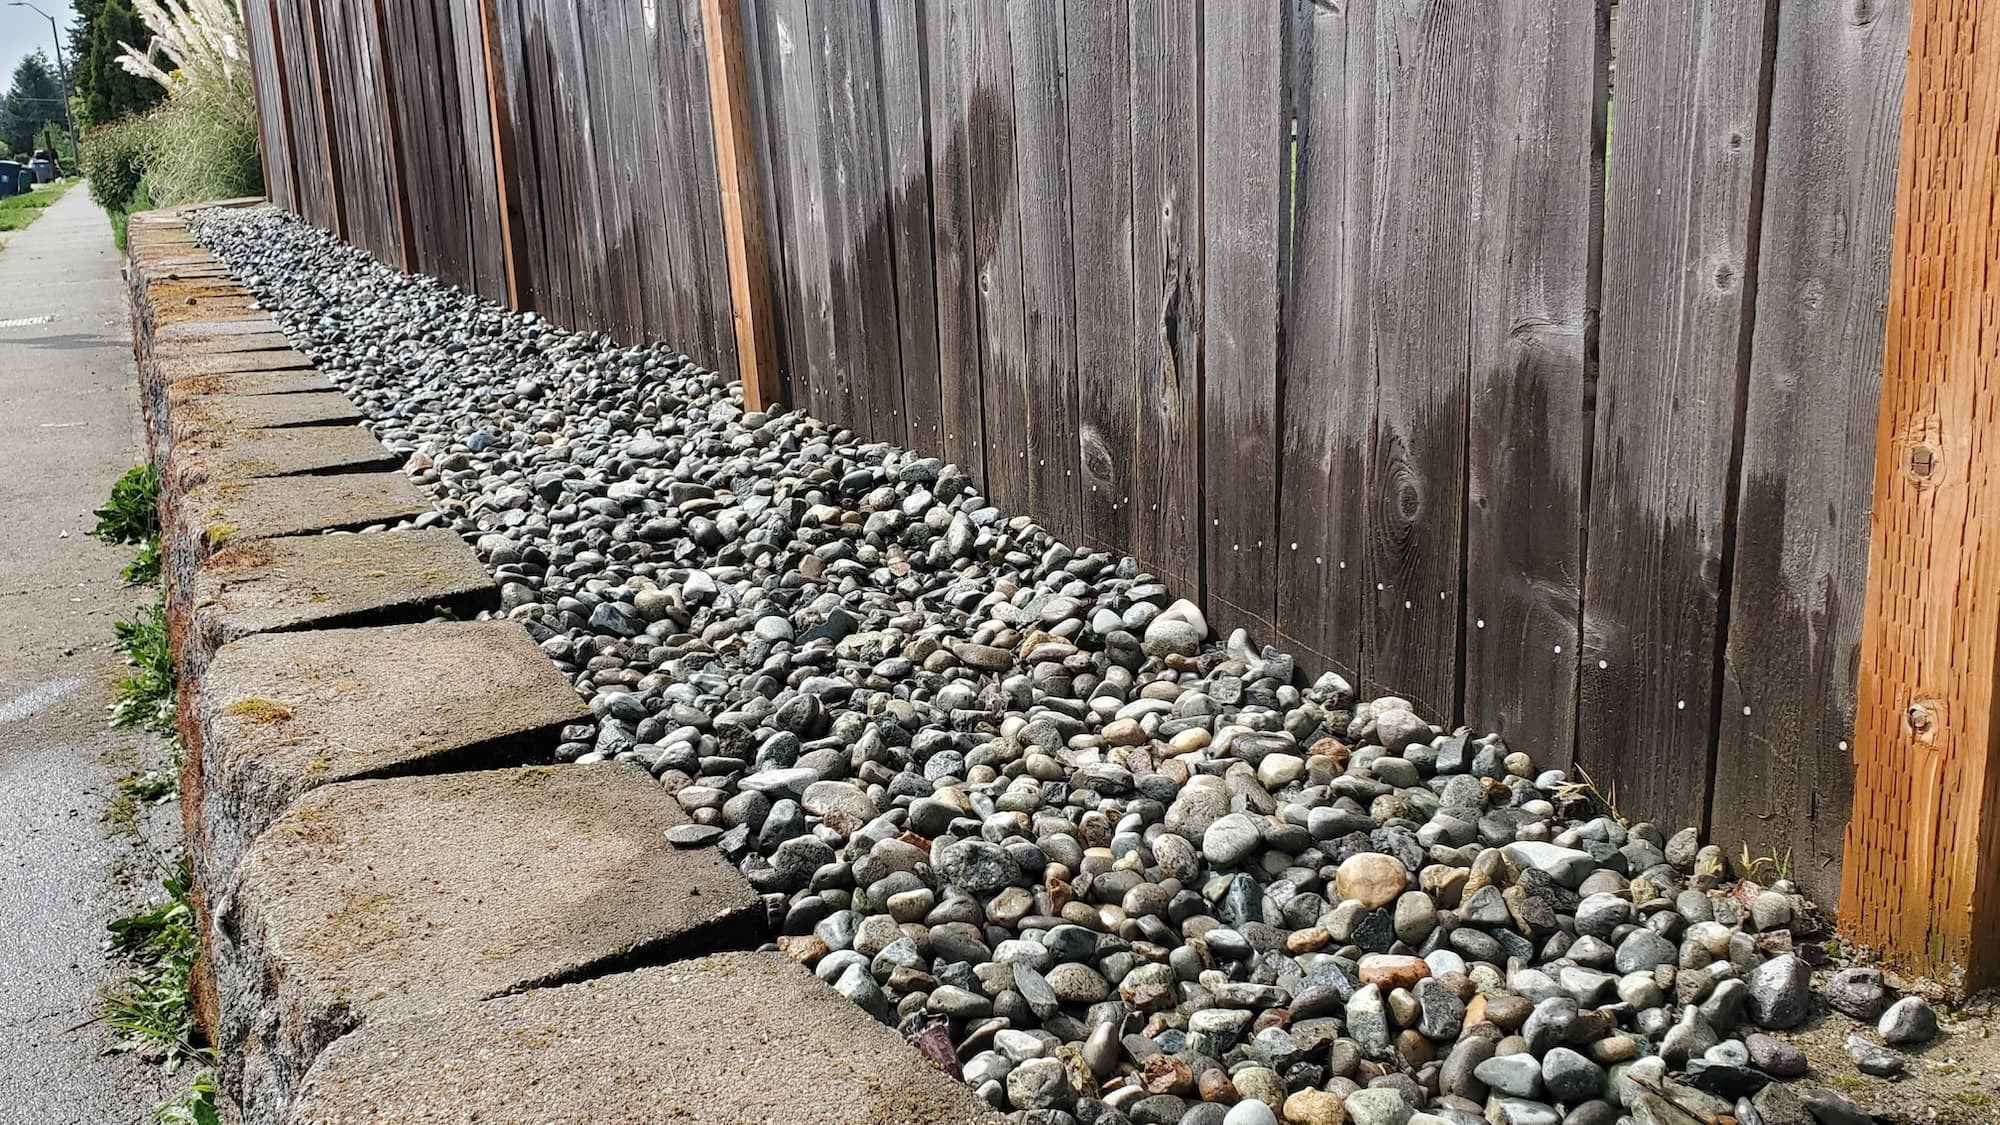
- Additional components like gravel for drainage.
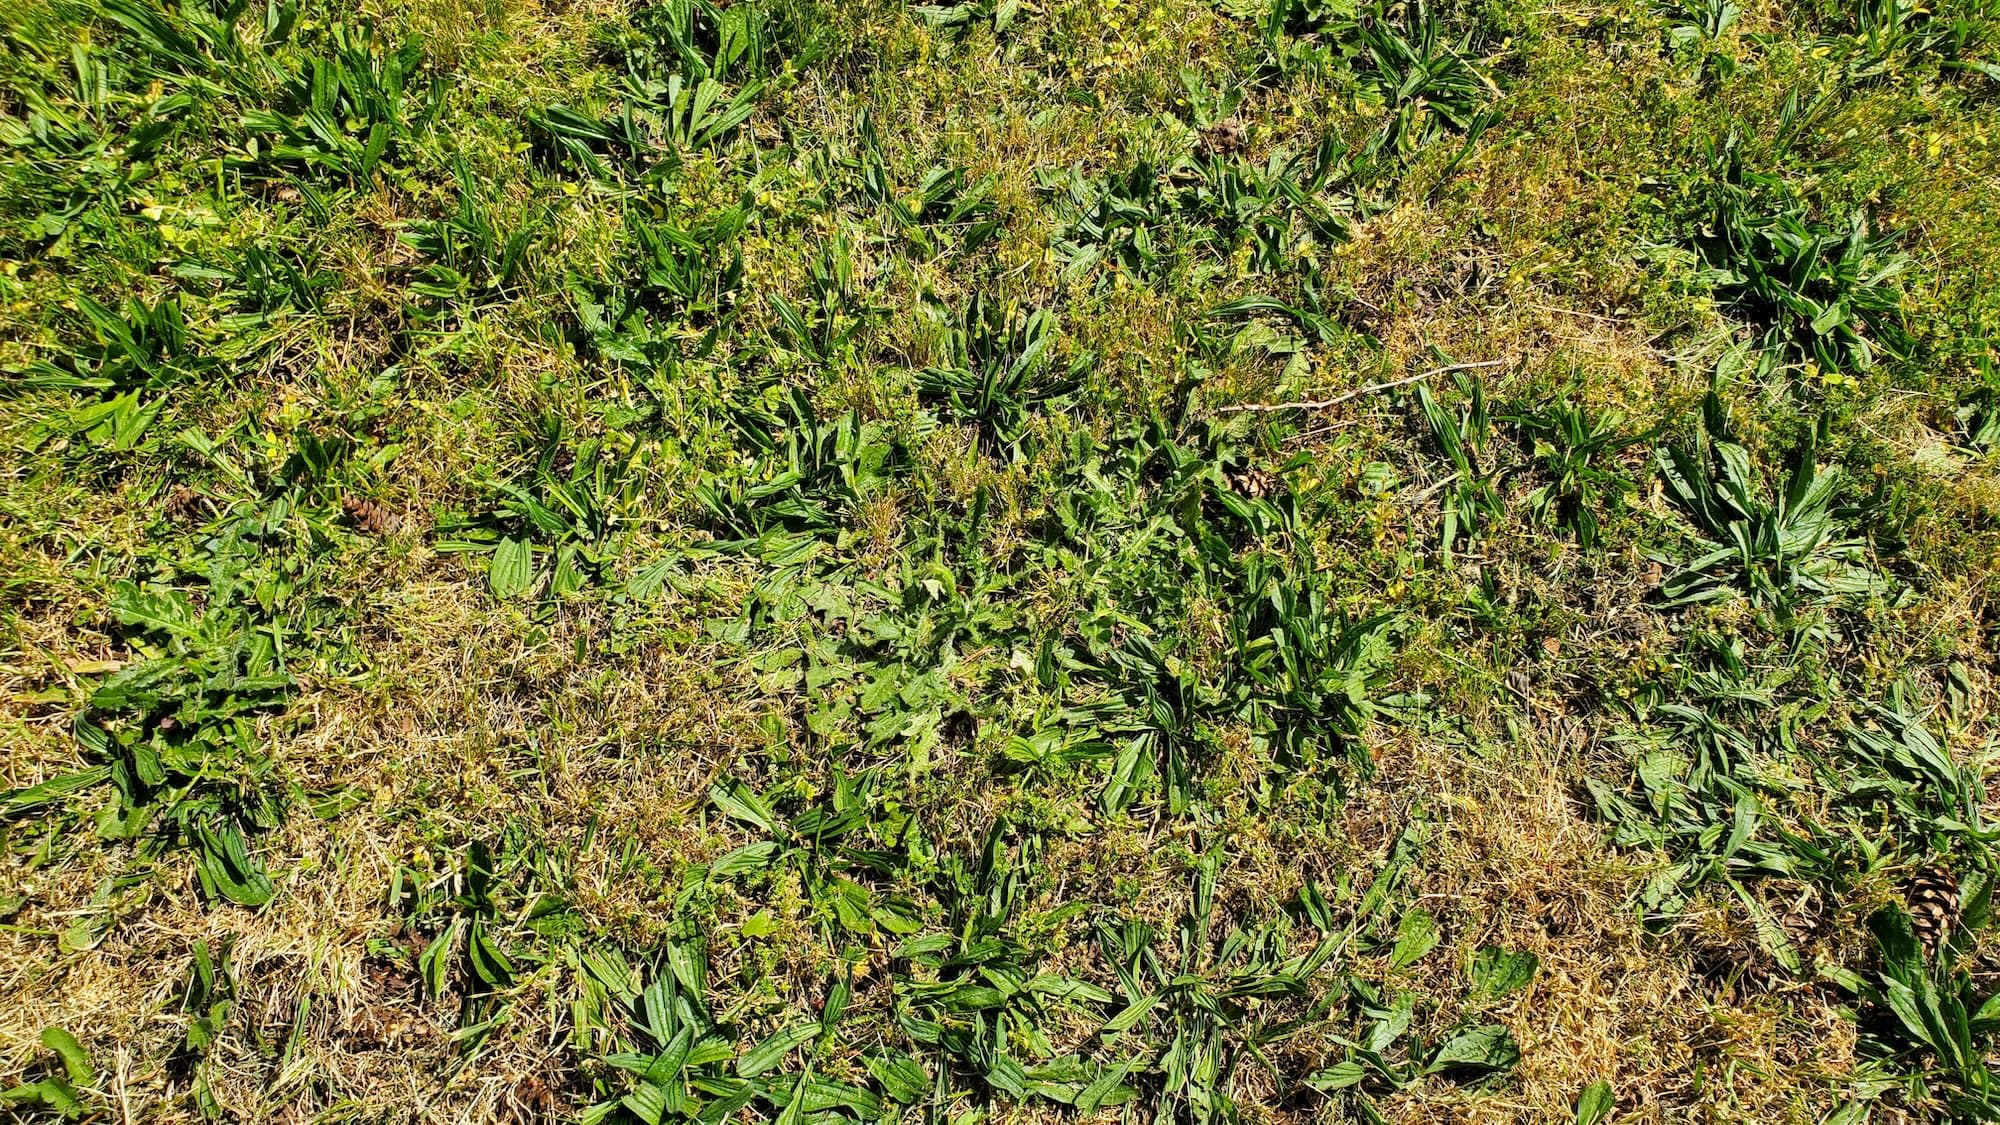
- Landscape fabric to prevent weed growth.
- Seasonal upgrades such as smart controllers or rain sensors.
FAQs
Common customer concerns
- Scheduling: We aim to accommodate your schedule, often completing installations within a single day.
- Turnaround time: Most installations can be completed within 2 to 4 hours, depending on the complexity.
- Dump fees: These may apply if debris needs to be removed from the site.
Maintenance tips
- Regularly check for leaks and ensure the valve operates correctly.
- Clean filters and check the wiring annually to avoid electrical issues.
Why Choose Lee’s General Landscaping
- Experienced local crew: We pride ourselves on working cleanly and efficiently.
- Licensed, bonded & insured: Enjoy peace of mind knowing you’re working with a professional team.
- Hundreds of 5-star reviews: Our reputation speaks for itself across platforms like Yelp and Google.
Ready for a yard that stays neat?
Call or text Lee’s General Landscaping for a quick quote and a maintenance plan that fits your property.
⭐⭐⭐⭐⭐ 400+ Yelp Reviews • ⭐⭐⭐⭐⭐ 130+ Google Map Reviews
📧 Email: lees.g.landscaping@gmail.com
📞 Office: 206-259-7919
🕘 Hours: Mon–Sun: 9AM–6PM
🔒 Licensed • Bonded • Insured