Sprinkler zone layout design
Designing a sprinkler zone layout can be a challenge for homeowners. With various factors to consider—like plant types, water pressure, and soil conditions—it’s easy to feel overwhelmed. The best solution is a well-planned layout that maximizes efficiency and ensures your garden thrives. A proper sprinkler zone design not only enhances curb appeal but also promotes safety, lowers maintenance needs, and conserves water. In this article, we’ll cover the step-by-step process to create a successful sprinkler zone layout, the tools and materials needed, cost ranges, and tips for maintenance.
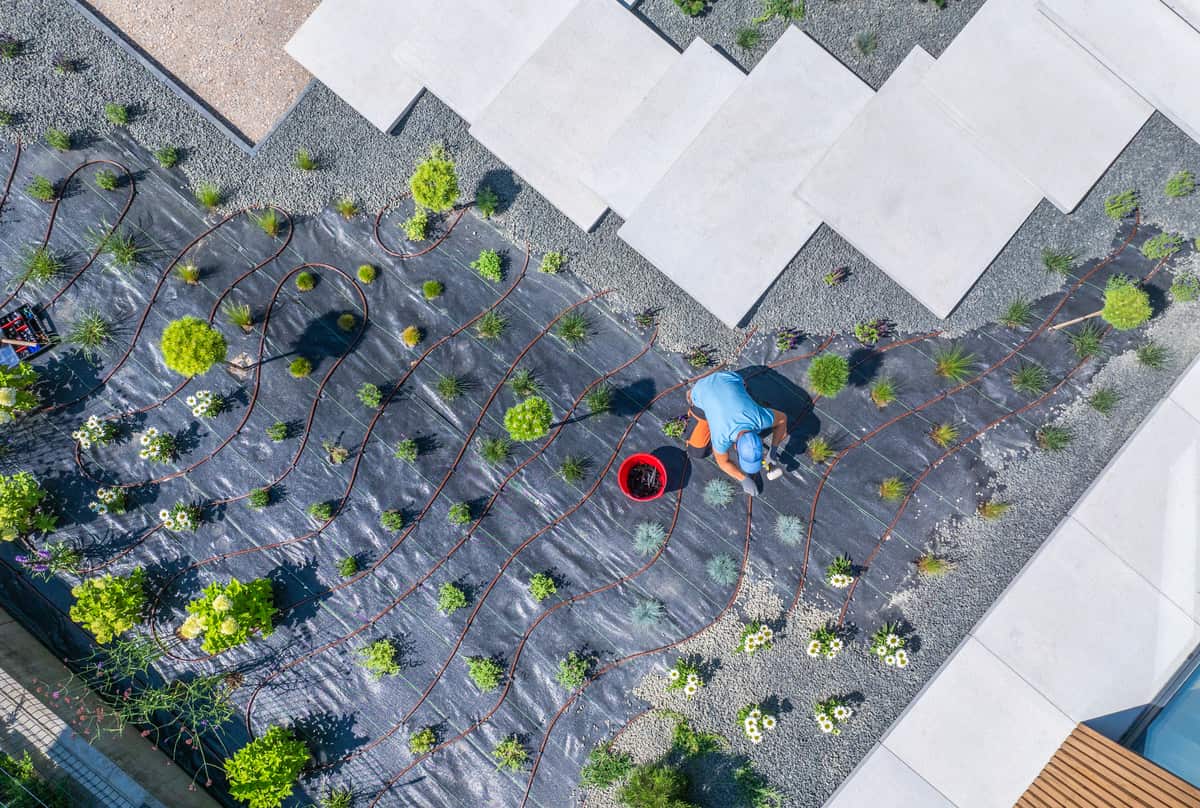
Description
What the service includes
- Assessment: Evaluate your yard’s size, shape, and sun exposure.
- Design: Create a detailed plan for sprinkler zones based on plant needs and water pressure.
- Installation: Lay out the pipes, valves, and sprinkler heads according to the design.
- Testing: Ensure the system works effectively and adjusts as needed.
Key benefits
- Improved Appearance: A well-watered garden looks vibrant and healthy.
- Durability: Quality materials and proper installation reduce the need for repairs.
- Safety: A well-maintained garden minimizes hazards like slippery surfaces.
- Eco-Friendly Options: Choose water-efficient systems to conserve resources.
Why hire a pro
- Local Expertise: Professionals understand regional climate and soil conditions.
- Licensed & Insured Crew: Protects you from liability and ensures quality work.
- Professional Tools: Access to specialized equipment for installation and maintenance.
Our Approach
Step-by-step breakdown of tasks
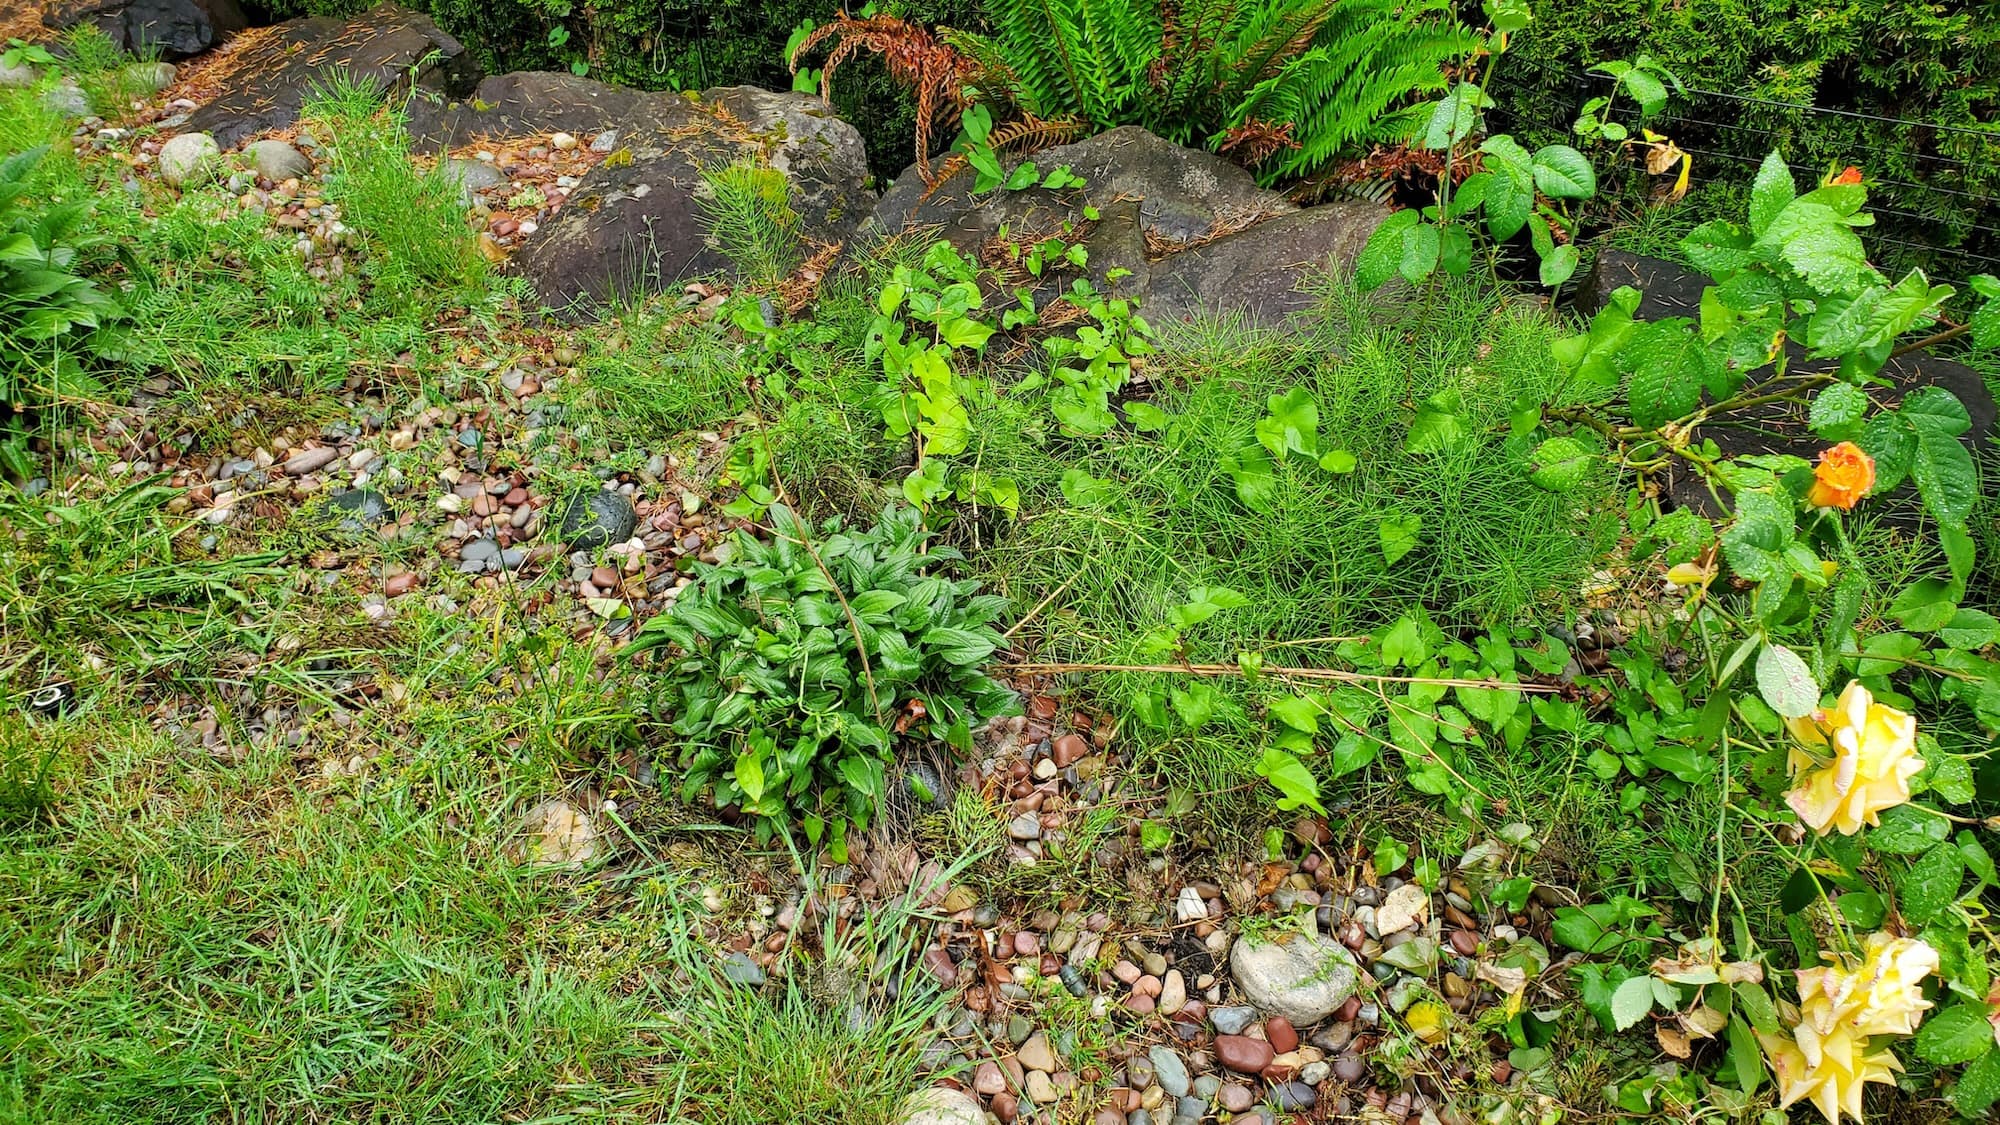
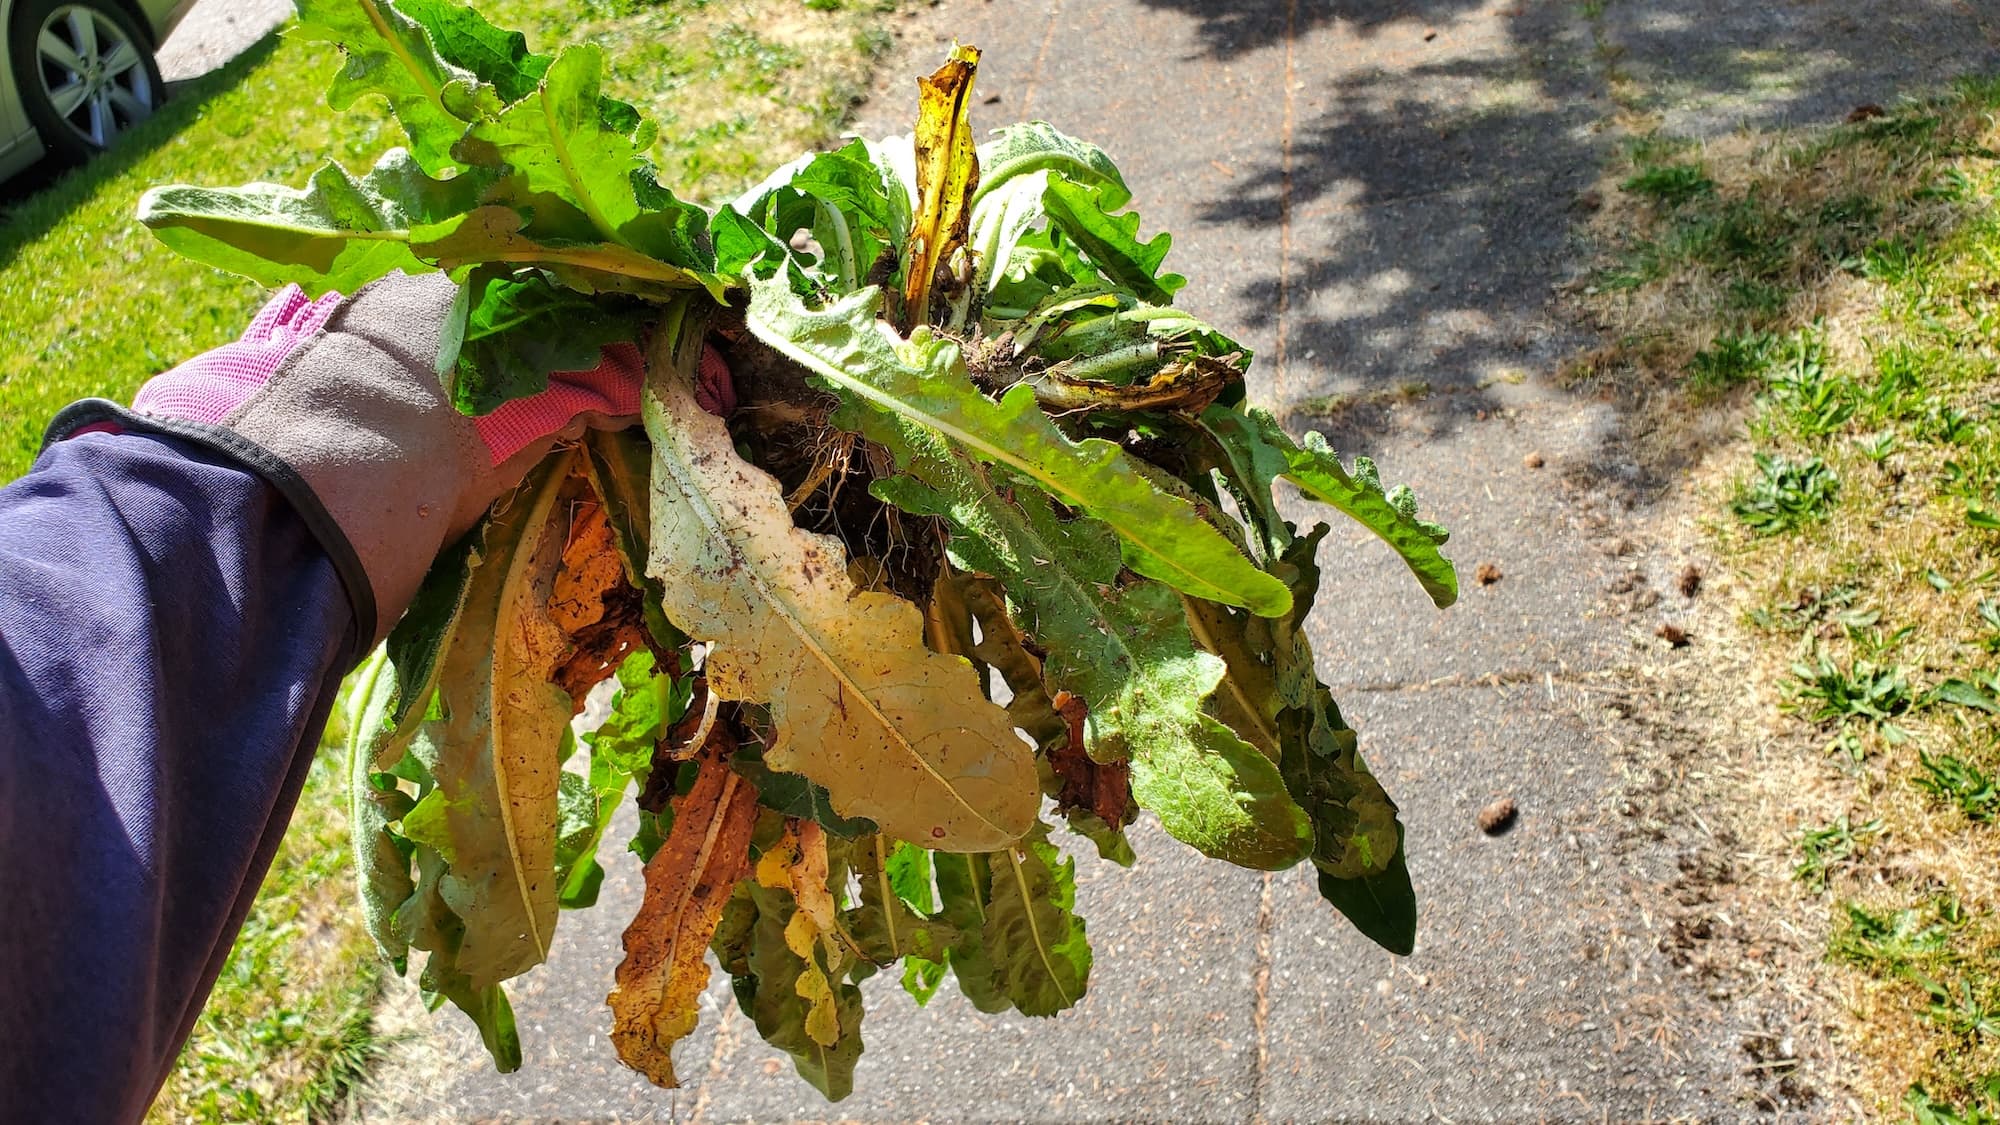
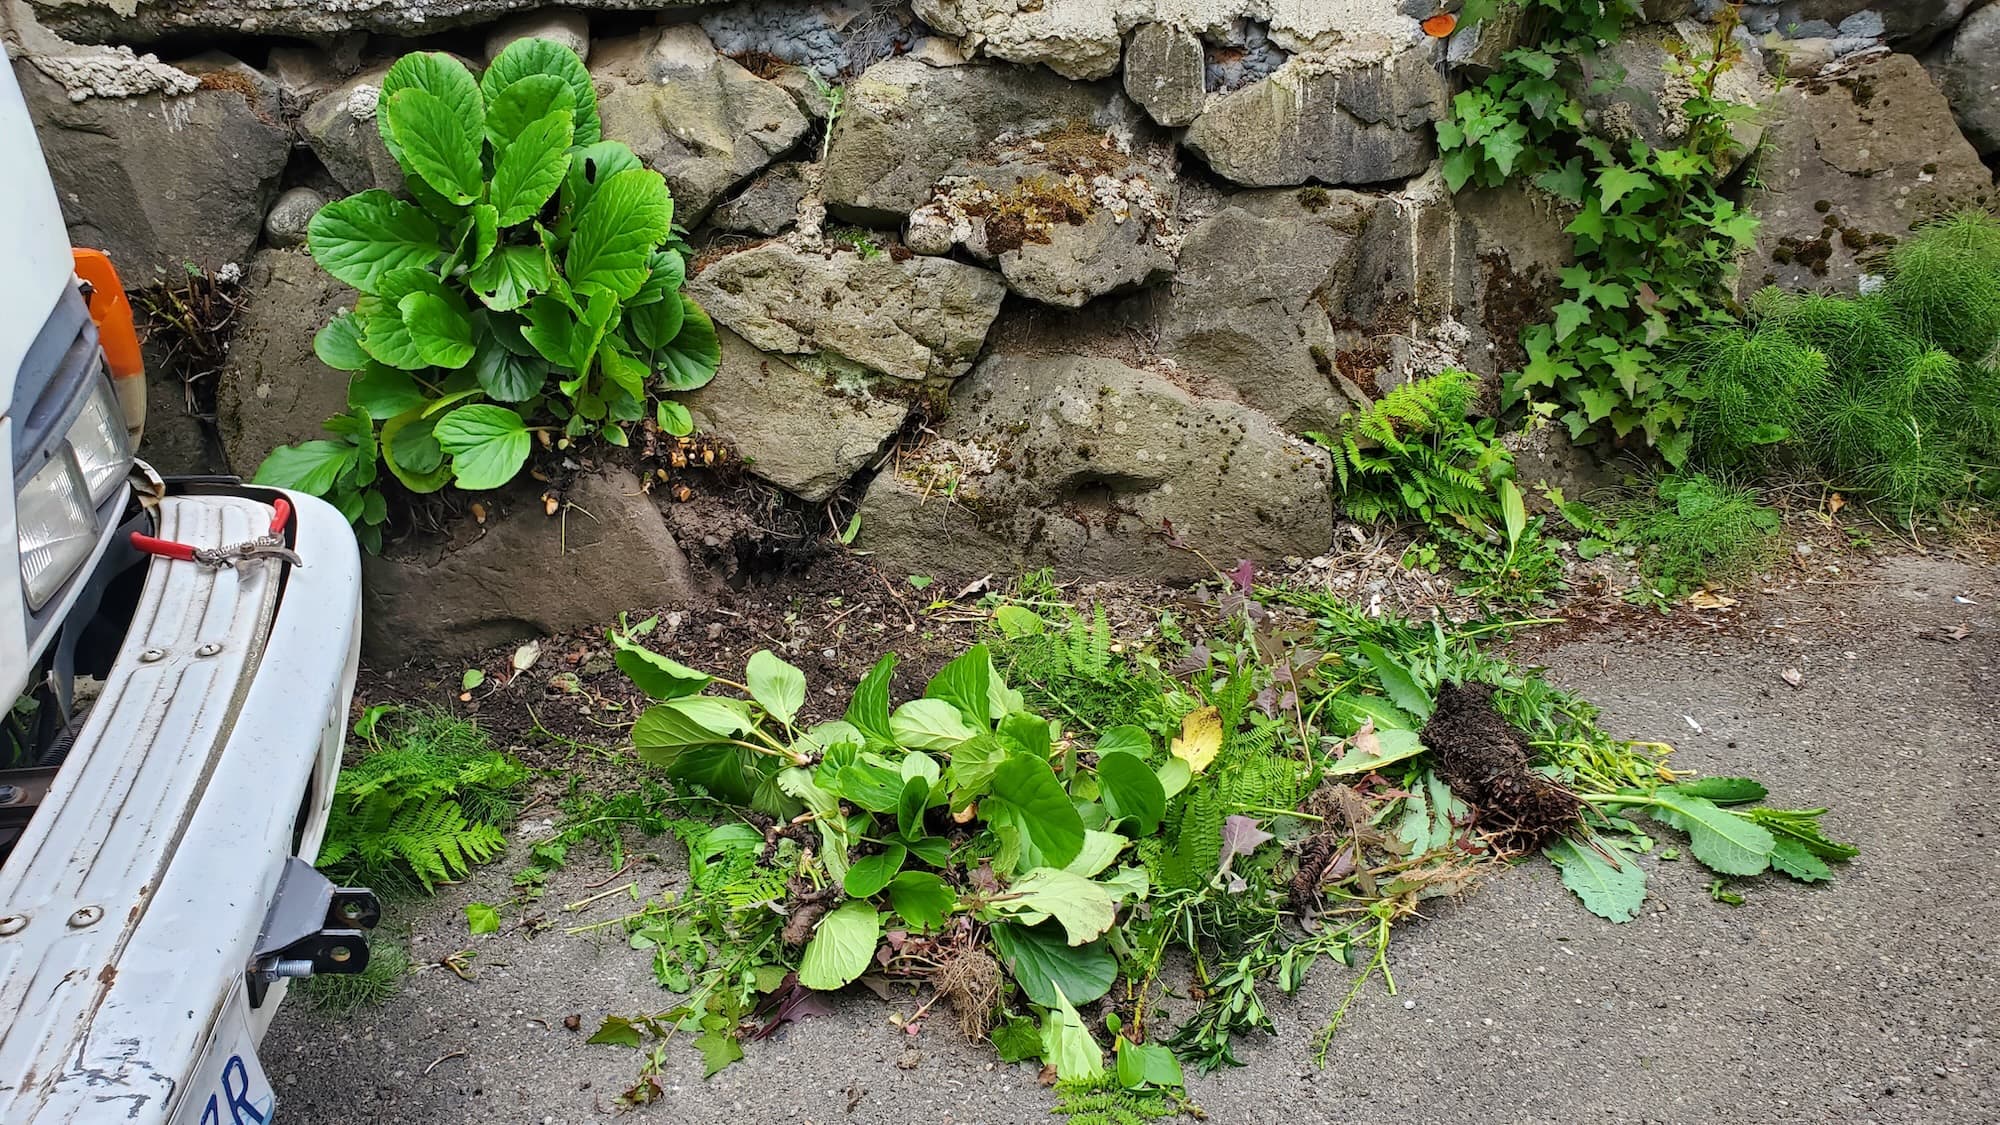
Site Assessment
- Measure your yard and identify existing plants, structures, and water sources.
- Check for any local regulations regarding sprinkler systems.
Design the Layout
- Determine the number of zones needed based on plant types and water requirements.
- Sketch a plan showing the placement of sprinkler heads, pipes, and valves.
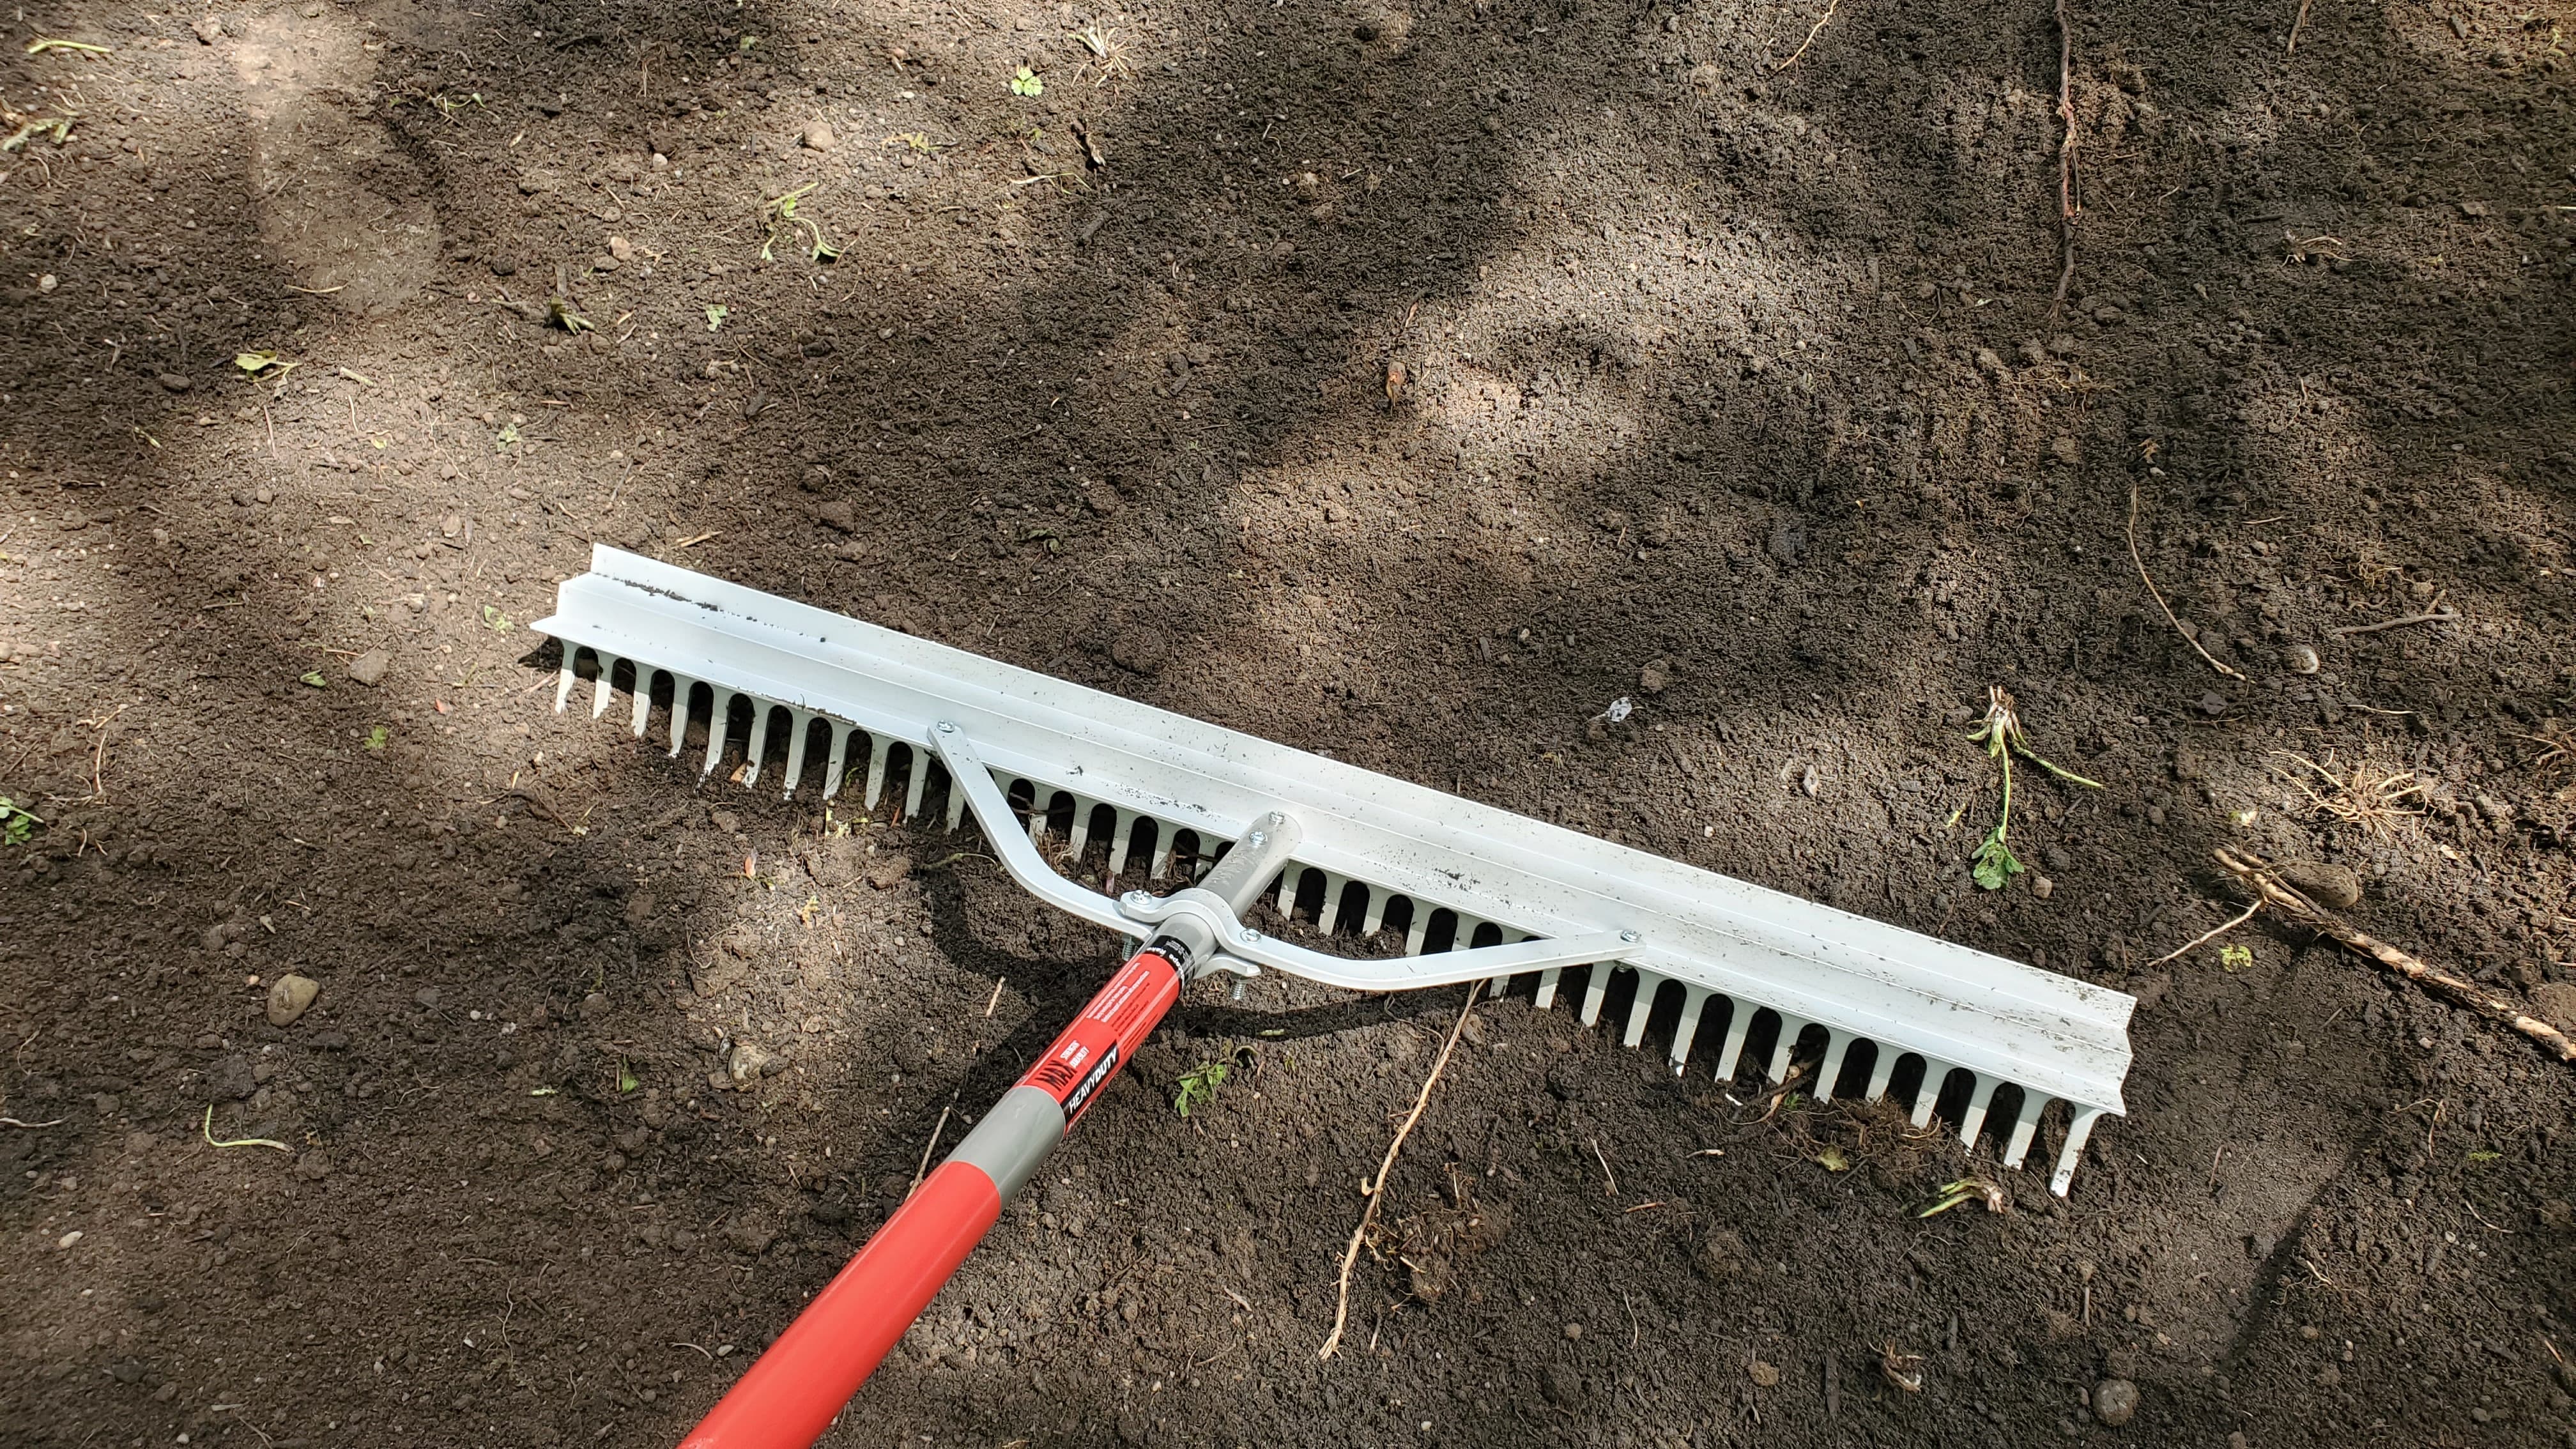
Gather Tools & Materials
- Tools: shovel, PVC cutter, wrench, level, tape measure, and stakes.
- Materials: PVC pipes, sprinkler heads, valves, connectors, and soil.
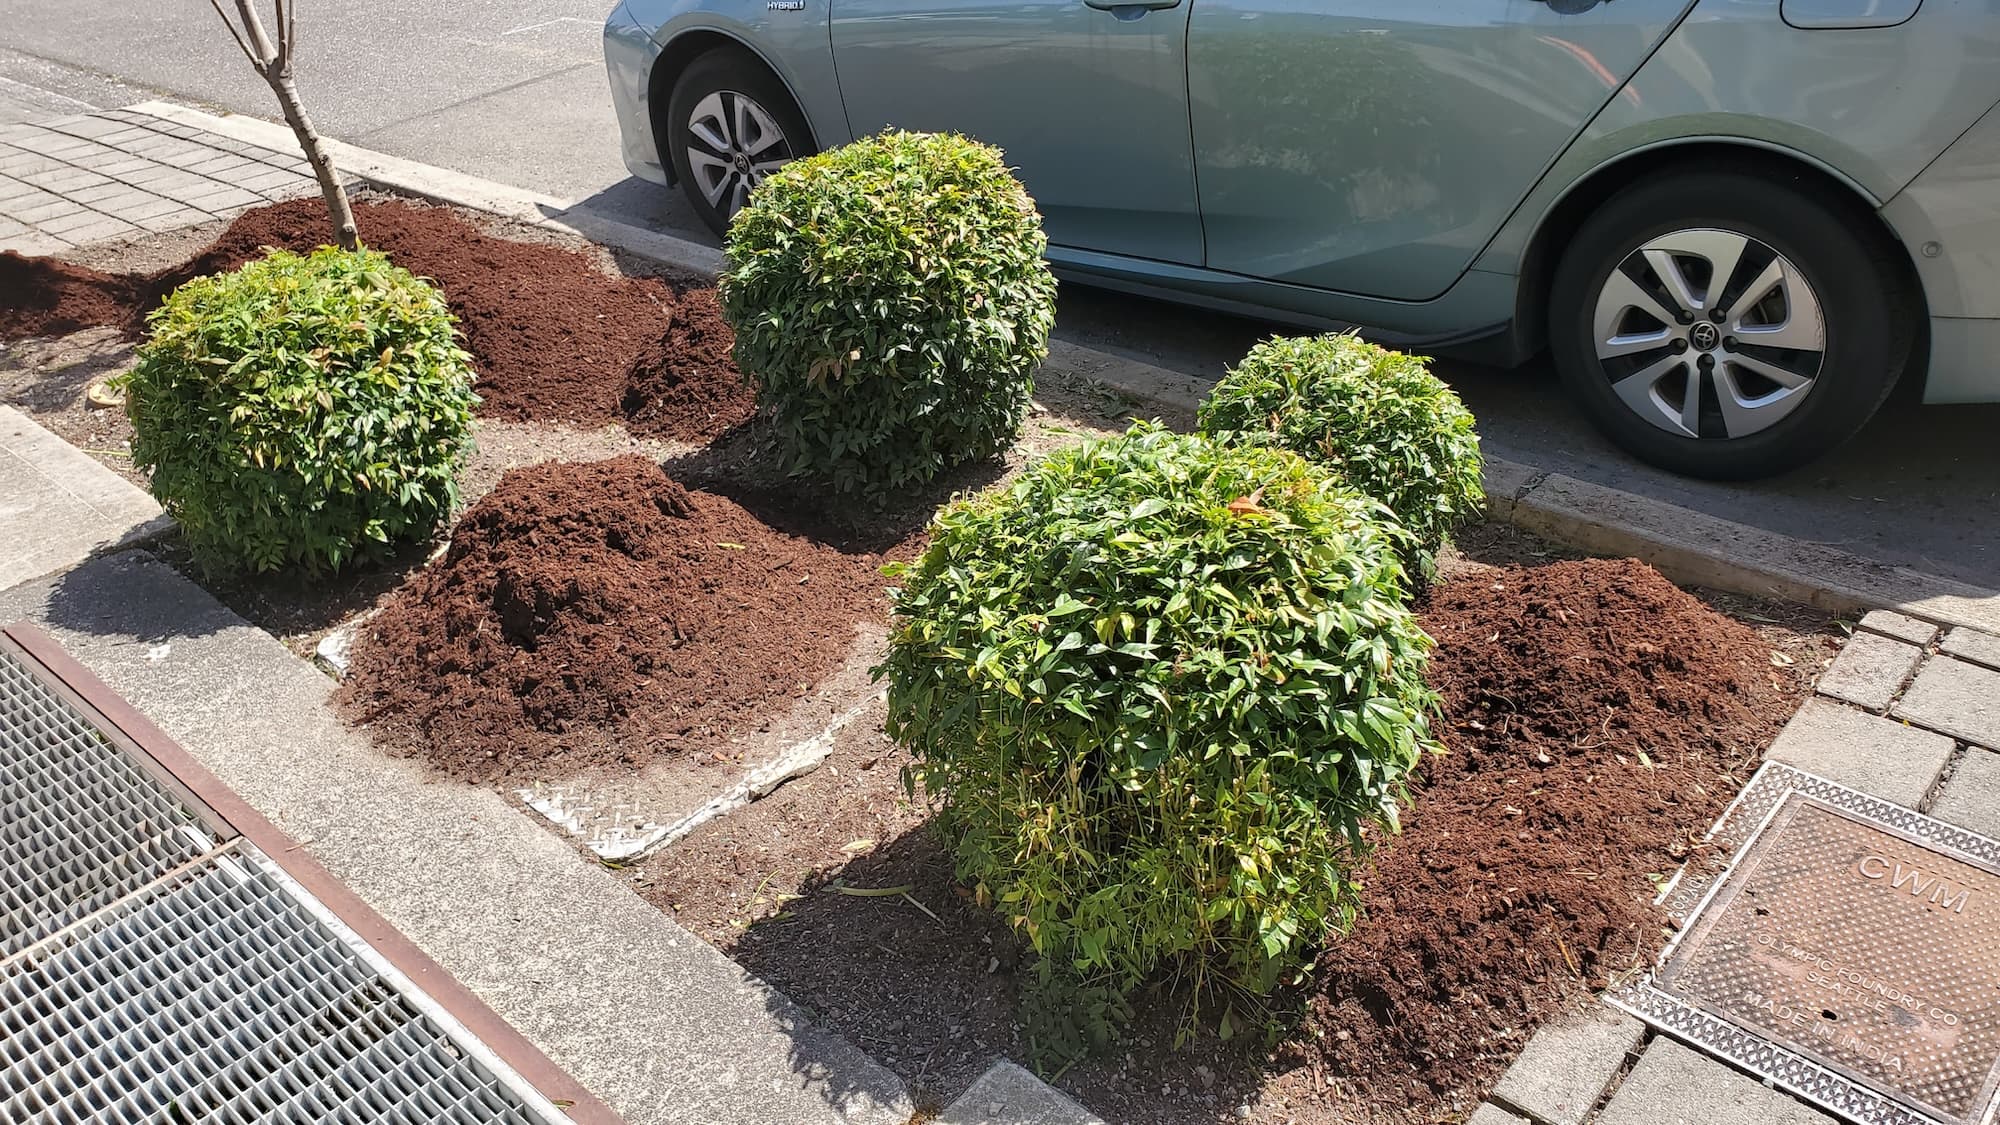
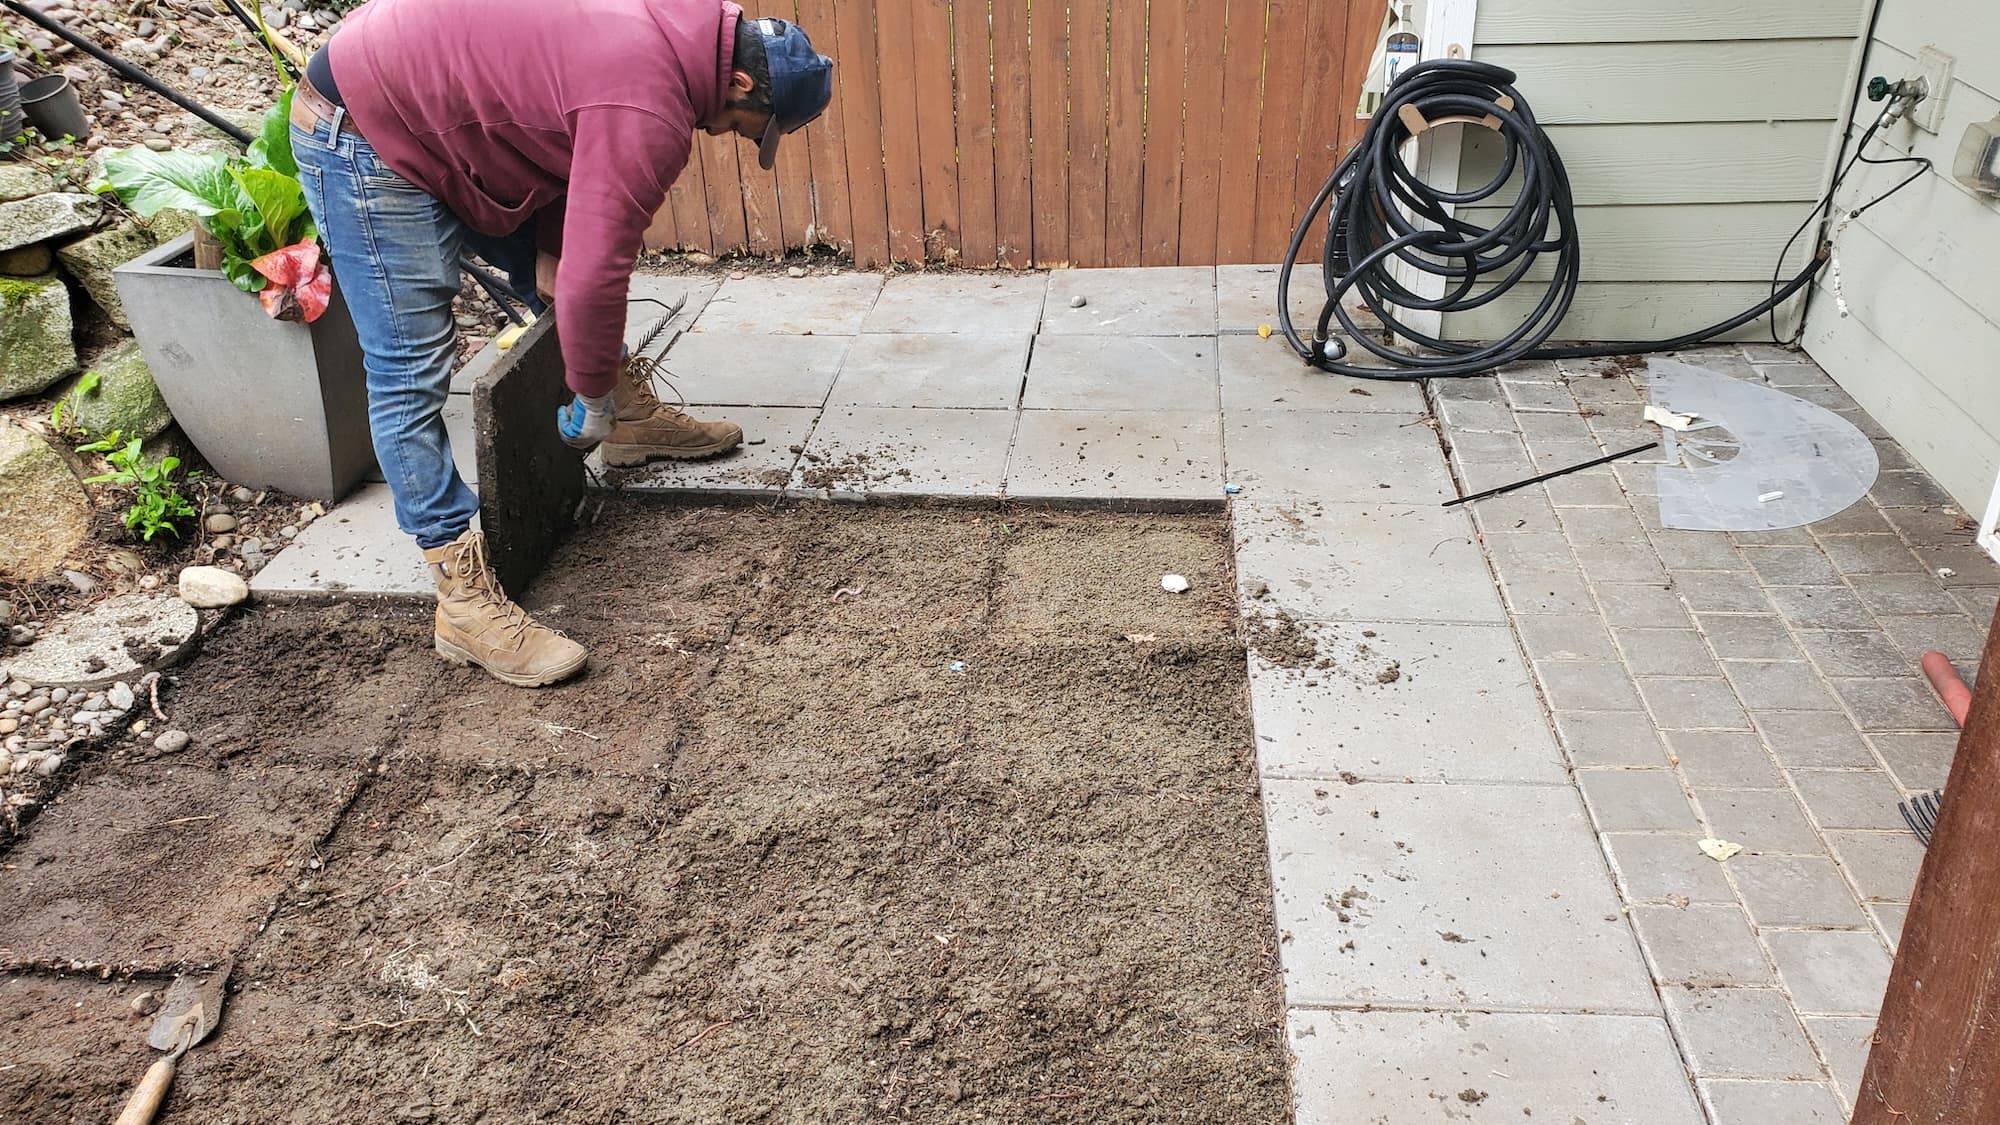
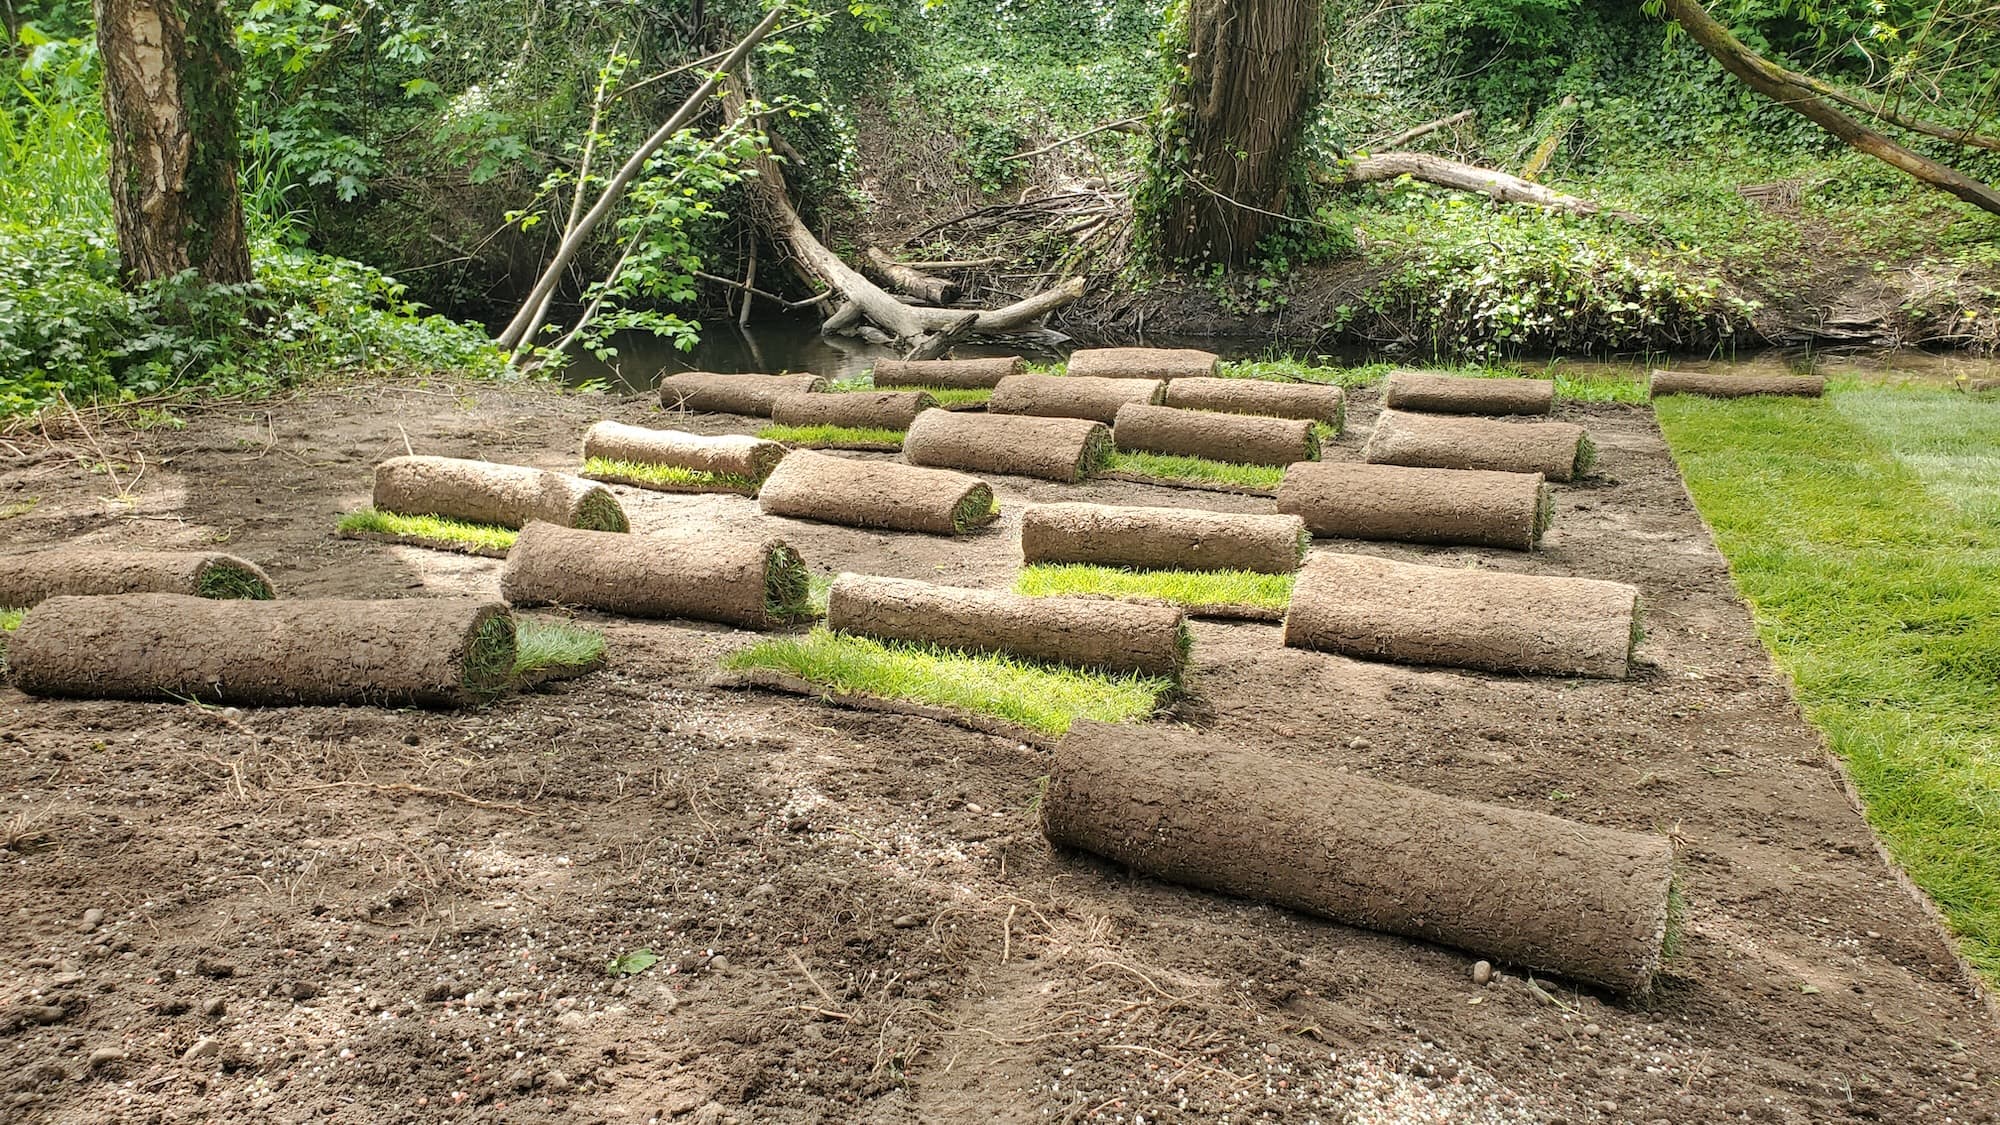
Installation
- Dig trenches for the pipes, ensuring a slope for proper drainage.
- Lay the pipes and connect the sprinkler heads.
- Install the control valves and connect to the water source.
Testing the System
- Turn on the water and check for leaks.
- Adjust the angle and spray pattern of the heads as necessary.
What homeowners can expect
- A clean worksite during installation.
- Regular updates on progress.
- Guidance on how to operate and maintain the system.
We’re a full-service landscaping and hardscaping crew. Our goal is to tidy your yard, protect your property, and give it lasting curb appeal.
Service Pricing
Pricing Structure
- Flat Rate: For standard installations based on yard size.
- Custom Quotes: For complex layouts with unique challenges.
Variables Affecting Cost
- Lot Size: Larger areas increase material and labor costs.
- Debris Volume: More obstacles may require additional labor.
- Access: Hard-to-reach areas may increase installation time.
- Add-ons: Features like smart controllers or drip irrigation systems.
Additional Costs
- Tax and Fees: Be prepared for local taxes and potential dump fees for waste removal.
- Extra Hauling Charges: If large debris needs removal, this may incur additional costs.
What’s Included
Core Services
- Sprinkler Installation: Full setup of the sprinkler system.
- Zone Design: Customized layout tailored to your garden.
- Testing and Adjustments: Ensuring optimal performance.
Optional Extras
- Gravel and Landscape Fabric: For improved drainage and weed control.
- Planting Services: Adding new plants to your garden.
- Seasonal Upgrades: Adjustments based on seasonal changes.
FAQs
Common Customer Concerns
- Scheduling: Typically, installations can be completed within 1-3 days depending on complexity.
- Turnaround Time: Expect to see results immediately after installation, with optimal growth in a few weeks.
- Dump Fees: Discuss upfront to avoid surprises.
Add-ons or Upgrades
- Consider smart irrigation controllers for efficient water management.
- Seasonal checks can extend the life of your system.
Maintenance Tips
- Regularly check for leaks and clogs.
- Adjust sprinkler heads seasonally to account for plant growth.
Why Choose Lee’s General Landscaping
- Experienced Local Crew: We know the ins and outs of your area.
- Licensed, Bonded & Insured: For your peace of mind.
- Hundreds of 5-Star Reviews: Our track record speaks for itself.
Ready for a yard that stays neat?
Call or text Lee’s General Landscaping for a quick quote and a maintenance plan that fits your property.
⭐⭐⭐⭐⭐ 400+ Yelp Reviews • ⭐⭐⭐⭐⭐ 130+ Google Map Reviews
📧 Email: lees.g.landscaping@gmail.com
📞 Office: 206-259-7919
🕘 Hours: Mon–Sun: 9AM–6PM
🔒 Licensed • Bonded • Insured
Common Mistakes
- Overlapping Zones: Can lead to water waste and uneven coverage.
- Ignoring Water Pressure: Affects system performance—always check before installation.
- Neglecting Seasonal Adjustments: Helps in conserving water and maintaining an even landscape.
Properly designed and installed sprinkler zones can transform your yard into a lush, vibrant space while saving you time and money on maintenance. Whether you choose to go DIY or hire a professional, following these guidelines will set you on the right path.