Soil moisture sensor installation
Installing a soil moisture sensor might seem daunting, but it’s a smart investment for any homeowner or property manager. These sensors help you monitor your soil’s moisture level, ensuring your plants get the right amount of water. The benefits? Enhanced curb appeal, reduced water waste, lower maintenance costs, and a healthier landscape. In this article, we’ll guide you through the installation process, covering everything from tools and materials to timelines and costs.
Description
What the Service Includes
- Site Assessment: Evaluate the area to determine sensor placement.
- Sensor Installation: Set up the moisture sensor in the ground, connecting it to the control unit.
- Calibration: Adjust settings to ensure accurate readings.
- Testing: Check functionality and ensure the sensor is working correctly.
Key Benefits
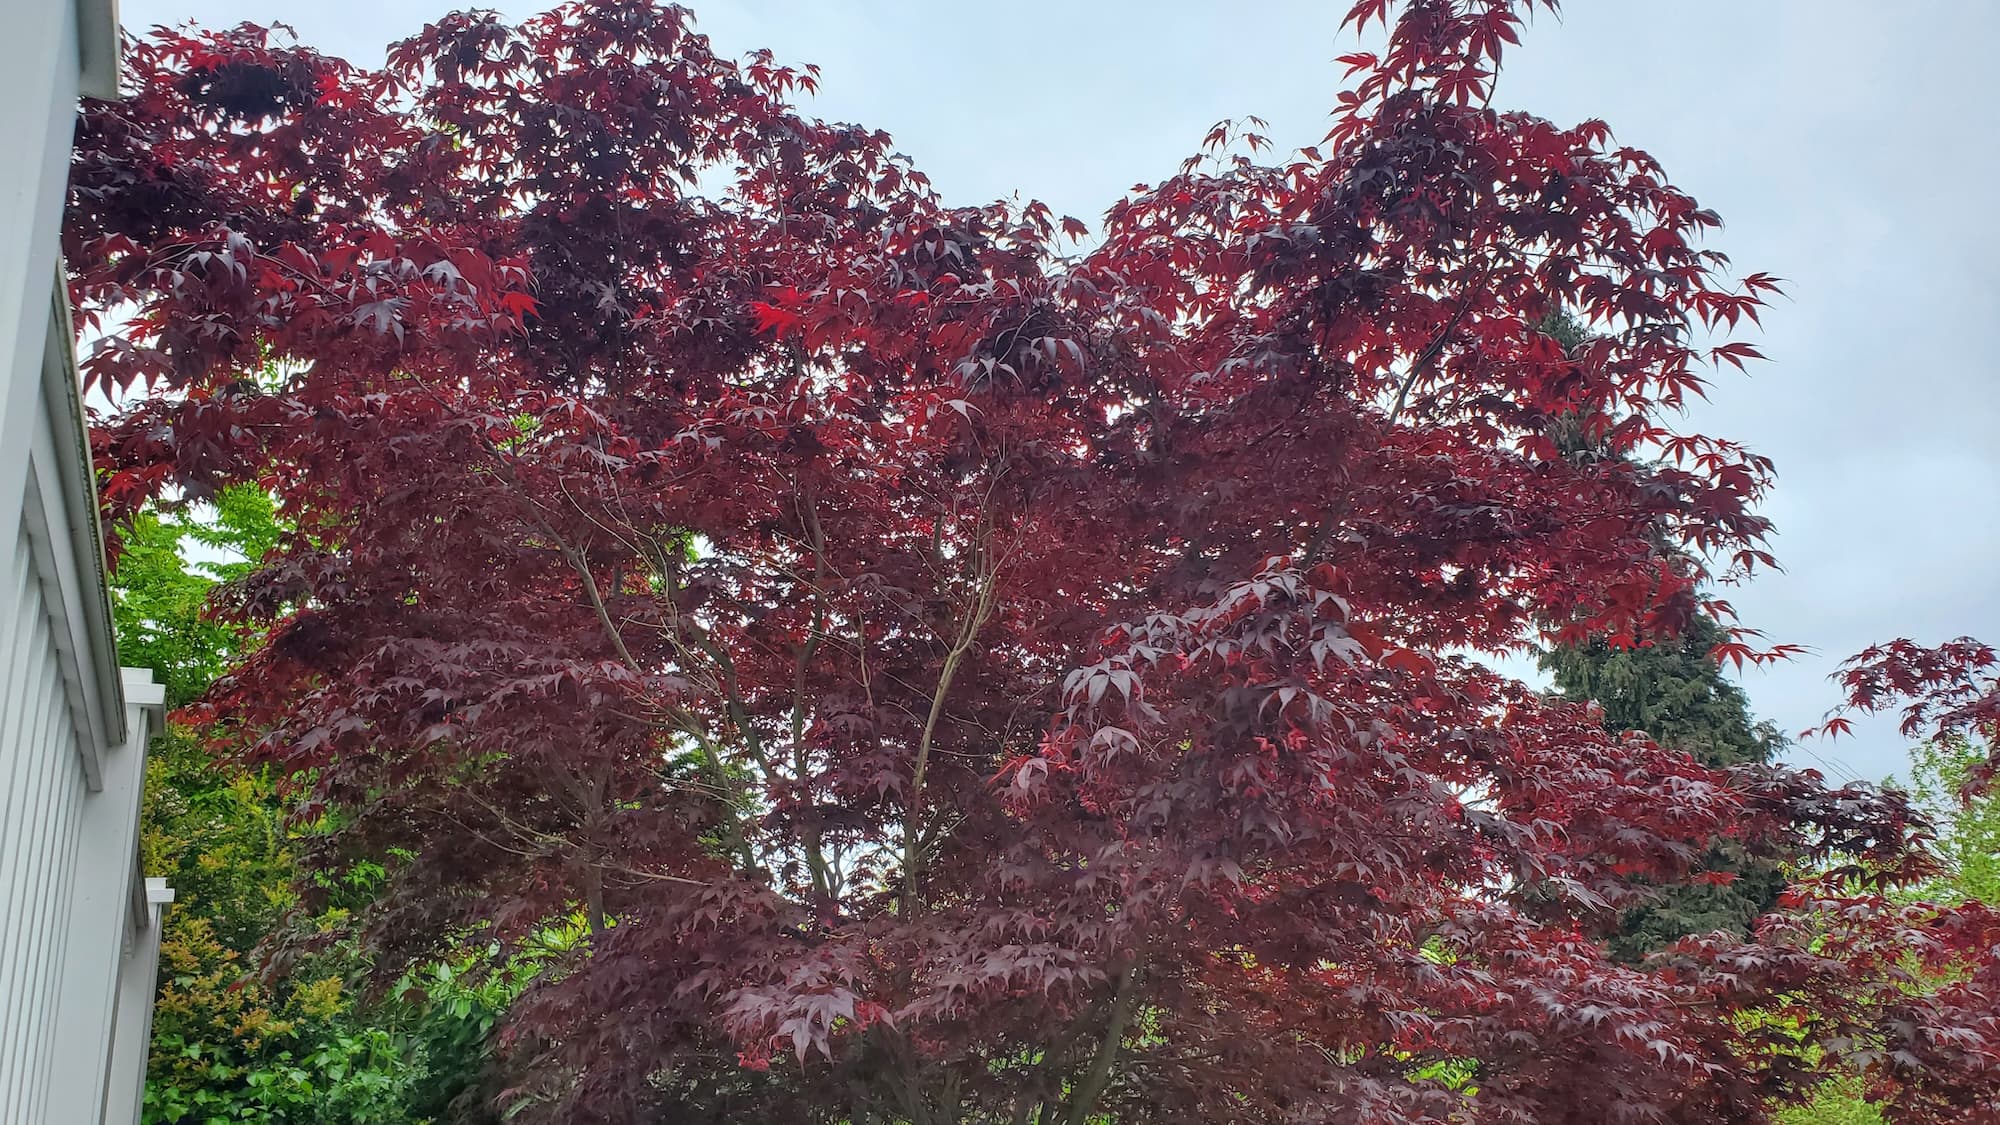
- Improved Appearance: Well-watered plants look vibrant and healthy.
- Durability: Protects your landscape investment by preventing over- or under-watering.
- Safety: Reduces the risk of plant diseases caused by improper watering.
- Eco-Friendly Options: Many sensors are designed to conserve water, benefiting the environment.
Why Hire a Pro
- Local Expertise: Knowledge of regional climate and soil types.
- Licensed & Insured Crew: Protects you from liability in case of accidents.
- Professional Tools: Access to specialized equipment for efficient installation.
Our Approach
Step-by-Step Breakdown of Tasks
Gather Tools and Materials:
- Tools: Drill, shovel, level, screwdriver, wire cutters.
- Materials: Soil moisture sensor, control unit, electrical tape, wire connectors, stakes.
Select Installation Location:
- Choose a spot away from obstructions (e.g., trees, buildings).
- Ensure it’s in an area representative of your landscape.
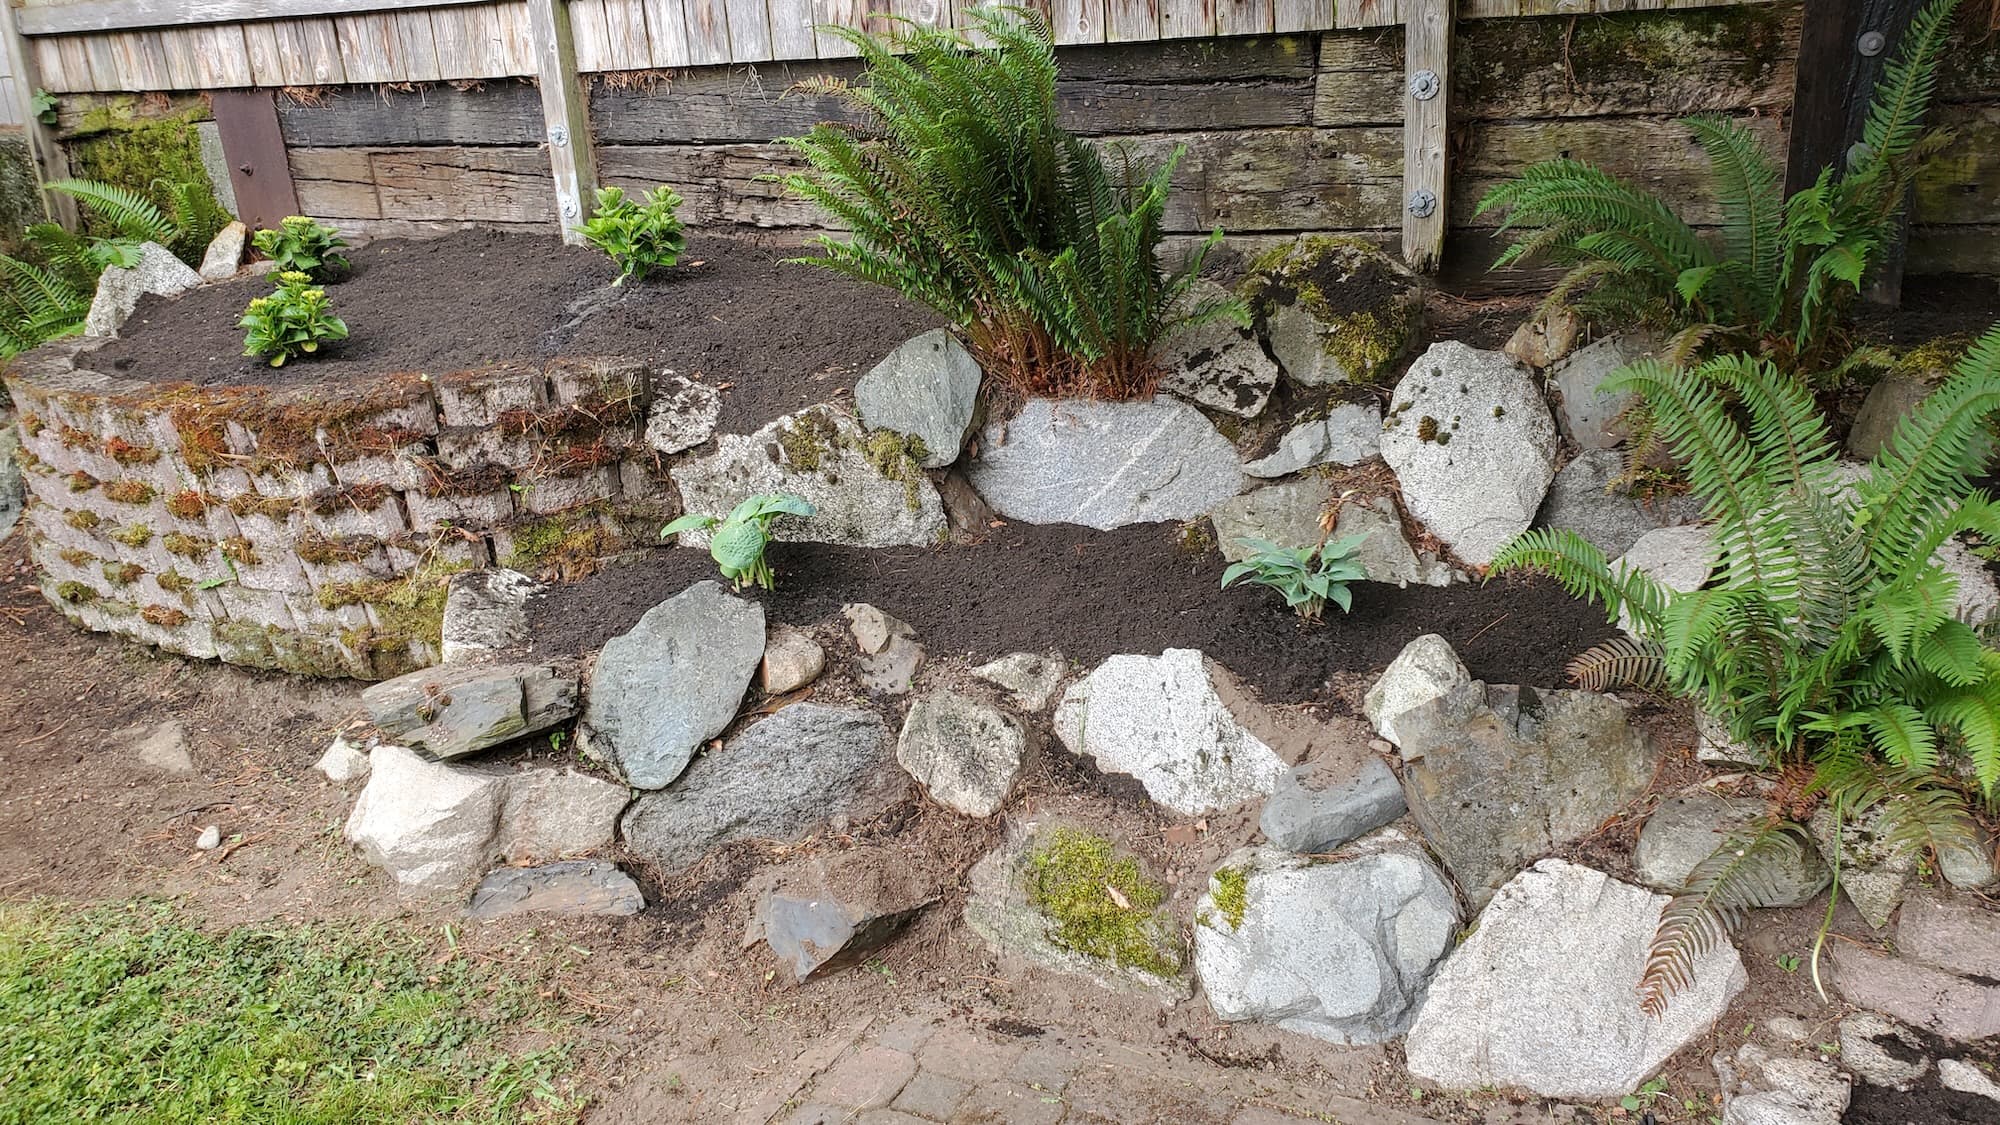
Prepare the Site:
- Clear any debris and dig a hole for the sensor.
- Ensure the hole is deep enough for the sensor to be fully buried.
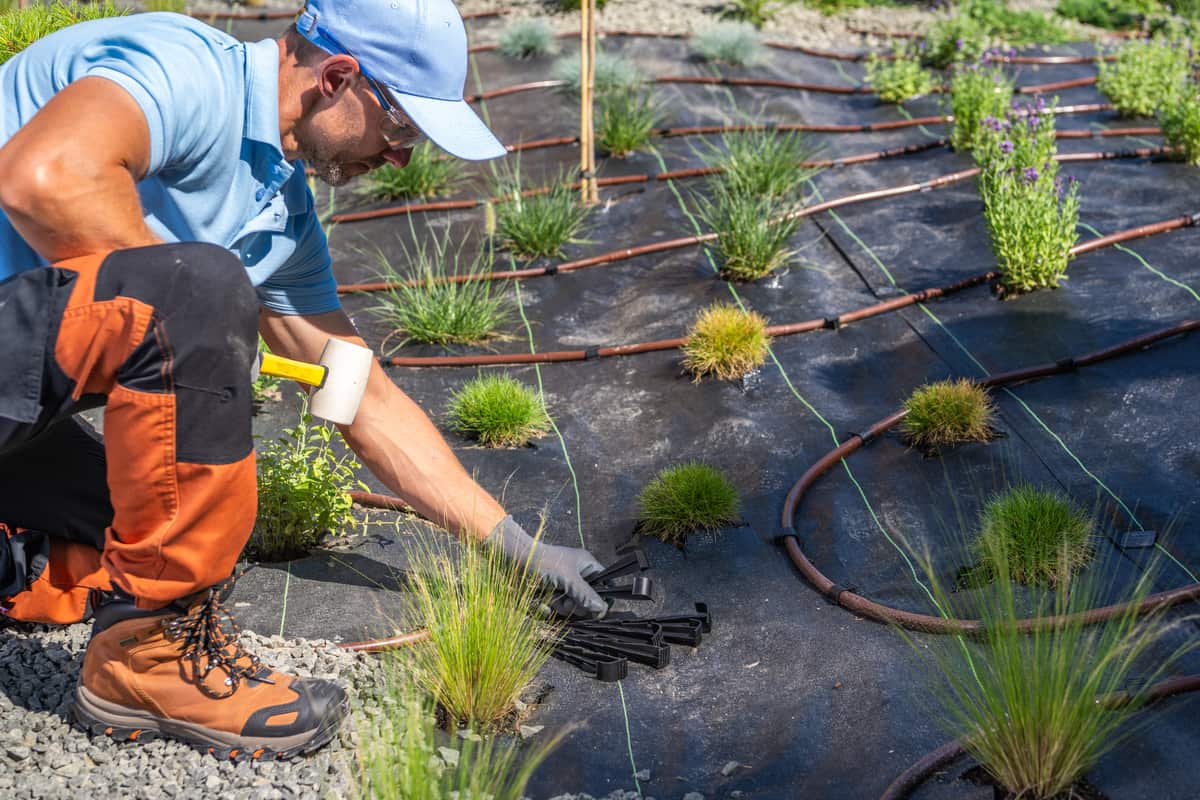
Install the Sensor:
- Place the sensor in the hole, ensuring it’s level.
- Connect the sensor to the control unit following manufacturer instructions.
Calibrate the System:
- Set moisture thresholds based on your plant’s needs.
- Test the system to confirm it’s reading accurately.
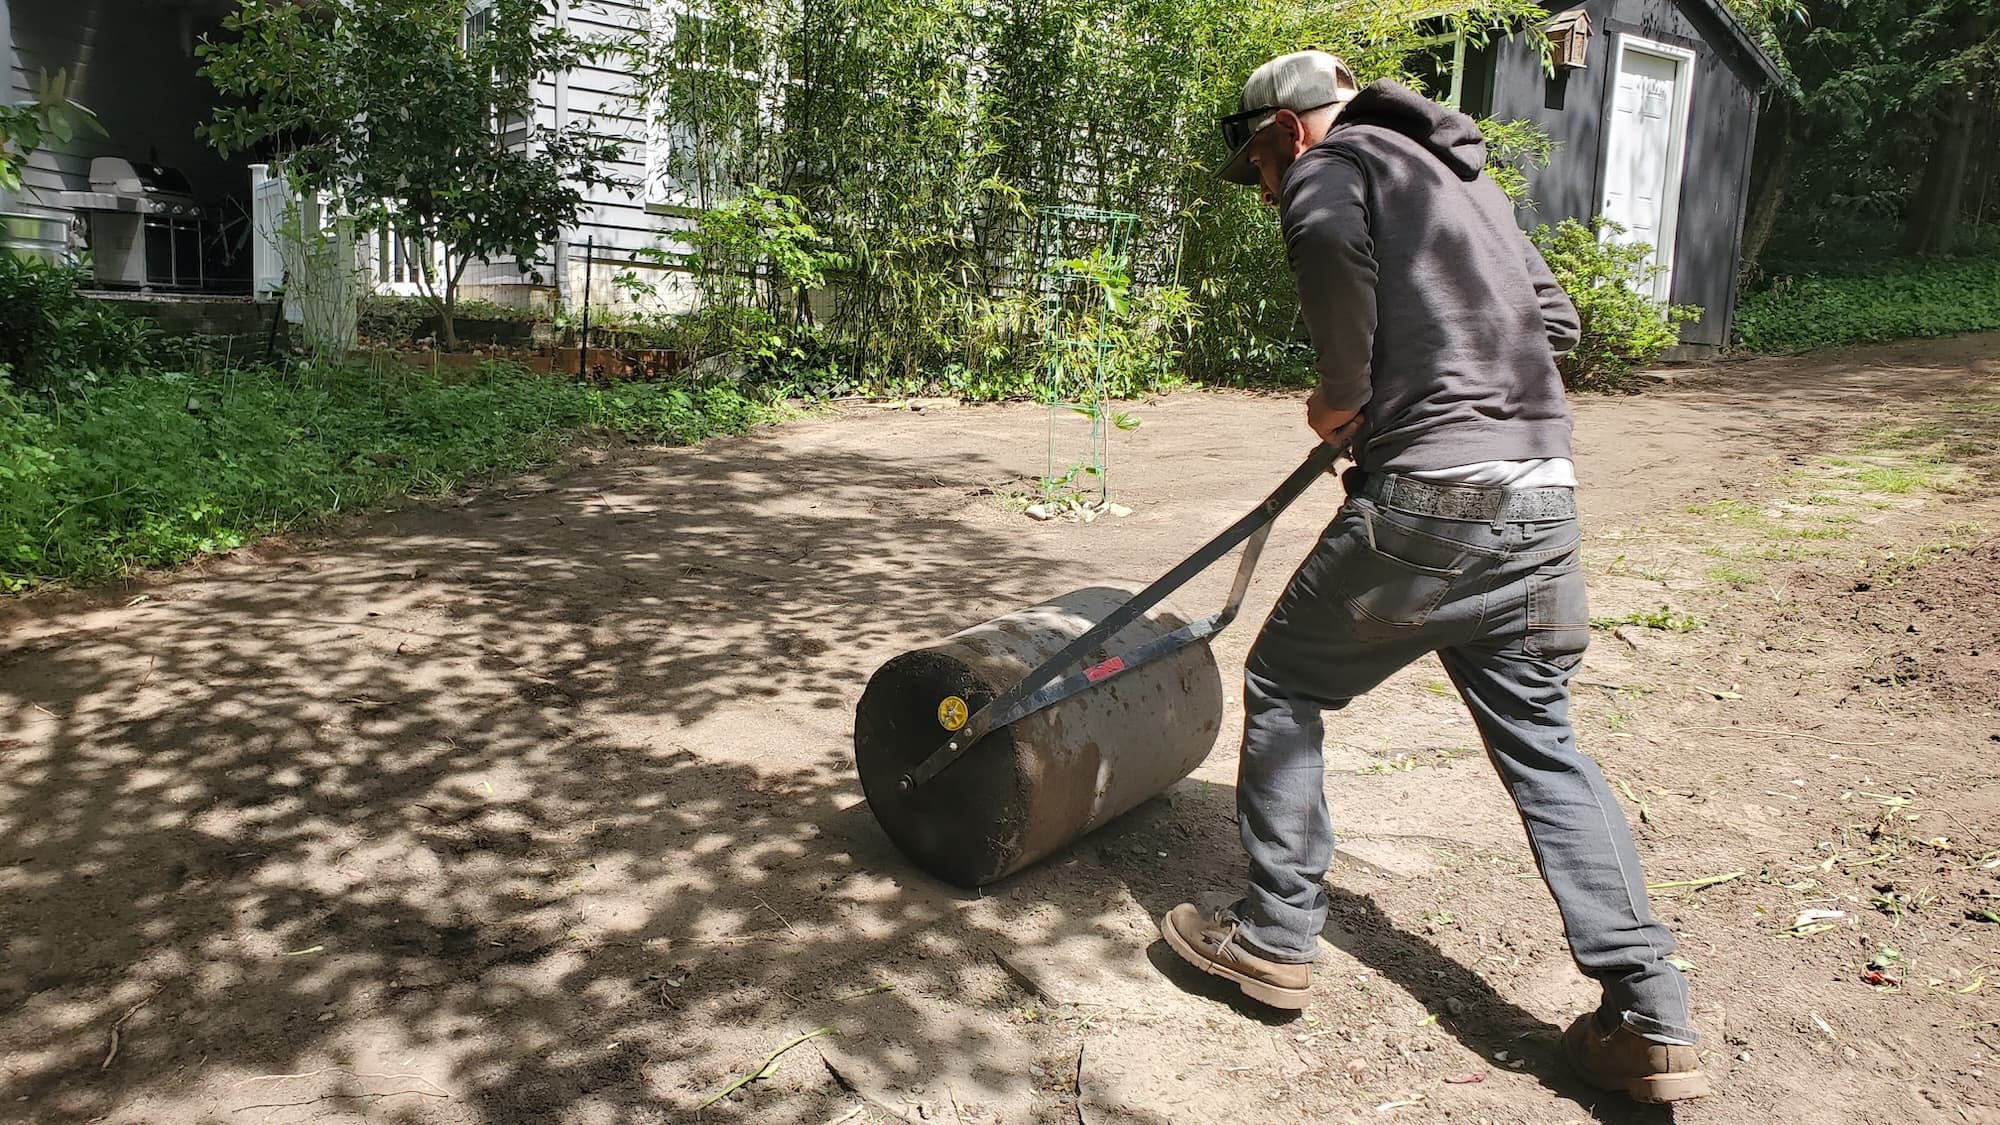
Final Checks:
- Ensure all connections are secure and cover the sensor.
- Run a test cycle to verify proper functioning.
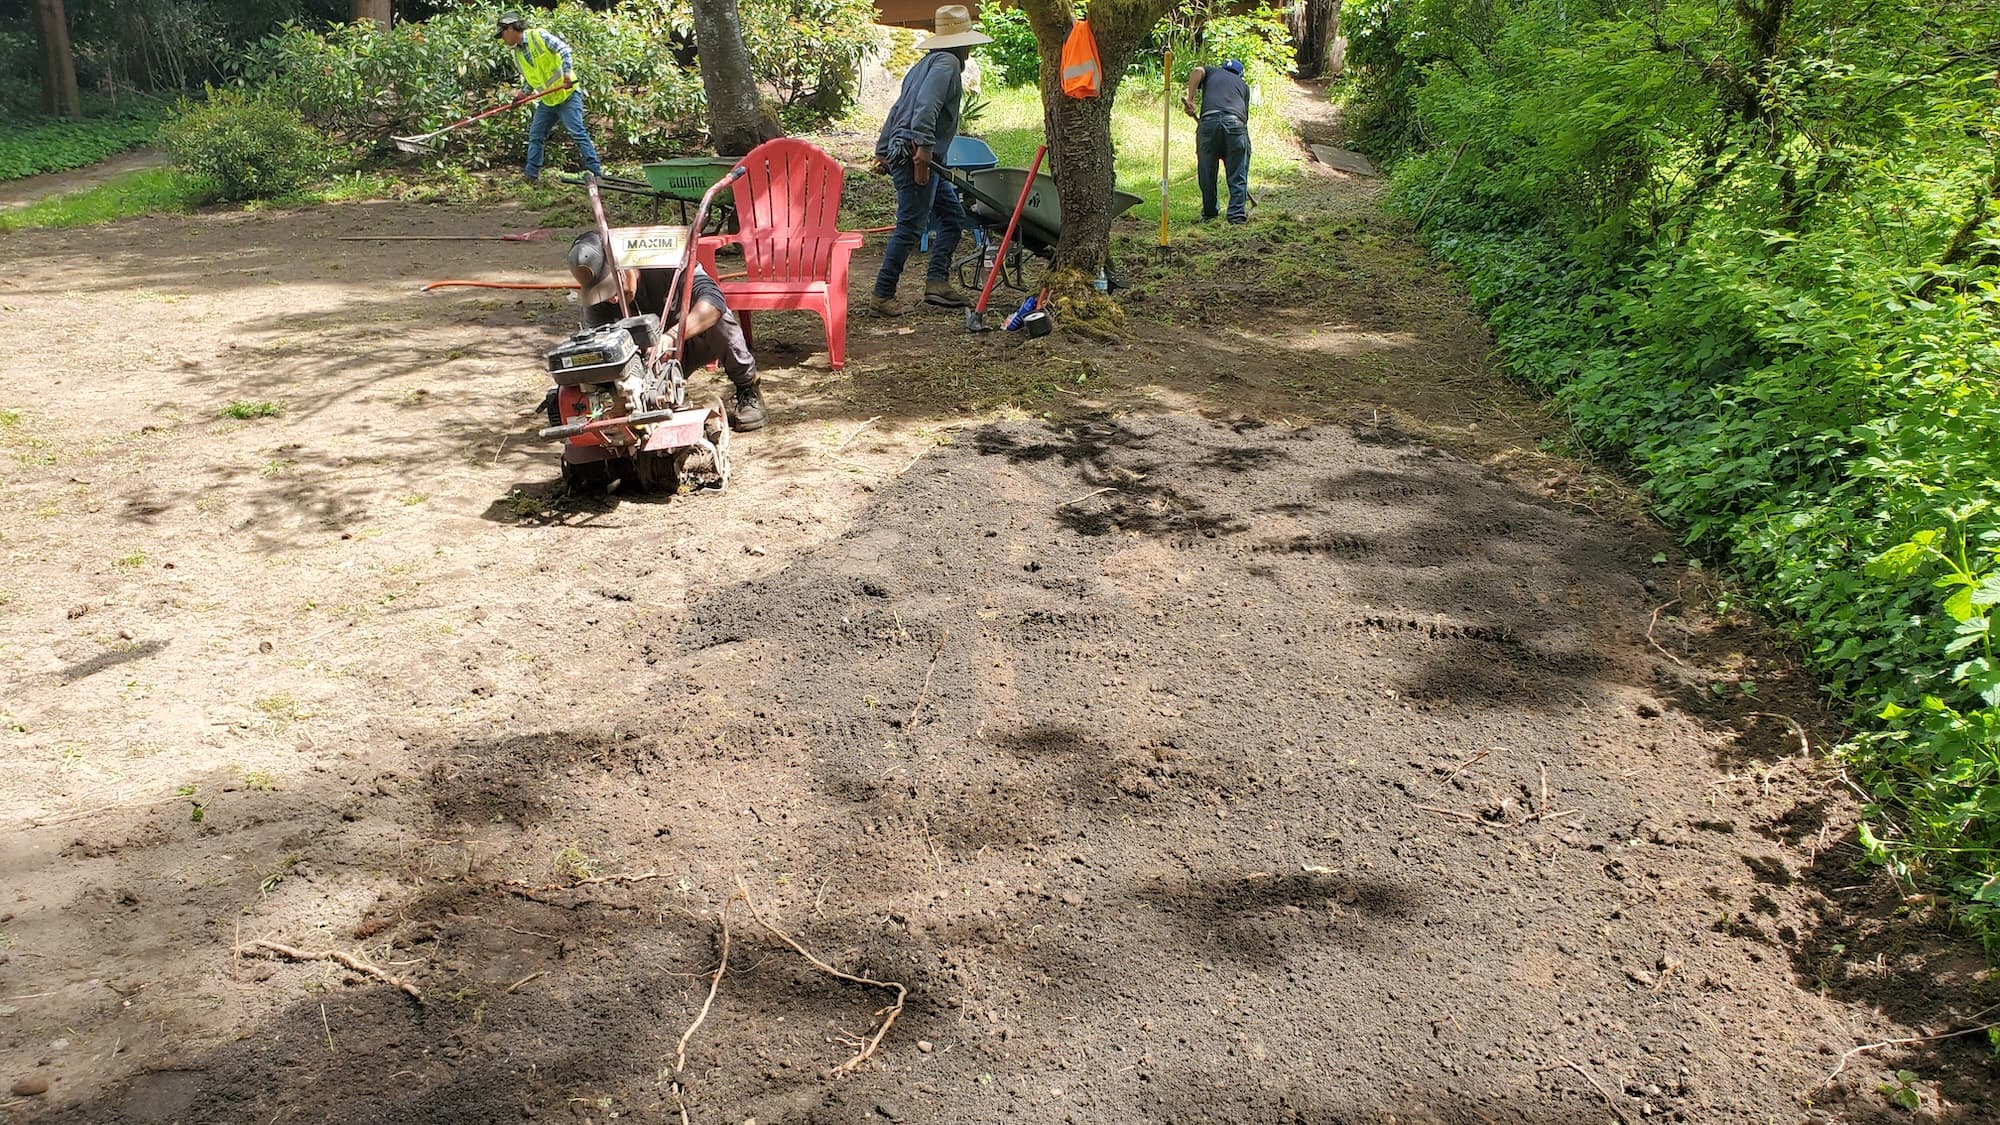
What Homeowners Can Expect On-Site
- A professional crew will arrive on time and assess your yard.
- They will work efficiently, minimizing disruption to your landscape.
- Expect clear communication throughout the process.
We’re a full-service landscaping and hardscaping crew. Our goal is to tidy your yard, protect your property, and give it lasting curb appeal.
Service Pricing
How Pricing Works
- Flat Rate: For standard installations in typical conditions.
- Custom Quotes: Based on factors like lot size, sensor type, and installation complexity.
Variables to Consider
- Lot Size: Larger properties may incur higher costs due to additional sensors.
- Debris Volume: A cleaner site may lower installation time and cost.
- Access: Challenging access points can increase labor costs.
- Add-Ons: Additional features like smart controllers may increase the price.
Additional Costs
- Tax: Check local rates that may apply.
- Dump Fees: If any debris needs to be removed.
- Extra Hauling Charges: For materials brought to the site.
What’s Included
Core Services
- Installation of soil moisture sensors.
- Calibration and testing of the system.
- Basic maintenance tips for continued operation.
Optional Extras
- Advanced irrigation systems.
- Landscape fabric installation to improve water retention.
- Seasonal landscape upgrades for improved aesthetics.
FAQs
Common Customer Concerns
- Scheduling: Installation can typically be completed within a day.
- Turnaround Time: Expect results immediately post-installation.
- Dump Fees: Discuss any potential fees upfront.
Add-Ons or Upgrades Explained
- Smart controllers that connect to your smartphone for real-time monitoring.
- Additional sensors for different zones of your garden.
Maintenance Tips
- Regularly check sensor connections and battery life (if applicable).
- Clean the sensor if it becomes dirty to ensure accurate readings.
Why Choose Lee’s General Landscaping
- Experienced local crew that works clean and efficient.
- Licensed, bonded & insured for peace of mind.
- Hundreds of 5-star reviews across Yelp and Google.
DIY vs. Pro
While installing a soil moisture sensor can be a DIY project, hiring a professional ensures:
- Expertise: Professionals can select the best location and calibrate the system accurately.
- Time-Saving: Avoid the trial and error of a DIY approach.
- Peace of Mind: A pro will handle any unexpected issues that might arise.
Common Mistakes
- Incorrect Placement: Not considering sunlight exposure can lead to inaccurate readings.
- Neglecting Calibration: Failing to set appropriate moisture levels can harm plants.
- Ignoring Maintenance: Regular checks are essential for sensor longevity.
Ready for a yard that stays neat?
Call or text Lee’s General Landscaping for a quick quote and a maintenance plan that fits your property.
⭐⭐⭐⭐⭐ 400+ Yelp Reviews • ⭐⭐⭐⭐⭐ 130+ Google Map Reviews
📧 Email: lees.g.landscaping@gmail.com
📞 Office: 206-259-7919
🕘 Hours: Mon–Sun: 9AM–6PM
🔒 Licensed • Bonded • Insured