Sod patch repair for bare lawn spots
Bare spots in your lawn can be a real eyesore. Whether caused by foot traffic, pet activity, or pests, these patches can diminish your yard’s curb appeal and make your landscape look unkempt. Fortunately, sod patch repair is a straightforward solution that not only revives your lawn’s appearance but also enhances safety and reduces maintenance in the long run. In this article, we’ll cover everything you need to know about repairing those bare spots with sod, including a step-by-step guide, tools and materials, costs, and helpful tips.
Description
Sod patch repair involves replacing bare or damaged sections of your lawn with fresh sod. This service includes:
- Assessing the Damage: Identifying the size and cause of bare spots.
- Soil Preparation: Removing debris and loosening the soil.
- Sod Installation: Laying new sod and ensuring proper placement.
- Watering and Maintenance: Setting up a watering schedule for the new sod.
Key Benefits
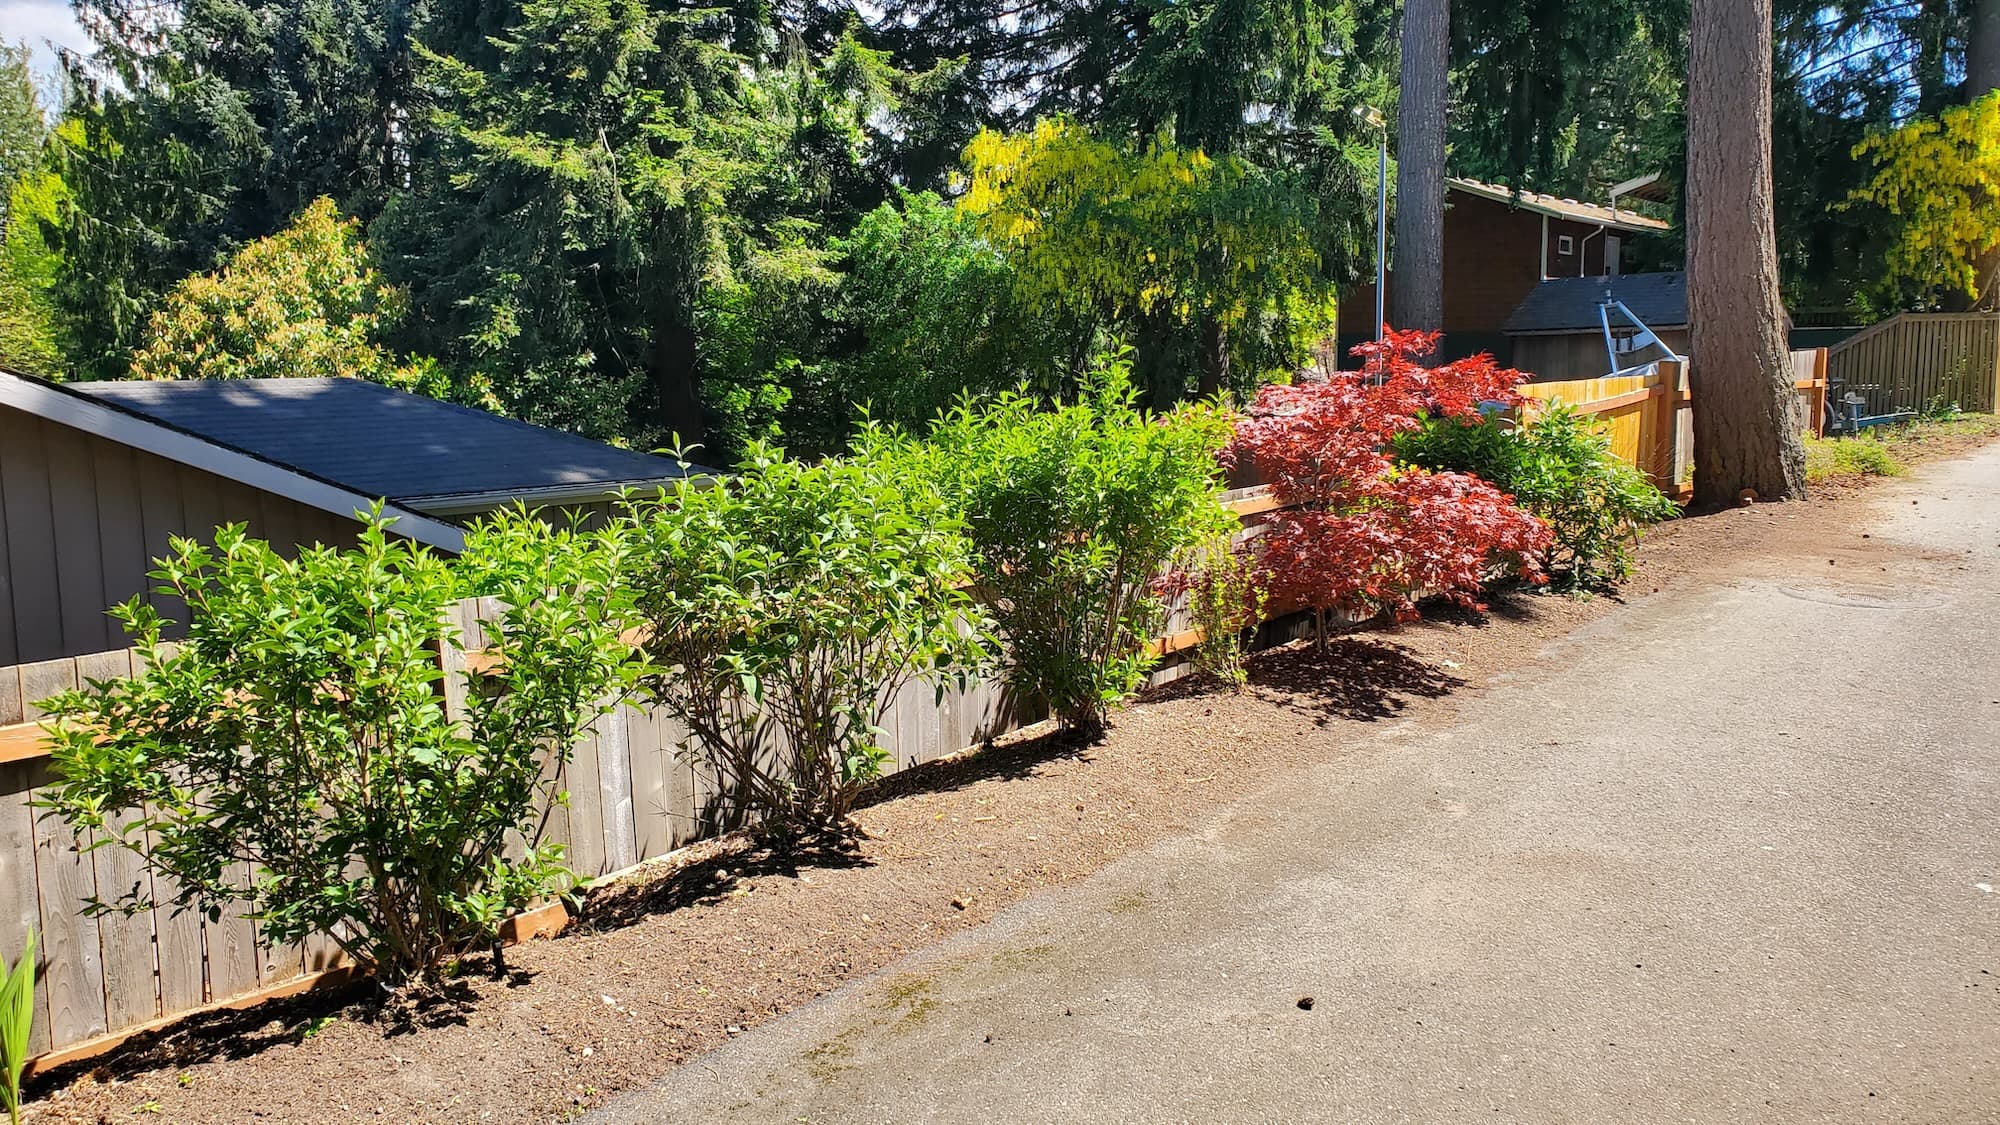
- Improved Appearance: A lush, green lawn enhances your home’s curb appeal.
- Durability: New sod establishes quickly and can withstand foot traffic.
- Safety: Filling in bare spots reduces tripping hazards.
- Eco-Friendly Options: Choose from various sod types that suit your climate and environment.
Why Hire a Pro
While DIY is possible, hiring a professional ensures:
- Local expertise and advice tailored to your region.
- Access to licensed and insured crews.
- Professional-grade tools and techniques for optimal results.
Our Approach
Step-by-Step Breakdown of Tasks
Assessment:
- Identify the size and cause of the bare spots.
- Measure the area to determine how much sod is needed.
Soil Preparation:
- Remove any dead grass, weeds, or debris from the bare spot.
- Loosen the soil to a depth of about 2-3 inches using a garden fork or tiller.
- Amend the soil with compost or fertilizer to promote healthy growth.
Sod Installation:
- Cut the sod into manageable pieces.
- Lay the sod pieces tightly together, staggering seams like bricks.
- Press down firmly to eliminate air pockets and ensure good soil contact.
Watering and Maintenance:
- Water the newly laid sod immediately after installation.
- Keep the sod moist for the first 2-3 weeks, gradually reducing frequency as it establishes.
What Homeowners Can Expect
Our crew works efficiently and cleanly, ensuring minimal disruption to your daily routine. We focus on safety and long-lasting results, leaving your yard looking revitalized.
Service Pricing
Pricing for sod patch repair can vary based on:
- Flat Rate vs. Custom Quotes: Many companies offer flat rates per square foot, while others adjust prices based on specific needs.
- Variables: Lot size, debris volume, access to the area, and any additional services needed can affect the final cost.
Cost Ranges
- DIY Cost: $0.50 to $2.00 per square foot for sod and materials.
- Professional Service: $1.50 to $3.50 per square foot, including labor and materials.
Note: Be prepared for additional costs like tax, dump fees for debris, or extra hauling charges.
What’s Included
Core Services
- Sod Installation: Fresh sod tailored to your lawn type.
- Soil Preparation: Ensuring a healthy base for new growth.
- Initial Watering: Setting up for successful establishment.
Optional Extras
- Gravel: For drainage improvement in problem areas.
- Landscape Fabric: Helps prevent weed growth.
- Planting: Adding flowers or shrubs for extra curb appeal.
- Seasonal Upgrades: Mulching and seasonal maintenance packages.
FAQs
Common Customer Concerns
- Scheduling: We typically schedule sod repairs within a week, depending on weather conditions.
- Turnaround Time: Expect a completed repair in a single day for most small to medium areas.
- Dump Fees: Additional fees may apply if we need to remove large amounts of debris.
Maintenance Tips
- Watering: Keep the sod moist during the first few weeks.
- Mowing: Wait until the new sod is firmly rooted before mowing—usually around 2-3 weeks.
Why Choose Lee’s General Landscaping
- Experienced Local Crew: Our team knows what works best for your local climate and soil conditions.
- Licensed, Bonded & Insured: You can have peace of mind knowing we’re fully covered.
- Hundreds of 5-Star Reviews: Our customer satisfaction speaks for itself on platforms like Yelp and Google.
Ready for a yard that stays neat?
Call or text Lee’s General Landscaping for a quick quote and a maintenance plan that fits your property.
⭐⭐⭐⭐⭐ 400+ Yelp Reviews • ⭐⭐⭐⭐⭐ 130+ Google Map Reviews
📧 Email: lees.g.landscaping@gmail.com
📞 Office: 206-259-7919
🕘 Hours: Mon–Sun: 9AM–6PM
🔒 Licensed • Bonded • Insured
DIY vs. Pro
- DIY: Great for those with experience and time. Cost-effective but may lack quality without the right tools.
- Pro: Ideal for busy homeowners or those unfamiliar with sod installation. Professional results and time savings.
Common Mistakes
- Ignoring Soil Quality: Failing to prepare the soil can lead to poor sod establishment.
- Overwatering: New sod needs moisture but avoid soaking to prevent disease.
- Not Staggering Seams: Laying sod in a straight line can create weak spots. Stagger for strength and appearance.
With the right approach, sod patch repair can transform your lawn and make it a safe, beautiful space for you and your family. Let’s get started!