Seattle RV Parking Pad Gravel Base
As a homeowner in Seattle, you may find it challenging to create a safe and practical parking space for your RV. With the city’s unique climate and regulations, finding the right solution requires careful planning. A gravel base for your RV parking pad is an excellent option that offers numerous benefits, including improved curb appeal, safety, and lower maintenance requirements. In this article, we’ll cover everything you need to know about installing a gravel base for your RV parking pad, from the steps involved to costs and maintenance tips.
Description
Creating an RV parking pad with a gravel base involves several tasks, including:
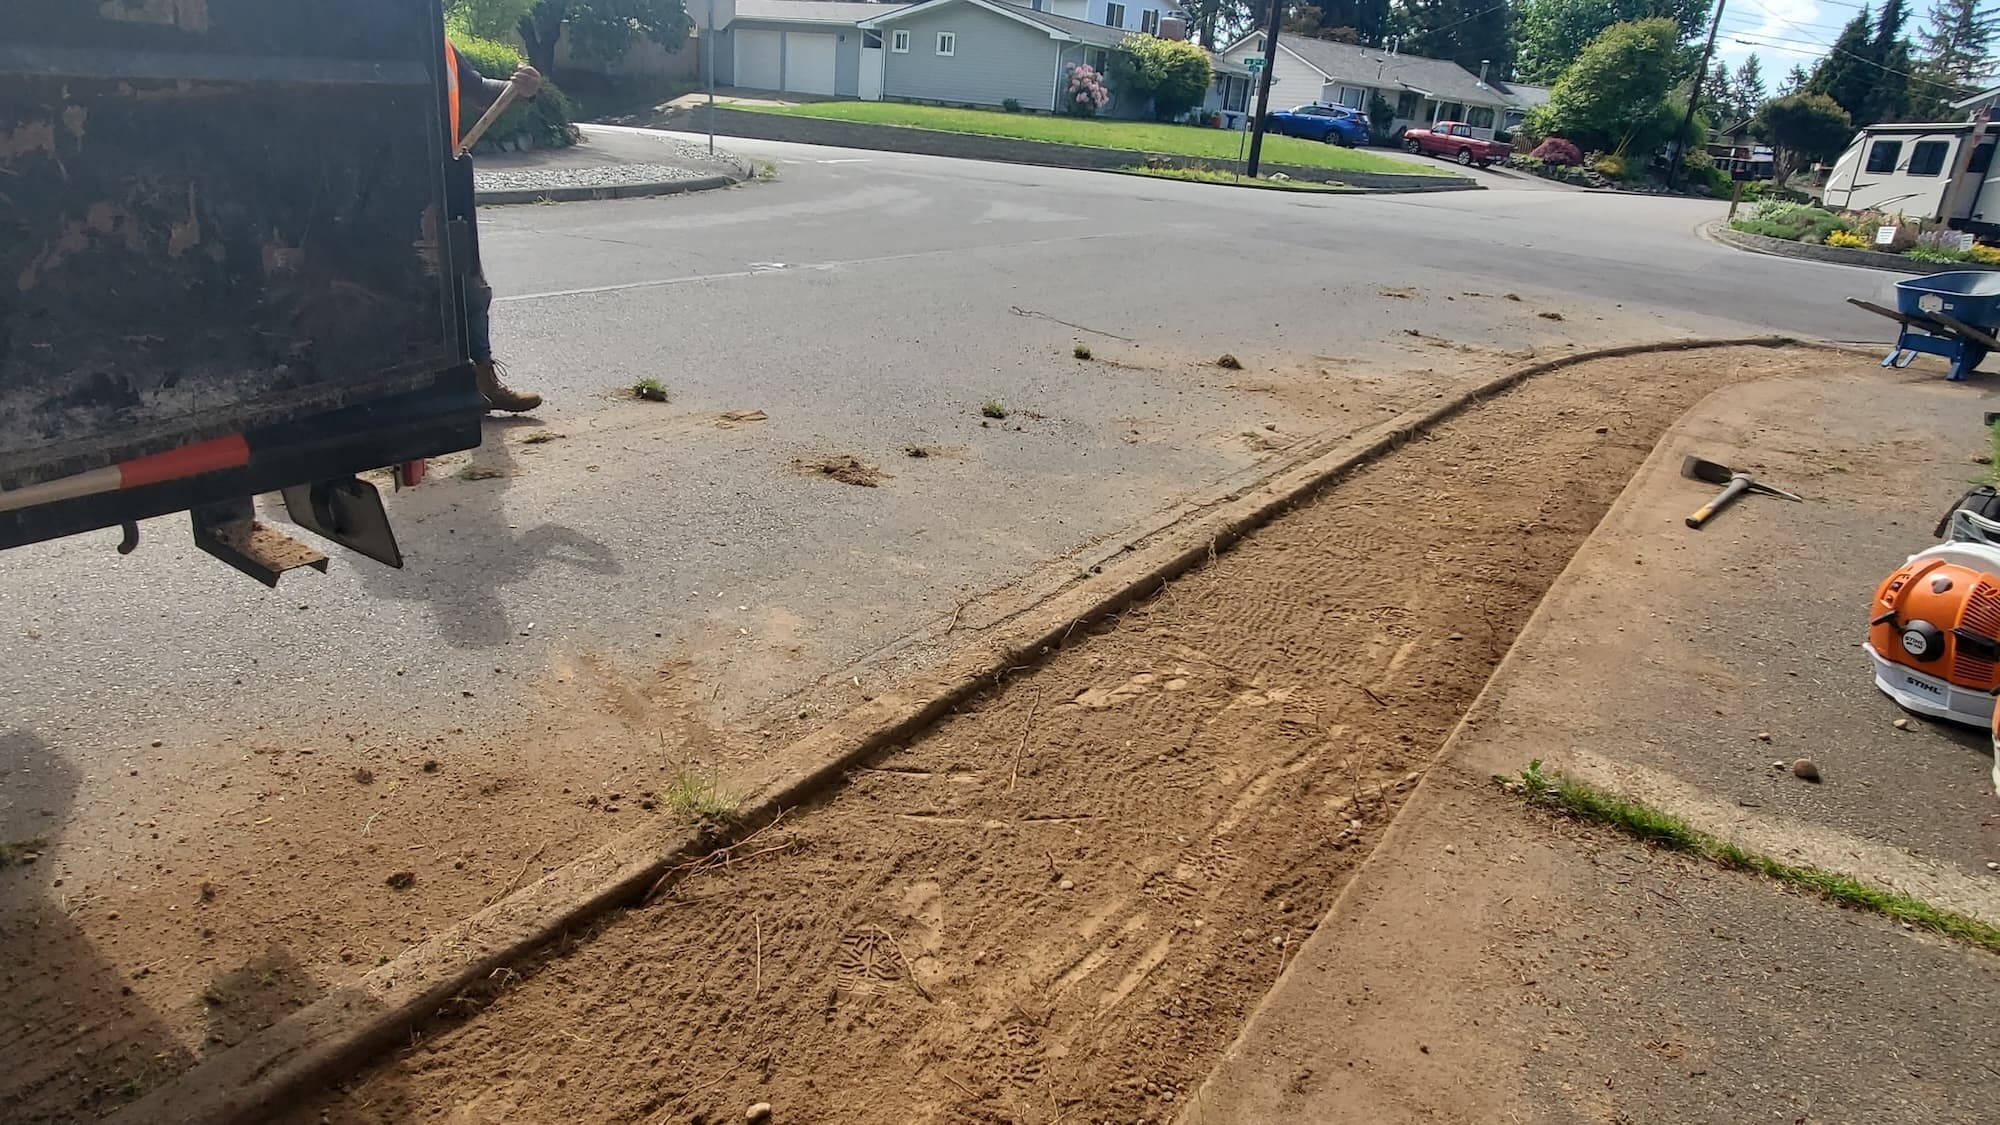
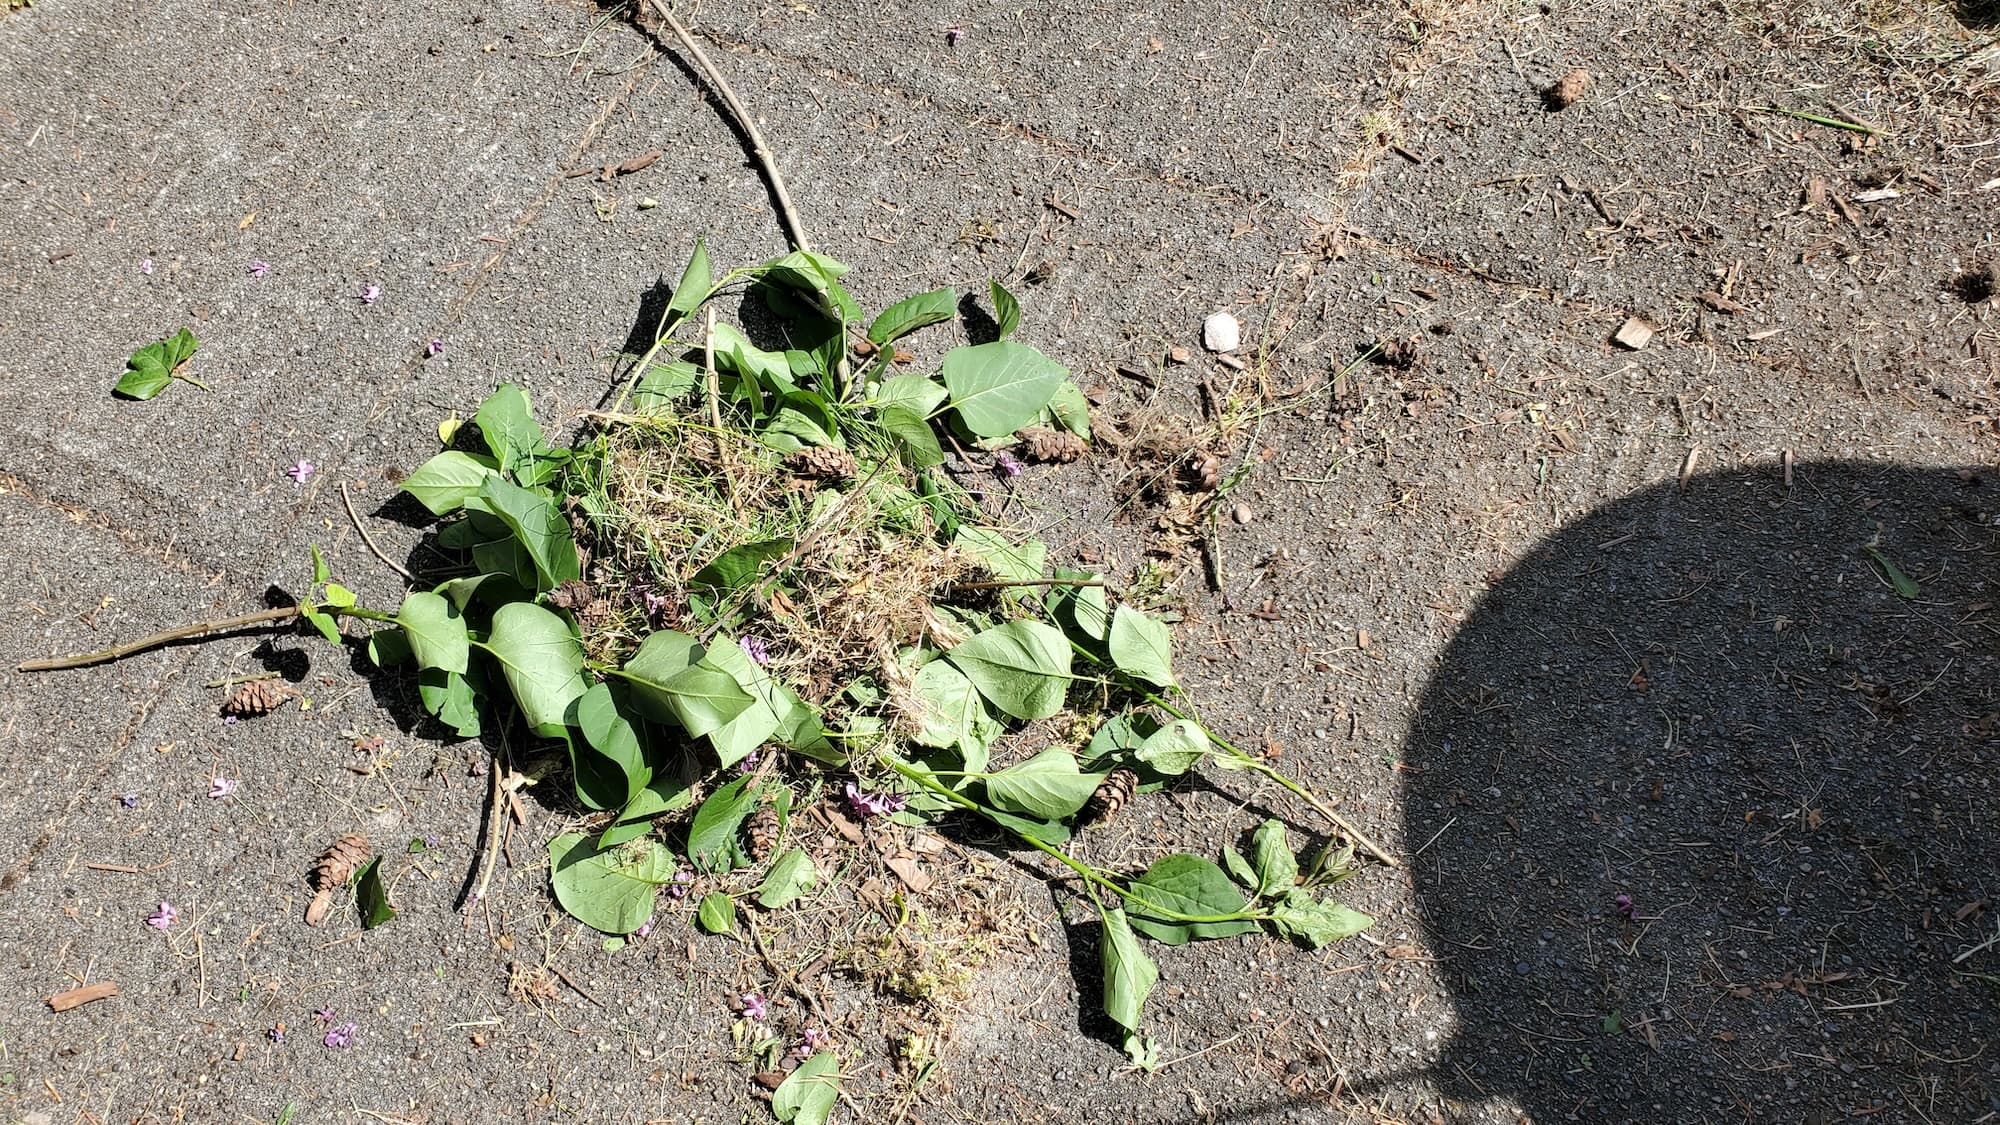
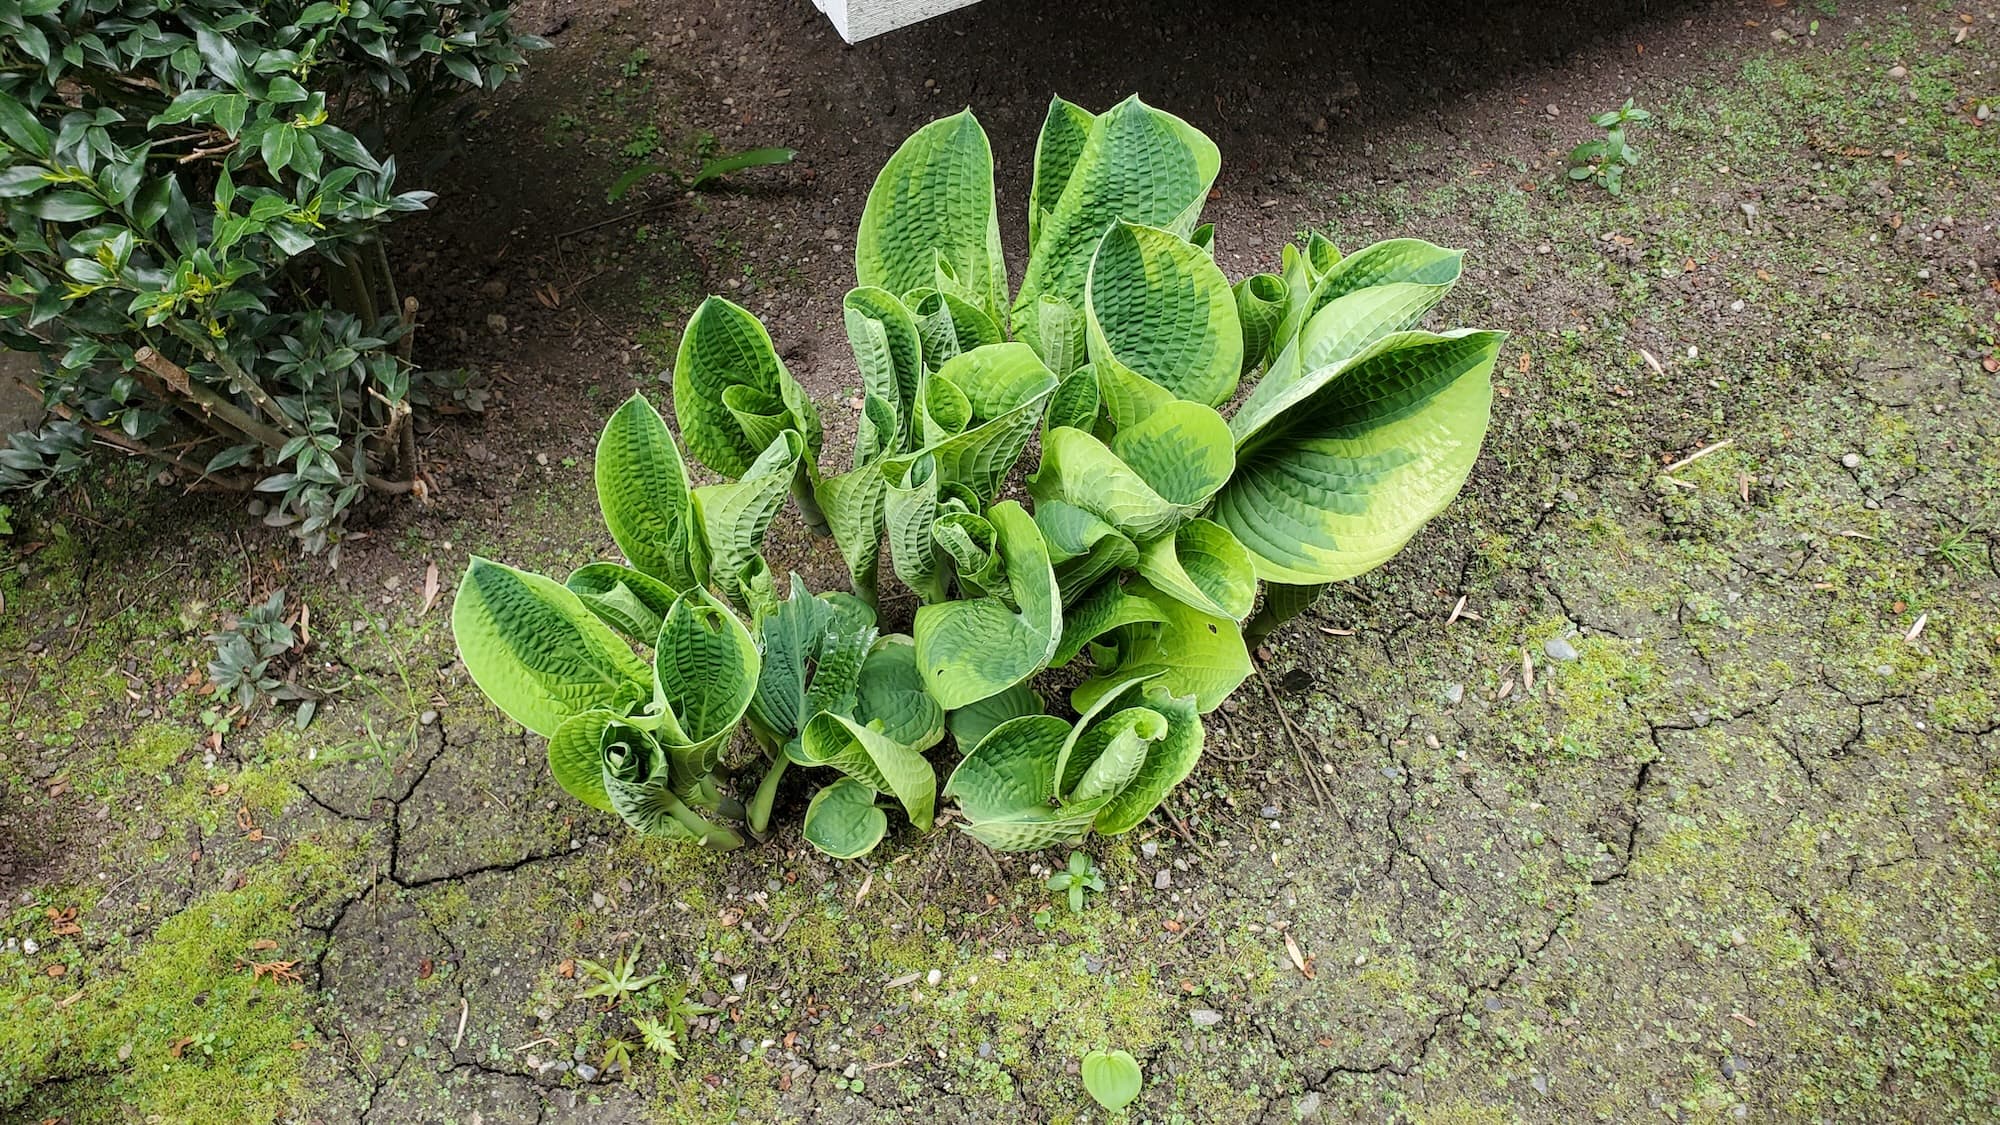
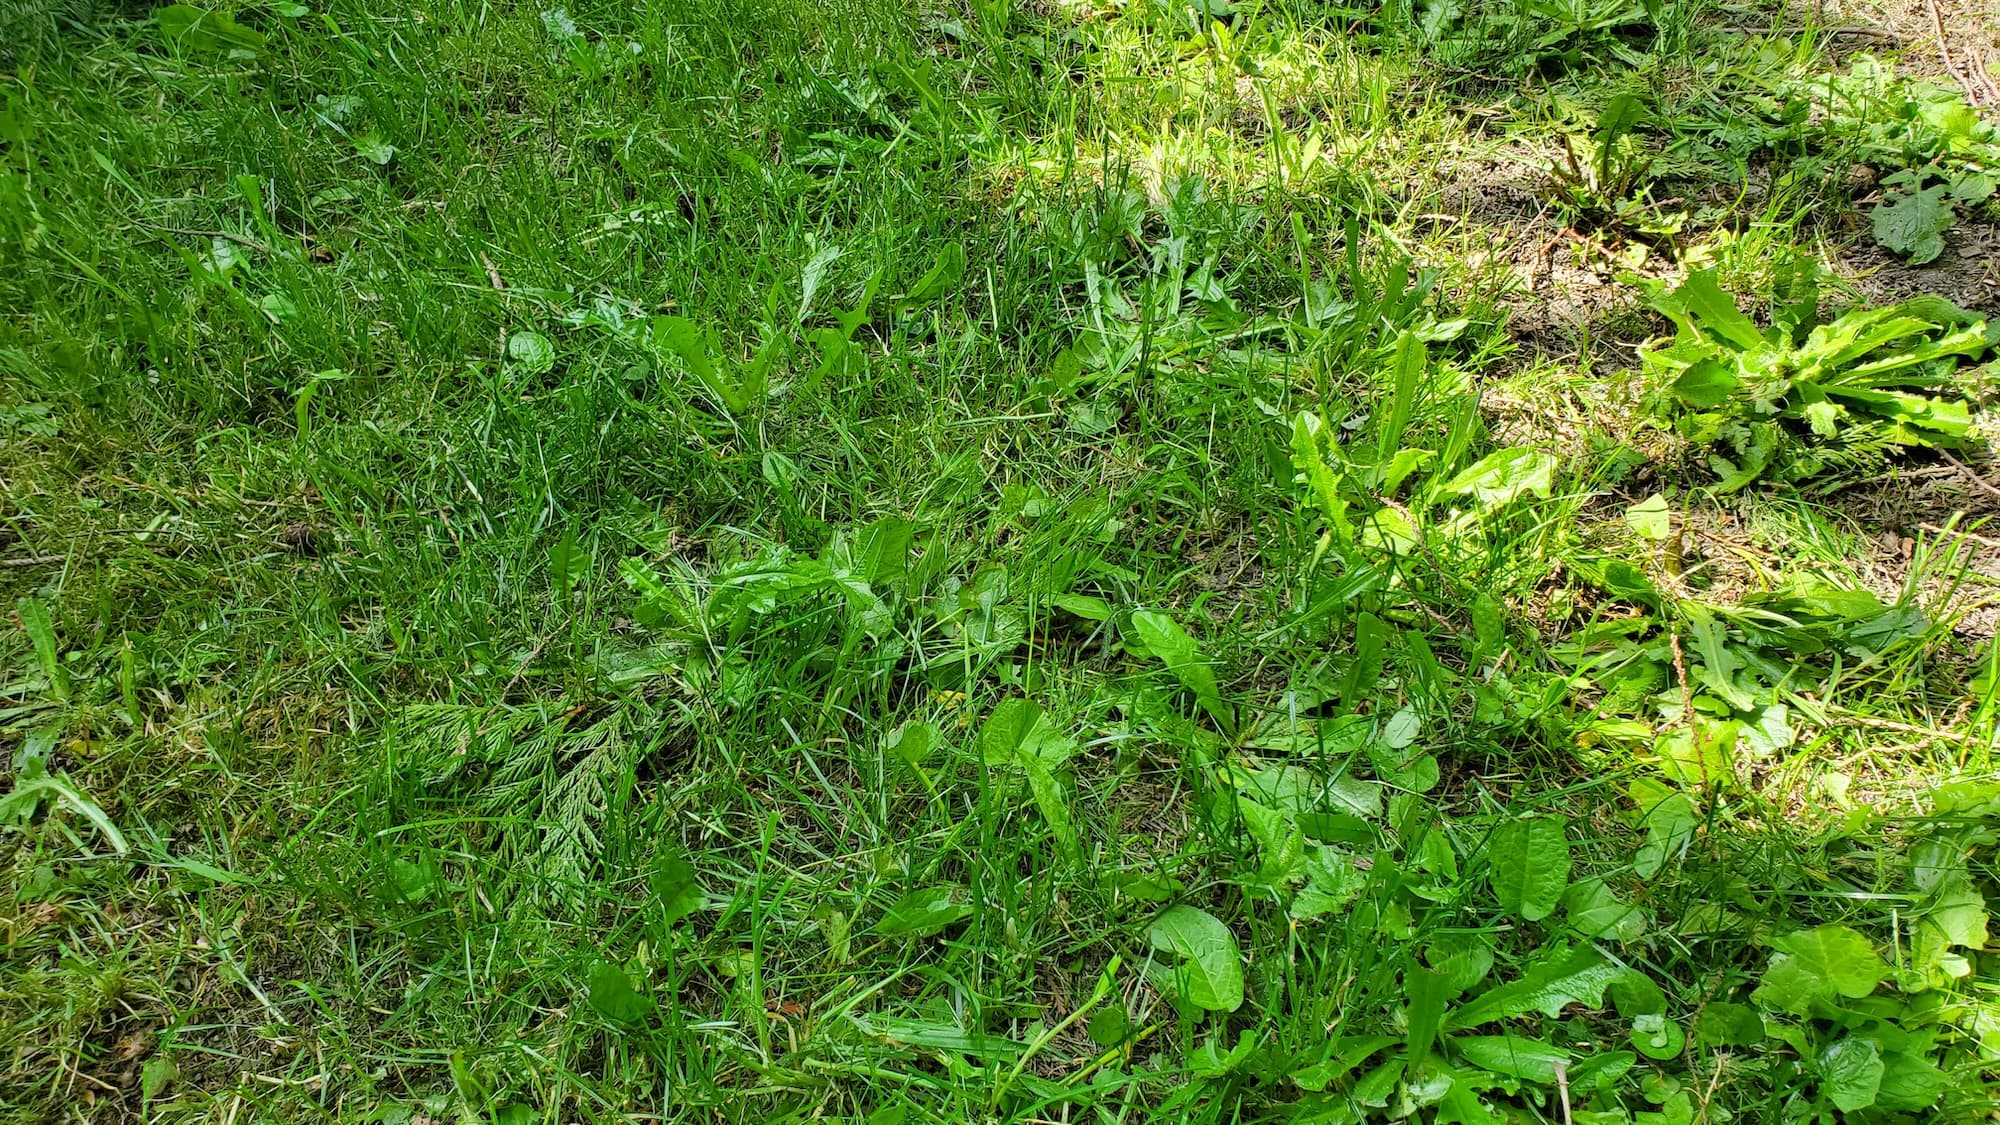
- Site Preparation: Clearing the area of debris and vegetation.
- Excavation: Digging down to the appropriate depth to accommodate the gravel.
- Installation of Landscape Fabric: Preventing weed growth while allowing for drainage.
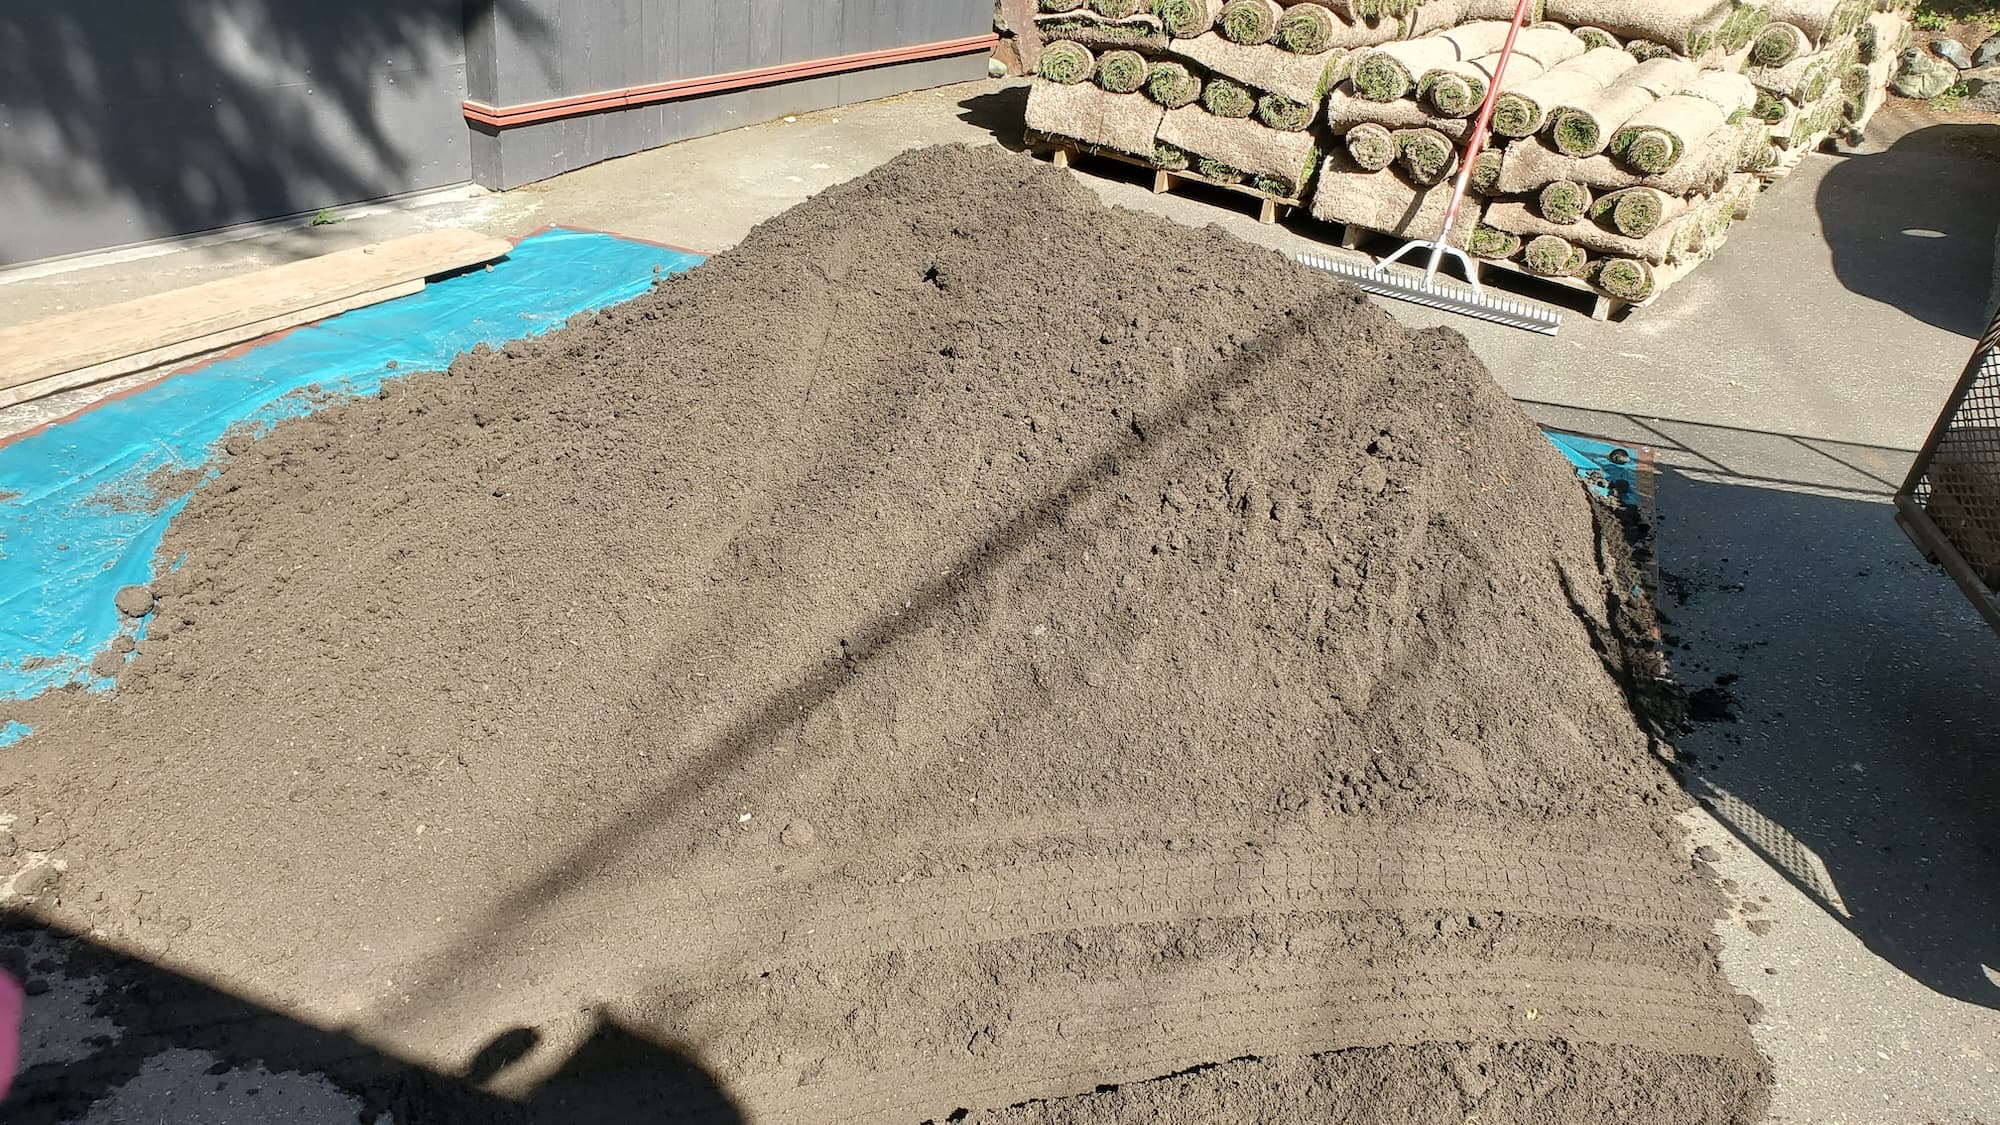
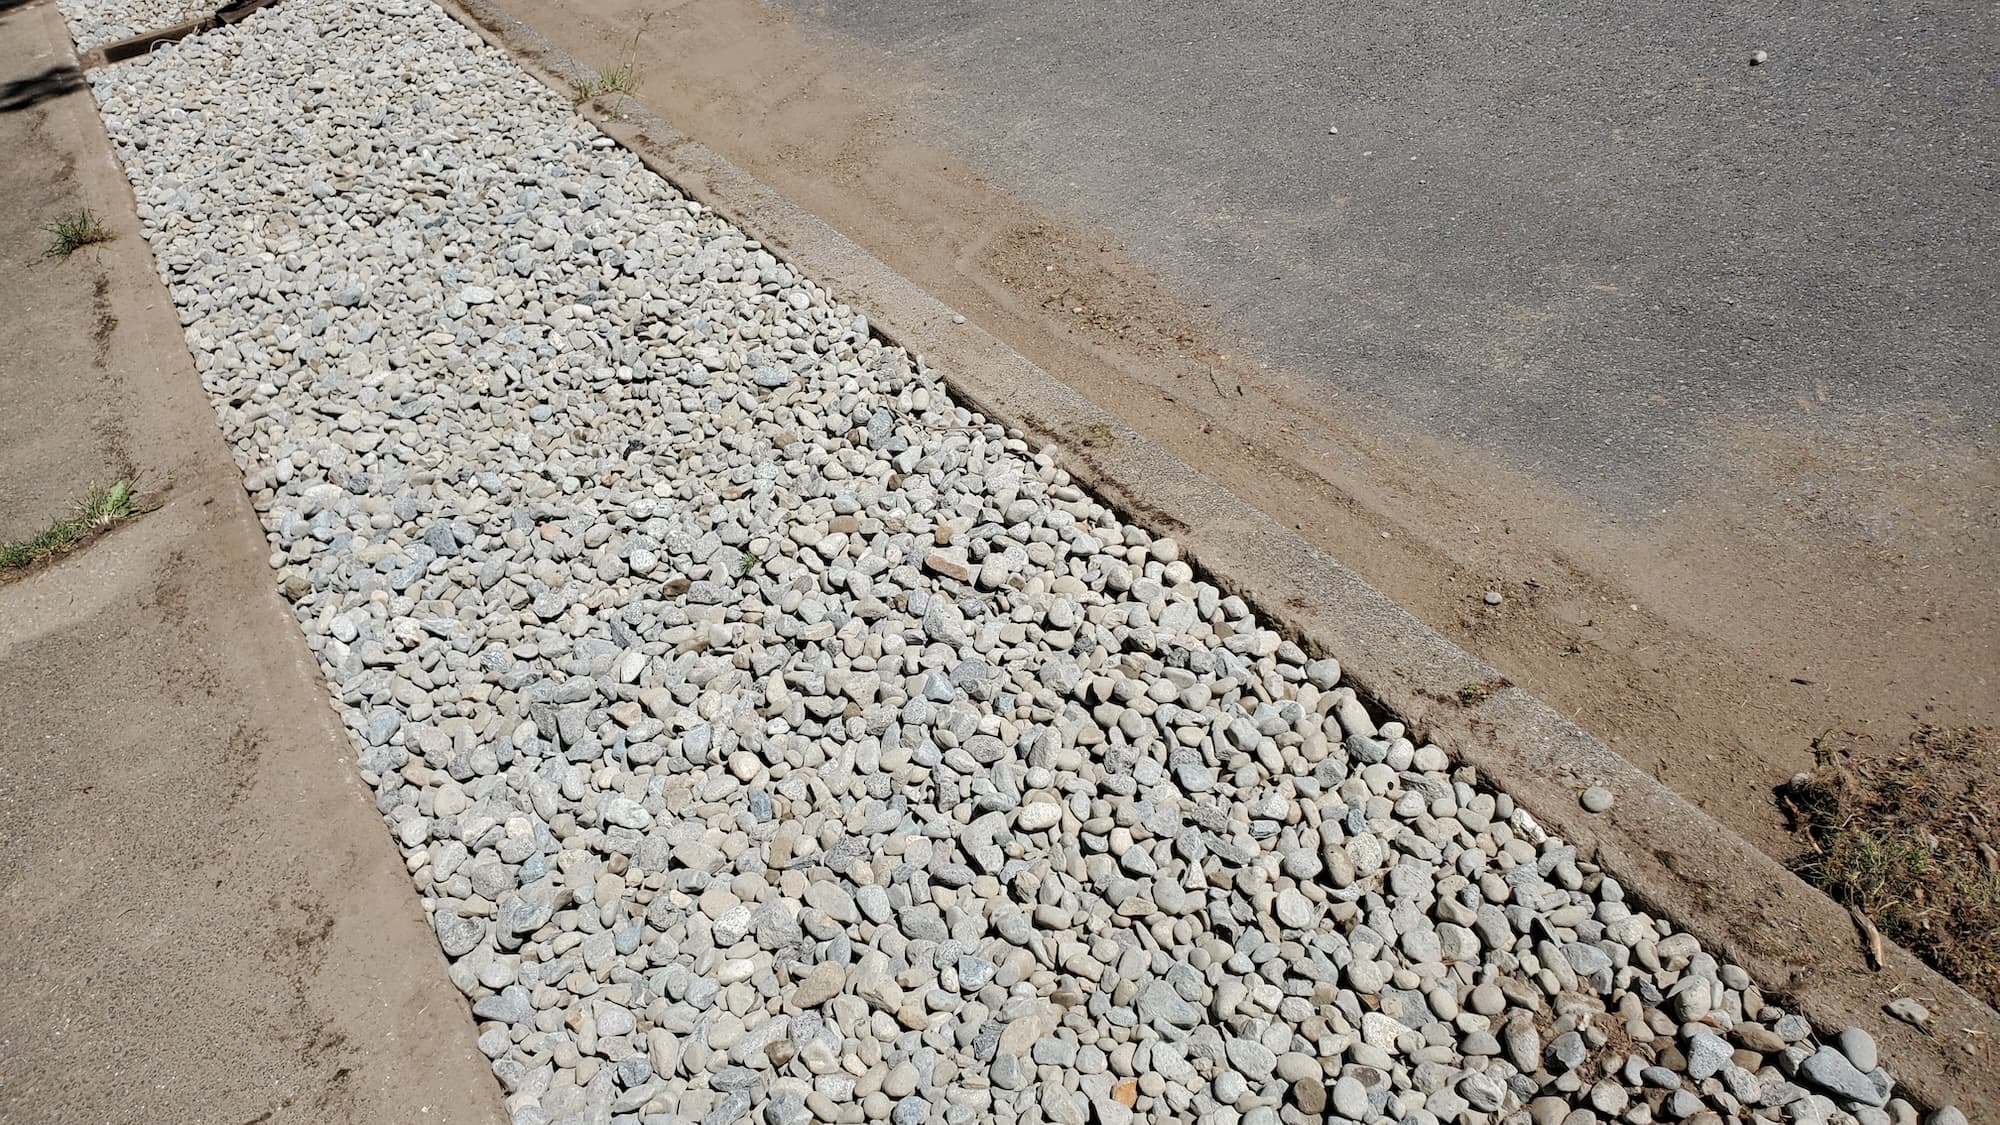
- Gravel Placement: Spreading and compacting the gravel to create a stable surface.
Key Benefits
- Improved Appearance: A well-maintained gravel pad enhances your property’s curb appeal.
- Durability: Gravel is long-lasting and can withstand the weight of heavy RVs.
- Safety: A gravel surface provides better traction and reduces mud and puddles.
- Eco-Friendly Options: Using recycled gravel can be a sustainable choice.
Why Hire a Pro
While it’s possible to tackle this project as a DIY, hiring a professional crew offers several advantages:
- Local Expertise: Understanding Seattle’s soil and drainage needs.
- Licensed & Insured: Protecting you from liability during the project.
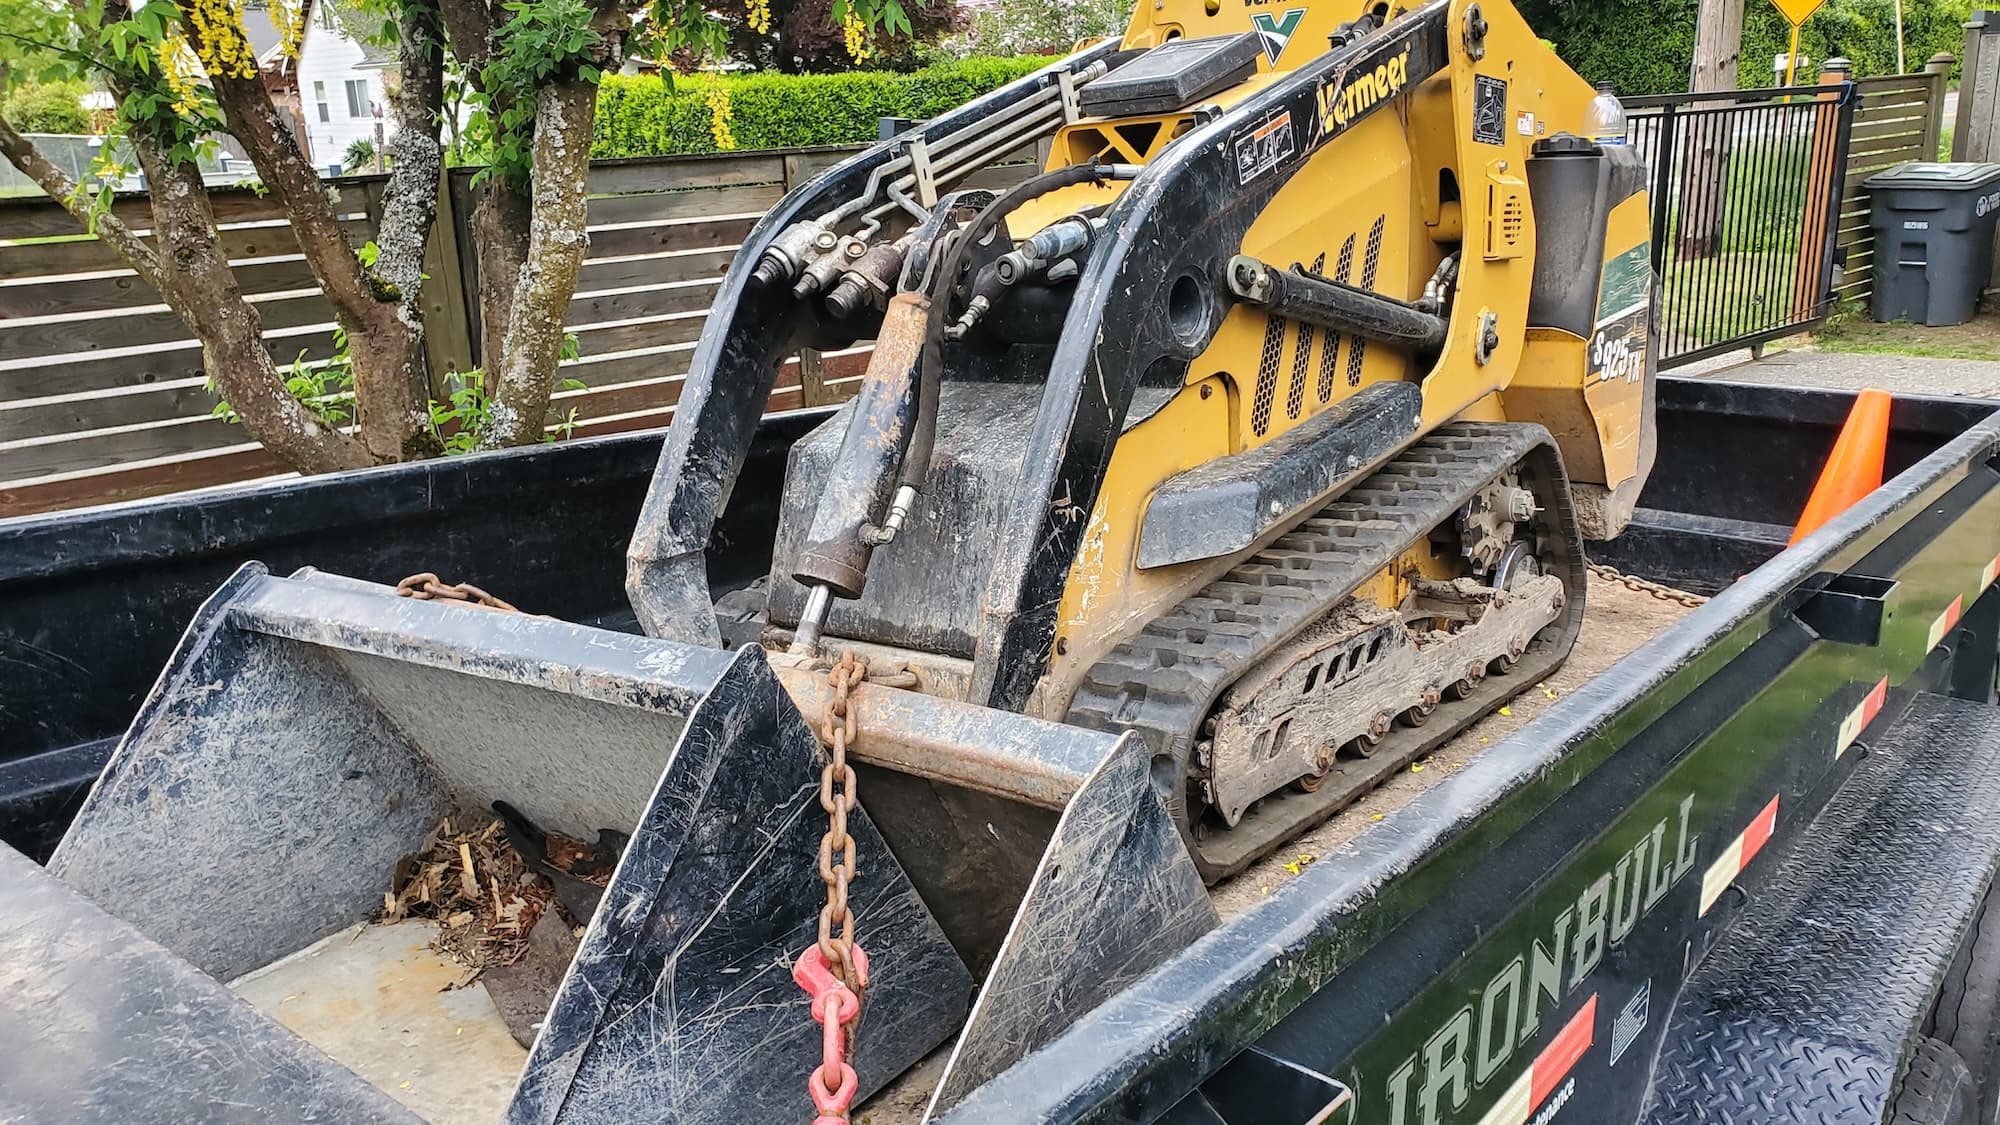
- Professional Tools: Access to heavy equipment for efficient excavation and compaction.
Our Approach
Here’s a step-by-step breakdown of how we install a gravel base for your RV parking pad:
- Assessment: Evaluate the area for size, slope, and drainage.
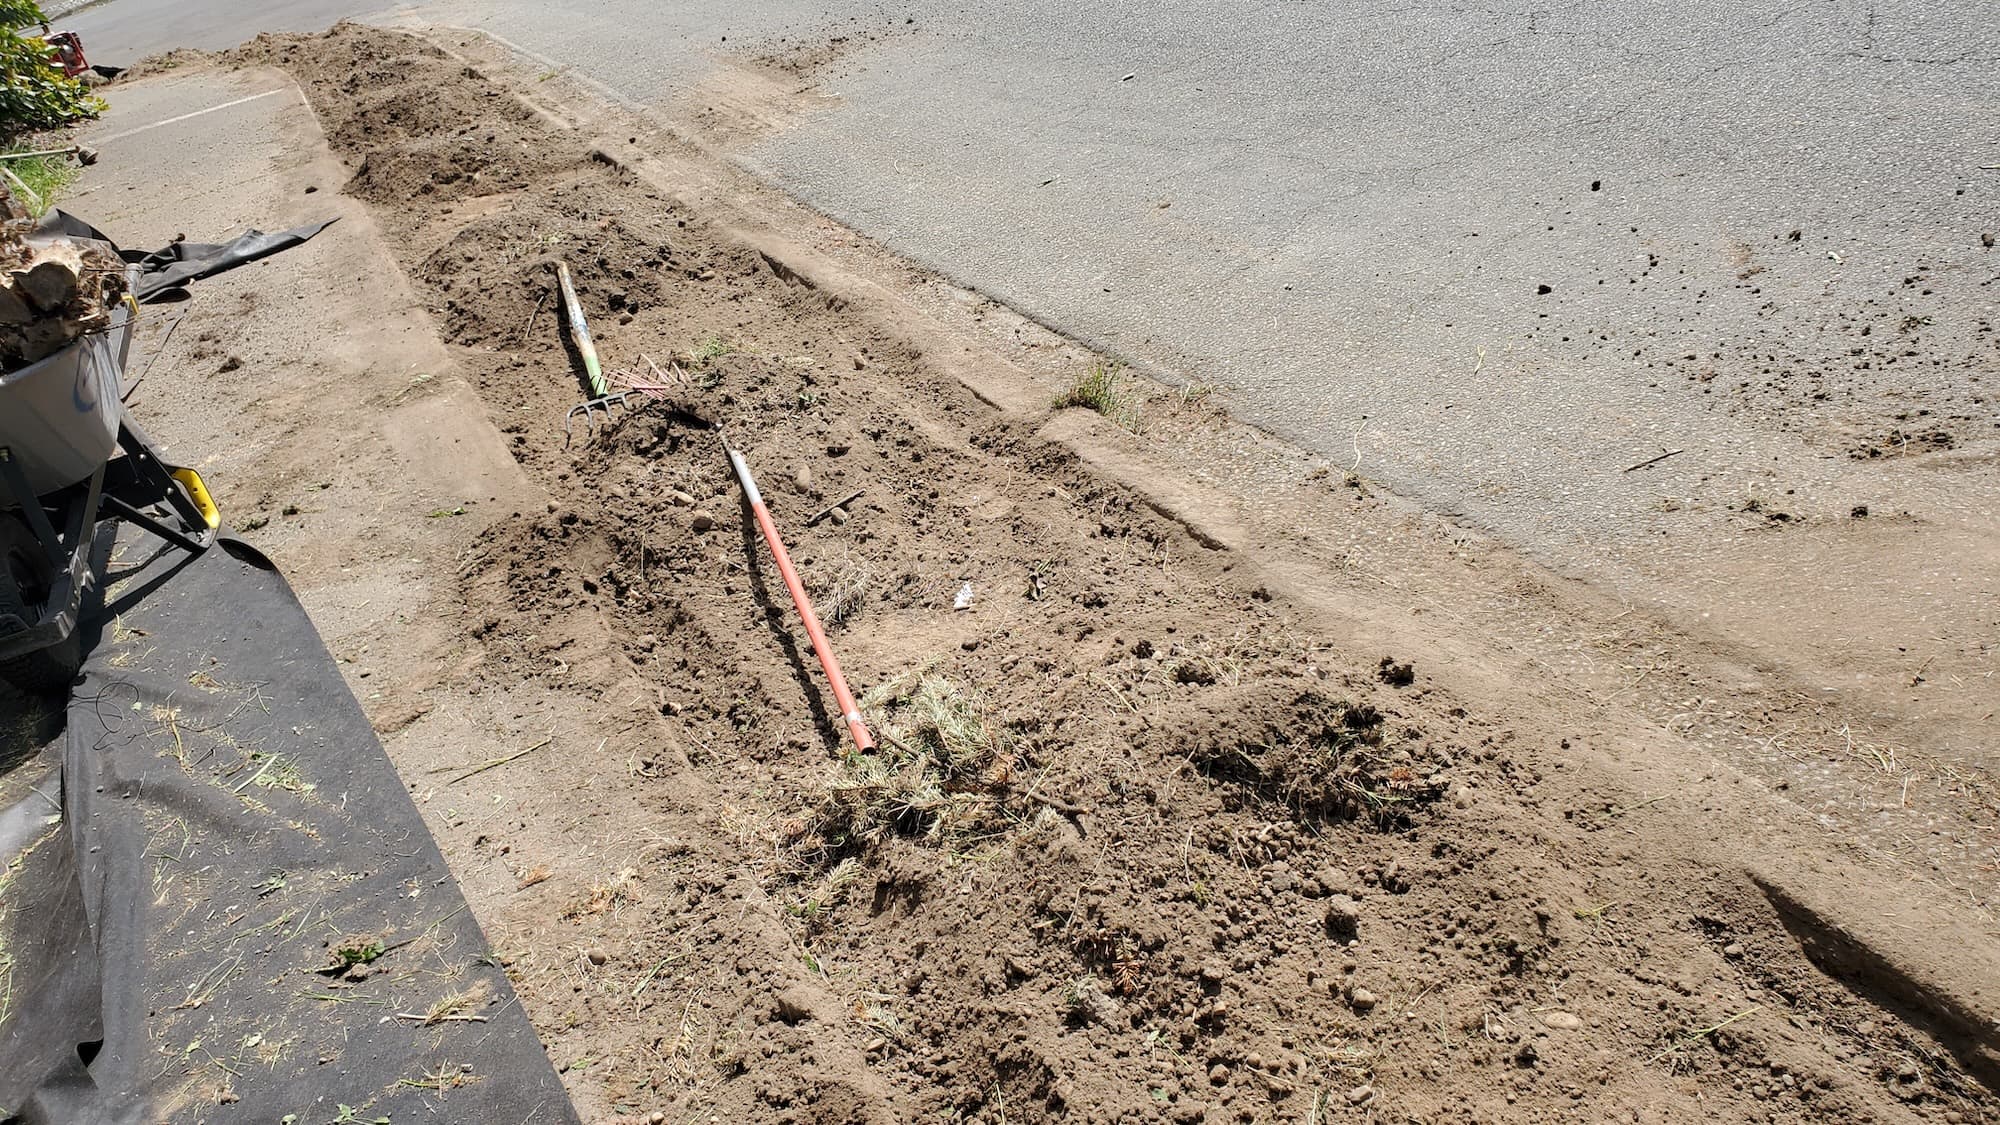
- Clearing: Remove any grass, plants, or debris from the designated site.
- Excavation: Dig down to a depth of 4 to 6 inches, depending on the gravel type.
- Landscape Fabric: Lay down landscape fabric to prevent weeds.
- Gravel Installation:
- Choose the right gravel (3/4-inch crushed stone is ideal).
- Spread about 4 inches of gravel evenly over the fabric.
- Compact the gravel using a plate compactor for a stable surface.
- Final Touches: Ensure proper grading for drainage and add edging if desired.
What to Expect On-Site
Our crew works efficiently to minimize disruption. You can expect:
- Clear communication throughout the process.
- A clean worksite at the end of each day.
- Professional handling of materials and equipment.
Service Pricing
Pricing for gravel base installation varies based on several factors:
- Lot Size: Larger spaces require more materials and labor.
- Debris Volume: More time may be needed to clear the area.
- Access: Hard-to-reach areas may incur additional costs.
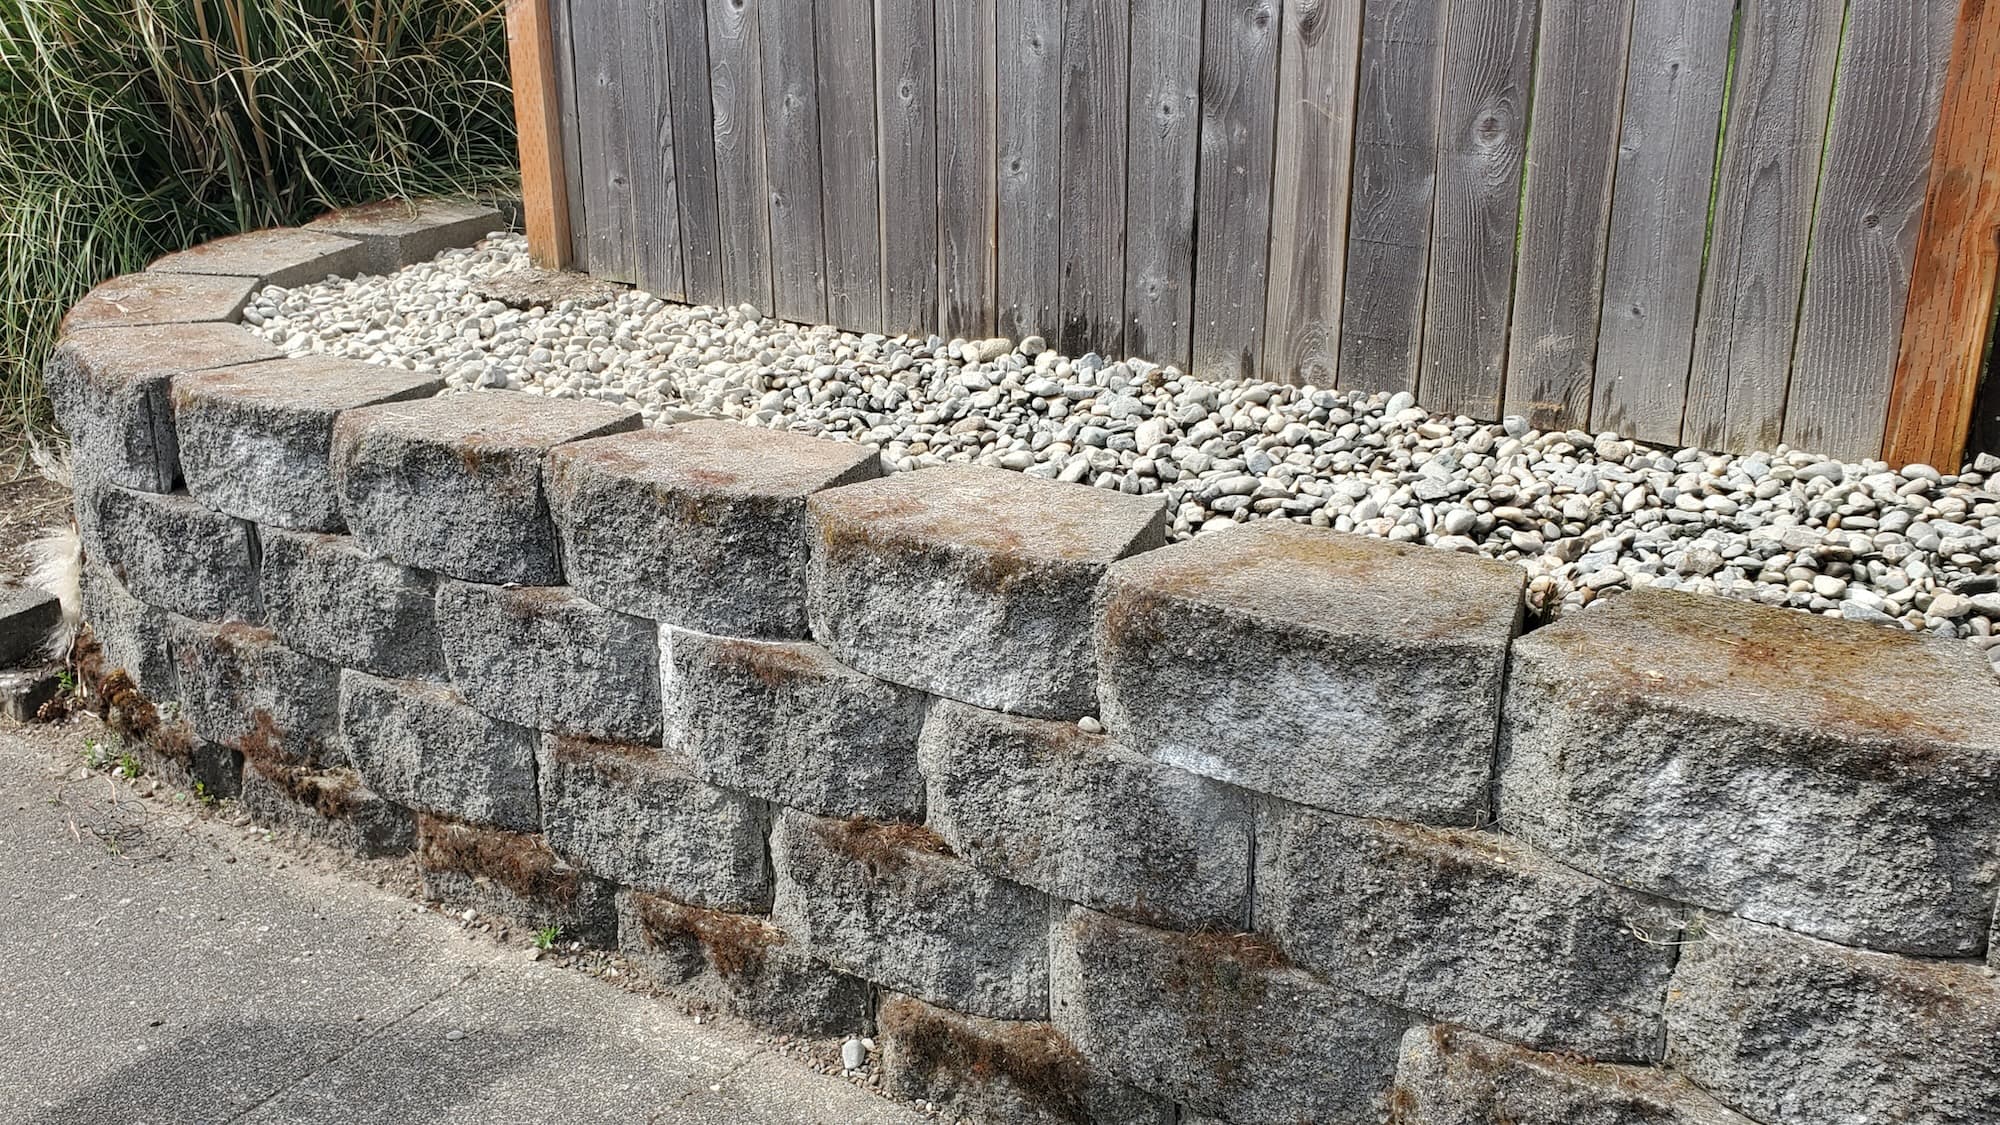
- Add-Ons: Features like edging or decorative stones can increase the price.
Expect to pay anywhere from $1,500 to $3,500 for a standard RV parking pad installation, depending on the above variables. Keep in mind that additional costs may include tax, dump fees, or extra hauling charges.
What’s Included
Our core services for your RV parking pad include:
- Site Clearing: Removing existing vegetation and debris.
- Excavation: Digging to the appropriate depth.
- Landscape Fabric Installation: Preventing weed growth.
- Gravel Placement and Compaction: Creating a stable surface.
Optional extras can include:
- Decorative gravel or stones.
- Edging materials for a polished look.
- Seasonal landscape upgrades.
FAQs
- How long does it take to install?: Typically, the installation takes 1 to 3 days depending on site conditions.
- What if it rains?: We monitor weather conditions and can reschedule to ensure quality work.
- Are there ongoing maintenance needs?: Regular raking and occasional top-ups of gravel may be necessary.
Maintenance Tips
To keep your gravel parking pad looking great:
- Regular Raking: Even out the gravel to prevent uneven surfaces.
- Weed Control: Check for weeds and remove them promptly.
- Replenish Gravel: Over time, some gravel may settle or wash away.
DIY vs. Pro
DIY: If you’re handy and have the right tools, you can save on labor costs. However, be prepared for a time-consuming project that requires physical labor and knowledge of drainage.
Pro: Hiring professionals ensures a quality installation without the hassle. You’ll benefit from their expertise, tools, and efficient workflow.
Common Mistakes
- Ignoring Drainage: Failing to grade properly can lead to pooling water.
- Choosing the Wrong Gravel: Not all gravel types are suitable for heavy loads.
- Neglecting Maintenance: Regular upkeep is crucial for longevity.
Why Choose Lee’s General Landscaping
- Experienced Local Crew: We know Seattle’s unique landscape needs.
- Licensed, Bonded & Insured: Your peace of mind is our priority.
- Outstanding Reviews: Hundreds of satisfied customers across Yelp and Google.
Ready for a yard that stays neat?
Call or text Lee’s General Landscaping for a quick quote and a maintenance plan that fits your property.
⭐⭐⭐⭐⭐ 400+ Yelp Reviews • ⭐⭐⭐⭐⭐ 130+ Google Map Reviews
📧 Email: lees.g.landscaping@gmail.com
📞 Office: 206-259-7919
🕘 Hours: Mon–Sun: 9AM–6PM
🔒 Licensed • Bonded • Insured