Seattle Retaining Wall Drainage Installation
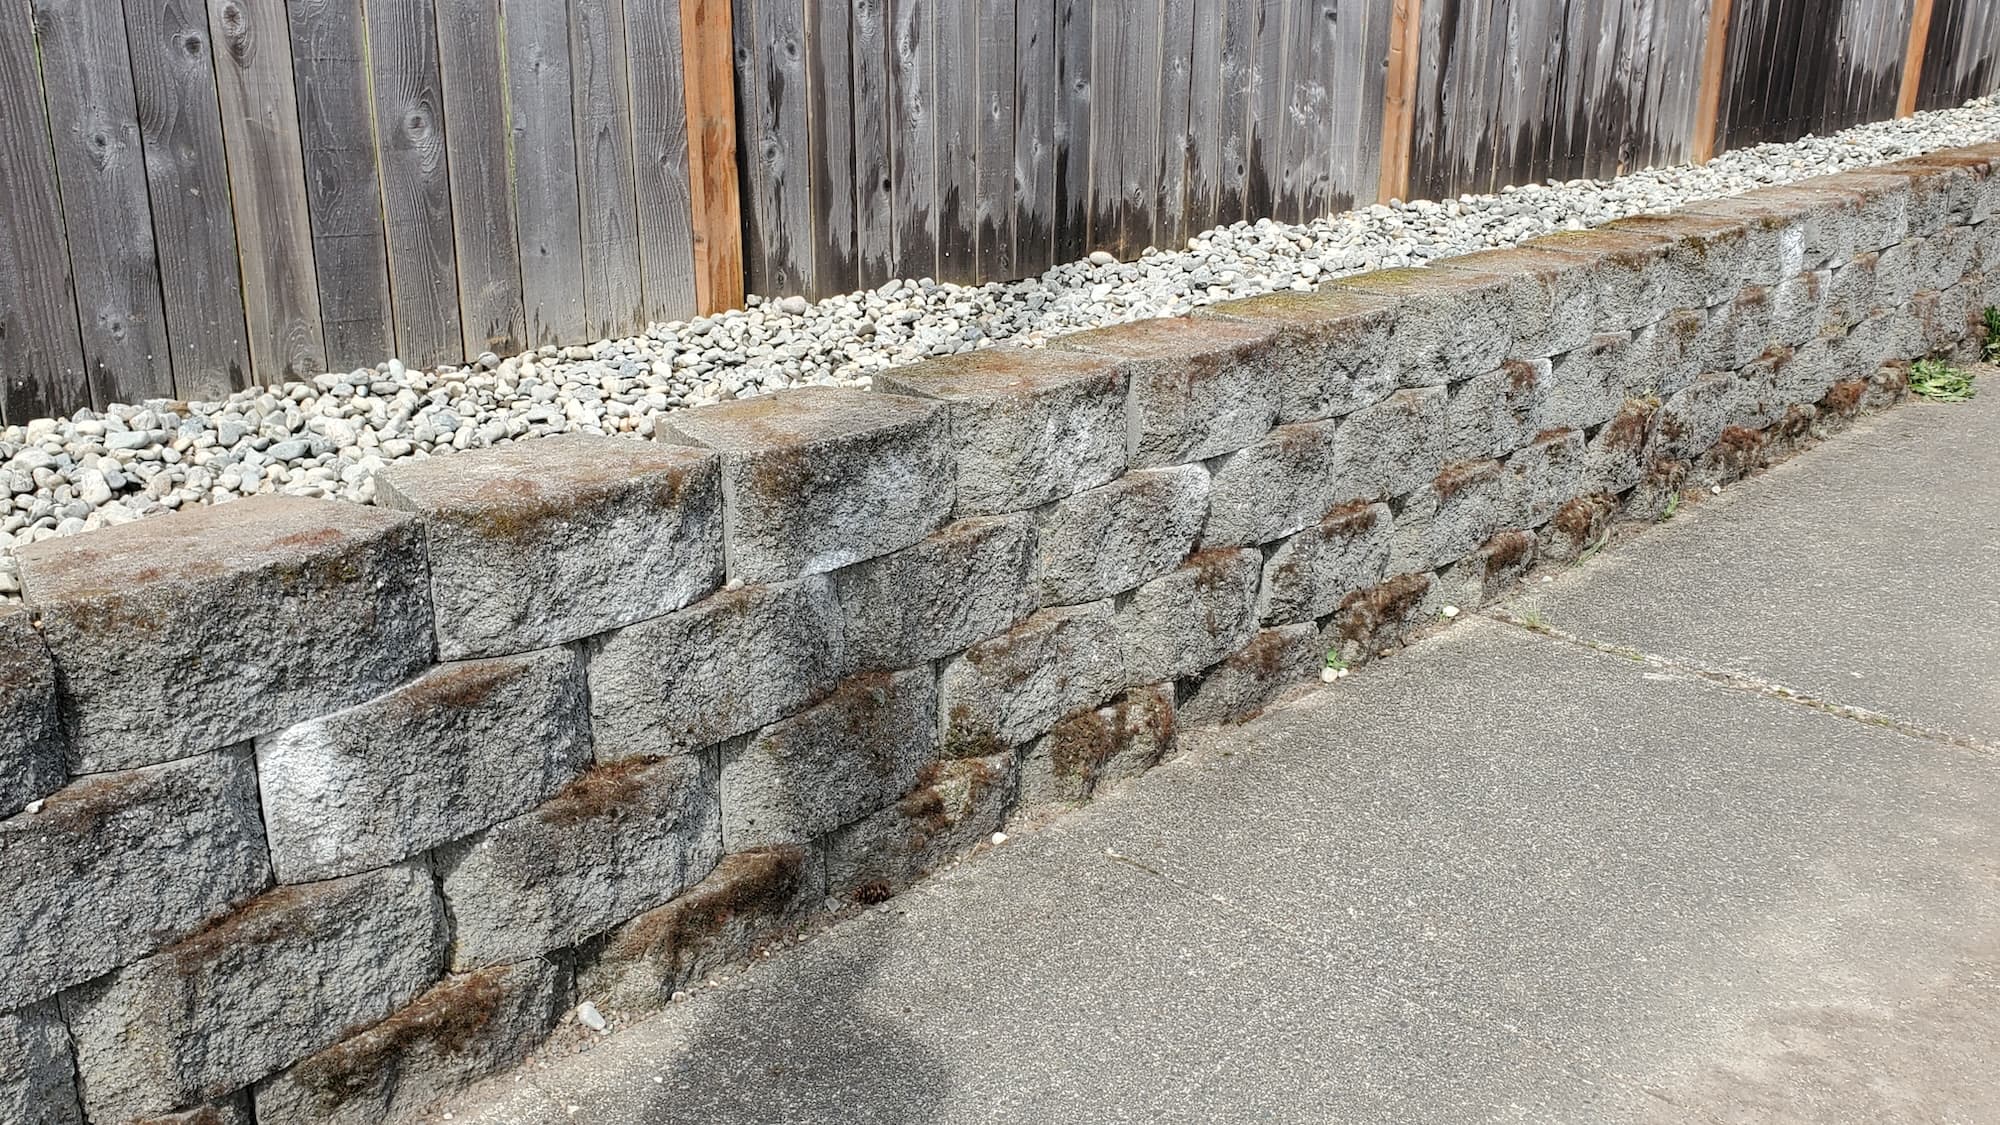
In Seattle, homeowners often face the challenge of excess water pooling around their properties, especially when it comes to retaining walls. The Pacific Northwest’s rainy climate can lead to drainage issues that not only harm the structural integrity of your wall but also create a muddy mess in your yard. The best solution? Installing a proper drainage system behind your retaining wall. This article will guide you through the installation process, highlighting the benefits of improved curb appeal, enhanced safety, and lower maintenance needs.
Description
What the Service Includes
When you opt for a retaining wall drainage installation, you can expect the following tasks:
- Assessment: Evaluating your property’s drainage needs.
- Design: Planning the drainage system layout.
- Excavation: Digging behind the wall for drainage installation.
- Installation: Laying perforated drain pipes, gravel, and landscape fabric.
- Backfill: Filling in the excavated area and ensuring proper grading.
Key Benefits
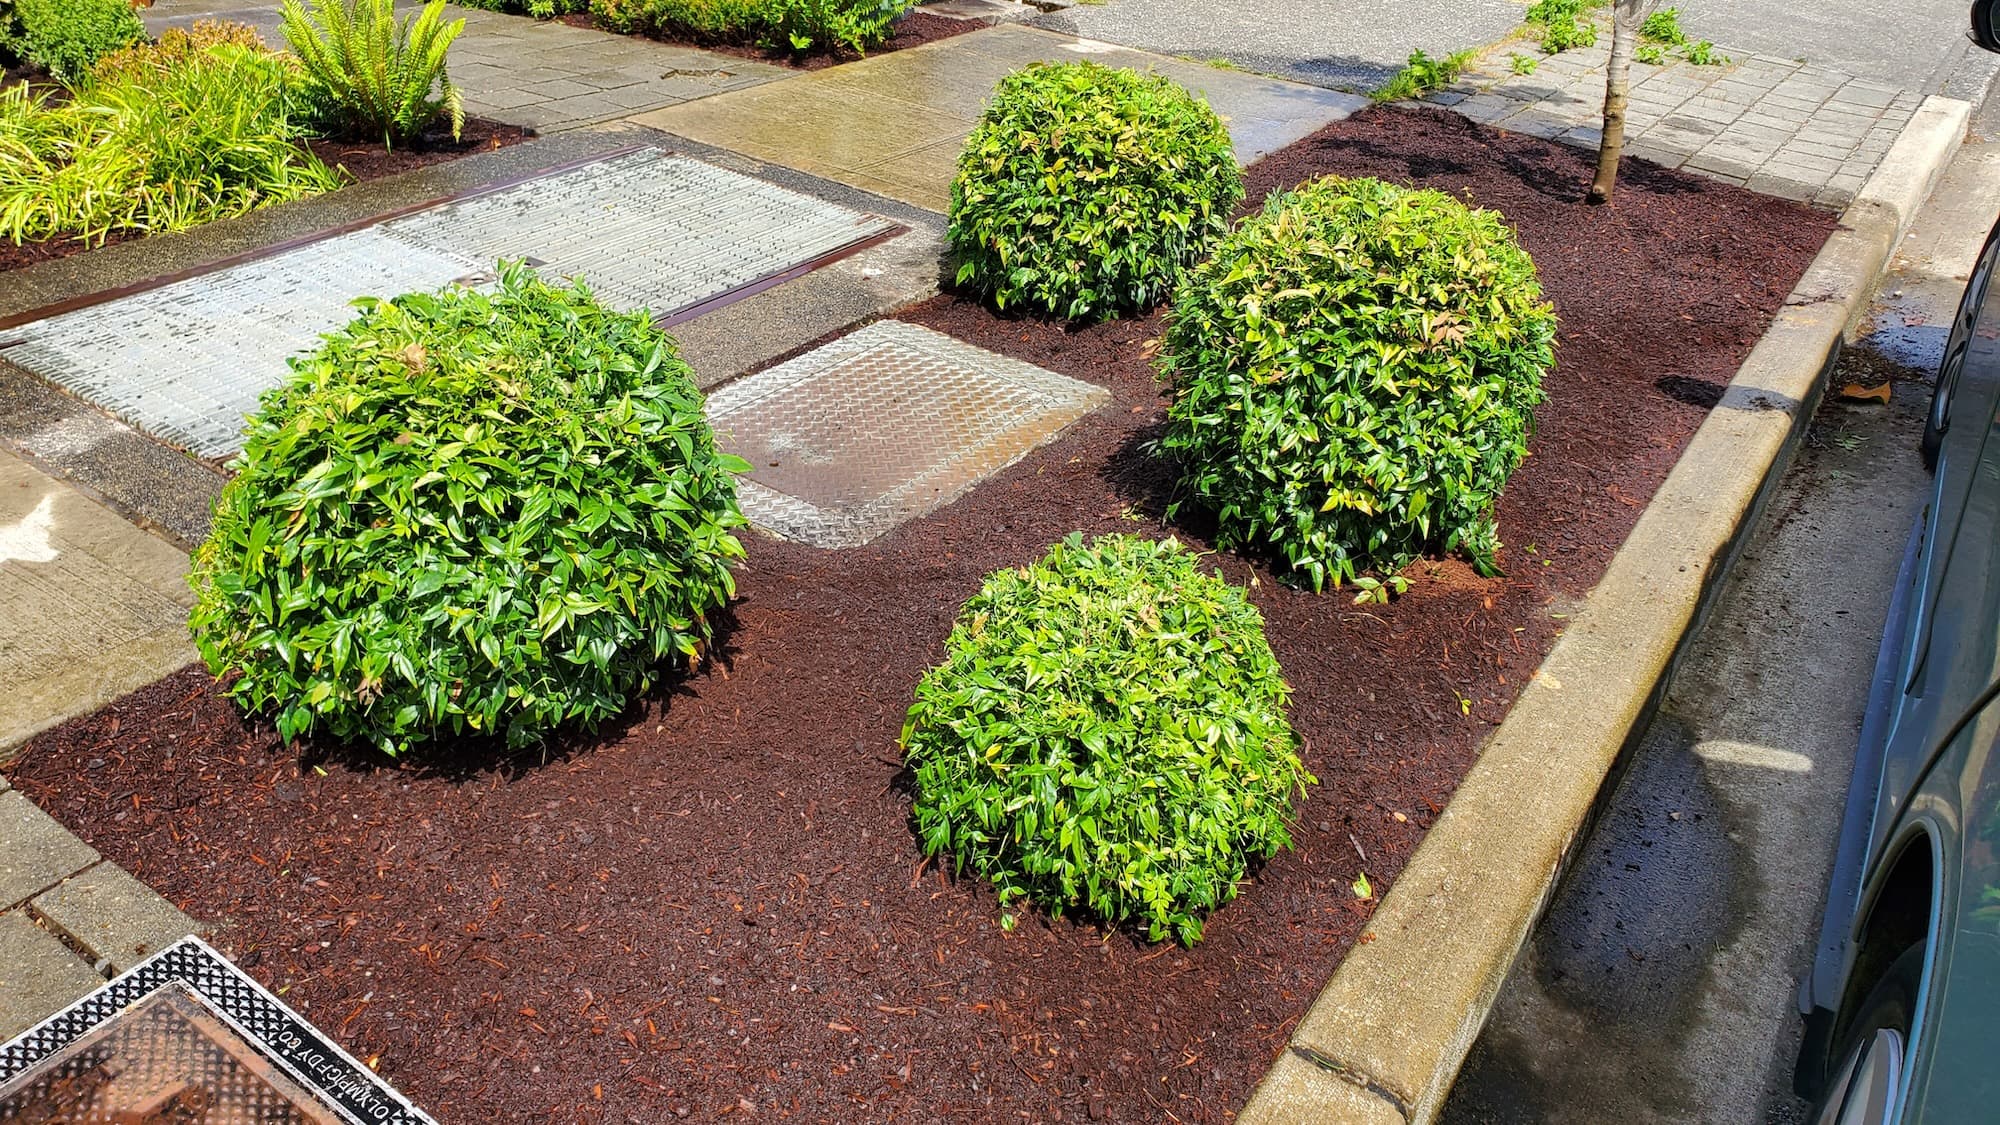
- Improved Appearance: A well-drained yard enhances the beauty of your landscape.
- Durability: Proper drainage prevents erosion and extends the life of your retaining wall.
- Safety: Reduces slipping hazards and potential flooding.
- Eco-Friendly Options: Use of permeable materials helps manage stormwater effectively.
Why Hire a Pro
- Local Expertise: Knowledge of Seattle’s unique soil and weather conditions.
- Licensed & Insured: Protects you from liability and ensures quality work.
- Professional Tools: Access to equipment that makes the job faster and safer.
Our Approach
Step-by-Step Breakdown
- Initial Consultation: Discuss your drainage concerns and property layout.
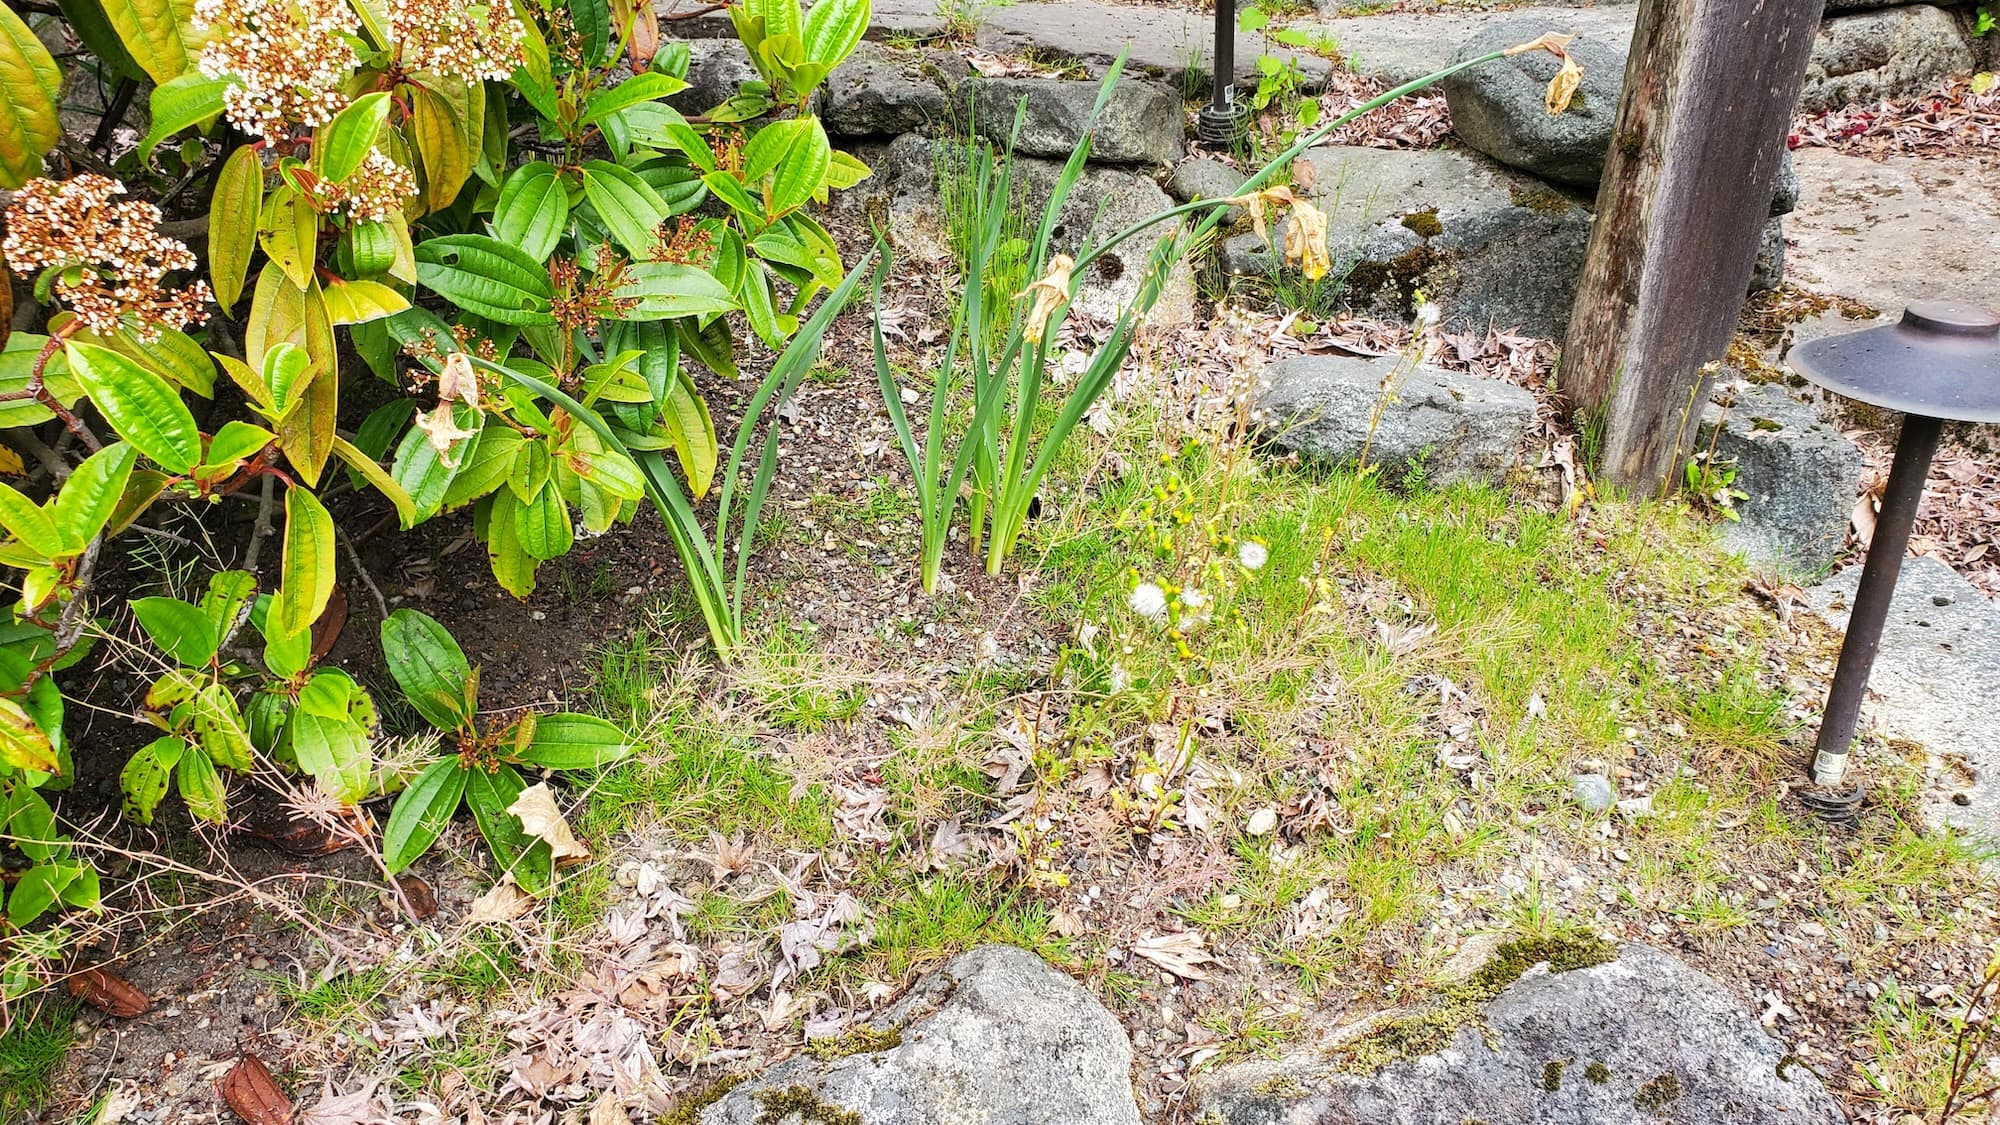
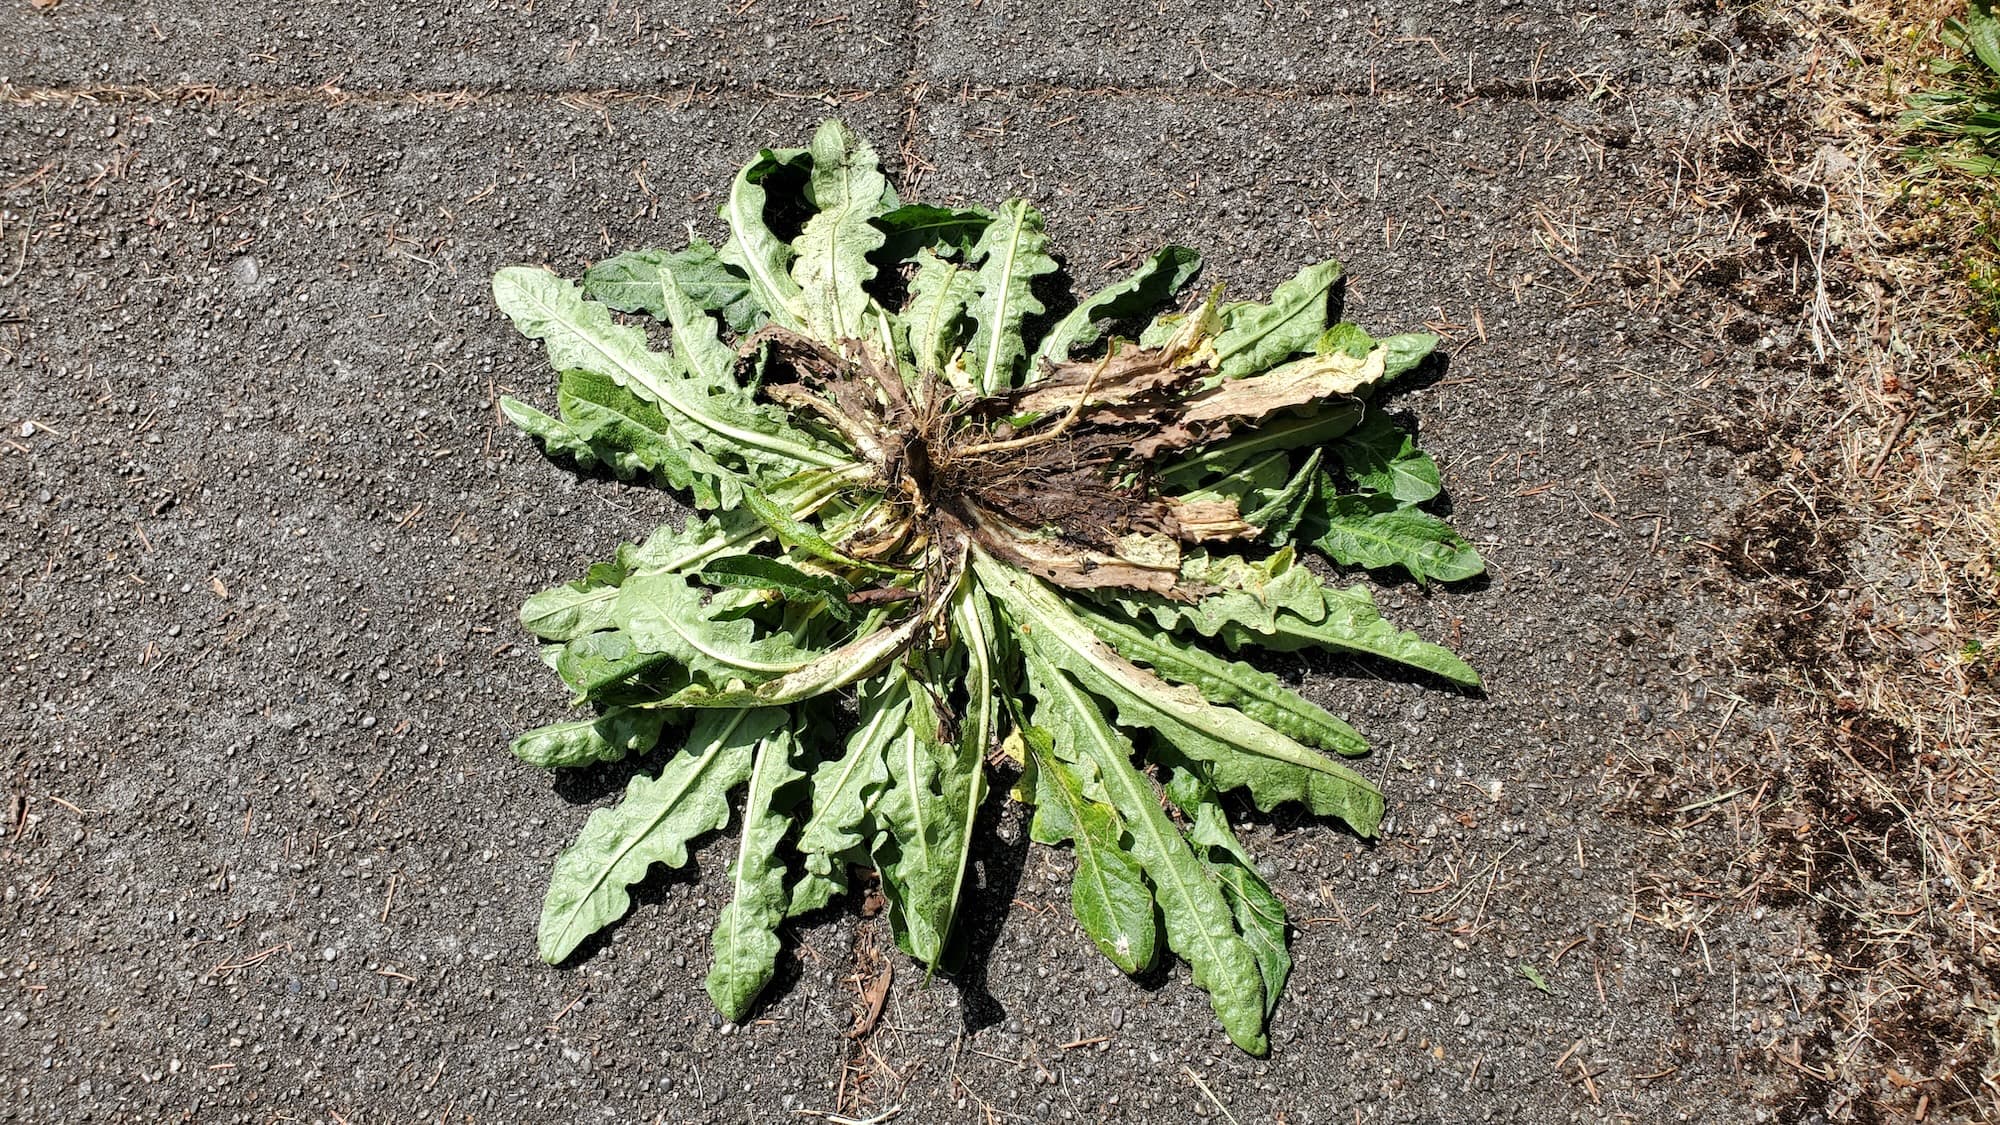
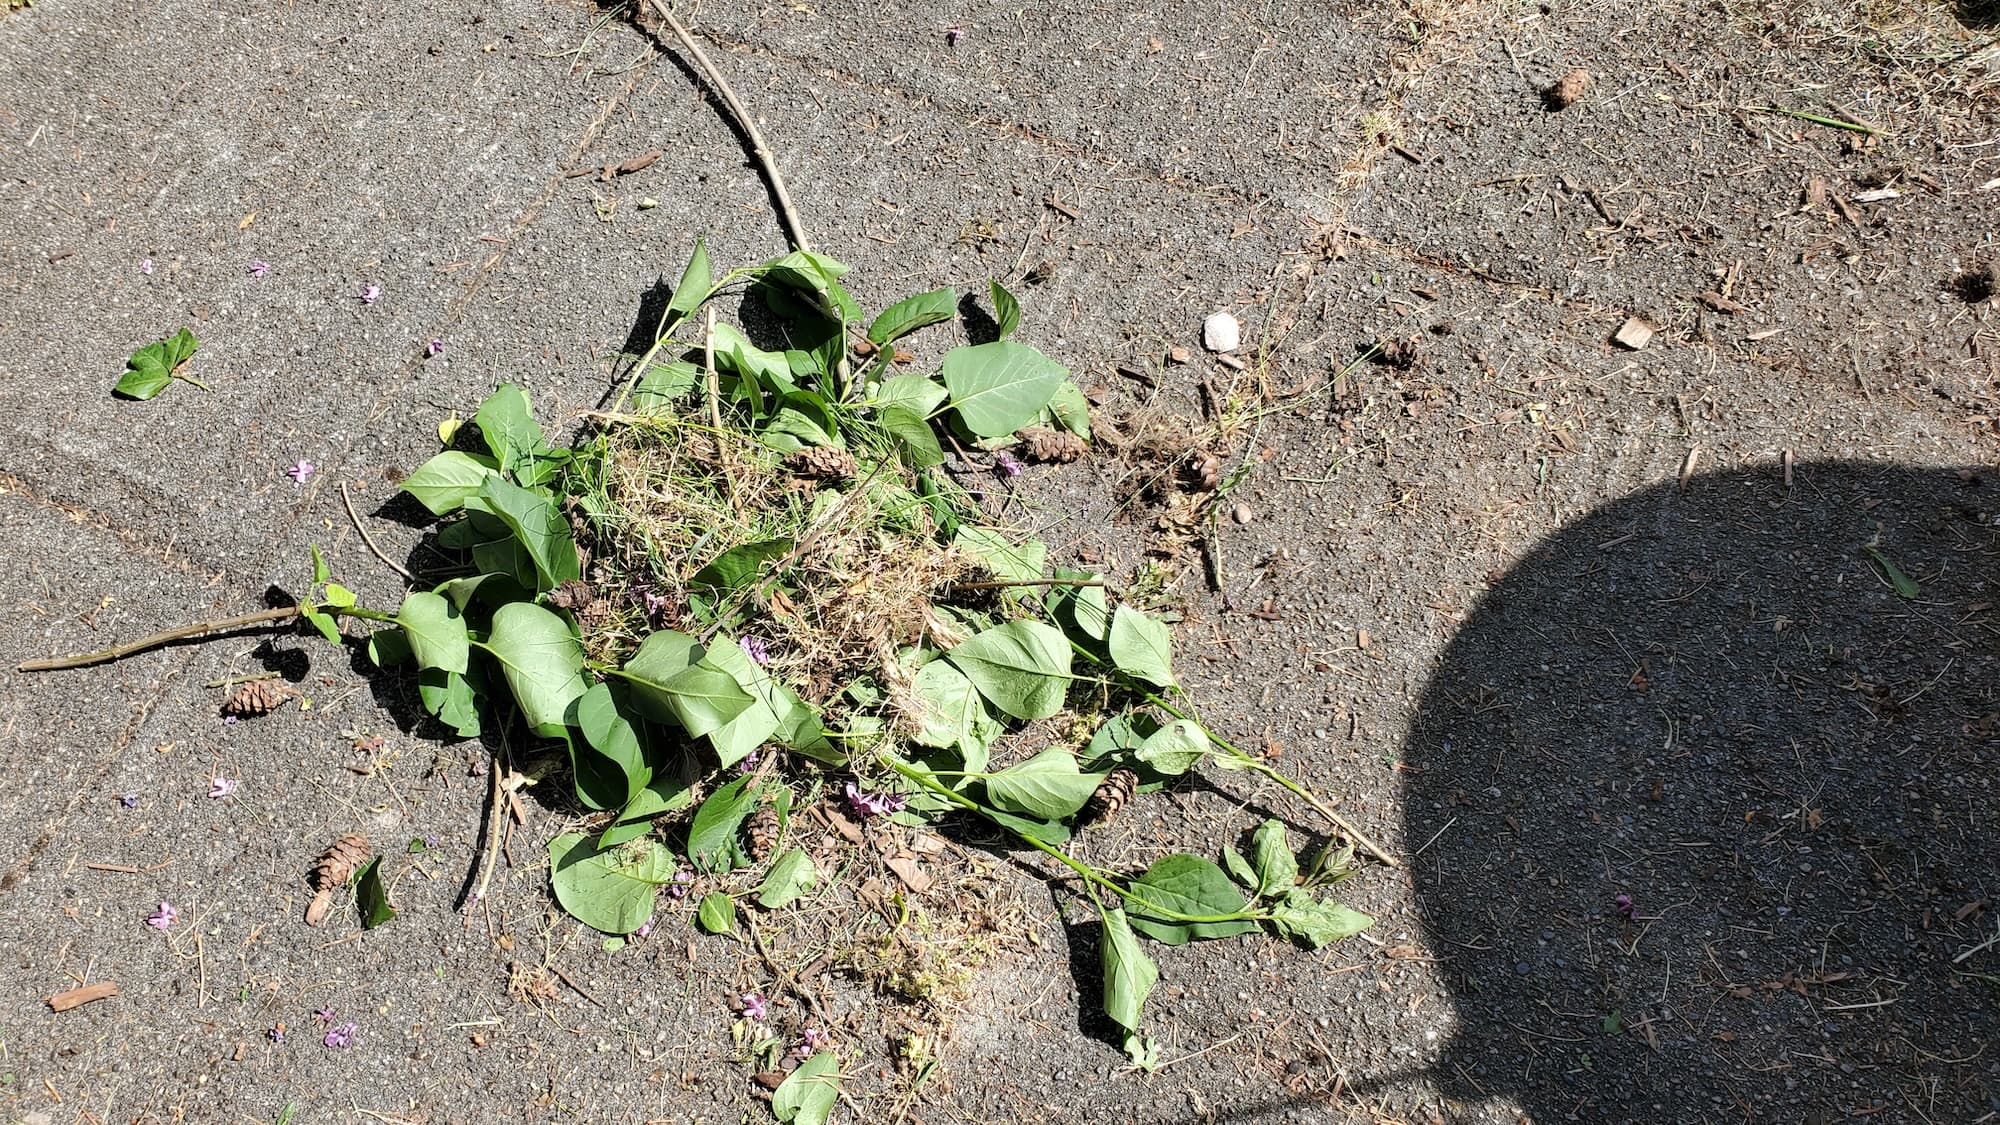
- Site Preparation: Clear the area of debris and vegetation.
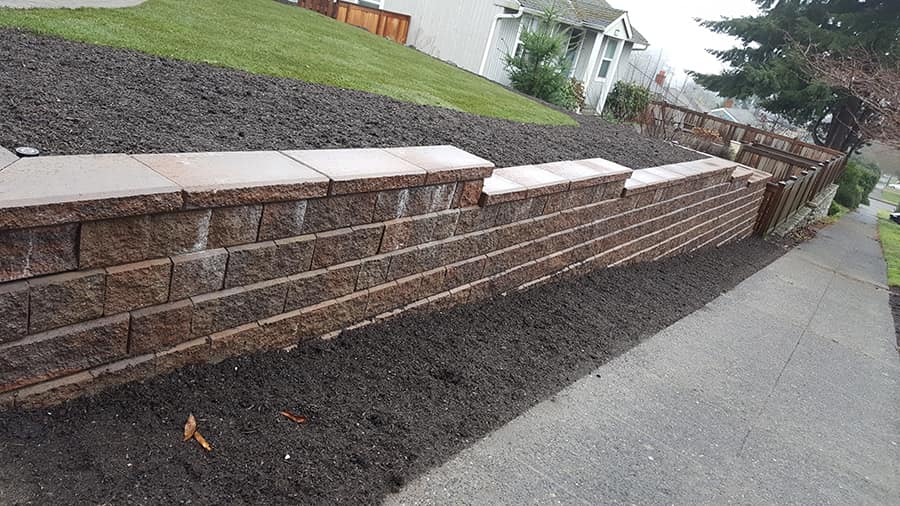
- Excavation: Dig a trench behind the retaining wall, typically 12-18 inches deep.
- Install Drain Pipe: Lay a perforated pipe at the bottom of the trench, angled for water flow.
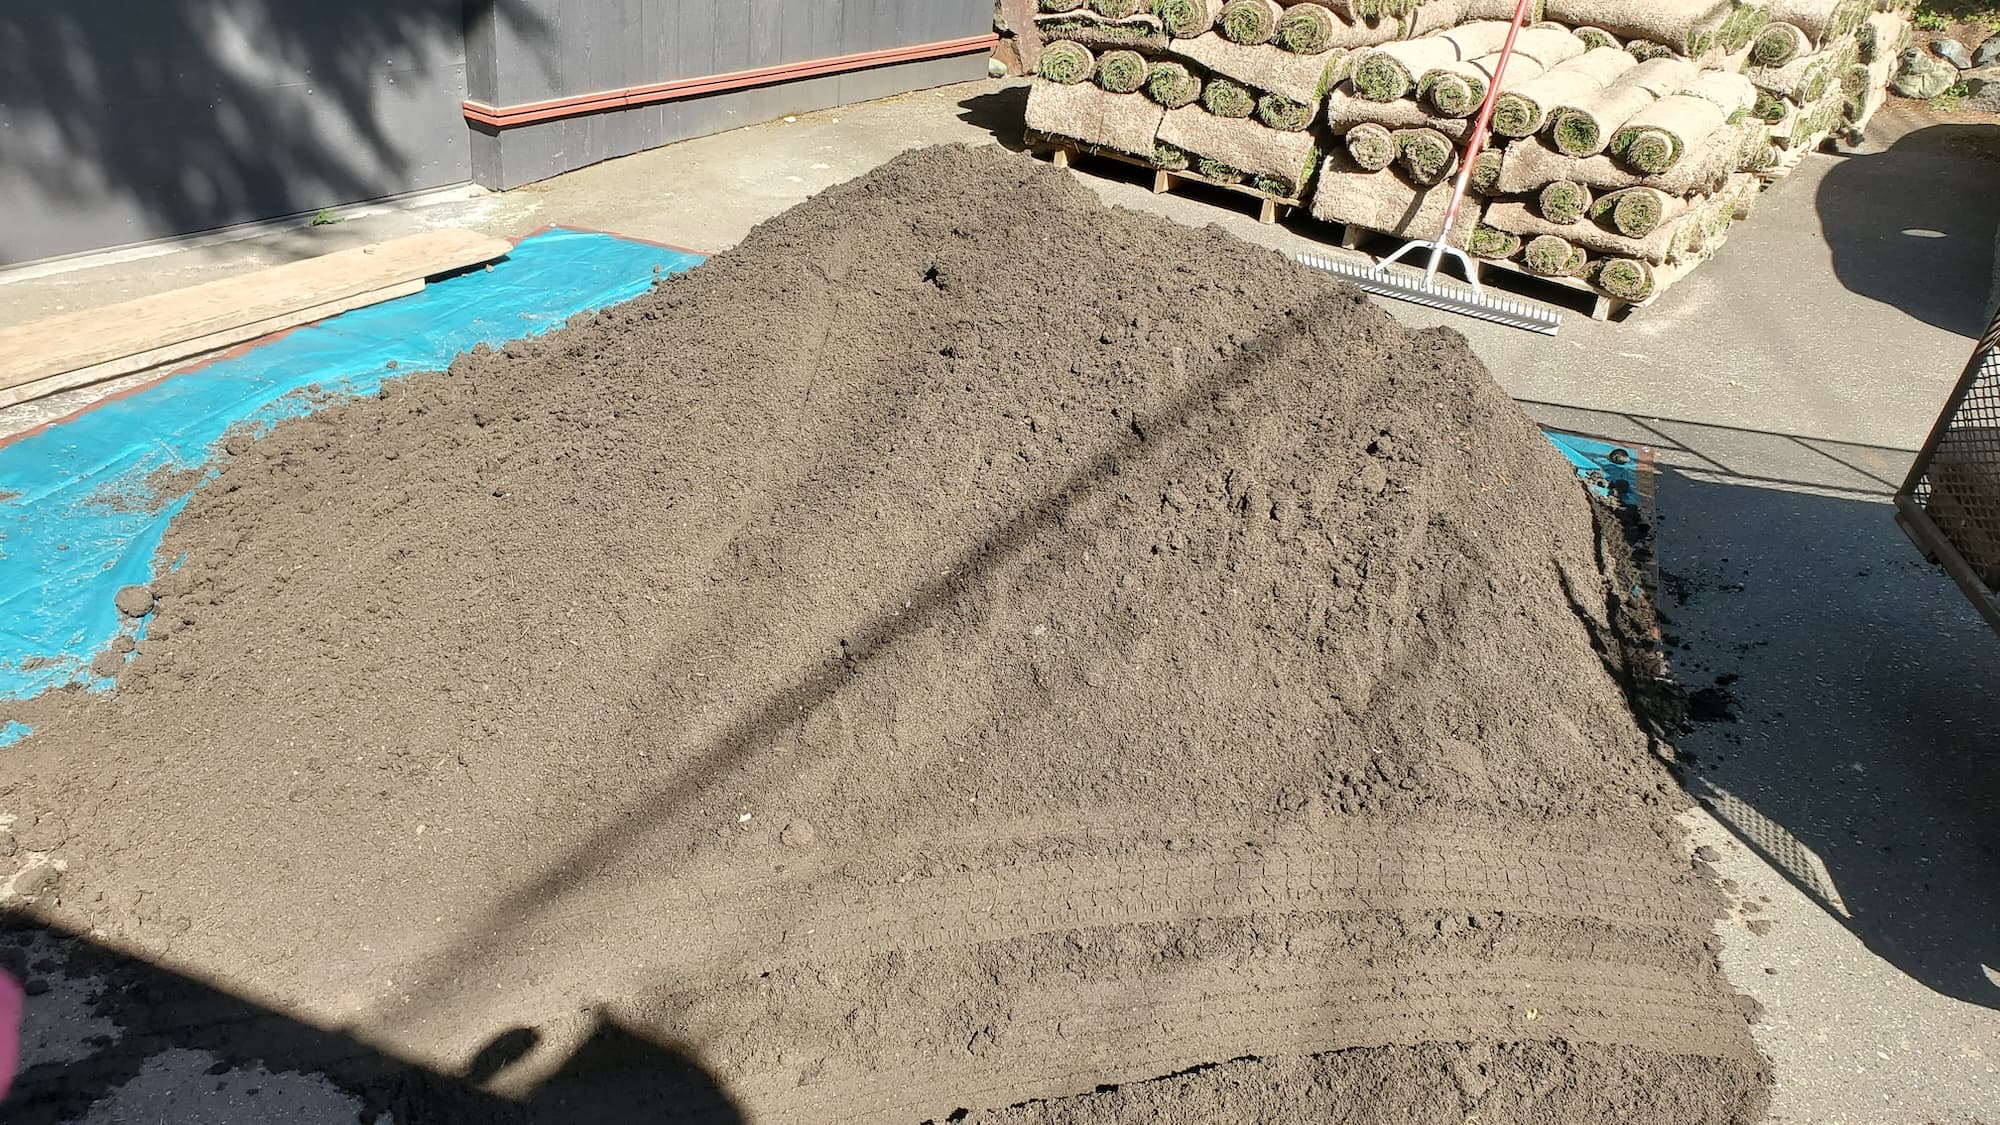
- Add Gravel: Fill the trench with gravel to promote drainage.
- Landscape Fabric: Cover the gravel with fabric to prevent soil from clogging the drain.
- Backfill: Replace the soil on top, ensuring proper grading away from the wall.
- Final Inspection: Ensure everything is functioning properly.
On-Site Expectations
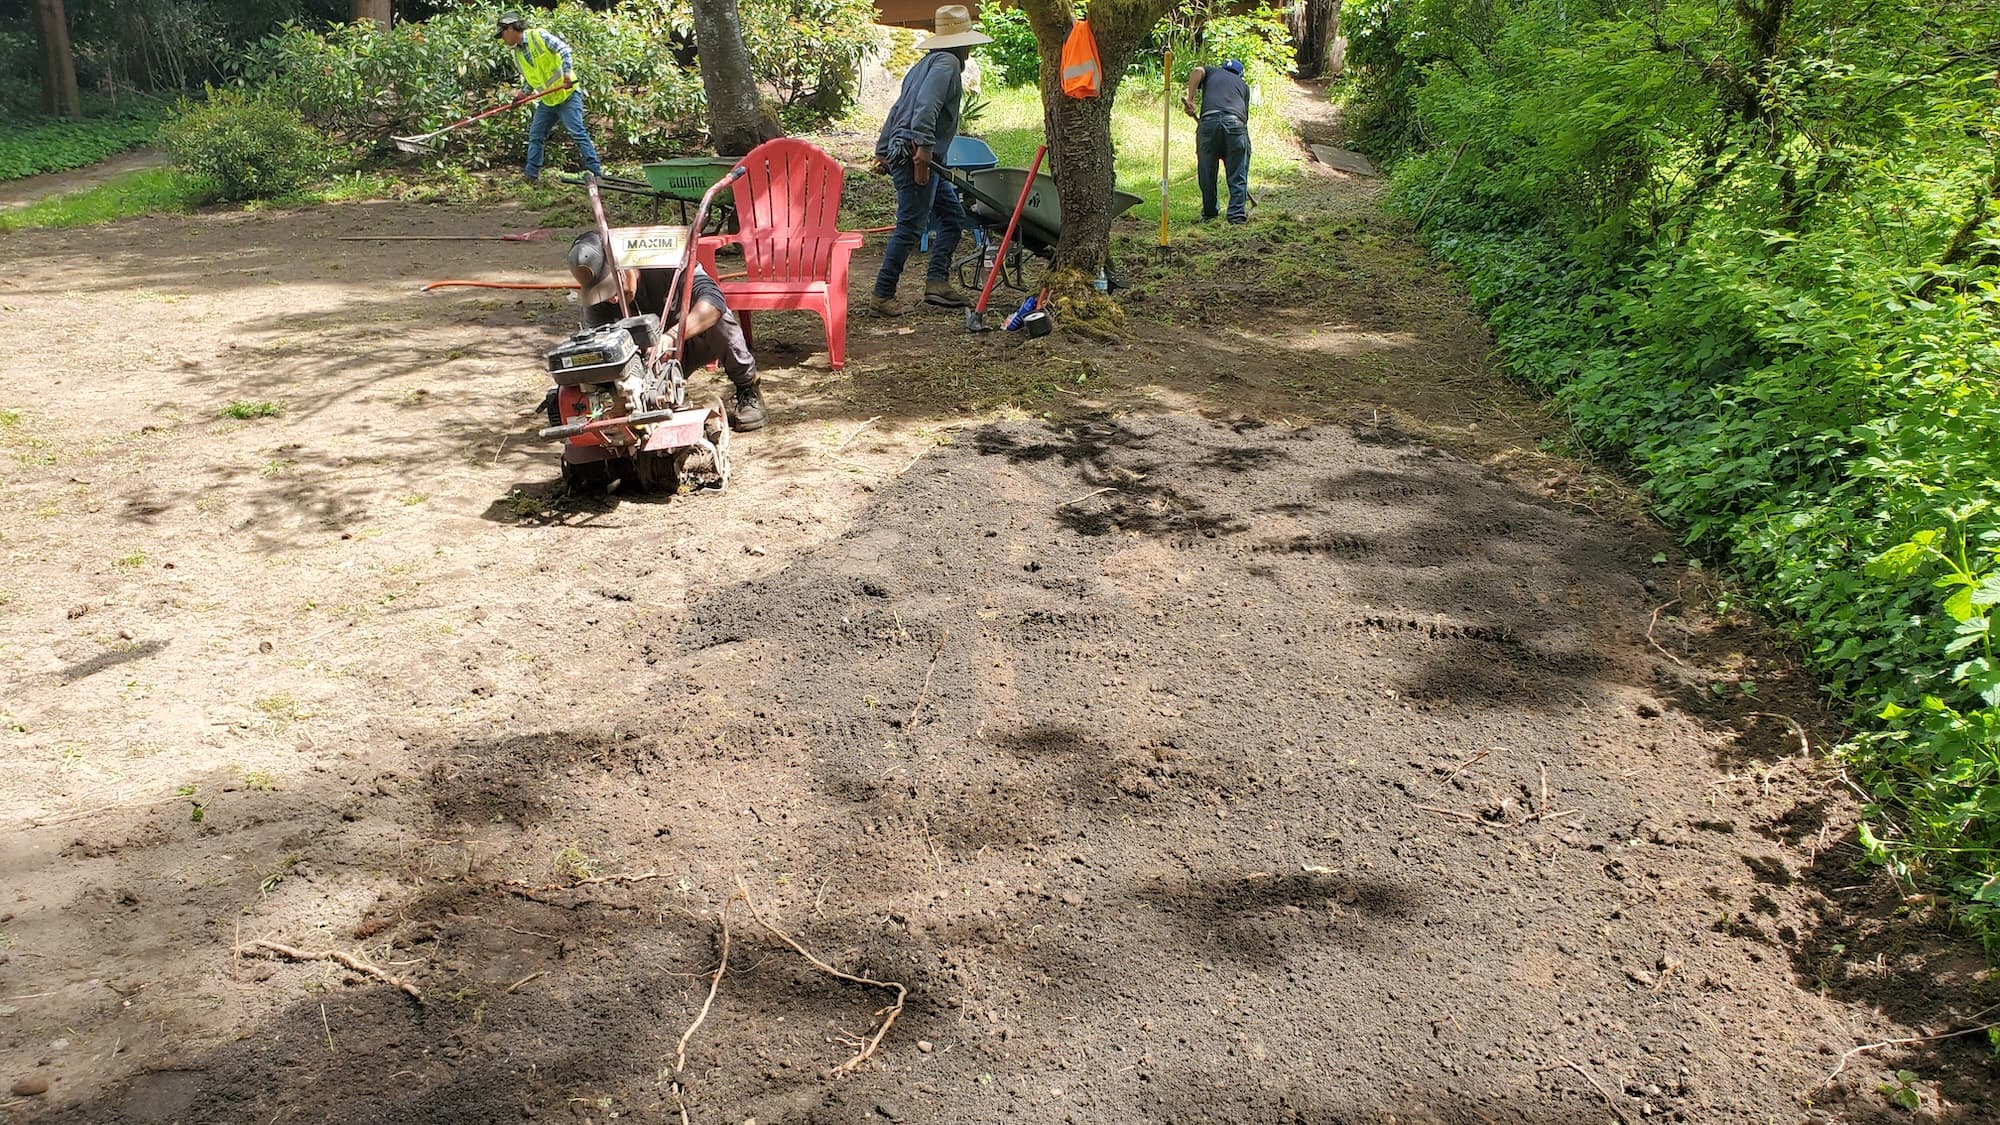
During the installation, our crew will:
- Work efficiently to minimize disruption.
- Keep the work area tidy and safe.
- Communicate with you about the progress.
We’re a full-service landscaping and hardscaping crew. Our goal is to tidy your yard, protect your property, and give it lasting curb appeal.
Service Pricing
Pricing Structure
- Flat Rate: For standard installations, you may find a flat rate based on the size of the wall.
- Custom Quotes: For complex projects, pricing may vary based on specific needs.
Variables Affecting Cost
- Lot Size: Larger areas require more materials and labor.
- Debris Volume: More debris means higher disposal costs.
- Access: Difficult access can increase labor time and costs.
- Add-Ons: Additional features like decorative stone may incur extra charges.
Additional Fees
- Tax: Applicable sales tax.
- Dump Fees: Charges for disposing of excavated materials.
- Extra Hauling Charges: If significant debris removal is required.
What’s Included
Core Services
- Drainage Installation: As detailed above.
- Site Cleanup: Removal of all debris and restoration of the work area.
Optional Extras
- Gravel: For improved drainage.
- Landscape Fabric: To enhance drainage longevity.
- Planting: Adding plants to beautify the area.
- Seasonal Upgrades: Mulching or seasonal flower planting.
FAQs
Common Customer Concerns
- Scheduling: We aim for a quick turnaround, often within 1-2 weeks, depending on weather and backlog.
- Dump Fees: Generally included in the quote, but can vary based on site conditions.
- Maintenance Tips: Regularly check the drainage area for clogs and keep it clear of debris.
Add-Ons Explained
- Adding decorative stone or plants can enhance aesthetics but will increase costs.
Maintenance Tips
- Inspect the drainage area after heavy rains.
- Clear any debris that may block the drainage system.
Why Choose Lee’s General Landscaping
- Experienced Local Crew: We know Seattle’s climate and soil.
- Licensed, Bonded & Insured: Peace of mind for every homeowner.
- Hundreds of 5-Star Reviews: Our work speaks for itself.
Ready for a yard that stays neat?
Call or text Lee’s General Landscaping for a quick quote and a maintenance plan that fits your property.
⭐⭐⭐⭐⭐ 400+ Yelp Reviews • ⭐⭐⭐⭐⭐ 130+ Google Map Reviews
📧 Email: lees.g.landscaping@gmail.com
📞 Office: 206-259-7919
🕘 Hours: Mon–Sun: 9AM–6PM
🔒 Licensed • Bonded • Insured
DIY vs. Pro
While installing a drainage system can be a DIY project, here are some points to consider:
- Complexity: Proper drainage requires knowledge of grading and water flow.
- Tools: Professional equipment can save time and ensure quality.
- Time: DIY may take longer and lead to mistakes, while pros get it right the first time.
Common Mistakes
- Ignoring Soil Type: Not considering soil drainage can lead to future problems.
- Poor Grading: Improper slope can cause water to pool rather than drain.
- Skipping Maintenance: Neglecting regular checks can lead to clogs and failures.
By following these guidelines, you can ensure a successful retaining wall drainage installation that protects your property and enhances its beauty.