Seattle Gravel Walkway Installation Experts
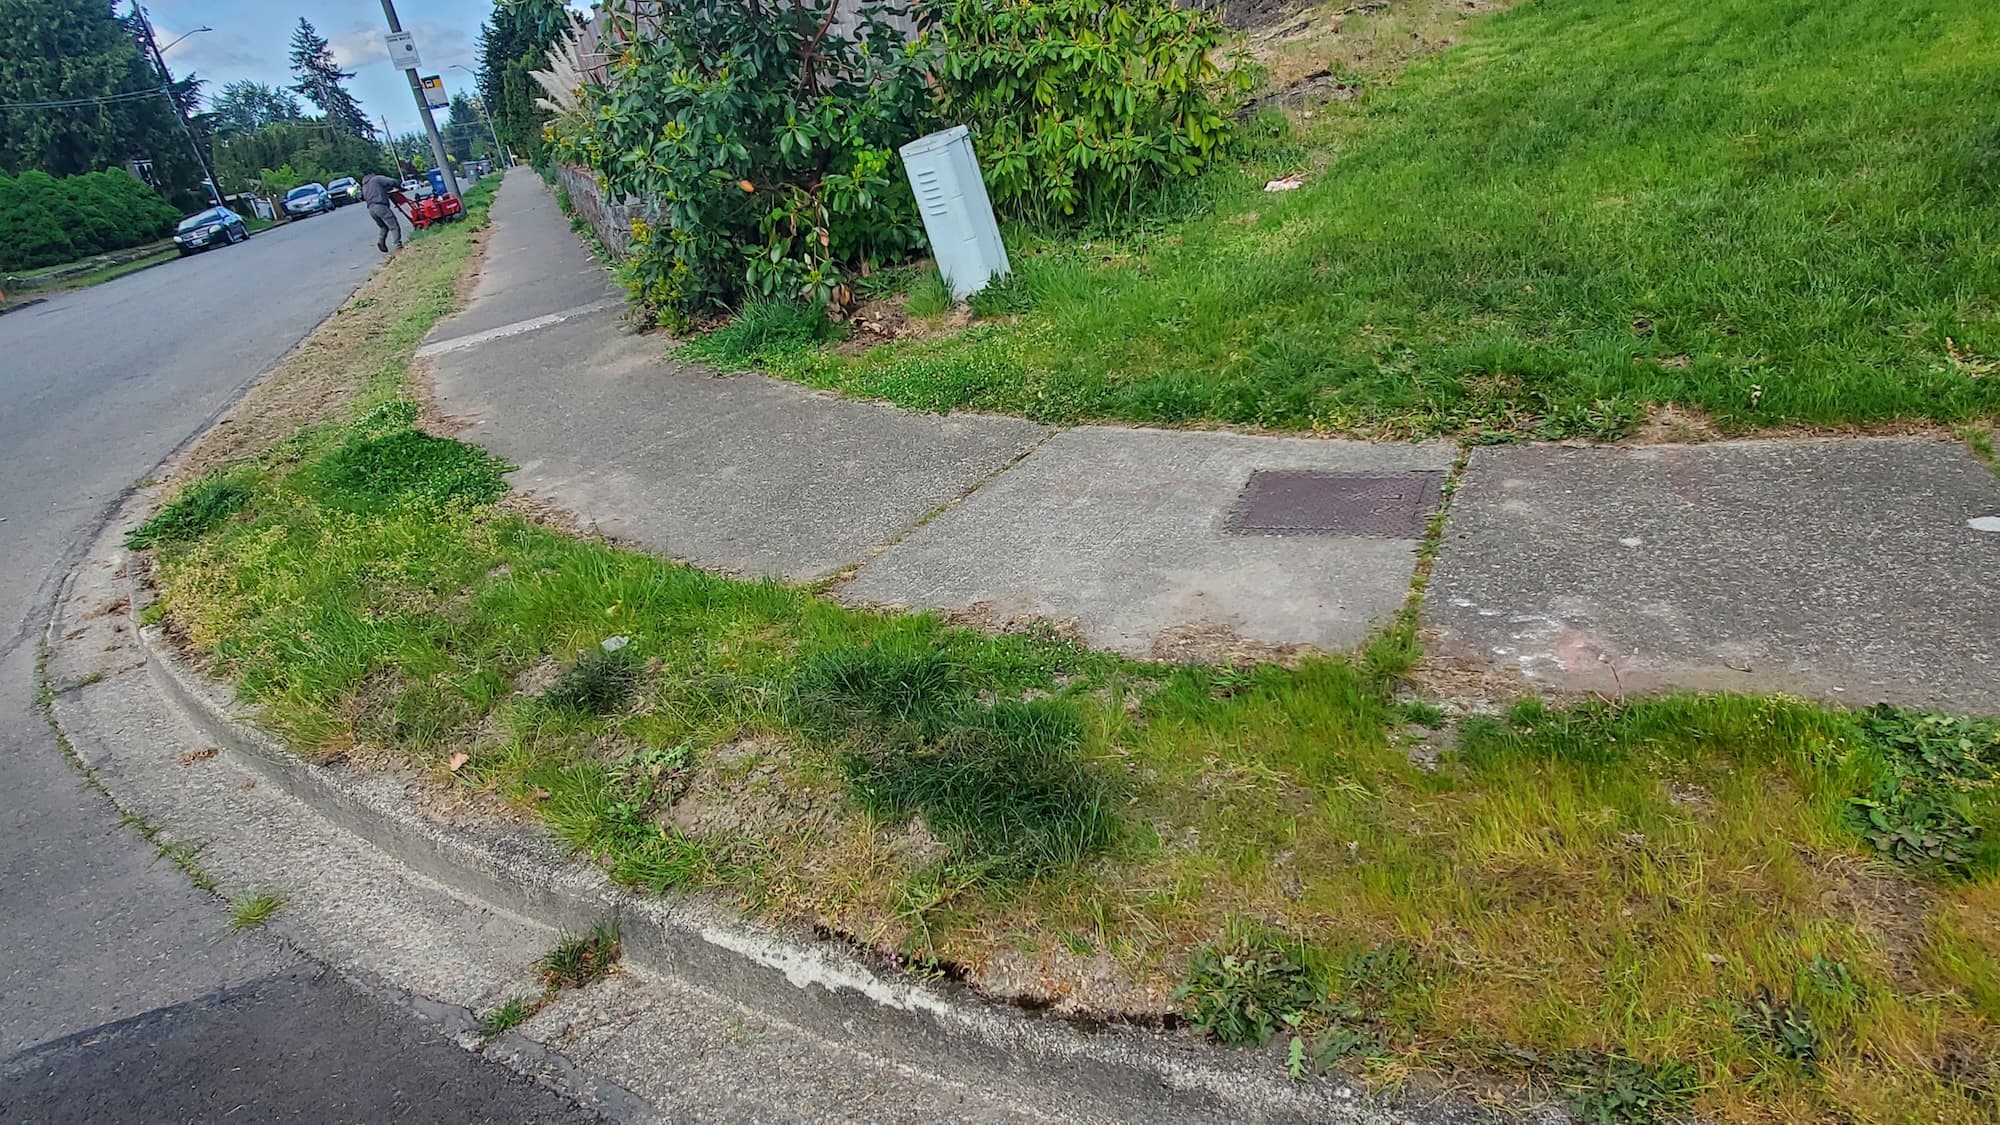
Creating a gravel walkway can be a game-changer for your property. It enhances curb appeal, provides a safe path for foot traffic, and requires minimal maintenance. However, the installation process can be daunting for many homeowners, especially in Seattle’s diverse weather conditions. This article will guide you through the gravel walkway installation process, highlighting the benefits, steps involved, and why hiring professionals can save you time and ensure quality results.
Description
What the Service Includes
When you hire a professional team for gravel walkway installation, you can expect:
- Site Assessment: Evaluating the best path and materials for your walkway.
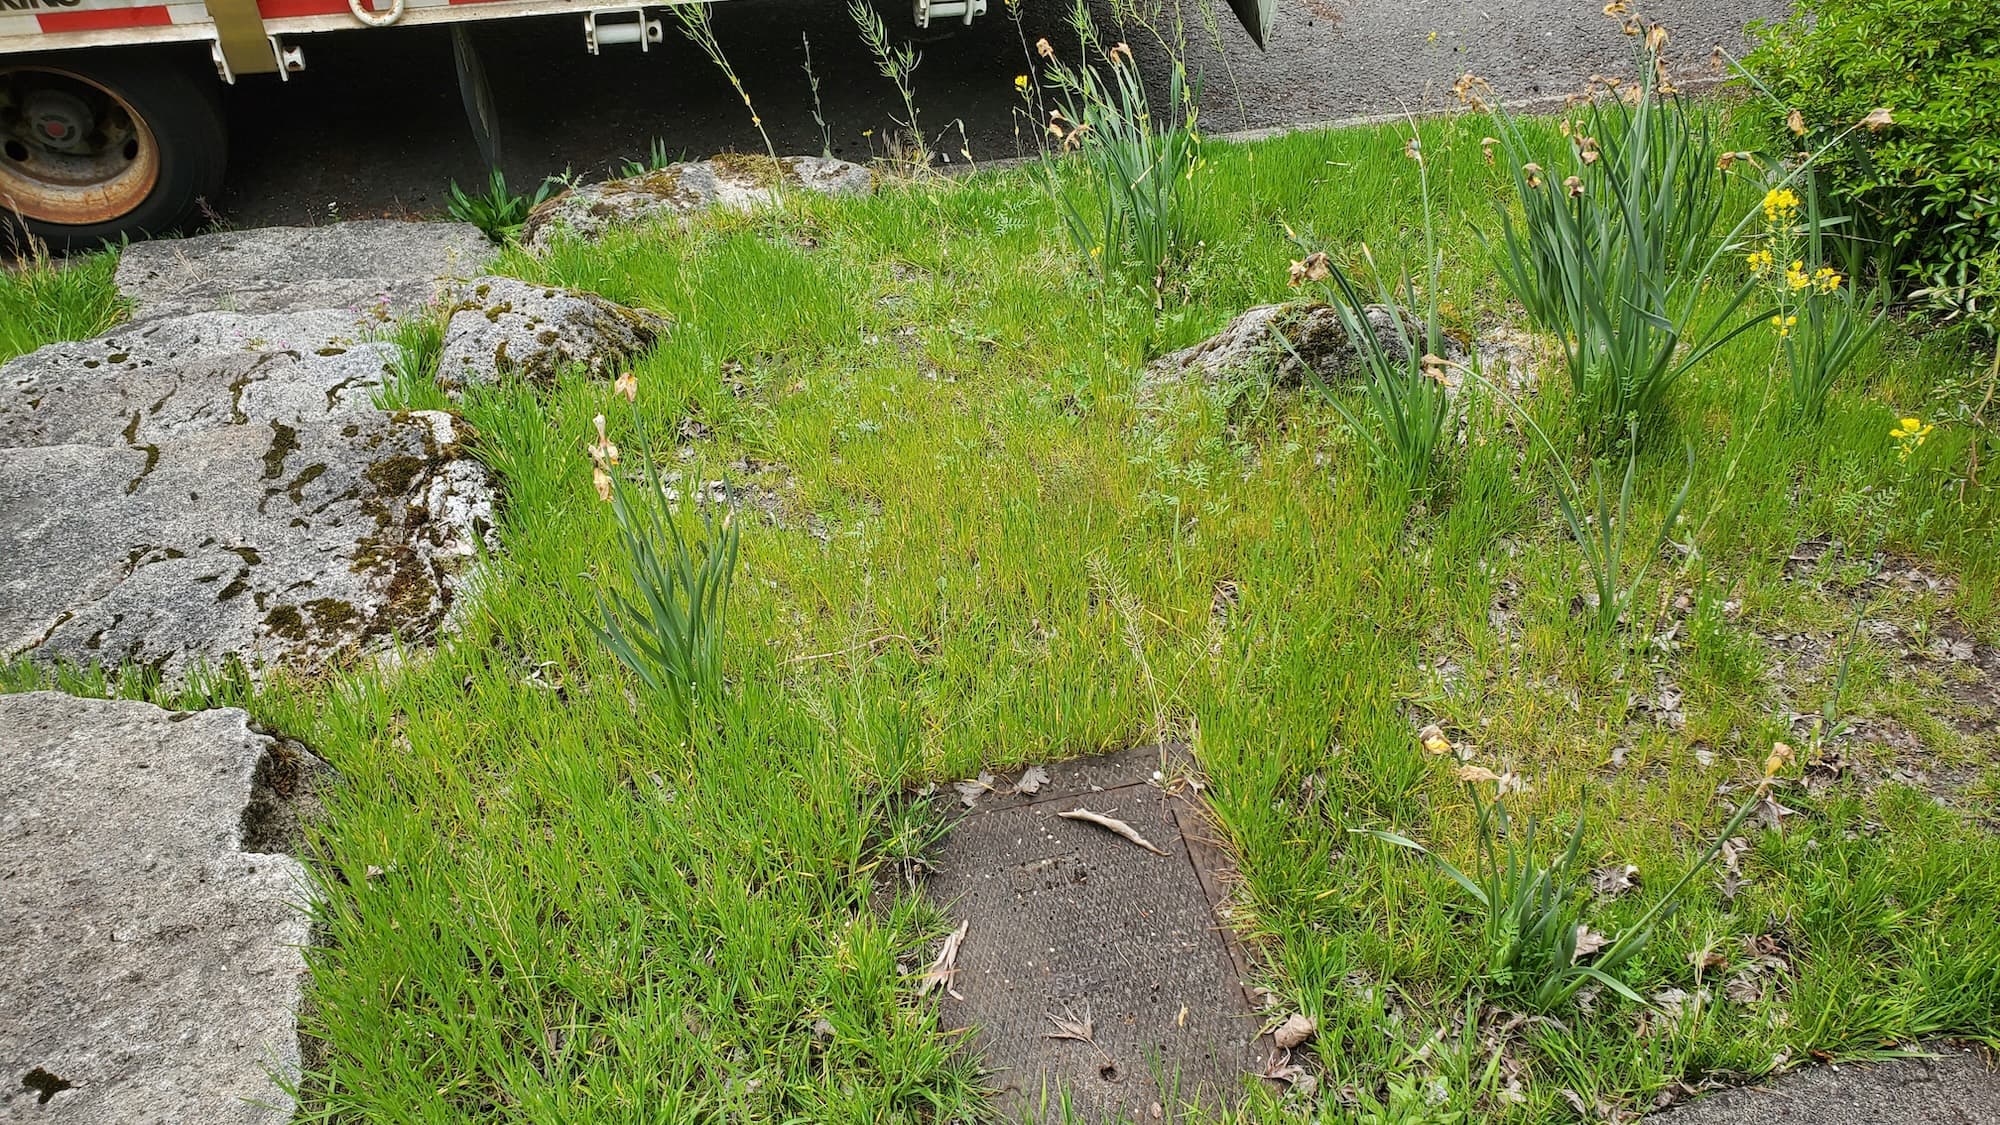
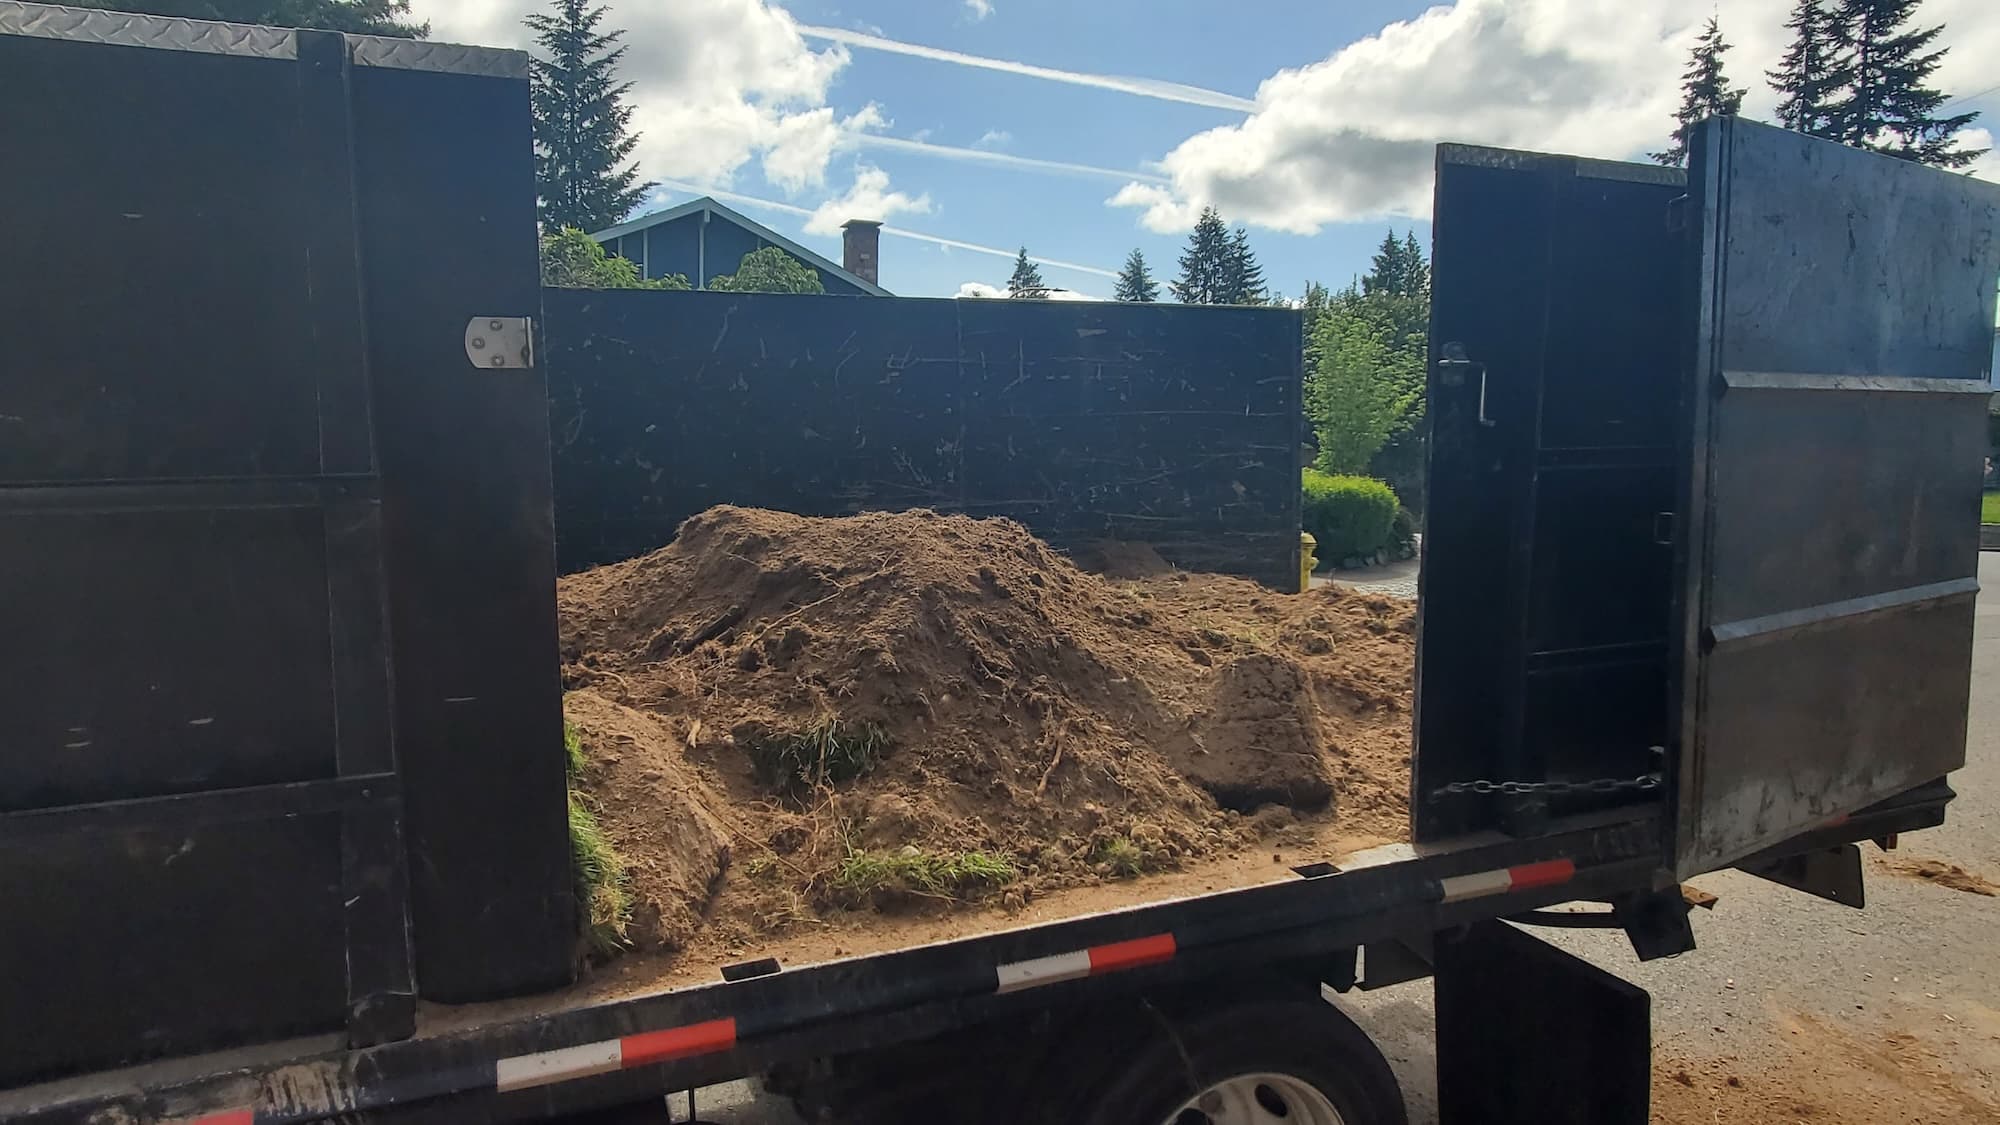
- Excavation: Removing existing grass, soil, or debris.
- Edging Installation: Setting up borders to keep the gravel contained.
- Base Layer Installation: Laying down a sturdy foundation of crushed stone.
- Gravel Placement: Spreading the gravel evenly for a smooth finish.
Key Benefits
- Improved Appearance: A well-designed gravel walkway enhances your landscape’s visual appeal.
- Durability: Gravel pathways can withstand Seattle’s rain and changing seasons.
- Safety: Provides stable footing, reducing slip hazards.
- Eco-Friendly Options: Gravel is a natural material that allows rainwater to drain effectively.
Why Hire a Pro
Opting for a professional crew means:
- Local Expertise: Knowledge of Seattle’s unique climate and soil conditions.
- Licensed & Insured: Protects you from liability and ensures quality workmanship.
- Professional Tools: Access to specialized equipment for efficient installation.
Our Approach
Step-by-Step Breakdown of Tasks
- Consultation: Discuss your vision, preferences, and budget.
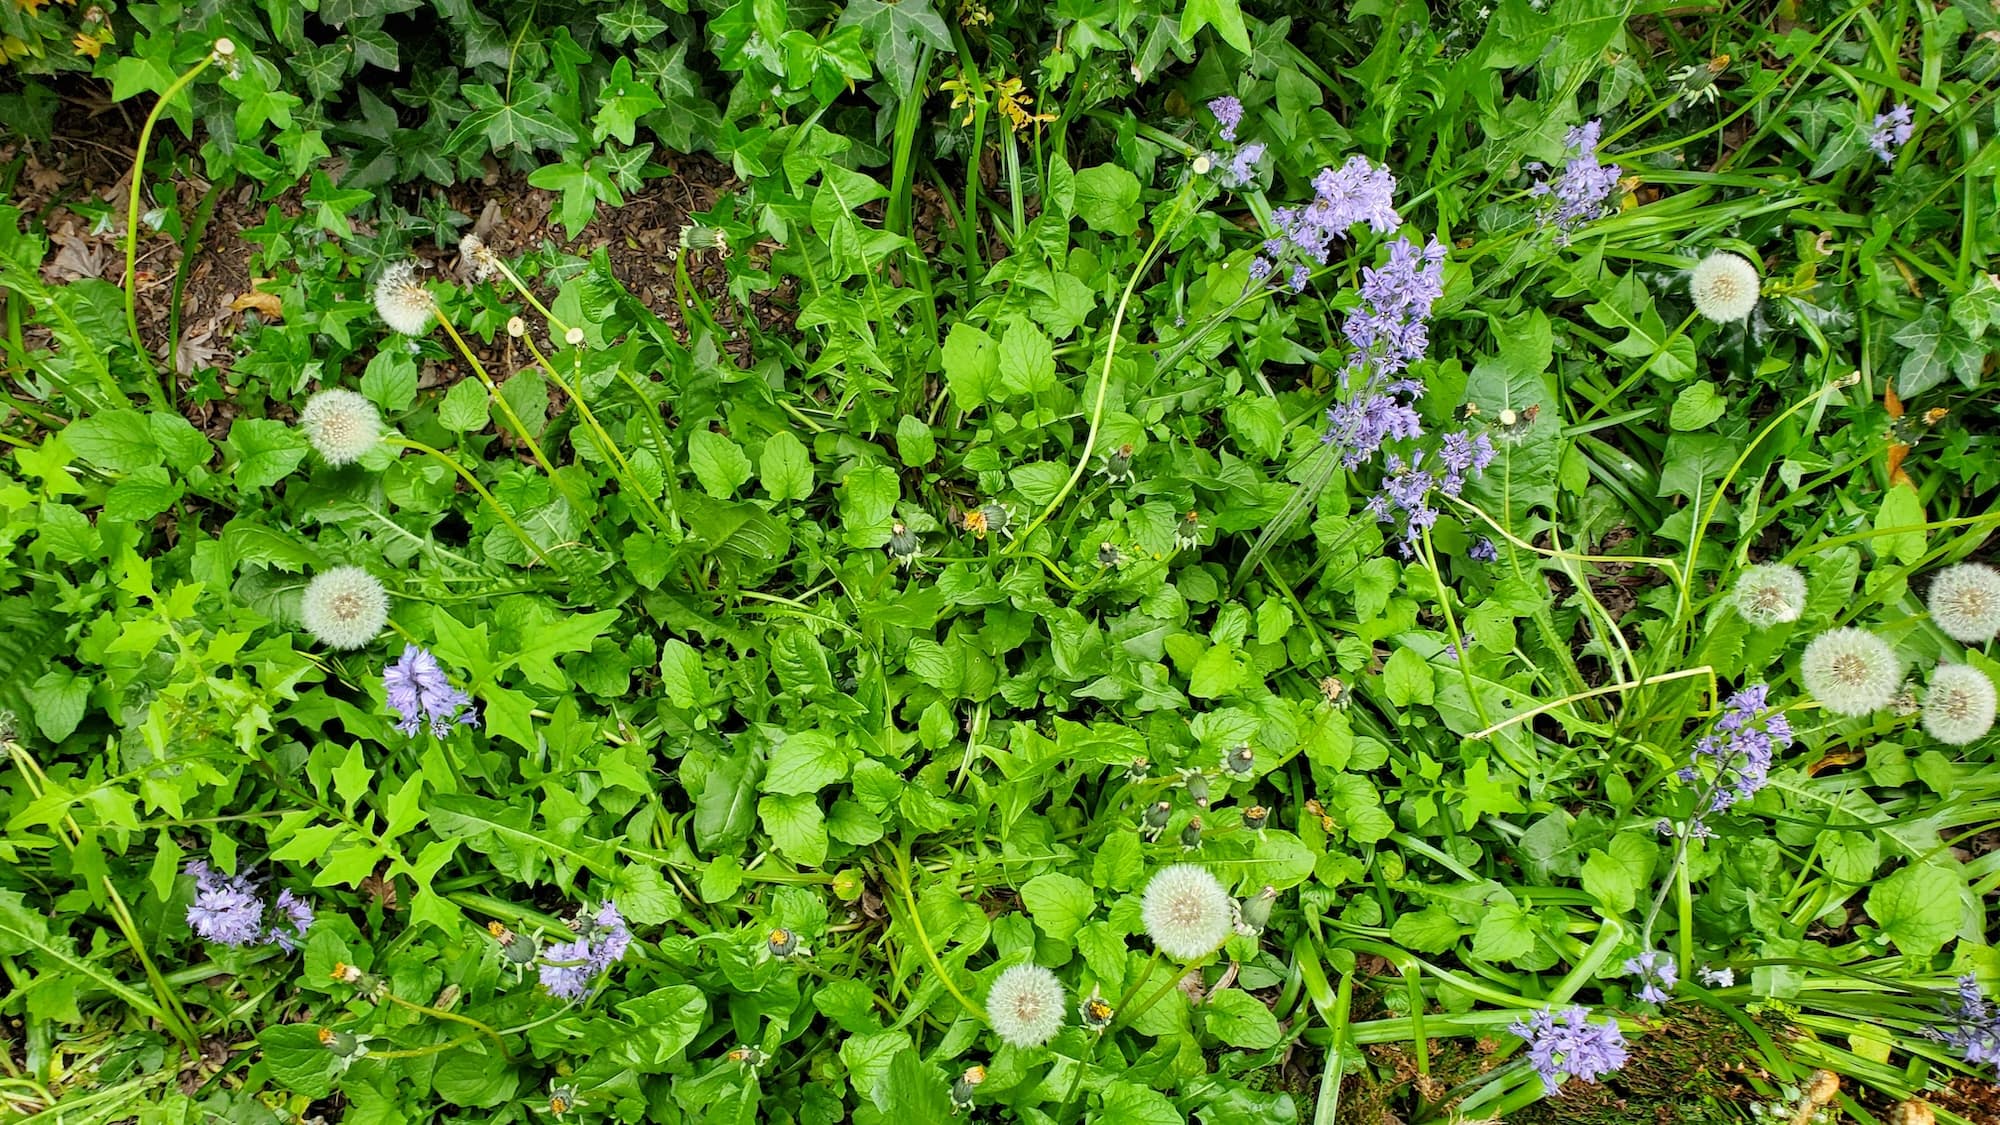
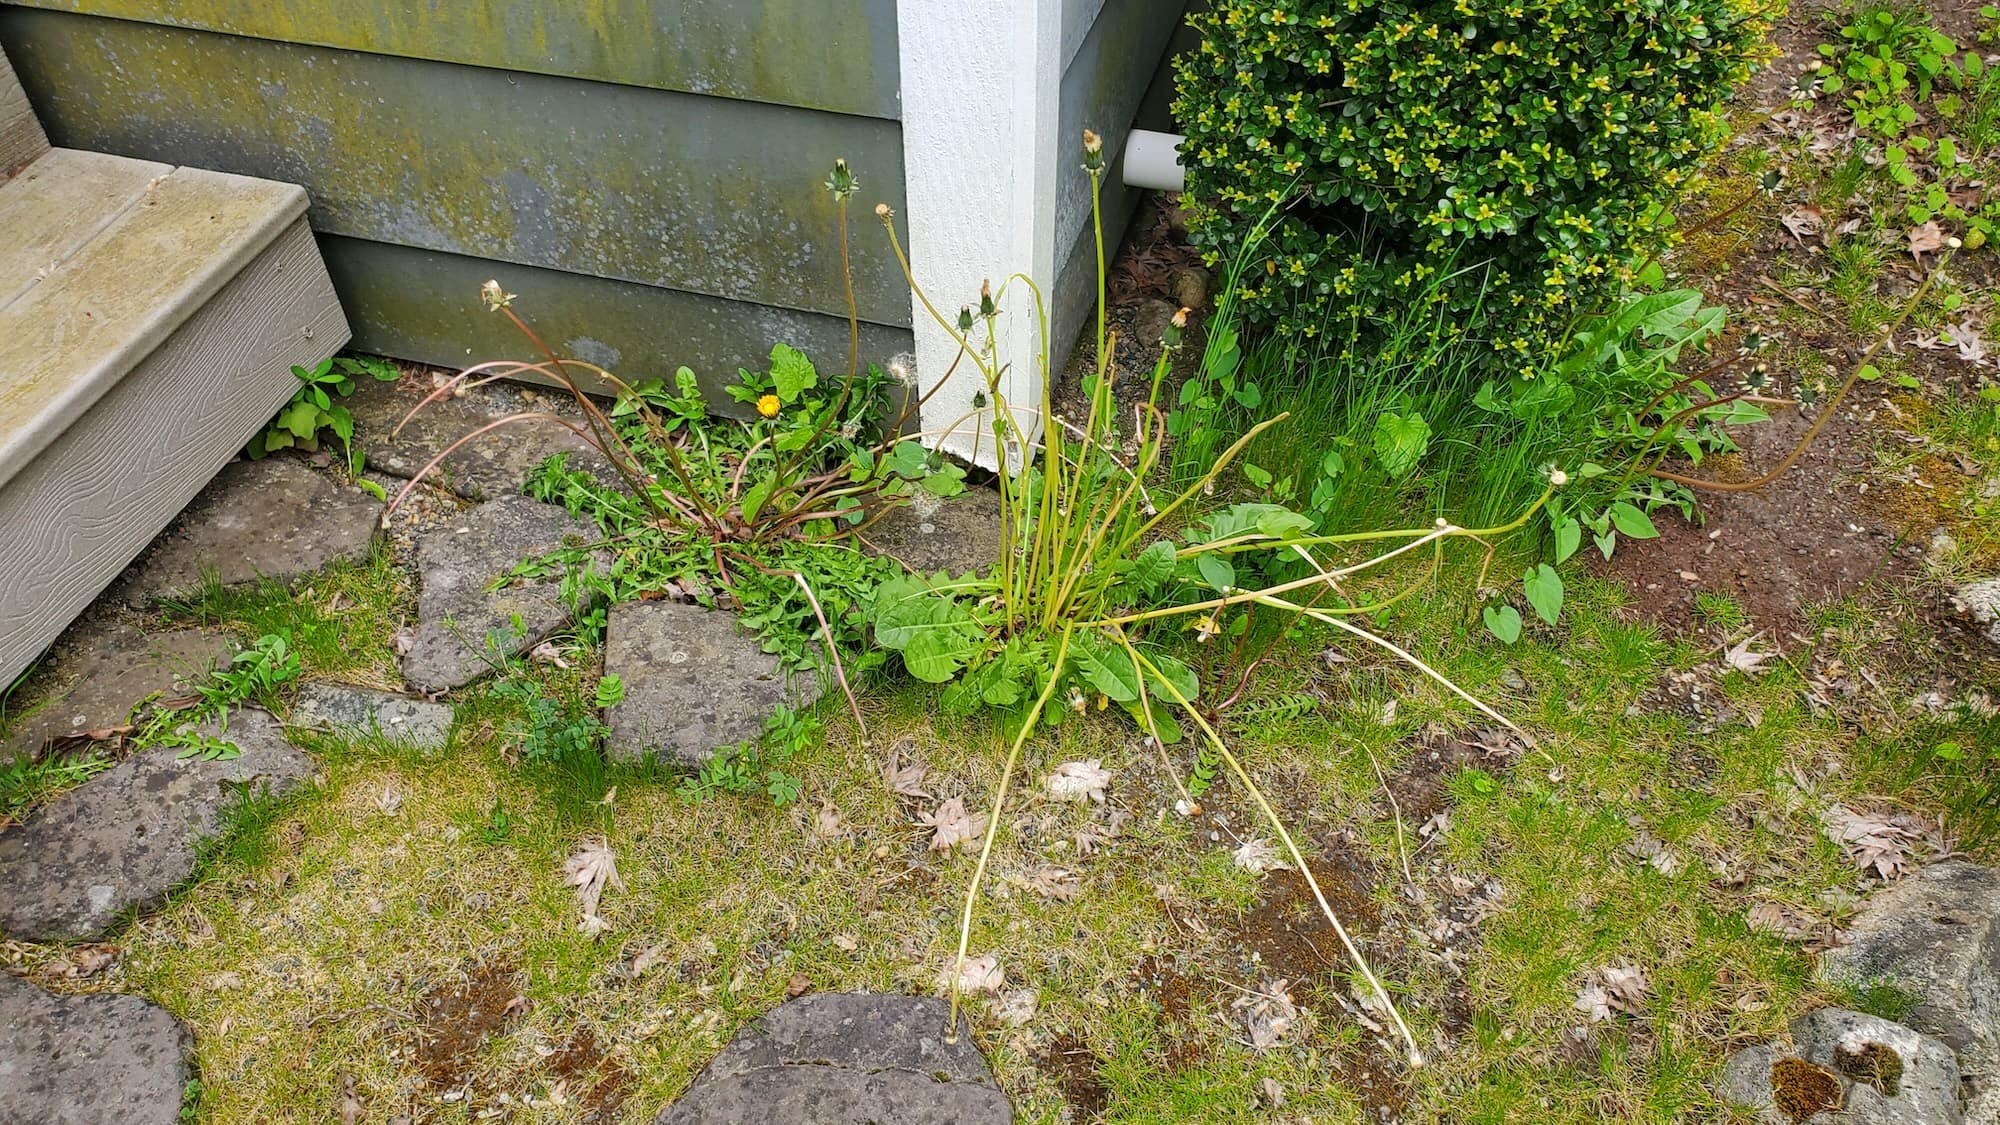
- Site Preparation: Clear the path of any vegetation and debris.
- Excavation: Dig down to an appropriate depth (typically 4-6 inches).
- Edging Installation: Install landscape timbers or metal edging to define the walkway.
- Base Layer: Add a 2-3 inch layer of crushed stone for drainage and stability.
- Gravel Placement: Spread 2-3 inches of gravel evenly over the base layer.
- Final Touches: Compact the gravel and ensure a level surface.
On-Site Expectations
- The crew will arrive with tools like shovels, rakes, wheelbarrows, and compactors.
- Homeowners can expect clear communication and updates throughout the process.
- Safety measures will be in place, including proper use of tools and equipment.
We’re a full-service landscaping and hardscaping crew. Our goal is to tidy your yard, protect your property, and give it lasting curb appeal.
Service Pricing
How Pricing Works
- Flat Rate: For standard installations based on square footage.
- Custom Quotes: For unique designs, difficult access, or additional features.
Variables Affecting Cost
- Lot Size: Larger areas will increase material and labor costs.
- Debris Volume: More excavation means higher disposal fees.
- Access: Difficult-to-reach locations can add to labor costs.
- Add-Ons: Extra features like lighting or decorative stones will increase the overall price.
Cost Range: Expect to pay between $10 to $25 per square foot, depending on the factors above. Keep in mind that taxes, dump fees, and extra hauling charges may apply.
What’s Included
Core Services
- Excavation & Grading: Preparing the site for gravel.
- Edging Installation: Ensuring the gravel stays in place.
- Gravel Installation: Laying down the gravel and compacting it for a stable surface.
Optional Extras
- Landscape Fabric: To prevent weed growth beneath the gravel.
- Planting: Adding plants or flowers alongside the walkway for aesthetics.
- Seasonal Upgrades: Refreshing gravel or adding decorative stones.
FAQs
Common Customer Concerns
- Scheduling: We typically schedule installations within 1-2 weeks, depending on demand.
- Turnaround Time: Most gravel walkways can be completed in 1-3 days.
- Dump Fees: Any debris removal will incur additional charges, which we will communicate upfront.
Maintenance Tips
- Regular Raking: Keep the gravel level and free of debris.
- Weed Control: Consider a weed barrier or periodic weeding to maintain appearance.
- Refilling Gravel: Over time, you may need to top up the gravel to keep it looking fresh.
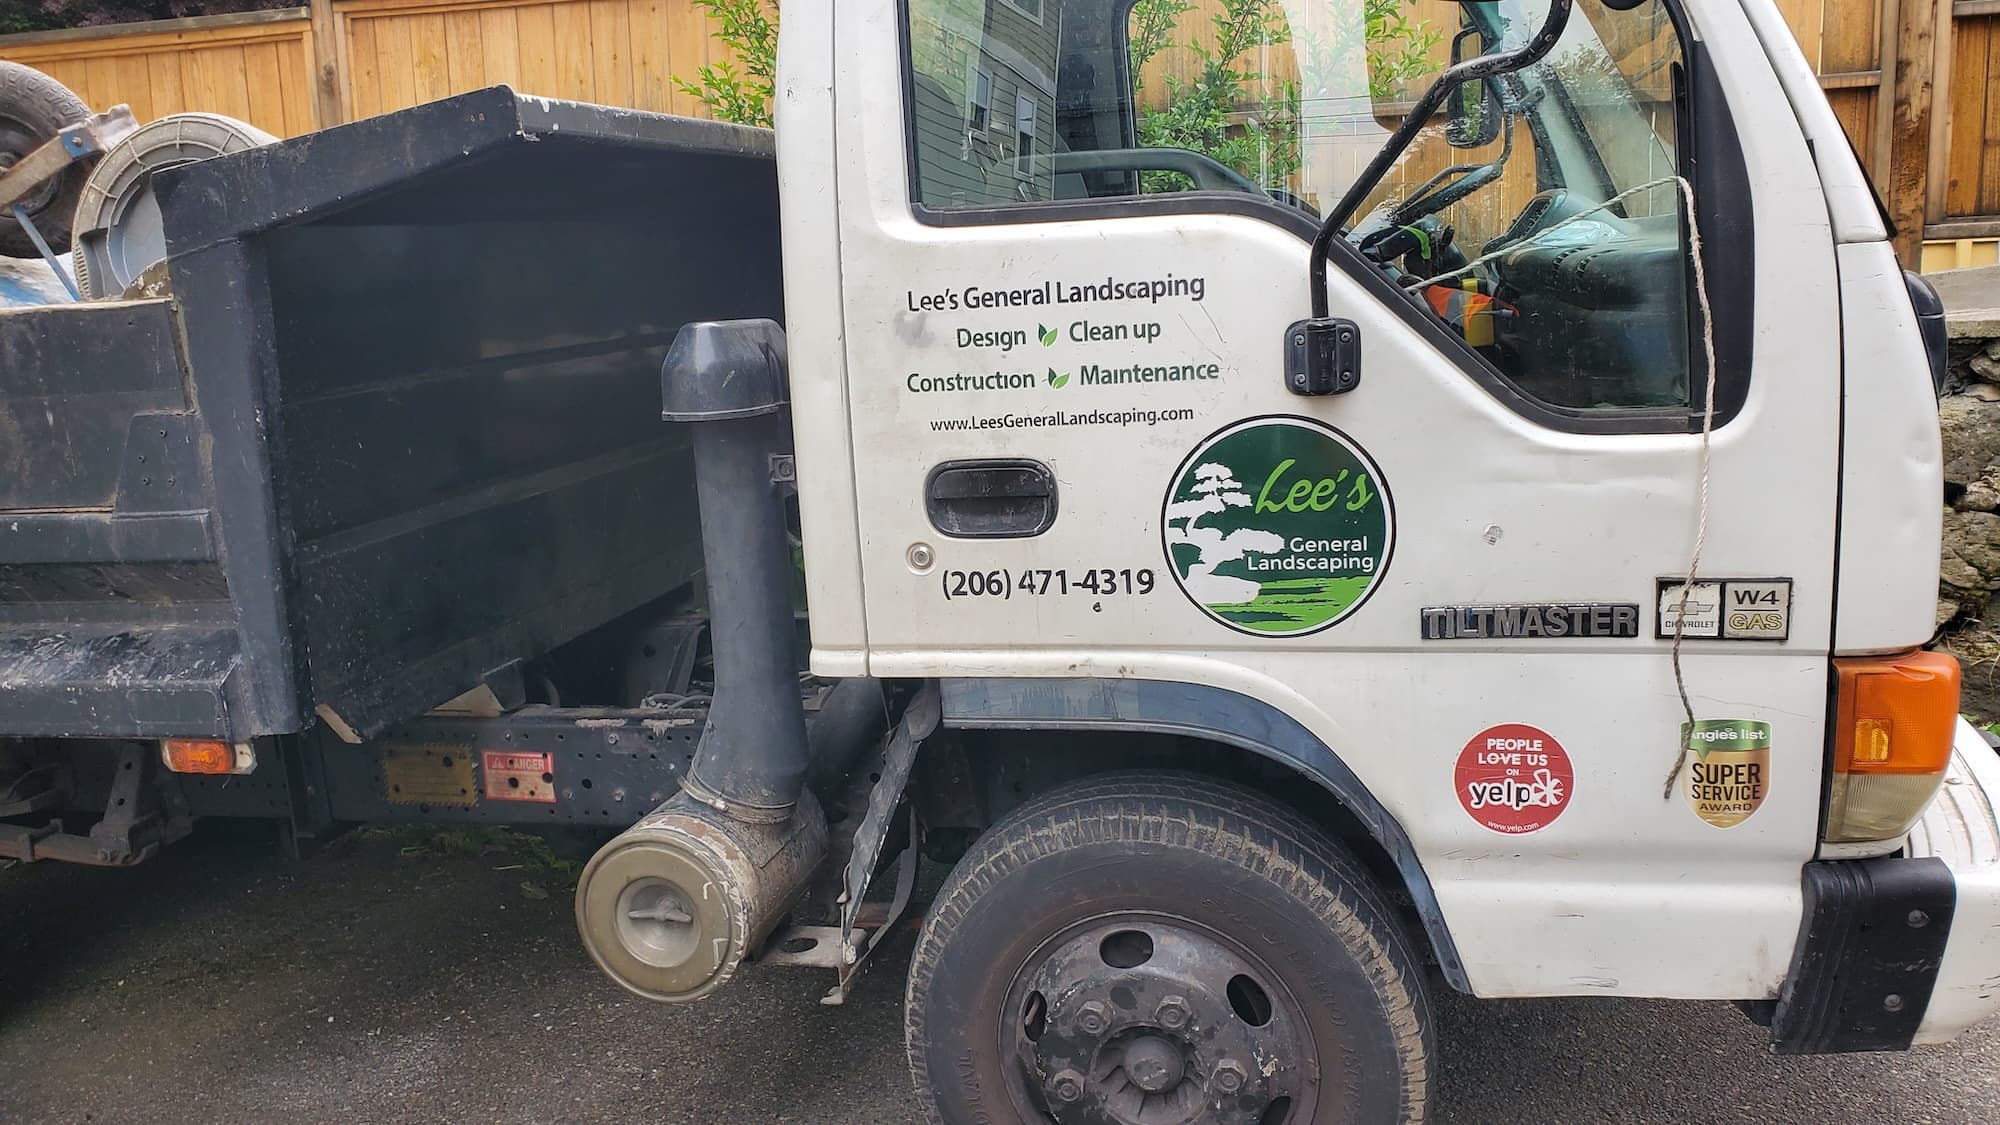
Why Choose Lee’s General Landscaping
- Experienced Local Crew: We understand Seattle’s unique landscape and weather.
- Licensed, Bonded & Insured: Your peace of mind is our priority.
- Hundreds of 5-Star Reviews: Our reputation speaks for itself across Yelp and Google.
Ready for a yard that stays neat?
Call or text Lee’s General Landscaping for a quick quote and a maintenance plan that fits your property.
⭐⭐⭐⭐⭐ 400+ Yelp Reviews • ⭐⭐⭐⭐⭐ 130+ Google Map Reviews
📧 Email: lees.g.landscaping@gmail.com
📞 Office: 206-259-7919
🕘 Hours: Mon–Sun: 9AM–6PM
🔒 Licensed • Bonded • Insured
DIY vs. Pro
DIY Considerations
- Time and Effort: DIY can save money but requires significant time and physical labor.
- Skill Level: If you’re not comfortable with excavation or leveling, hiring a pro may be best.
Pro Benefits
- Quality Assurance: Professionals ensure the job is done right the first time.
- Efficiency: Saves you time, allowing you to enjoy your new walkway sooner.
Common Mistakes
- Insufficient Base Layer: Skimping on crushed stone can lead to shifting gravel.
- Ignoring Drainage: Proper grading is vital to prevent water pooling.
- Neglecting Edging: Without proper borders, gravel can spread into your lawn.
By following these guidelines, you can ensure a successful gravel walkway installation that enhances your property’s functionality and beauty.