Seattle Gravel Paths with Integrated Lighting
Creating a beautiful and functional outdoor space in Seattle can be a challenge, especially when considering the area’s unique weather and terrain. Homeowners often struggle with muddy paths, poor visibility at night, and the upkeep of traditional paving methods. The solution? Gravel paths with integrated lighting. This approach not only enhances curb appeal but also improves safety and reduces maintenance needs. In this article, we’ll walk you through the process of installing these paths, the benefits they offer, and why you might want to consider hiring a professional.
Description
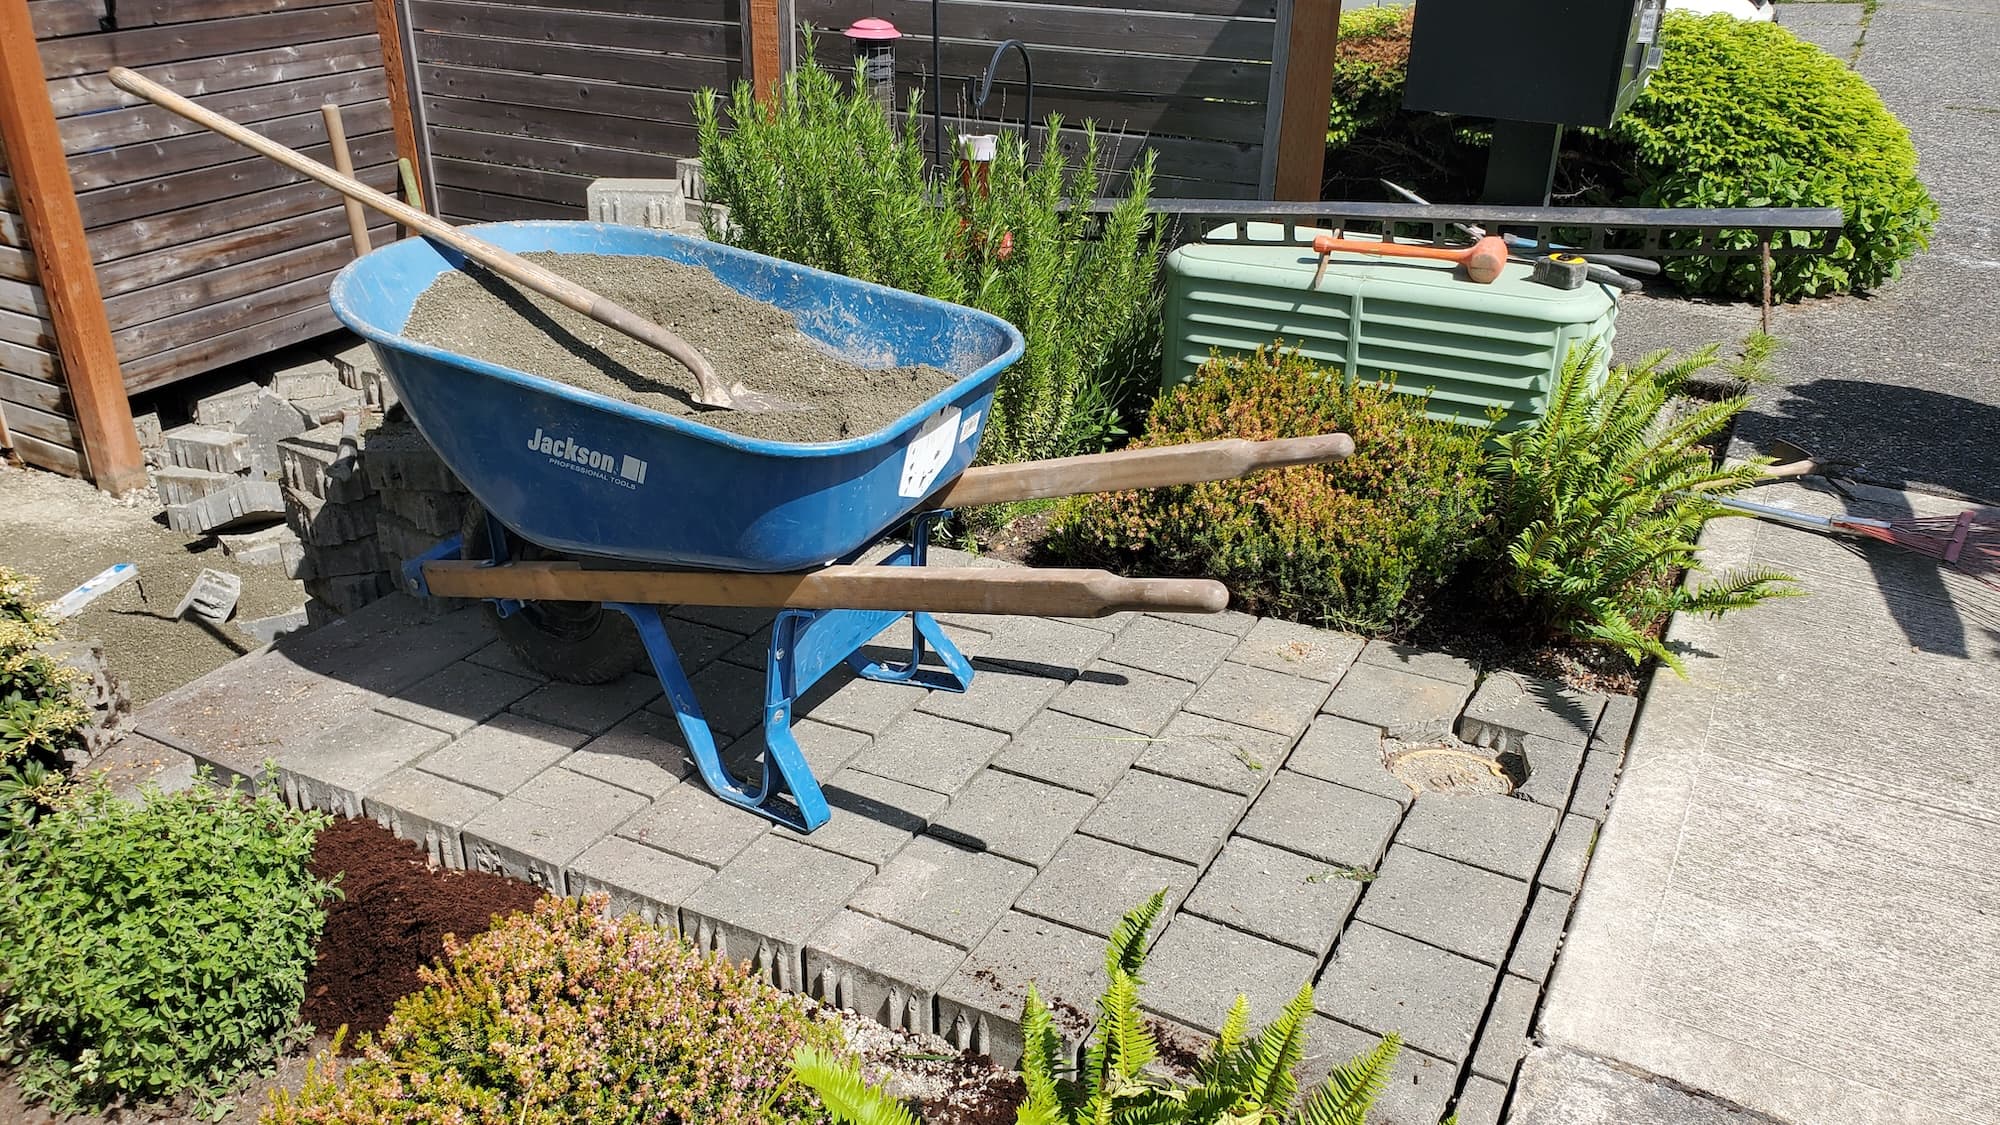
What the Service Includes
- Design Consultation: Discuss layout, lighting options, and materials.
- Site Preparation: Clearing vegetation, leveling the ground, and ensuring proper drainage.
- Gravel Installation: Laying landscape fabric and distributing gravel evenly.
- Lighting Integration: Installing solar or low-voltage lighting along the path.
Key Benefits
- Improved Appearance: A well-designed gravel path enhances your landscape and provides a rustic charm.
- Durability: Gravel is resilient against Seattle’s heavy rains and can handle foot traffic without cracking.
- Safety: Integrated lighting illuminates pathways, reducing trip hazards.
- Eco-Friendly Options: Gravel paths allow rainwater to permeate, reducing runoff and promoting drainage.
Why Hire a Pro
- Local Expertise: Knowledge of Seattle’s climate and soil conditions.
- Licensed & Insured: Peace of mind knowing the work is backed by professionals.
- Professional Tools: Access to specialized equipment ensures a high-quality finish.
Our Approach
Step-by-Step Breakdown
Design Planning:
- Assess your yard and discuss design options.
- Choose the type of gravel and lighting that fits your style.
Site Preparation:
- Clear the pathway area of grass, weeds, and debris.
- Dig out the path to a depth of about 4-6 inches for gravel.
Install Landscape Fabric:
- Lay down landscape fabric to prevent weed growth while allowing drainage.
Gravel Placement:
- Distribute a base layer of larger gravel (3/4 inch) for stability, followed by a top layer of finer gravel (1/4 inch) for aesthetic appeal.
- Compact the gravel to create a firm surface.
Lighting Installation:
- Install solar lights or low-voltage fixtures along the edges of the path.
- Ensure lights are spaced evenly for optimal illumination.
Finishing Touches:
- Clean the area and perform a final inspection to ensure everything is secure and visually appealing.
On-Site Expectations
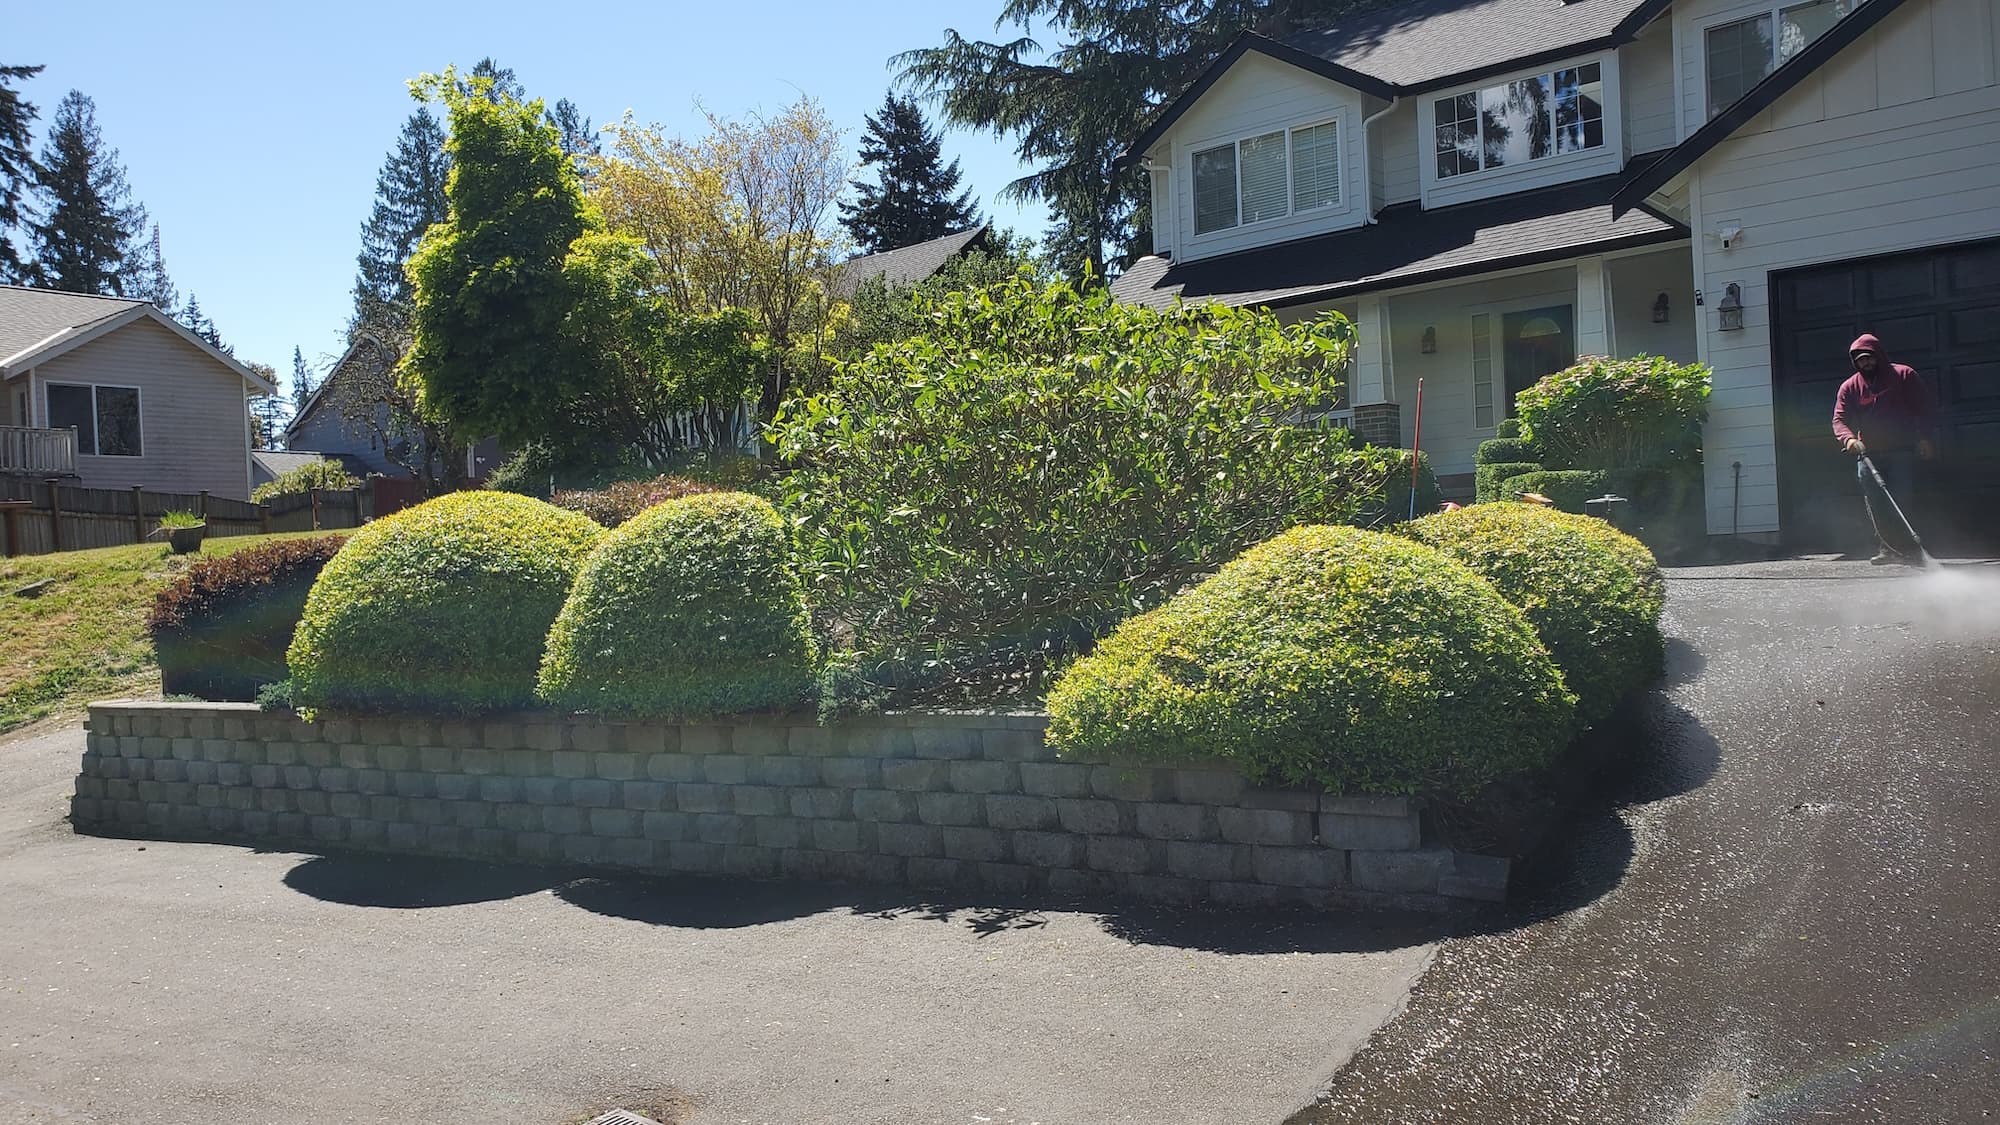
- Our crew works efficiently, minimizing disruption to your yard.
- Safety is our priority; we use proper gear and follow safety protocols.
- You’ll receive regular updates and be involved in key decisions, especially regarding layout and lighting.
Service Pricing
Pricing Structure
- Flat Rate vs. Custom Quotes: Depending on the complexity of your project, we offer flat rates for standard paths and custom quotes for more intricate designs.
- Variables Affecting Cost:
- Lot size: Larger areas will generally cost more.
- Debris volume: More clearing means higher labor costs.
- Access: Hard-to-reach areas may require additional equipment or time.
- Add-ons: Choose from options like decorative stones or seasonal plantings.
Additional Costs
- Be aware of potential tax, dump fees for debris, or extra hauling charges if your site requires it.
What’s Included
Core Services
- Pathway Construction: Gravel installation and lighting integration.
- Maintenance: Basic upkeep advice for your new path.
Optional Extras
- Decorative Gravel: Choose from various colors and sizes.
- Landscape Fabric: For enhanced weed control.
- Planting: Add native plants or flowers alongside the path.
- Seasonal Upgrades: Refresh your path with seasonal decor or lighting options.
FAQs
Common Concerns
- Scheduling: We typically schedule projects within 1-2 weeks, depending on weather and crew availability.
- Turnaround Time: Most gravel paths can be completed in 1-3 days.
- Dump Fees: Any debris removal will incur additional costs.
Maintenance Tips
- Regularly check for weeds and remove them promptly.
- Rake the gravel periodically to maintain an even surface.
- Check lighting fixtures for functionality, especially after the winter months.
Why Choose Lee’s General Landscaping
- Our experienced local crew is dedicated to clean and efficient work.
- We are licensed, bonded, and insured, providing peace of mind for homeowners.
- With hundreds of 5-star reviews across Yelp and Google, our reputation speaks for itself.
DIY vs. Pro
DIY: Installing a gravel path can be a rewarding project for the handy homeowner. However, it requires physical labor, tools, and a good understanding of landscape design.
Pro: Hiring a professional ensures a polished finish, saves you time, and often results in a longer-lasting path. Plus, you won’t need to worry about the heavy lifting!
Common Mistakes
- Improper Drainage: Failing to ensure proper drainage can lead to water pooling.
- Not Compacting Gravel: Loose gravel can shift, creating an uneven path.
- Ignoring Lighting Placement: Poorly placed lights can lead to dark spots and safety hazards.
Ready for a yard that stays neat?
Call or text Lee’s General Landscaping for a quick quote and a maintenance plan that fits your property.
⭐⭐⭐⭐⭐ 400+ Yelp Reviews • ⭐⭐⭐⭐⭐ 130+ Google Map Reviews
📧 Email: lees.g.landscaping@gmail.com
📞 Office: 206-259-7919
🕘 Hours: Mon–Sun: 9AM–6PM
🔒 Licensed • Bonded • Insured