Seattle Brick Walkway Installation Services
Installing a brick walkway in your Seattle home can do wonders for your property. However, the process can seem daunting. Homeowners often face challenges such as choosing the right materials, ensuring proper drainage, and achieving a level surface. The best solution is to hire professionals who can navigate these complexities. A well-installed brick walkway not only boosts your home’s curb appeal but also enhances safety and requires less maintenance over time. In this article, we’ll cover everything you need to know about brick walkway installation, including the step-by-step process, tools and materials required, timelines, costs, and more.
Description
What the Service Includes
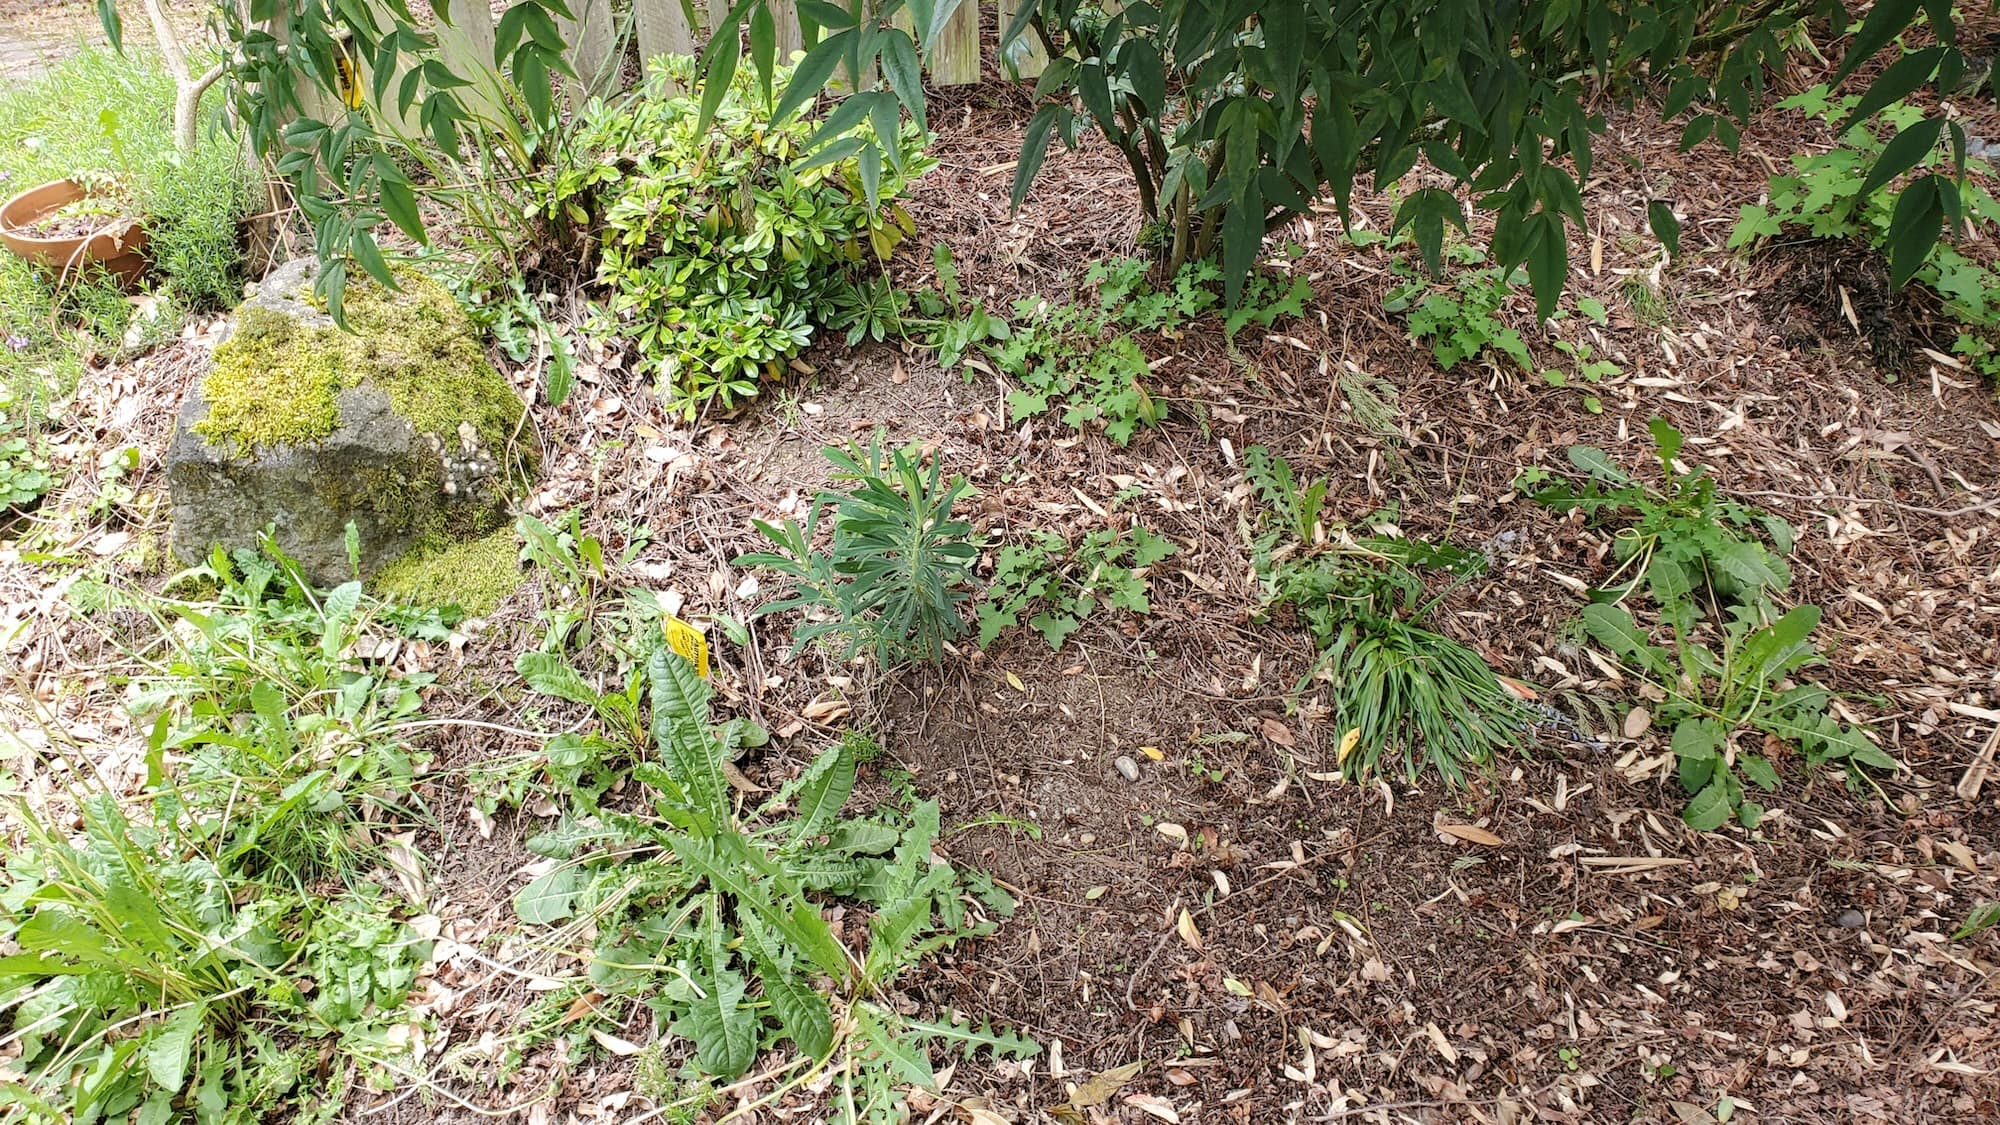
- Site Assessment: Evaluating the area for layout, drainage, and soil quality.
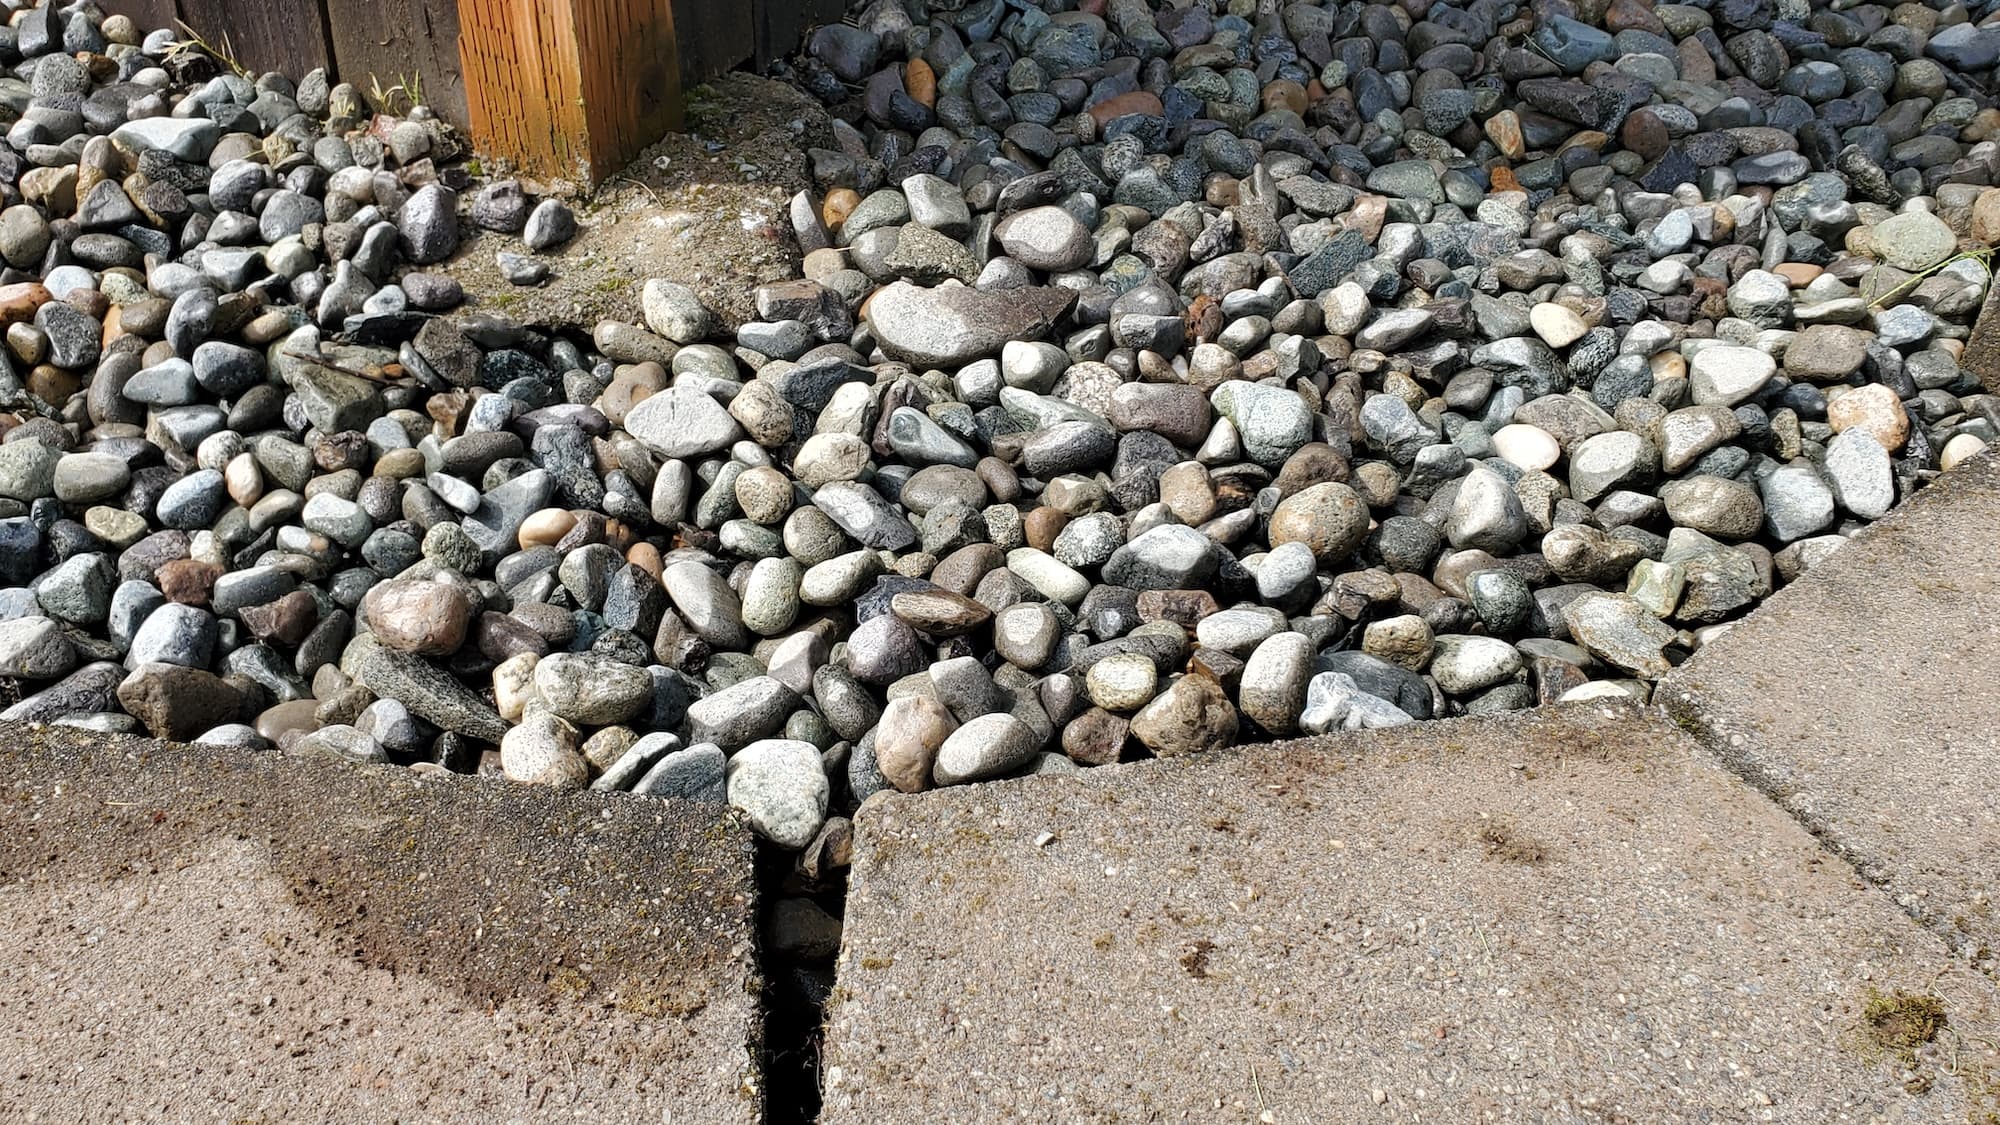
- Material Selection: Choosing the right type of bricks and base materials.
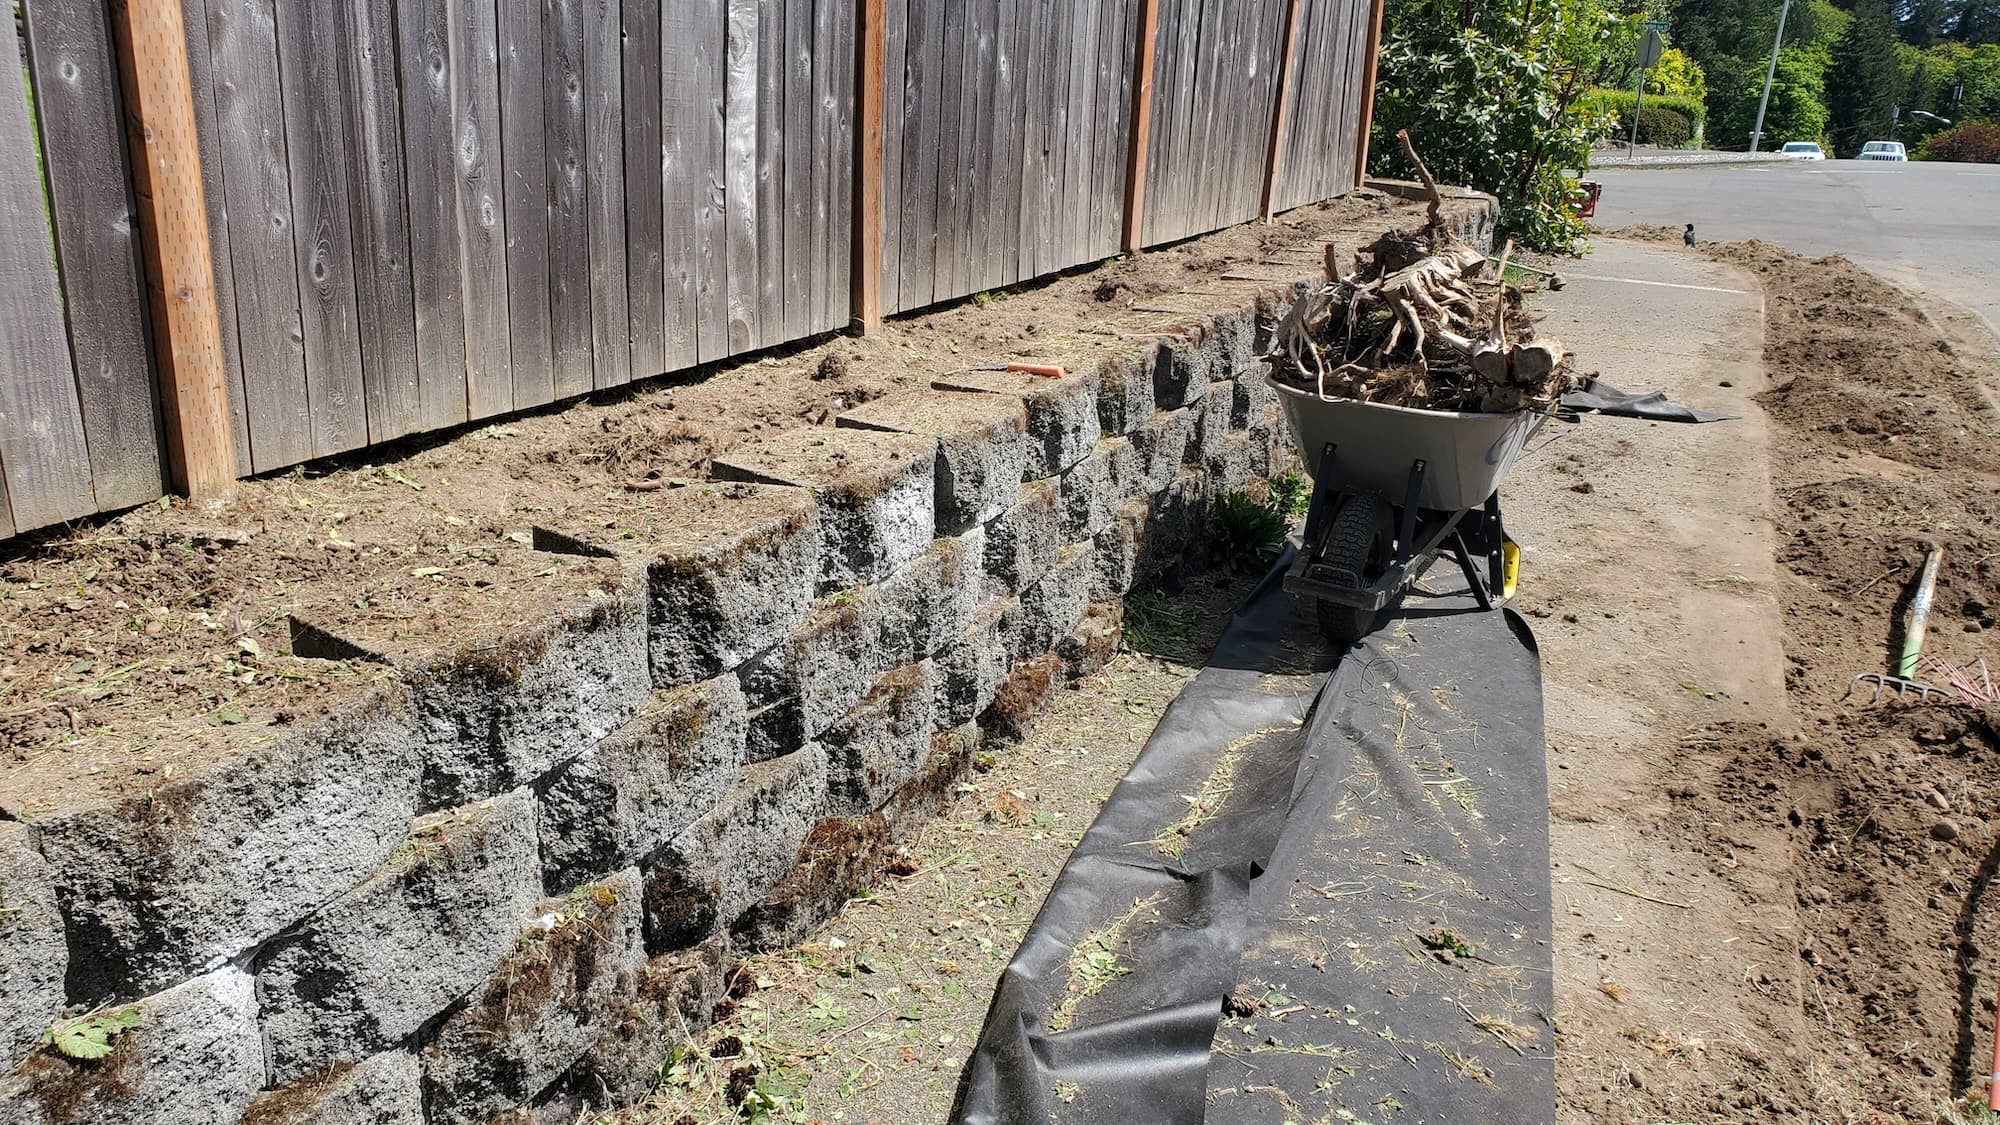
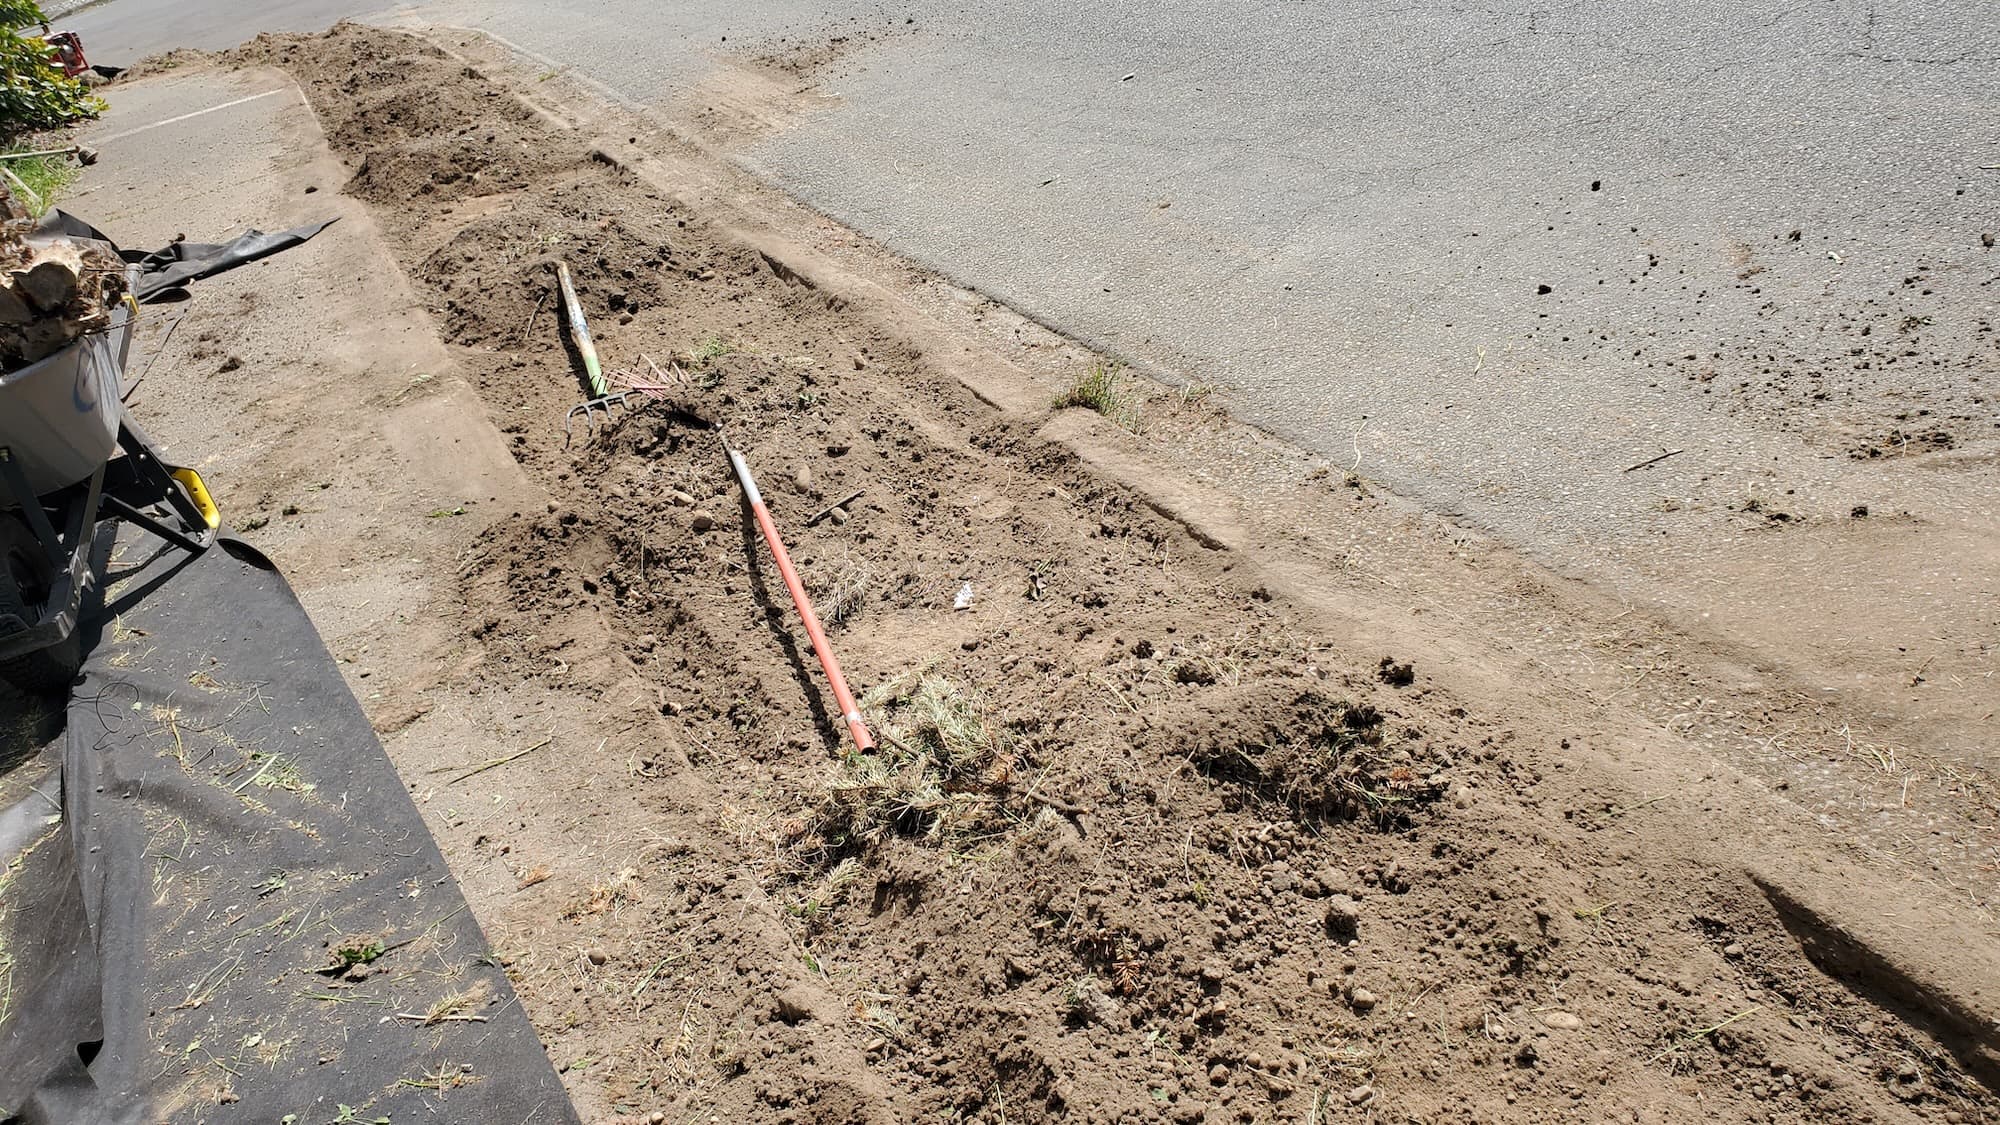
- Excavation: Digging out the pathway area to the appropriate depth.
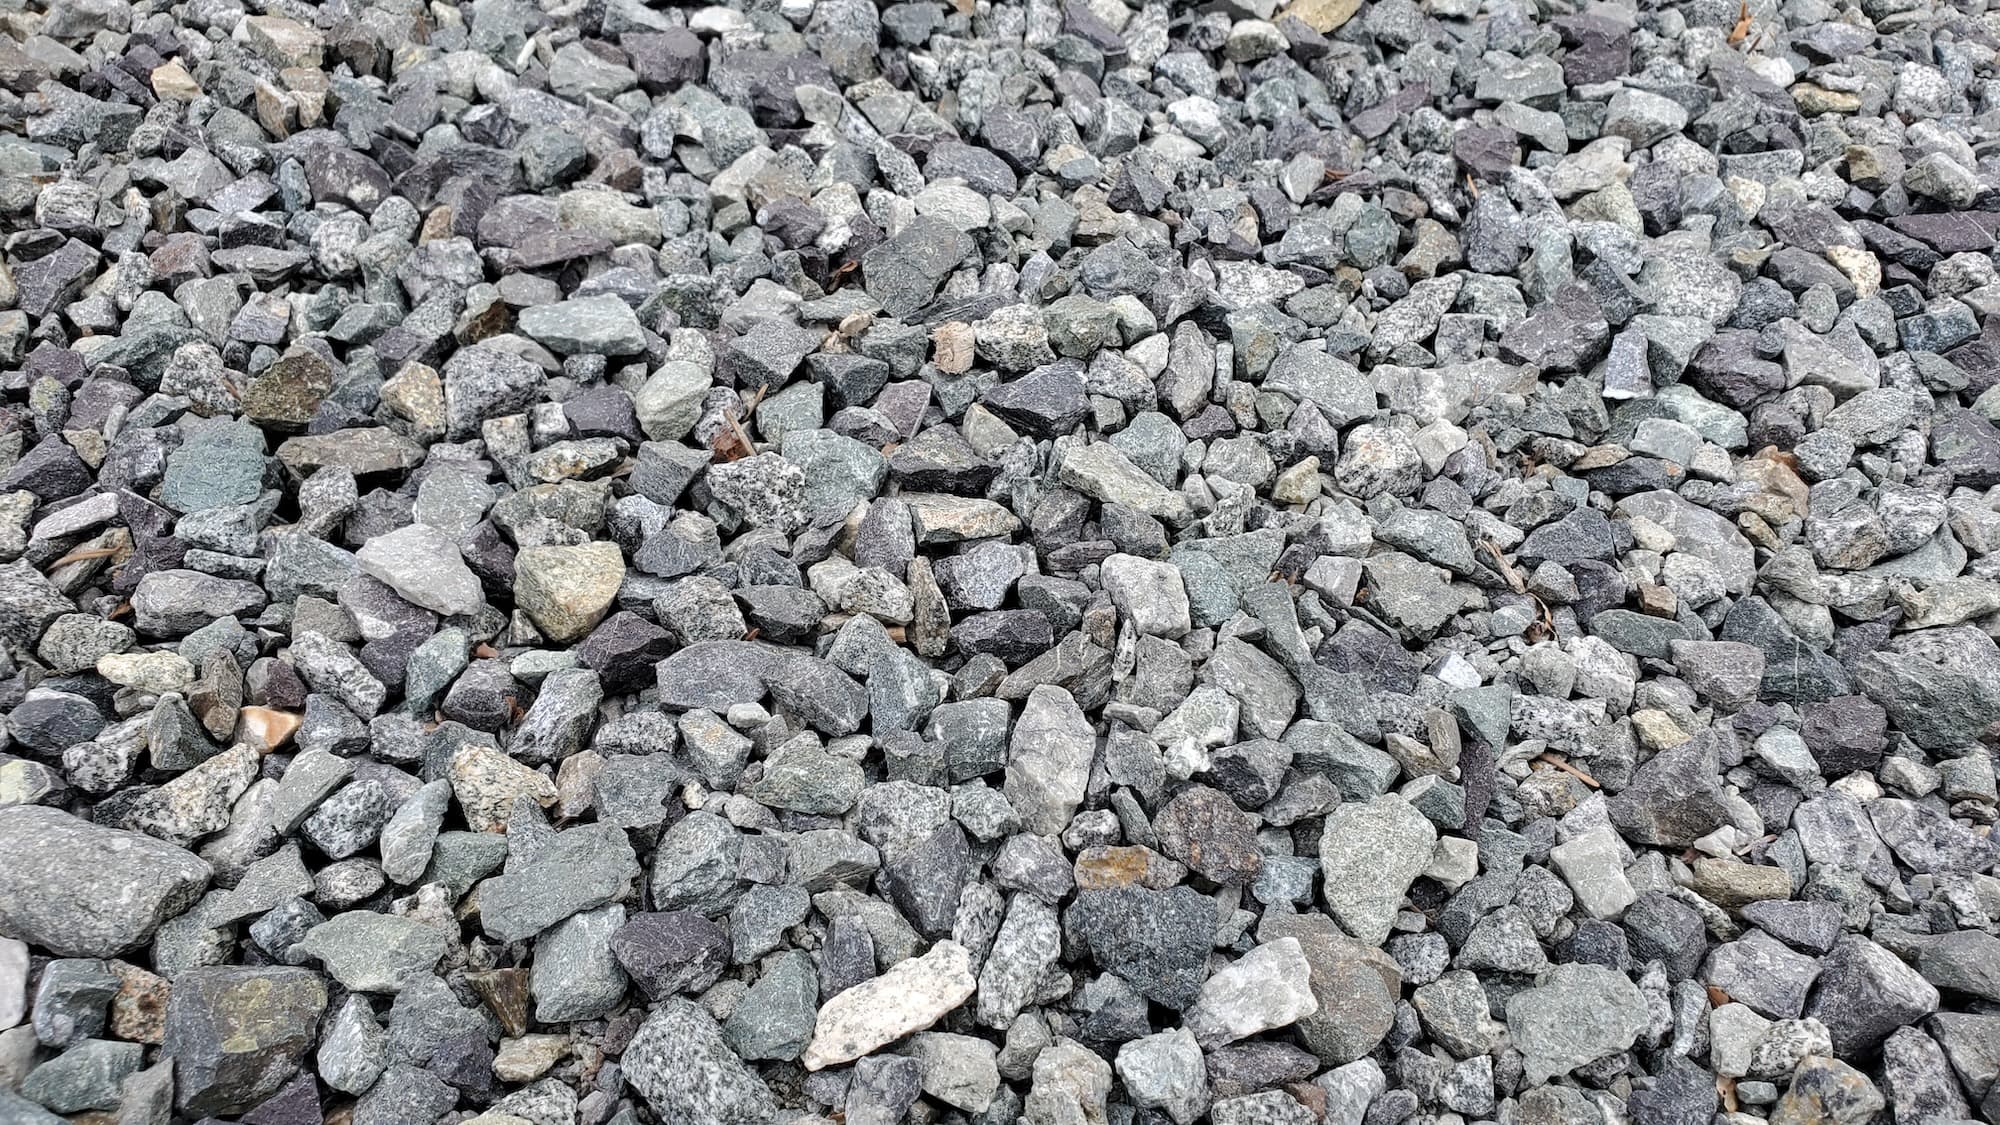
- Base Preparation: Laying down a base layer of gravel or sand for stability.
- Brick Installation: Setting bricks in a desired pattern and securing them.
- Finishing Touches: Filling joints with sand and compacting the surface.
Key Benefits
- Improved Appearance: A brick walkway adds charm and character to your landscape.
- Durability: Brick is weather-resistant and can last for decades with minimal upkeep.
- Safety: A well-constructed walkway reduces tripping hazards and improves accessibility.
- Eco-Friendly Options: Natural materials like brick are sustainable and recyclable.
Why Hire a Pro
- Local Expertise: Professionals understand Seattle’s unique climate and soil conditions.
- Licensed & Insured Crew: Protects you from liability in case of accidents.
- Professional Tools: Access to specialized equipment ensures a high-quality finish.
Our Approach
Step-by-Step Breakdown
- Initial Consultation: Discuss your vision and assess the site.
- Site Preparation: Clear the area of debris and vegetation.
- Excavation: Dig to a depth of 4-6 inches, depending on the base material.
- Base Layer Installation: Add 2-3 inches of compacted gravel or sand.
- Brick Laying: Begin laying bricks from one end, ensuring proper alignment.
- Joint Filling: Fill gaps with sand and compact to stabilize bricks.
- Final Inspection: Ensure everything is level and tidy.
What to Expect On-Site
- A friendly crew that respects your property.
- Efficient work practices to minimize disruption.
- Regular updates on progress and any adjustments needed.
We’re a full-service landscaping and hardscaping crew. Our goal is to tidy your yard, protect your property, and give it lasting curb appeal.
Service Pricing
Pricing Structure
- Flat Rate vs. Custom Pricing: Pricing can vary based on project specifics.
- Variables Affecting Cost:
- Lot Size: Larger areas will naturally require more materials and labor.
- Debris Volume: Extra charges may apply for site cleanup.
- Access: Difficult-to-reach locations may incur additional fees.
- Add-Ons: Features like lighting or decorative borders can increase costs.
Additional Fees
- Tax: Standard state and local taxes apply.
- Dump Fees: Charges for disposing of any debris.
- Extra Hauling Charges: If additional trips are needed for materials or debris.
What’s Included
Core Services
- Trimming: Edging around the walkway for a clean finish.
- Edging: Installing borders to keep bricks in place.
- Weeding: Clearing the area of any unwanted plants.
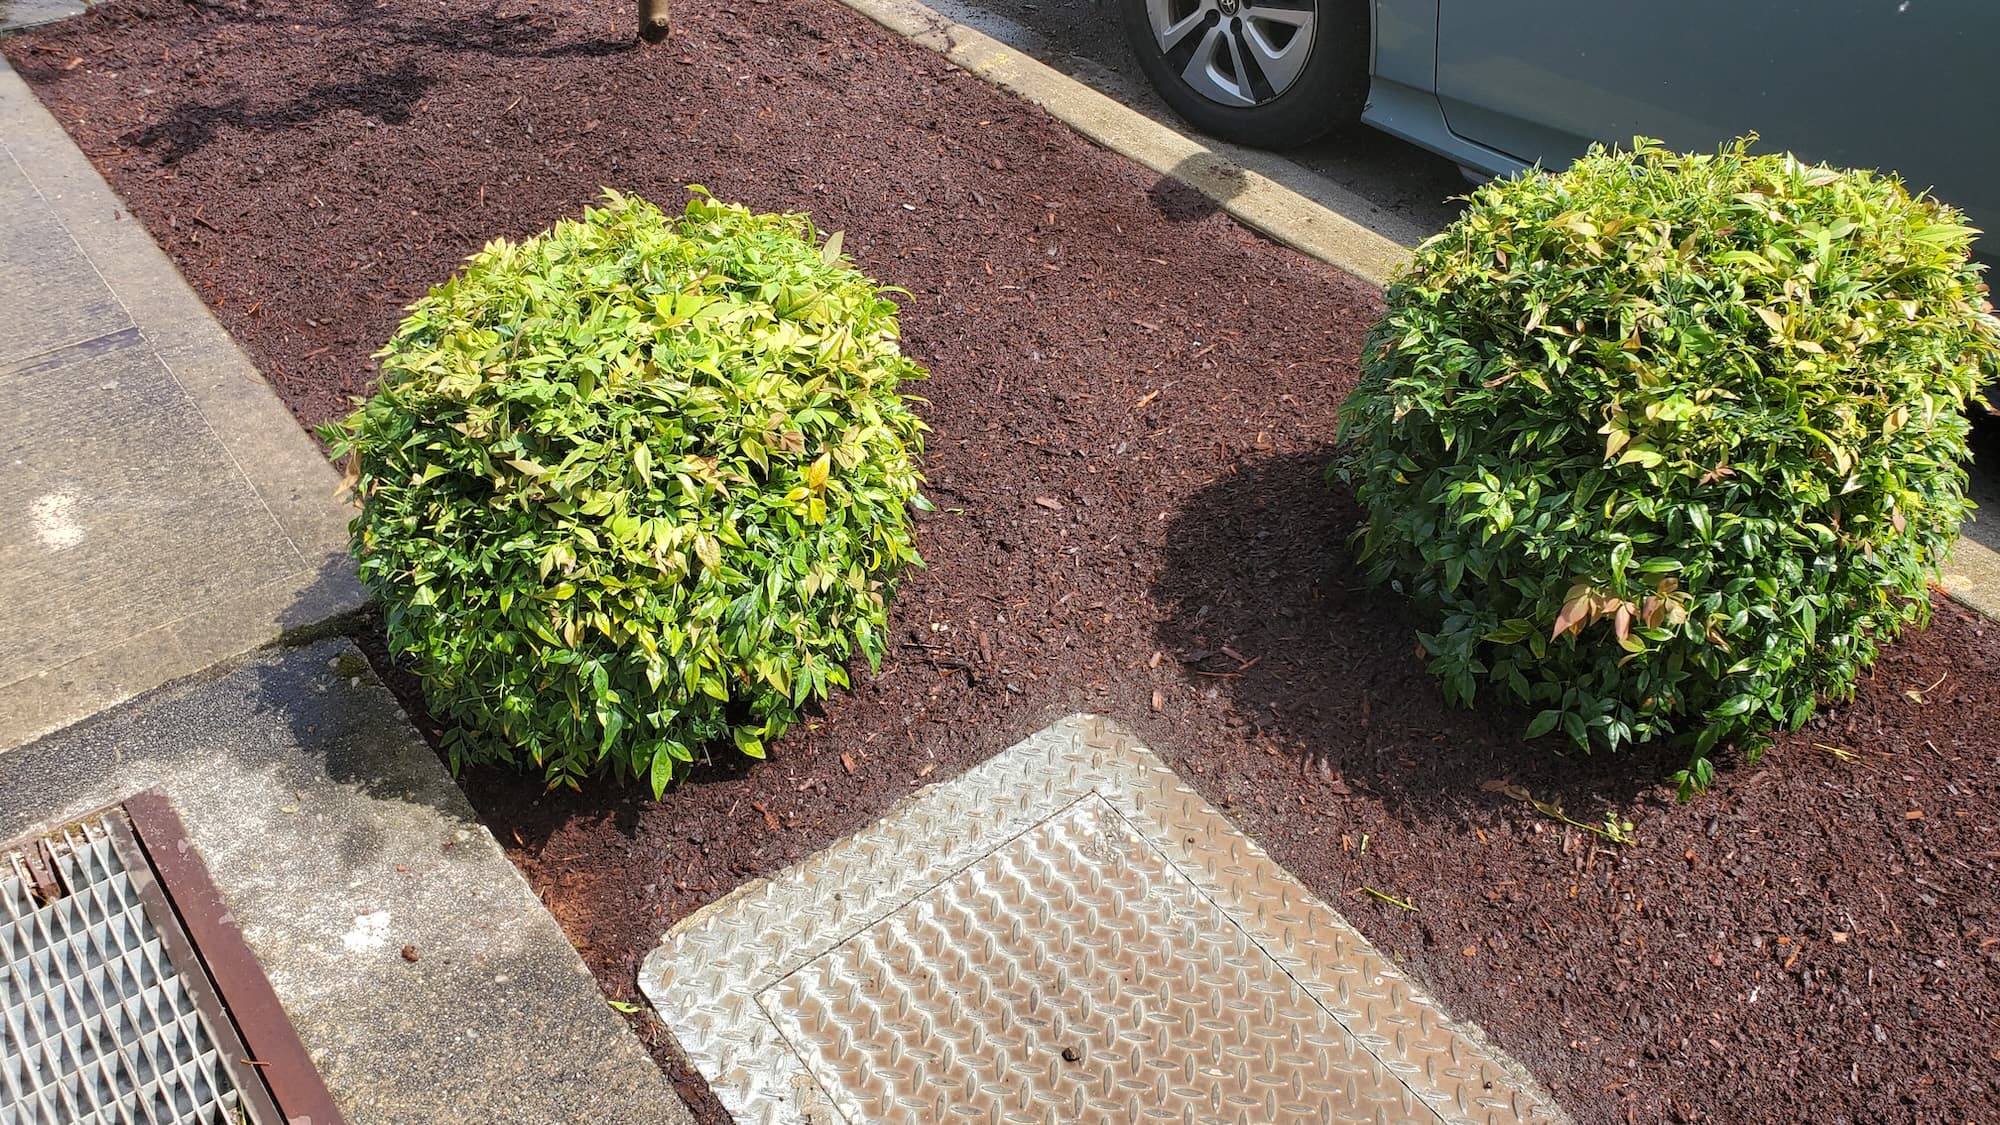
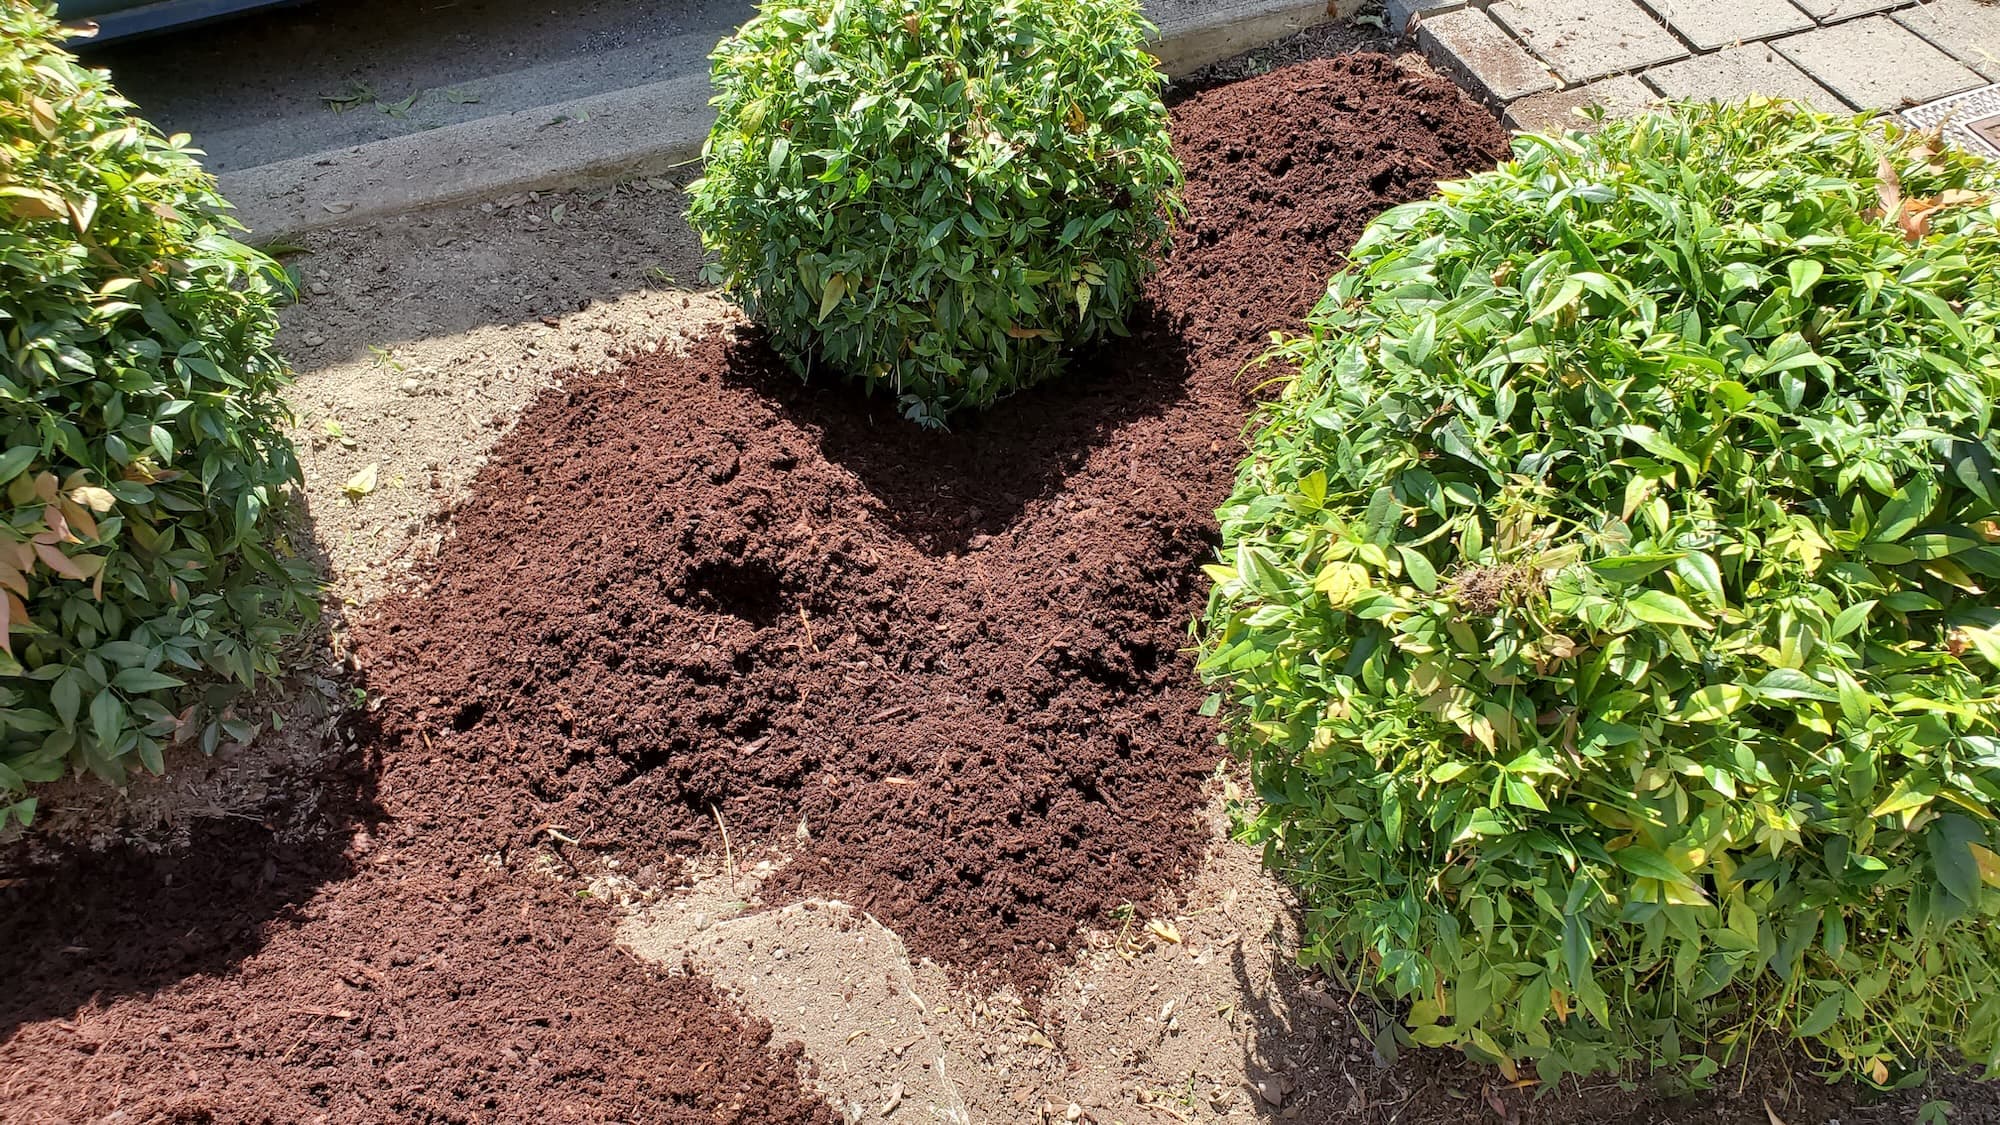
- Mulching: Adding mulch to adjacent garden beds for moisture retention.
- Pruning: Shaping nearby plants to enhance visibility.
Optional Extras
- Gravel Base: For increased stability and drainage.
- Landscape Fabric: To prevent weed growth beneath the walkway.
- Planting: Adding flowers or shrubs alongside the pathway.
- Seasonal Upgrades: Refreshing the walkway with new sand or cleaning.
FAQs
Common Customer Concerns
- Scheduling: Most projects can be completed within a week, depending on size.
- Turnaround Time: Expect about 1-3 days for installation, plus any additional work.
- Dump Fees: Discuss upfront to avoid surprises later.
Add-Ons or Upgrades
- Custom patterns or designs can be discussed during the consultation.
- Lighting options can enhance safety and aesthetics.
Maintenance Tips
- Regularly sweep to remove debris.
- Refill joint sand annually to prevent shifting.
- Seal the walkway every few years to maintain the finish.
Why Choose Lee’s General Landscaping
- Experienced Local Crew: We know Seattle’s landscape and climate.
- Licensed, Bonded & Insured: Peace of mind for you and your property.
- Hundreds of 5-Star Reviews: We pride ourselves on quality and customer satisfaction.
Ready for a yard that stays neat?
Call or text Lee’s General Landscaping for a quick quote and a maintenance plan that fits your property.
⭐⭐⭐⭐⭐ 400+ Yelp Reviews • ⭐⭐⭐⭐⭐ 130+ Google Map Reviews
📧 Email: lees.g.landscaping@gmail.com
📞 Office: 206-259-7919
🕘 Hours: Mon–Sun: 9AM–6PM
🔒 Licensed • Bonded • Insured
DIY vs. Pro
While installing a brick walkway can be a rewarding DIY project, it requires precise measurements and tools. If you’re not confident in your skills, hiring a pro ensures a level, safe, and aesthetically pleasing walkway.
Common Mistakes
- Poor Drainage: Not accounting for water runoff can lead to erosion.
- Uneven Base: Skipping the base preparation can cause bricks to shift.
- Incorrect Spacing: Misalignment can make the walkway look unprofessional.
By following this guide, you’ll be well on your way to understanding the benefits and processes involved in installing a brick walkway in Seattle. Whether you choose to tackle it yourself or hire a professional, you’re set for success!