Rotary Sprinkler Head Installation
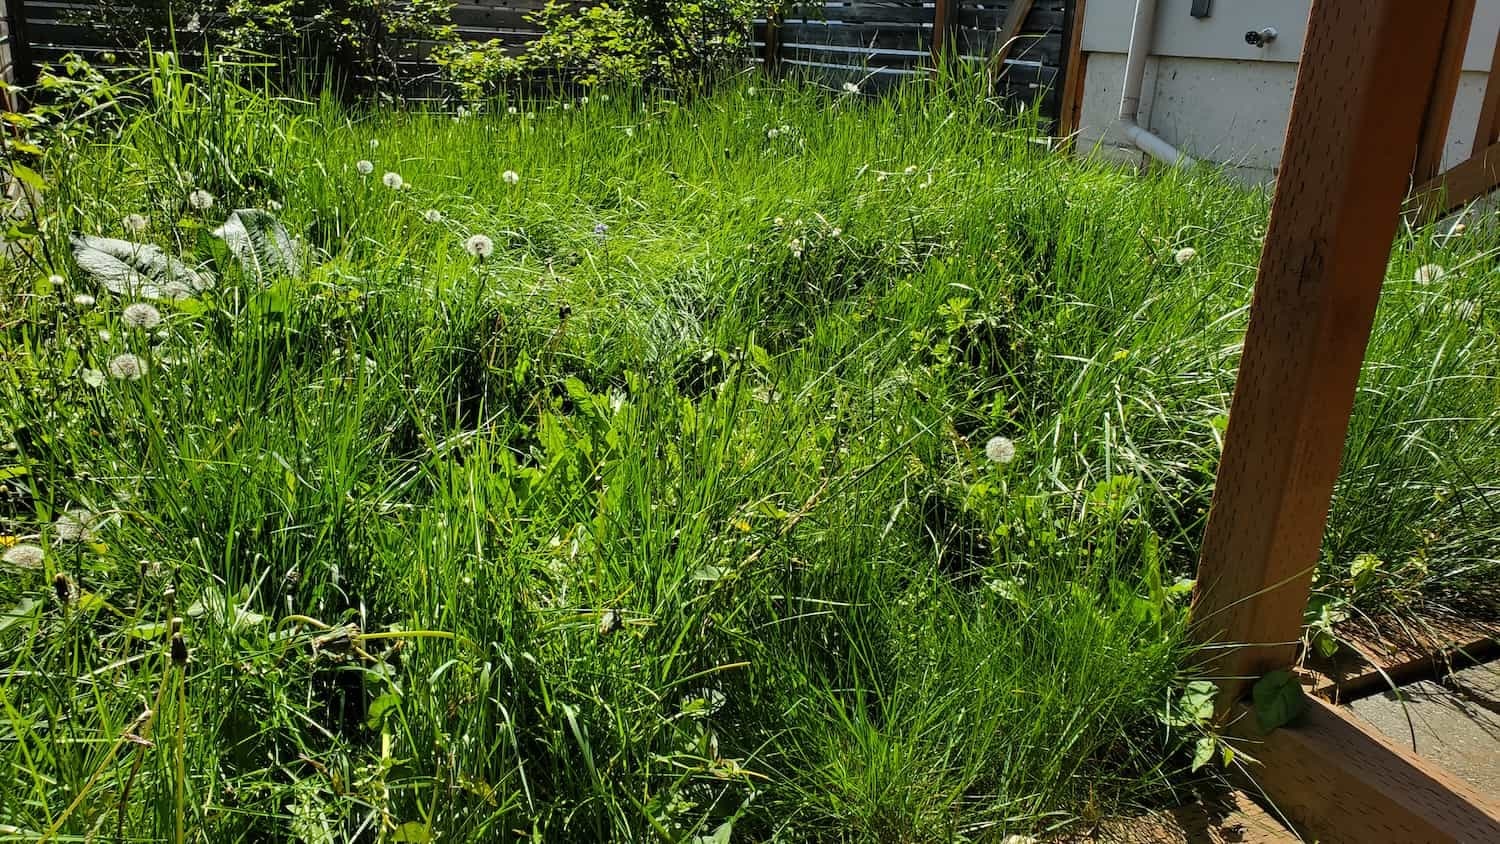
Installing rotary sprinkler heads can be a game-changer for your lawn. Homeowners often face challenges like uneven watering, dry patches, or even overwatering, which can lead to wasted water and higher bills. The best solution? Installing rotary sprinkler heads that distribute water evenly and efficiently. Benefits include enhanced curb appeal, improved safety by reducing muddy patches, and lower maintenance needs. In this article, we’ll cover everything you need to know about rotary sprinkler head installation—from tools and materials to step-by-step instructions.
Description
What the Service Includes
- Site Assessment: Analyze the area to determine the best layout for sprinkler heads.
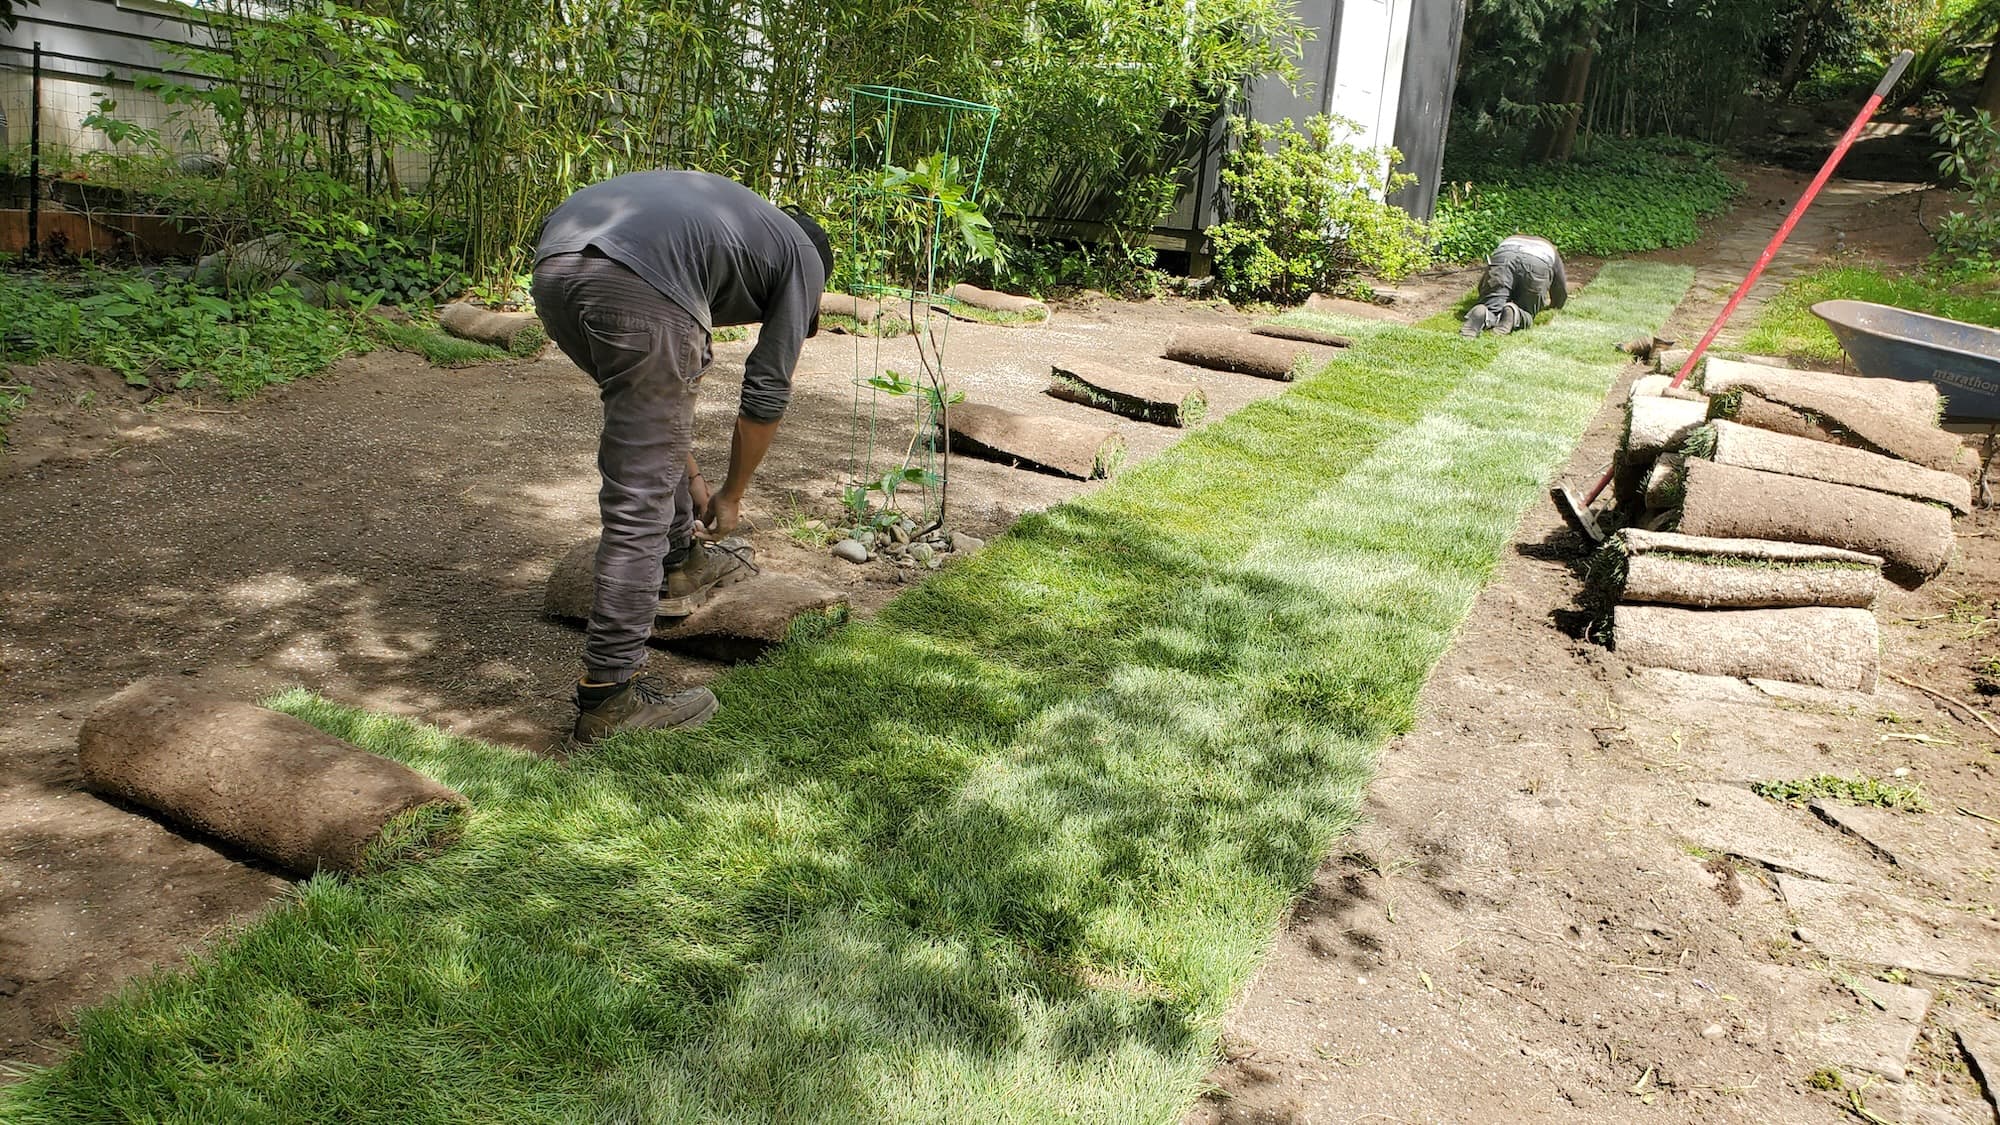
- Head Installation: Positioning and securing rotary sprinkler heads to ensure optimal performance.
- System Testing: Checking for proper operation and coverage.
- Adjustments: Fine-tuning heads for the best spray pattern.
Key Benefits
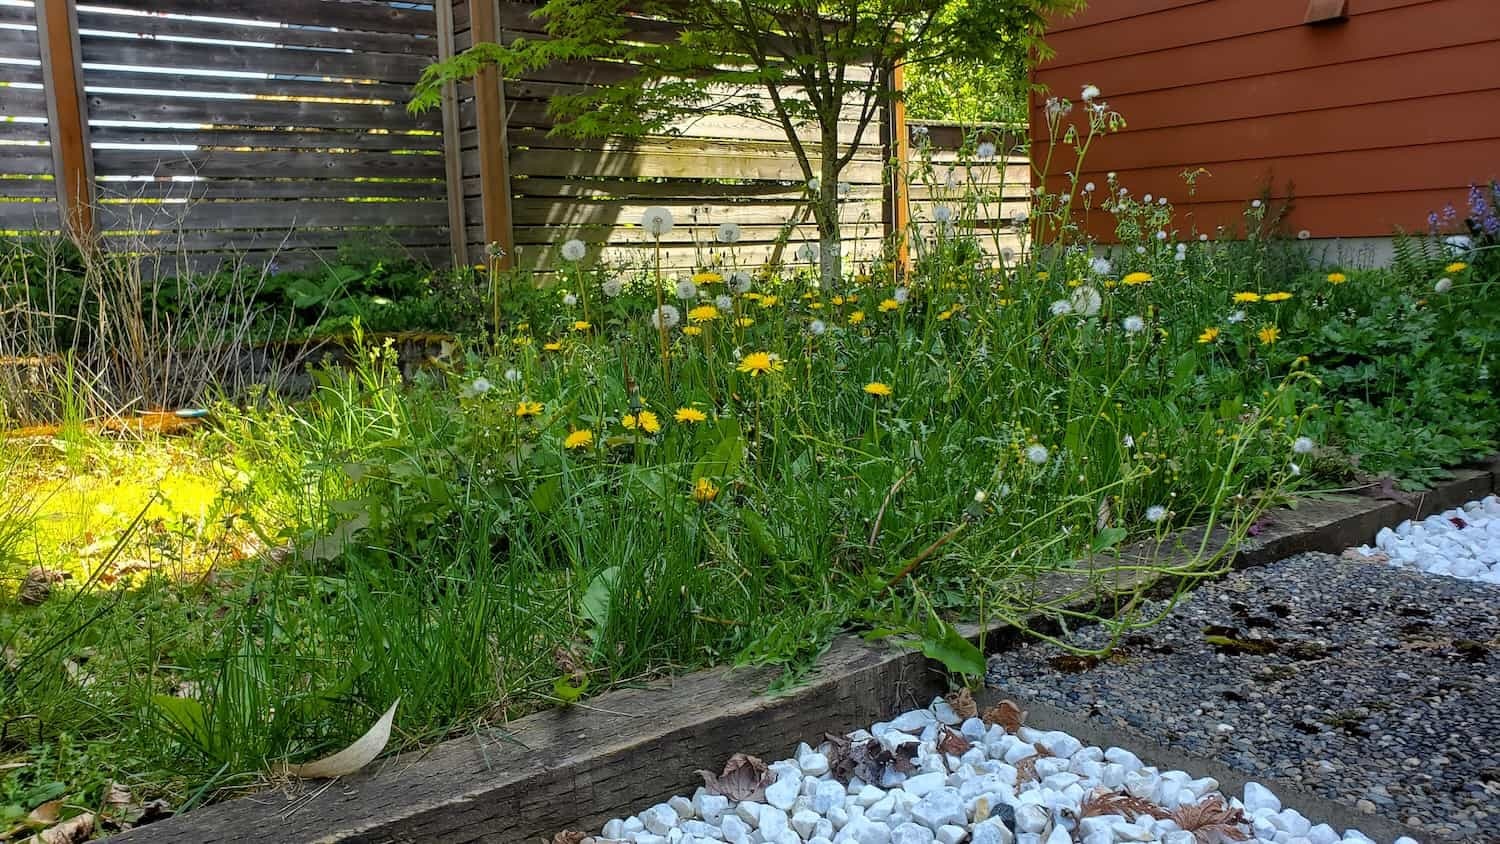
- Improved Appearance: Uniform watering promotes lush, green grass and vibrant plants.
- Durability: Rotary heads are designed for longevity and can withstand various weather conditions.
- Safety: Reduces muddy areas that can cause slips and falls.
- Eco-Friendly Options: Many rotary systems use less water than traditional methods, promoting water conservation.
Why Hire a Pro
- Local Expertise: Knowledge of regional climate and soil conditions.
- Licensed & Insured Crew: Protection against potential damages or accidents.
- Professional Tools: Access to specialized equipment that ensures quality installation.
Our Approach
Step-by-Step Breakdown of Tasks
Planning the Layout:
- Map out the area to determine where the rotary heads will go.
- Consider the coverage area of each head to avoid overlaps or dry spots.
Gathering Tools & Materials:
- Tools Needed:
- Shovel
- Trowel
- Pipe cutter
- Level
- Wrench
- Drill (if necessary)
- Materials Needed:
- Rotary sprinkler heads
- PVC pipes or flexible tubing
- Connectors and fittings
- Backflow preventer (optional but recommended)
- Tees and elbows for connections
- Tools Needed:
Excavating the Trenches:
- Dig trenches for the pipes, ensuring they are deep enough to prevent accidental damage.
- Aim for a depth of around 6–12 inches.
Installing the Pipes:
- Lay the pipes in the trenches and connect them using tees and elbows.
- Ensure all connections are secure and leak-free.
Installing the Rotary Heads:
- Attach the rotary heads to the pipes.
- Adjust the height so that they sit level with the ground.
Testing the System:
- Turn on the water supply and test each head for coverage.
- Make adjustments as necessary for optimal performance.
Backfilling Trenches:
- Once everything is tested, backfill the trenches, packing the soil firmly.
Final Touches:
- Clean up the area and make sure everything looks neat and tidy.
Timeline
- Total Time: Expect the installation to take 4–8 hours, depending on the size of your property and the number of heads being installed.
Service Pricing
Pricing Structure
- Flat Rate vs. Custom: Pricing can vary based on the complexity of the installation. Flat rates might apply for standard installations, while custom pricing is better for unique layouts or larger properties.
- Variables Affecting Cost:
- Lot size
- Number of sprinkler heads
- Accessibility of the area
- Any additional features (like a backflow preventer)
Cost Ranges
- Basic Installation: $300–$600 for straightforward installations.
- Complex Installations: $600–$1,200 or more for larger areas or complicated layouts.
Additional Costs
- Tax: Check your local tax rates.
- Dump Fees: If any debris needs removal.
- Extra Hauling Charges: For larger jobs, additional hauling may be required.
What’s Included
Core Services
- Installation of rotary sprinkler heads
- Connecting to existing water lines
- System testing and adjustments
Optional Extras
- Adding gravel or landscape fabric for better drainage.
- Planting new grass or flowers around the sprinkler heads.
- Seasonal upgrades like timers or smart controls.
FAQs
Common Customer Concerns
- Scheduling: Most installations can be scheduled within a week, depending on availability.
- Turnaround Time: Expect a full day for installation; testing may take an additional hour.
- Dump Fees: Discuss any potential fees upfront.
Add-Ons or Upgrades Explained
- Smart timers can save water and increase efficiency.
- Soil moisture sensors help determine when to water.
Maintenance Tips
- Regularly check for clogs in the sprinkler heads.
- Adjust the heads seasonally for changing plant growth and water needs.
- Clean filters to maintain optimal water flow.
Why Choose Lee’s General Landscaping
- Our experienced local crew works efficiently and maintains a clean job site.
- We are licensed, bonded, and insured for your peace of mind.
- With hundreds of 5-star reviews across Yelp and Google, we’re a trusted choice for your landscaping needs.
Ready for a Yard That Stays Neat?
Call or text Lee’s General Landscaping for a quick quote and a maintenance plan that fits your property.
⭐⭐⭐⭐⭐ 400+ Yelp Reviews • ⭐⭐⭐⭐⭐ 130+ Google Map Reviews
📧 Email: lees.g.landscaping@gmail.com
📞 Office: 206-259-7919
🕘 Hours: Mon–Sun: 9AM–6PM
🔒 Licensed • Bonded • Insured