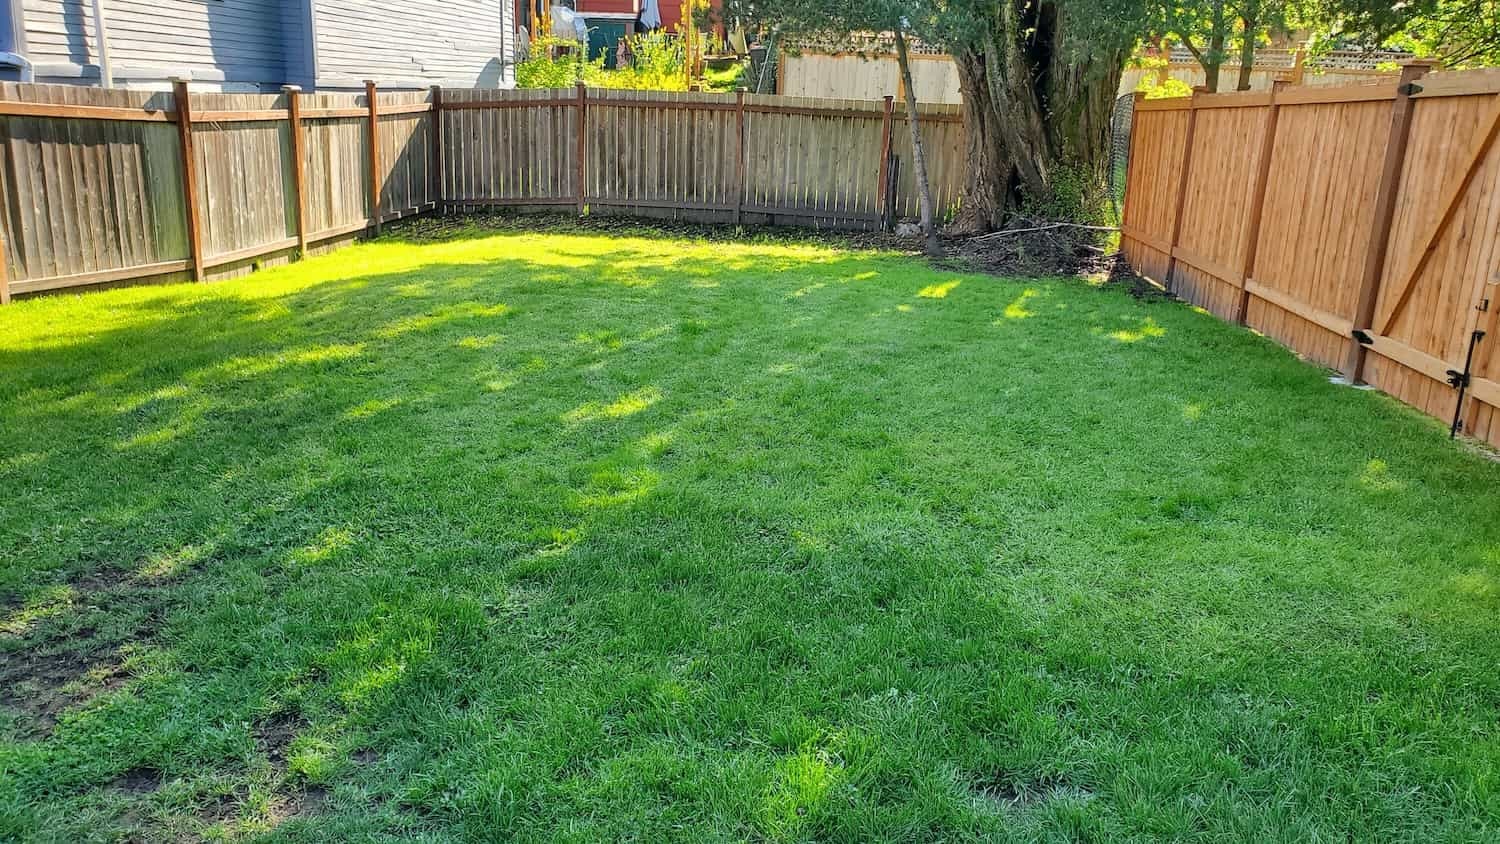
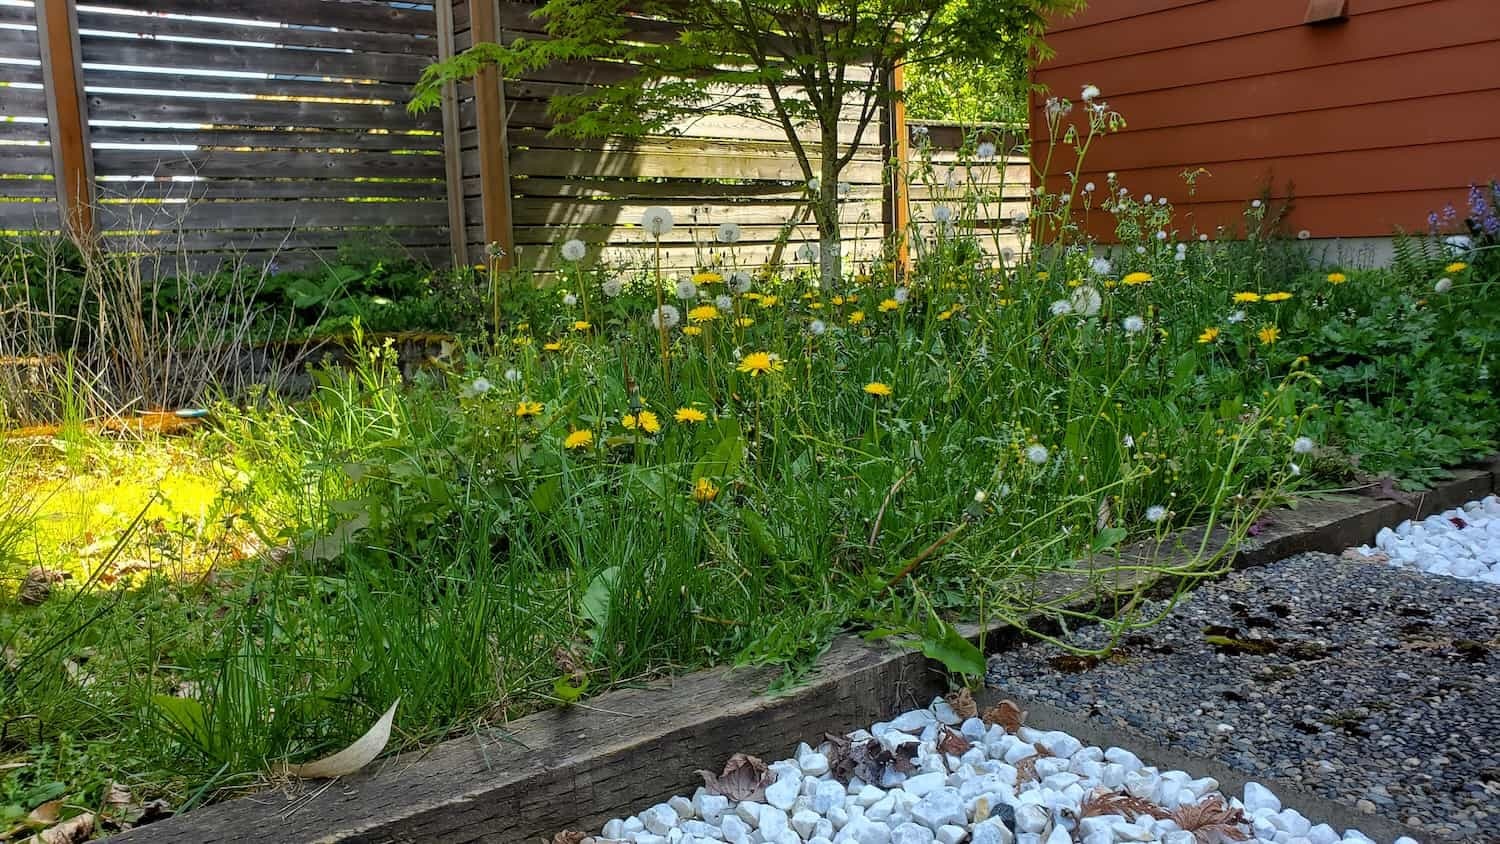
Replace Worn Turf Edges
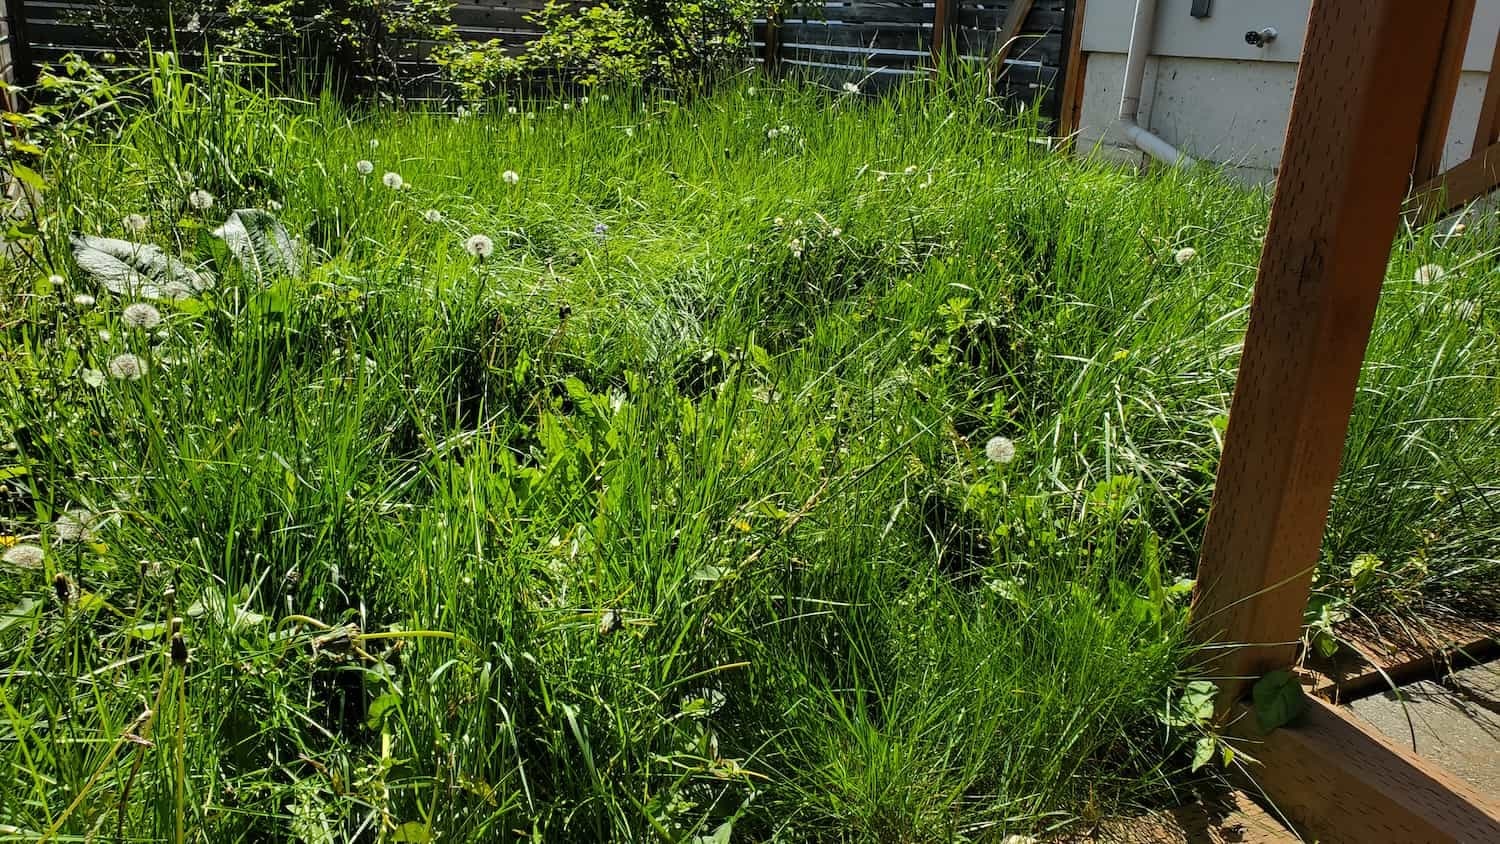
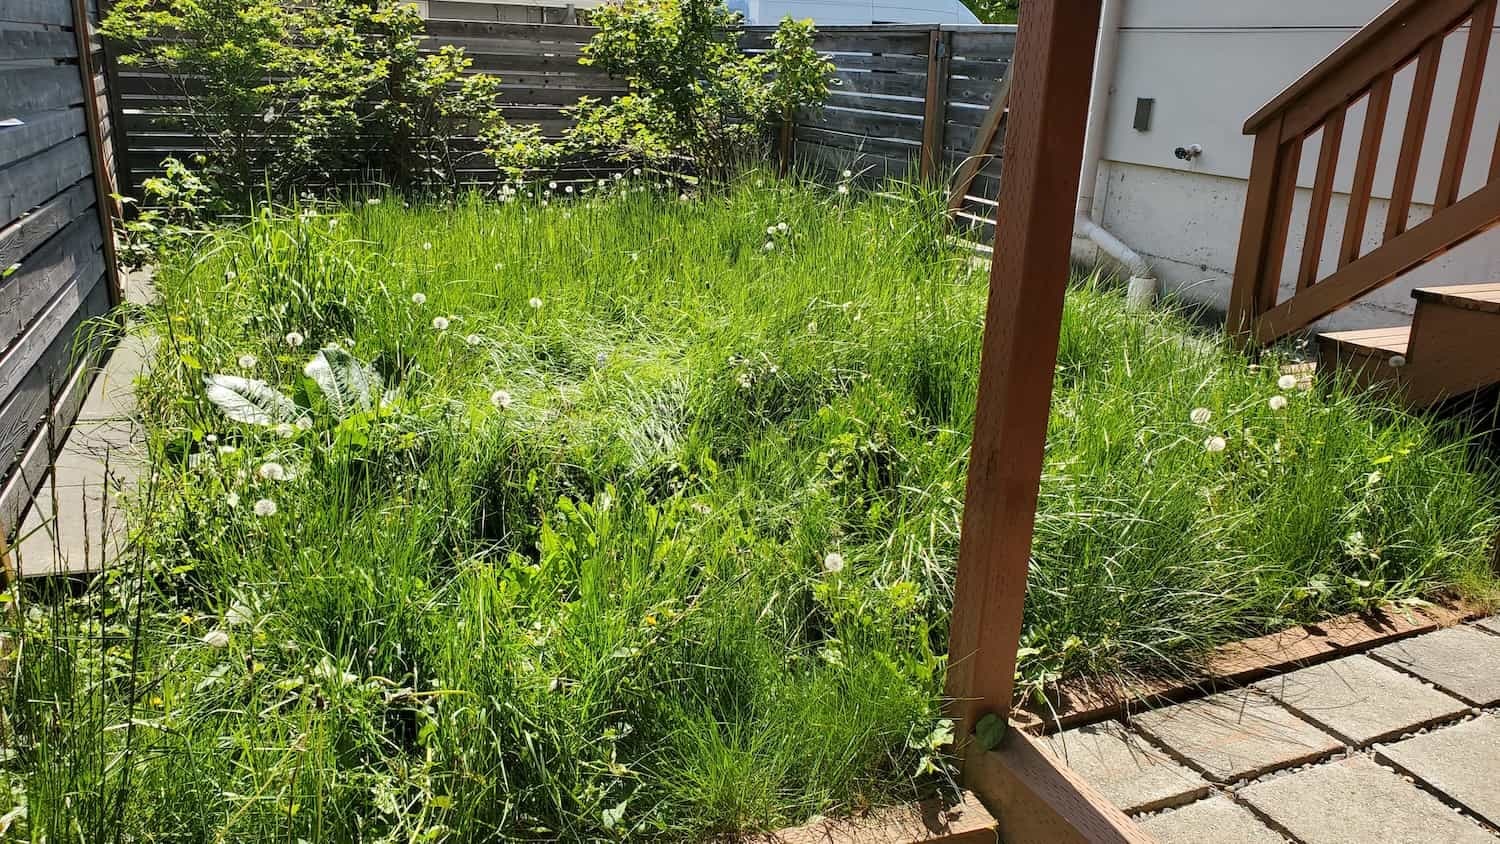
As homeowners, we all want our lawns to look their best. However, worn turf edges can detract from your yard’s appearance, making it look unkempt and messy. Not only can this impact your curb appeal, but it can also create safety hazards and increase maintenance needs. Fortunately, replacing worn turf edges is a manageable task that can significantly enhance your yard’s look and functionality. This article will guide you through the process, covering everything from tools and materials to step-by-step instructions, costs, and maintenance tips.
Description
Replacing worn turf edges involves removing and replacing the damaged sections of grass along your lawn’s borders. This service typically includes:
- Assessing the extent of wear and damage.
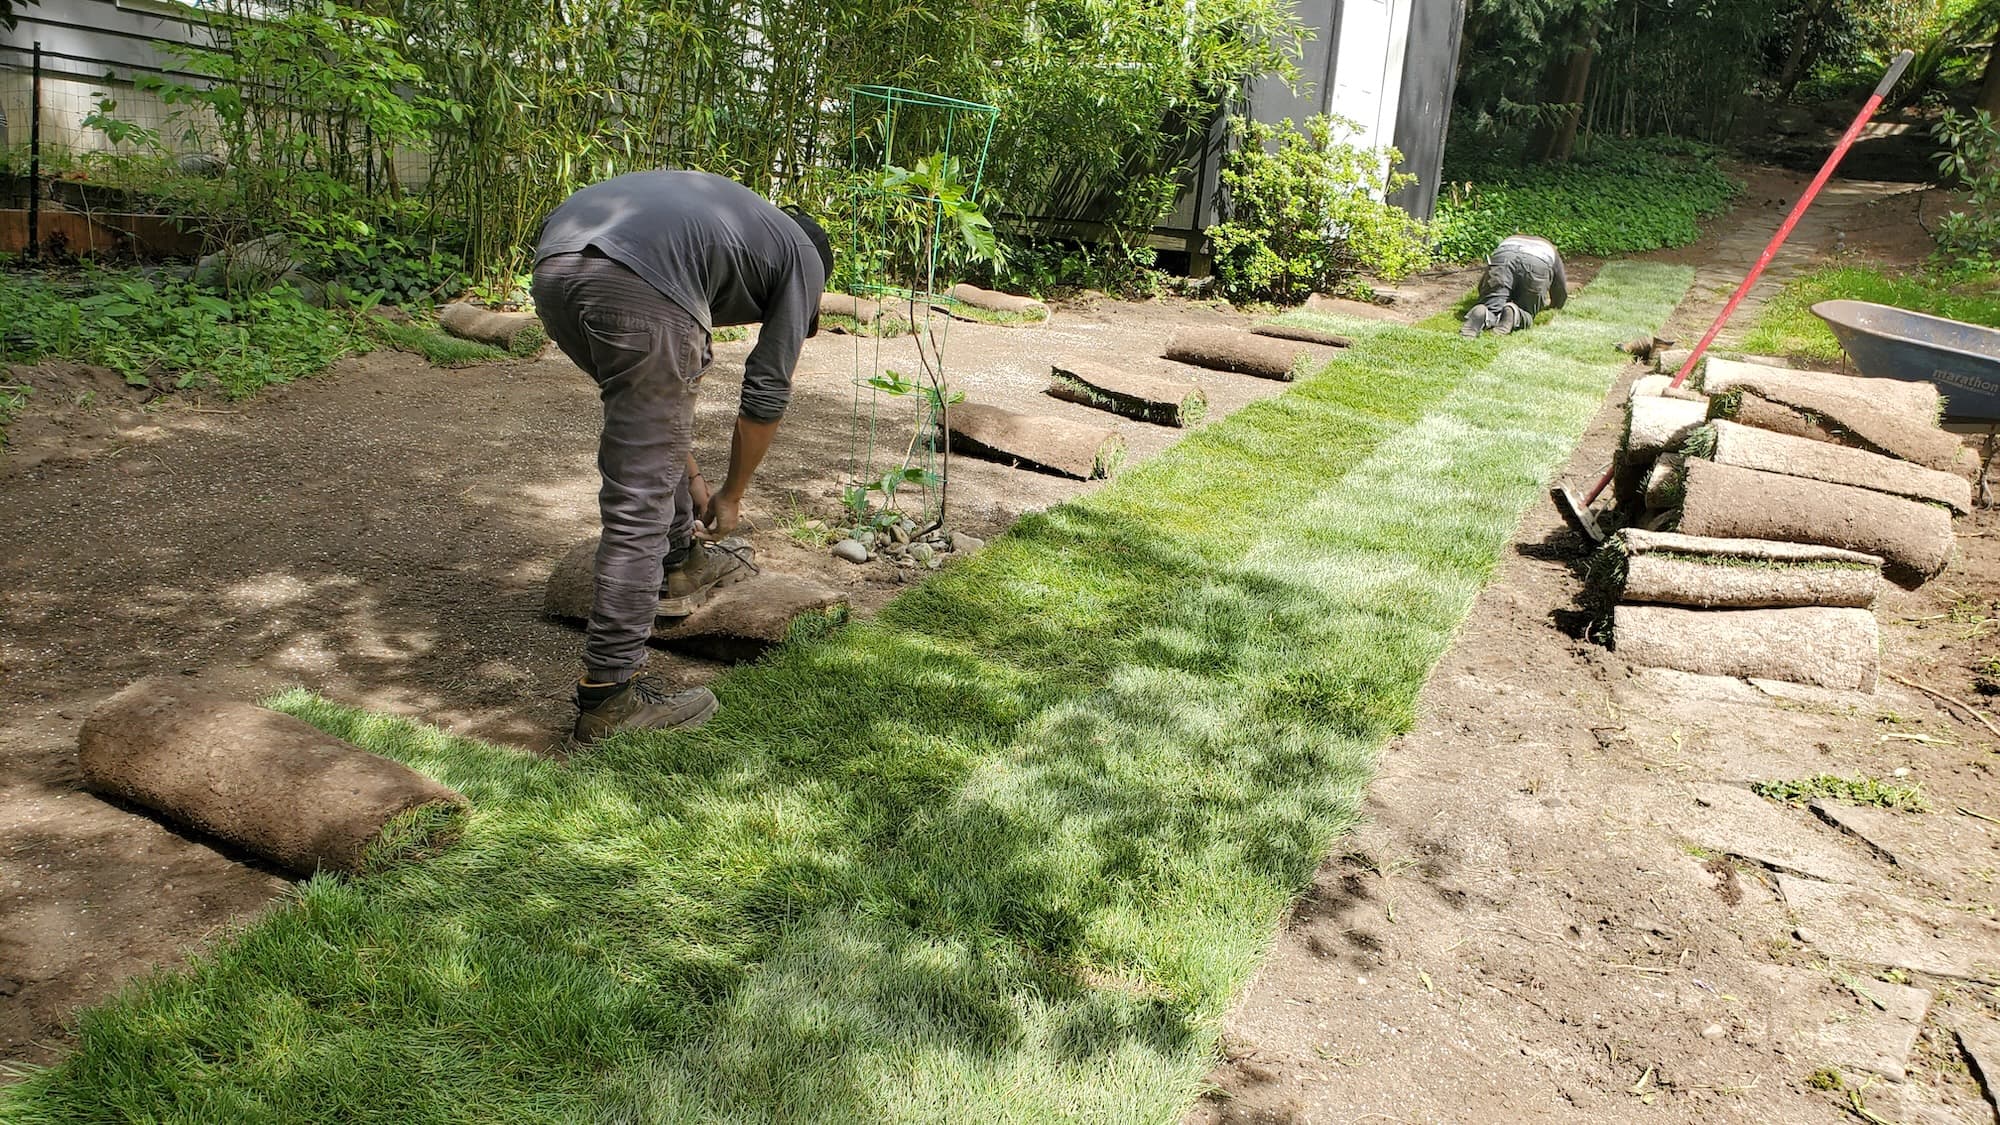
- Removing old, worn turf.
- Preparing the soil for new turf.
- Installing new sod or seed.
- Edging the new turf for a clean finish.
Key Benefits
- Improved Appearance: Fresh turf edges can instantly enhance your lawn’s look, boosting your home’s curb appeal.
- Durability: New sod or seed is healthier and more resilient, reducing the likelihood of future wear.
- Safety: Clean, defined edges help prevent tripping hazards and improve lawn maintenance safety.
- Eco-friendly Options: Many turf options are available, including drought-resistant varieties that conserve water.
Why Hire a Pro
If you’re unsure about the process or lack the tools, hiring a professional can save you time and stress. Pros bring local expertise, are licensed and insured, and have access to professional-grade tools that ensure a high-quality finish.
Our Approach
Step-by-Step Breakdown
- Assessment: Evaluate the extent of the worn turf edges.
- Tools & Materials Gathering: Gather necessary tools and materials (see below).
- Remove Old Turf: Use a spade or turf cutter to remove the damaged turf.
- Soil Preparation: Loosen the soil and amend it if necessary with compost or topsoil.
- Install New Turf: Lay new sod or seed in the prepared area.
- Edge the Turf: Use an edger or spade to create clean edges.
- Water and Maintain: Water the new turf and provide ongoing care.
Tools & Materials Needed
- Turf cutter or spade
- Rake
- Garden hose or irrigation system
- New sod or grass seed
- Compost or topsoil (if needed)
- Edger or spade for defining edges
- Lawn roller (optional for sod installation)
Timelines
- Assessment and Planning: 1 day
- Removal and Preparation: 1-2 days (depending on size)
- Installation: 1 day for sod; 1-3 weeks for seed (depending on growing conditions)
- Total Time: 3-7 days for sod; 3 weeks to several months for seed establishment.
Cost Ranges
- DIY: $0.50 - $2.00 per square foot for new sod, plus tools if you don’t have them.
- Professional: $2.00 - $5.00 per square foot, depending on labor and materials.
Safety Notes: Always wear gloves and protective eyewear when working with tools and soil. Be cautious of sharp edges on tools and avoid working in extreme weather conditions.
What’s Included
Core Services
- Trimming: Cutting back overgrown grass or plants.
- Edging: Creating defined lines between grass and garden beds.
- Weeding: Removing unwanted plants that can compete with your turf.
- Mulching: Adding a protective layer around plants.
- Pruning: Trimming shrubs for health and aesthetics.
Optional Extras
- Gravel: For decorative pathways or drainage solutions.
- Landscape Fabric: To prevent weed growth.
- Planting: Adding flowers or shrubs for additional curb appeal.
- Seasonal Upgrades: Fertilization and aeration services.
FAQs
Common Customer Concerns
- Scheduling: We aim to schedule your project within a week of your request, depending on weather and crew availability.
- Turnaround Time: Most projects are completed within a week, but seed establishment may take longer.
- Dump Fees: Typically included in the quote, but may vary based on debris amount.
Maintenance Tips
- Watering: Keep new sod well-watered for the first two weeks.
- Mowing: Wait until the grass reaches about 3 inches before mowing.
- Fertilizing: Use a slow-release fertilizer after the first month to promote root growth.
DIY vs. Pro
- DIY: Ideal for smaller areas or if you have experience with lawn care. You save money but invest time and effort.
- Pro: Best for larger areas, complex landscapes, or if you want a guaranteed result without the hassle. Professionals can also provide ongoing maintenance.
Common Mistakes
- Skipping Soil Prep: Neglecting to prepare the soil can lead to poor sod establishment.
- Overwatering: Too much water can suffocate roots; aim for consistent moisture.
- Ignoring Edges: Failing to define edges can lead to an unkempt appearance over time.
Why Choose Lee’s General Landscaping
- Experienced Local Crew: We work cleanly and efficiently to get the job done right.
- Licensed, Bonded & Insured: Enjoy peace of mind knowing your property is in safe hands.
- Hundreds of 5-Star Reviews: Check us out on Yelp and Google for testimonials from satisfied customers.
Ready for a yard that stays neat?
Call or text Lee’s General Landscaping for a quick quote and a maintenance plan that fits your property.
⭐⭐⭐⭐⭐ 400+ Yelp Reviews • ⭐⭐⭐⭐⭐ 130+ Google Map Reviews
📧 Email: lees.g.landscaping@gmail.com
📞 Office: 206-259-7919
🕘 Hours: Mon–Sun: 9AM–6PM
🔒 Licensed • Bonded • Insured