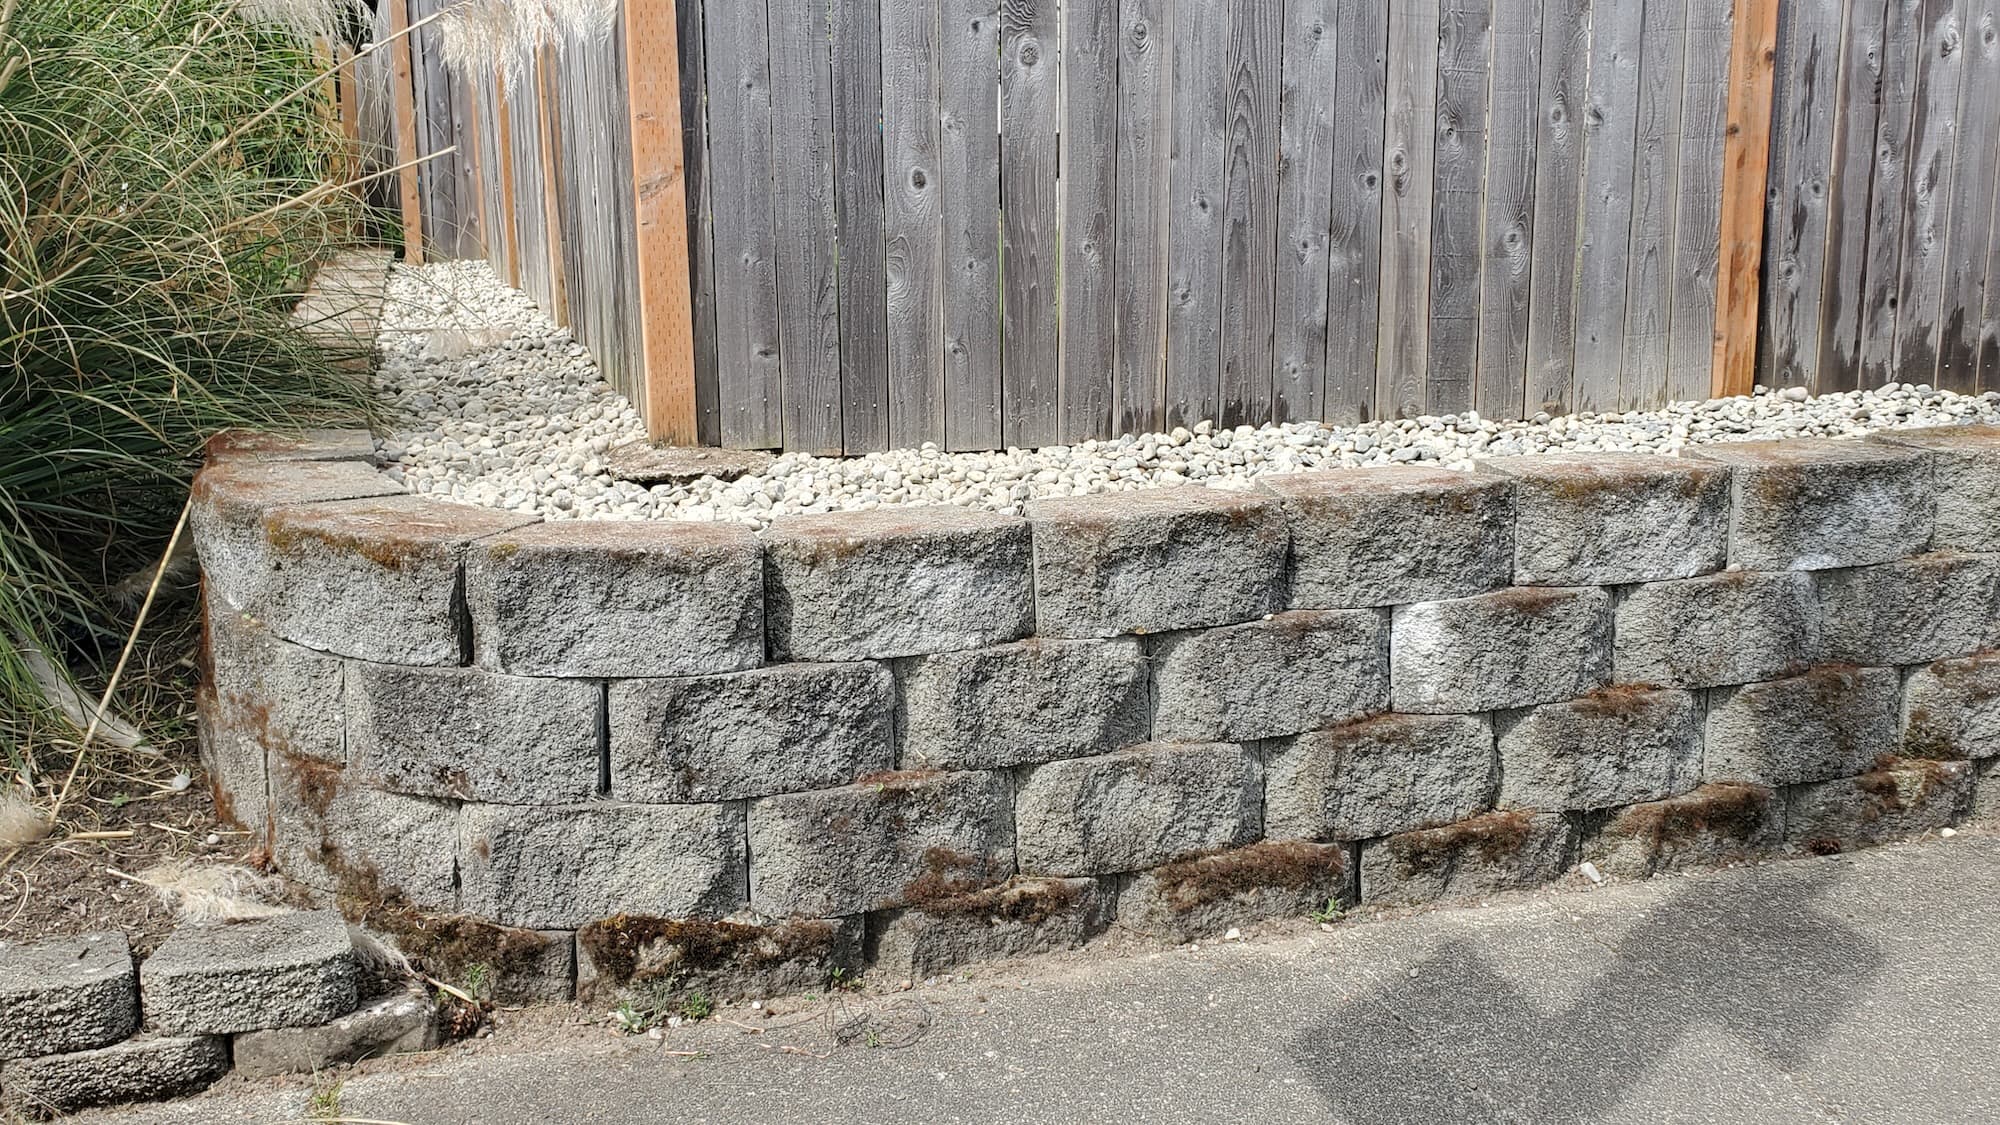
Replace Rotted Garden Timbers
Replacing rotted garden timbers can seem daunting for homeowners, but it’s essential for maintaining the integrity and beauty of your landscape. Over time, wooden timbers can succumb to rot due to moisture, pests, or simply age. The best solution? Replace those rotted timbers with durable, eco-friendly materials that enhance your yard’s curb appeal, improve safety, and lower maintenance needs. This article will guide you through the process, tools required, estimated costs, and tips for successful timber replacement.
Description
Replacing rotted garden timbers involves several tasks:
- Assessment: Identifying rotted areas and planning replacements.
- Removal: Taking out old, damaged timbers.
- Installation: Placing new timbers securely.
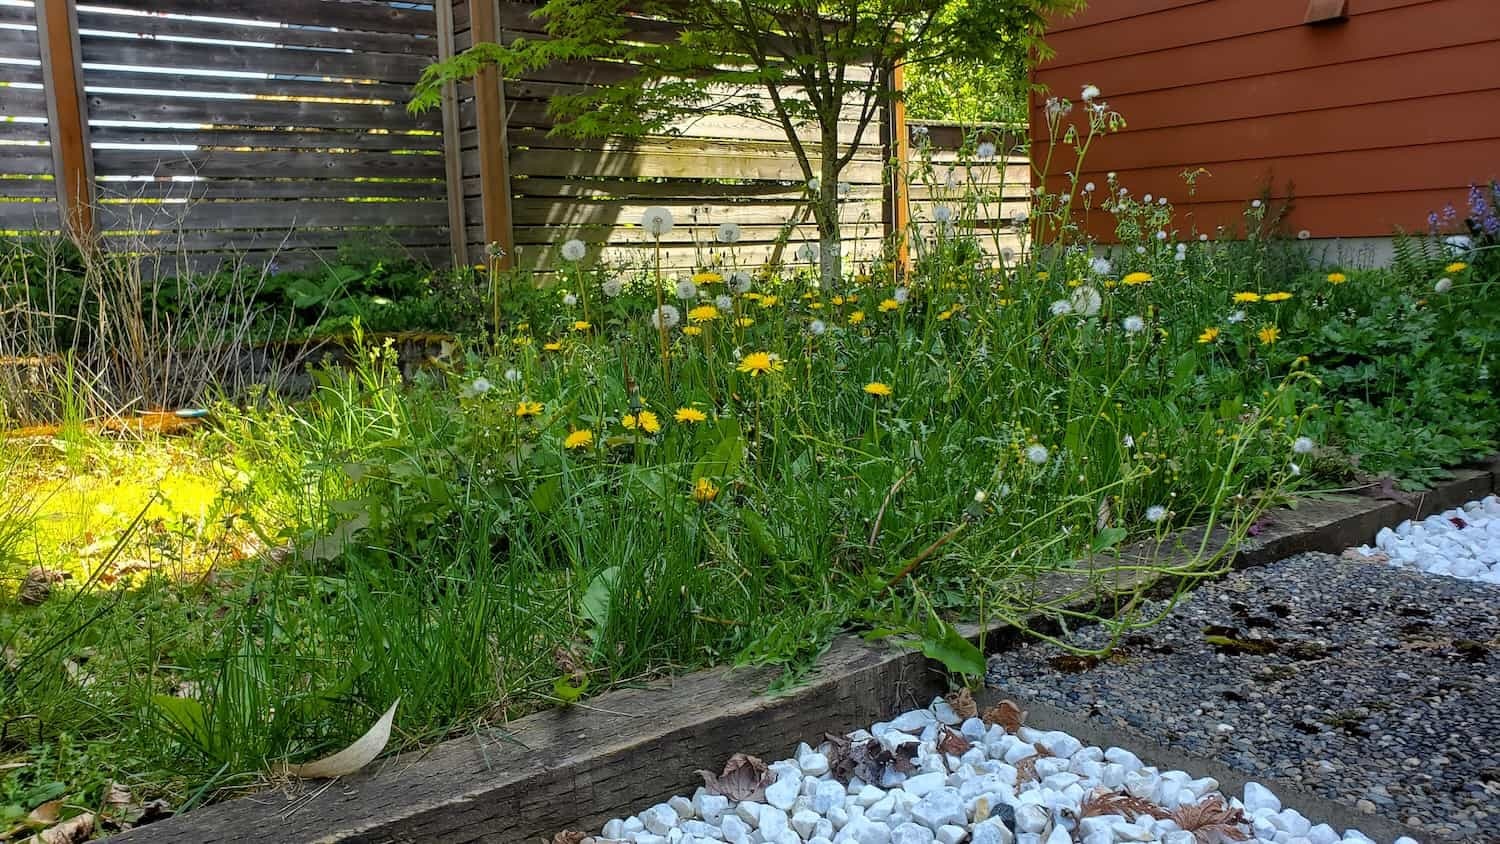
- Finishing Touches: Adding gravel, mulch, or plants for a polished look.
Key Benefits
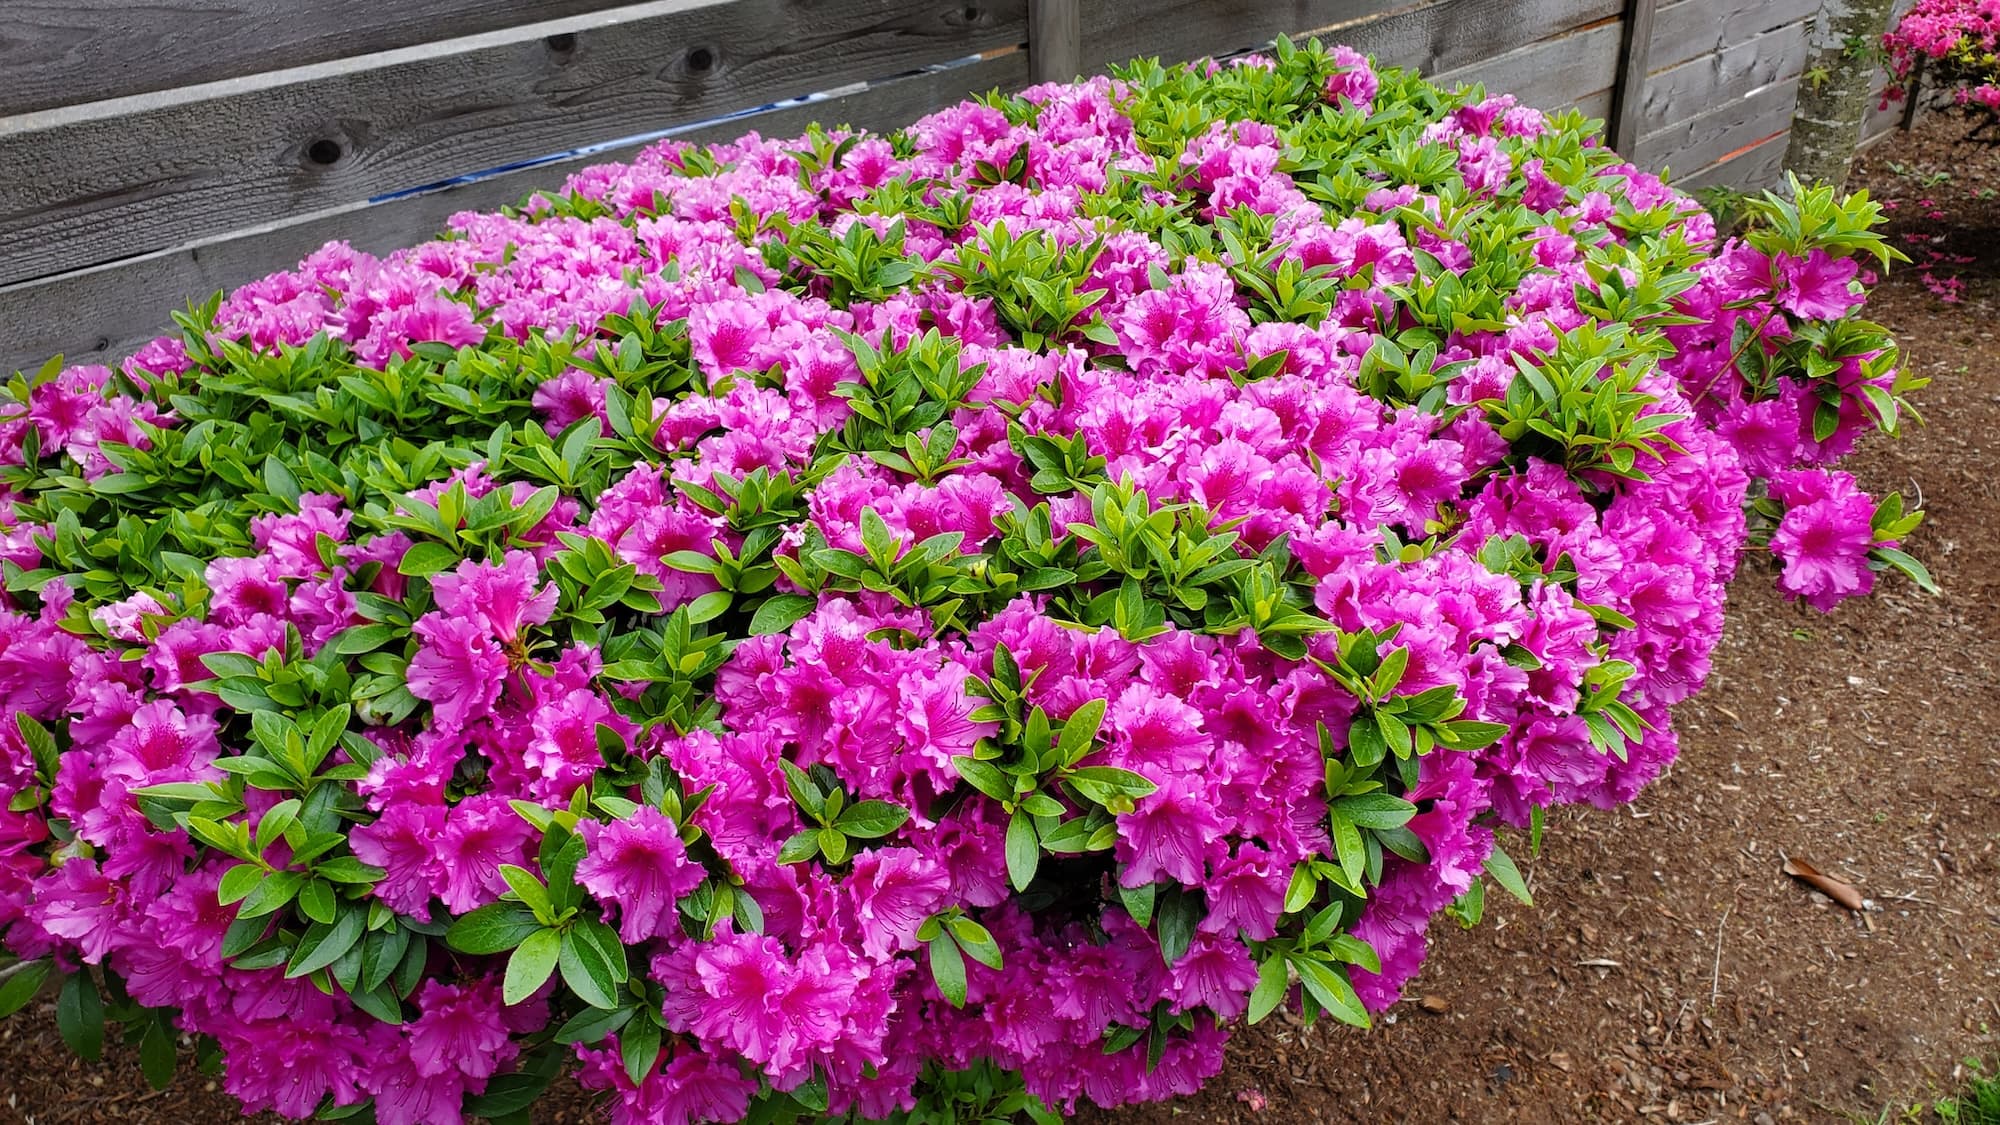
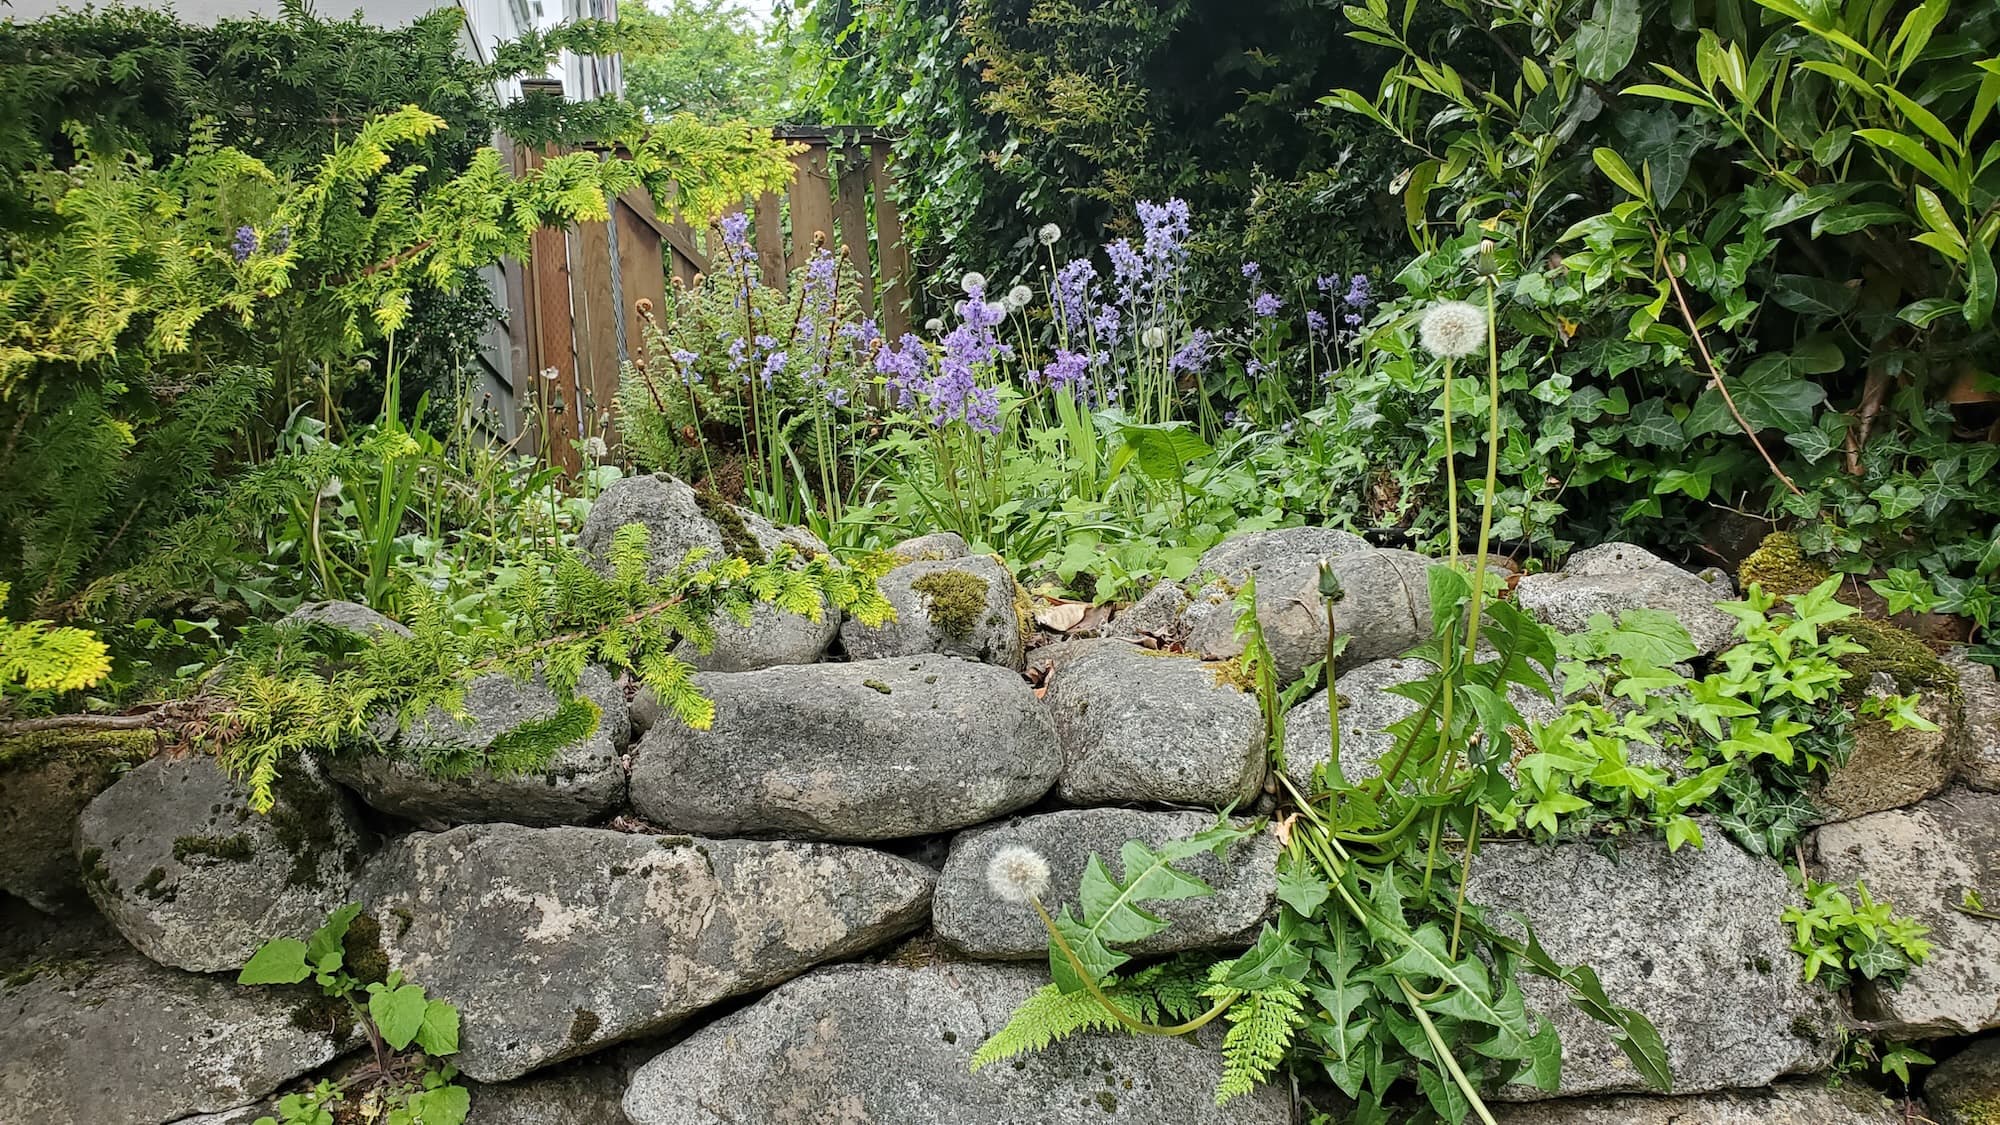
- Improved Appearance: Fresh timbers enhance landscape aesthetics.
- Durability: New materials resist rot and pests.
- Safety: Eliminates tripping hazards.
- Eco-Friendly Options: Consider using recycled or composite materials.
Why Hire a Pro
- Local Expertise: Professionals understand your area’s climate and soil conditions.
- Licensed & Insured: Protects you from liability.
- Professional Tools: Ensures a safer and more efficient job.
Our Approach
Here’s a step-by-step breakdown of how to replace rotted garden timbers:
- Assess the Damage: Walk around your garden and locate all rotted timbers.
- Gather Tools & Materials:
- Tools:
- Hammer
- Pry bar
- Drill
- Saw (hand or power)
- Level
- Safety gloves and goggles
- Materials:
- New timbers (pressure-treated wood, composite, or recycled materials)
- Wood screws or stakes
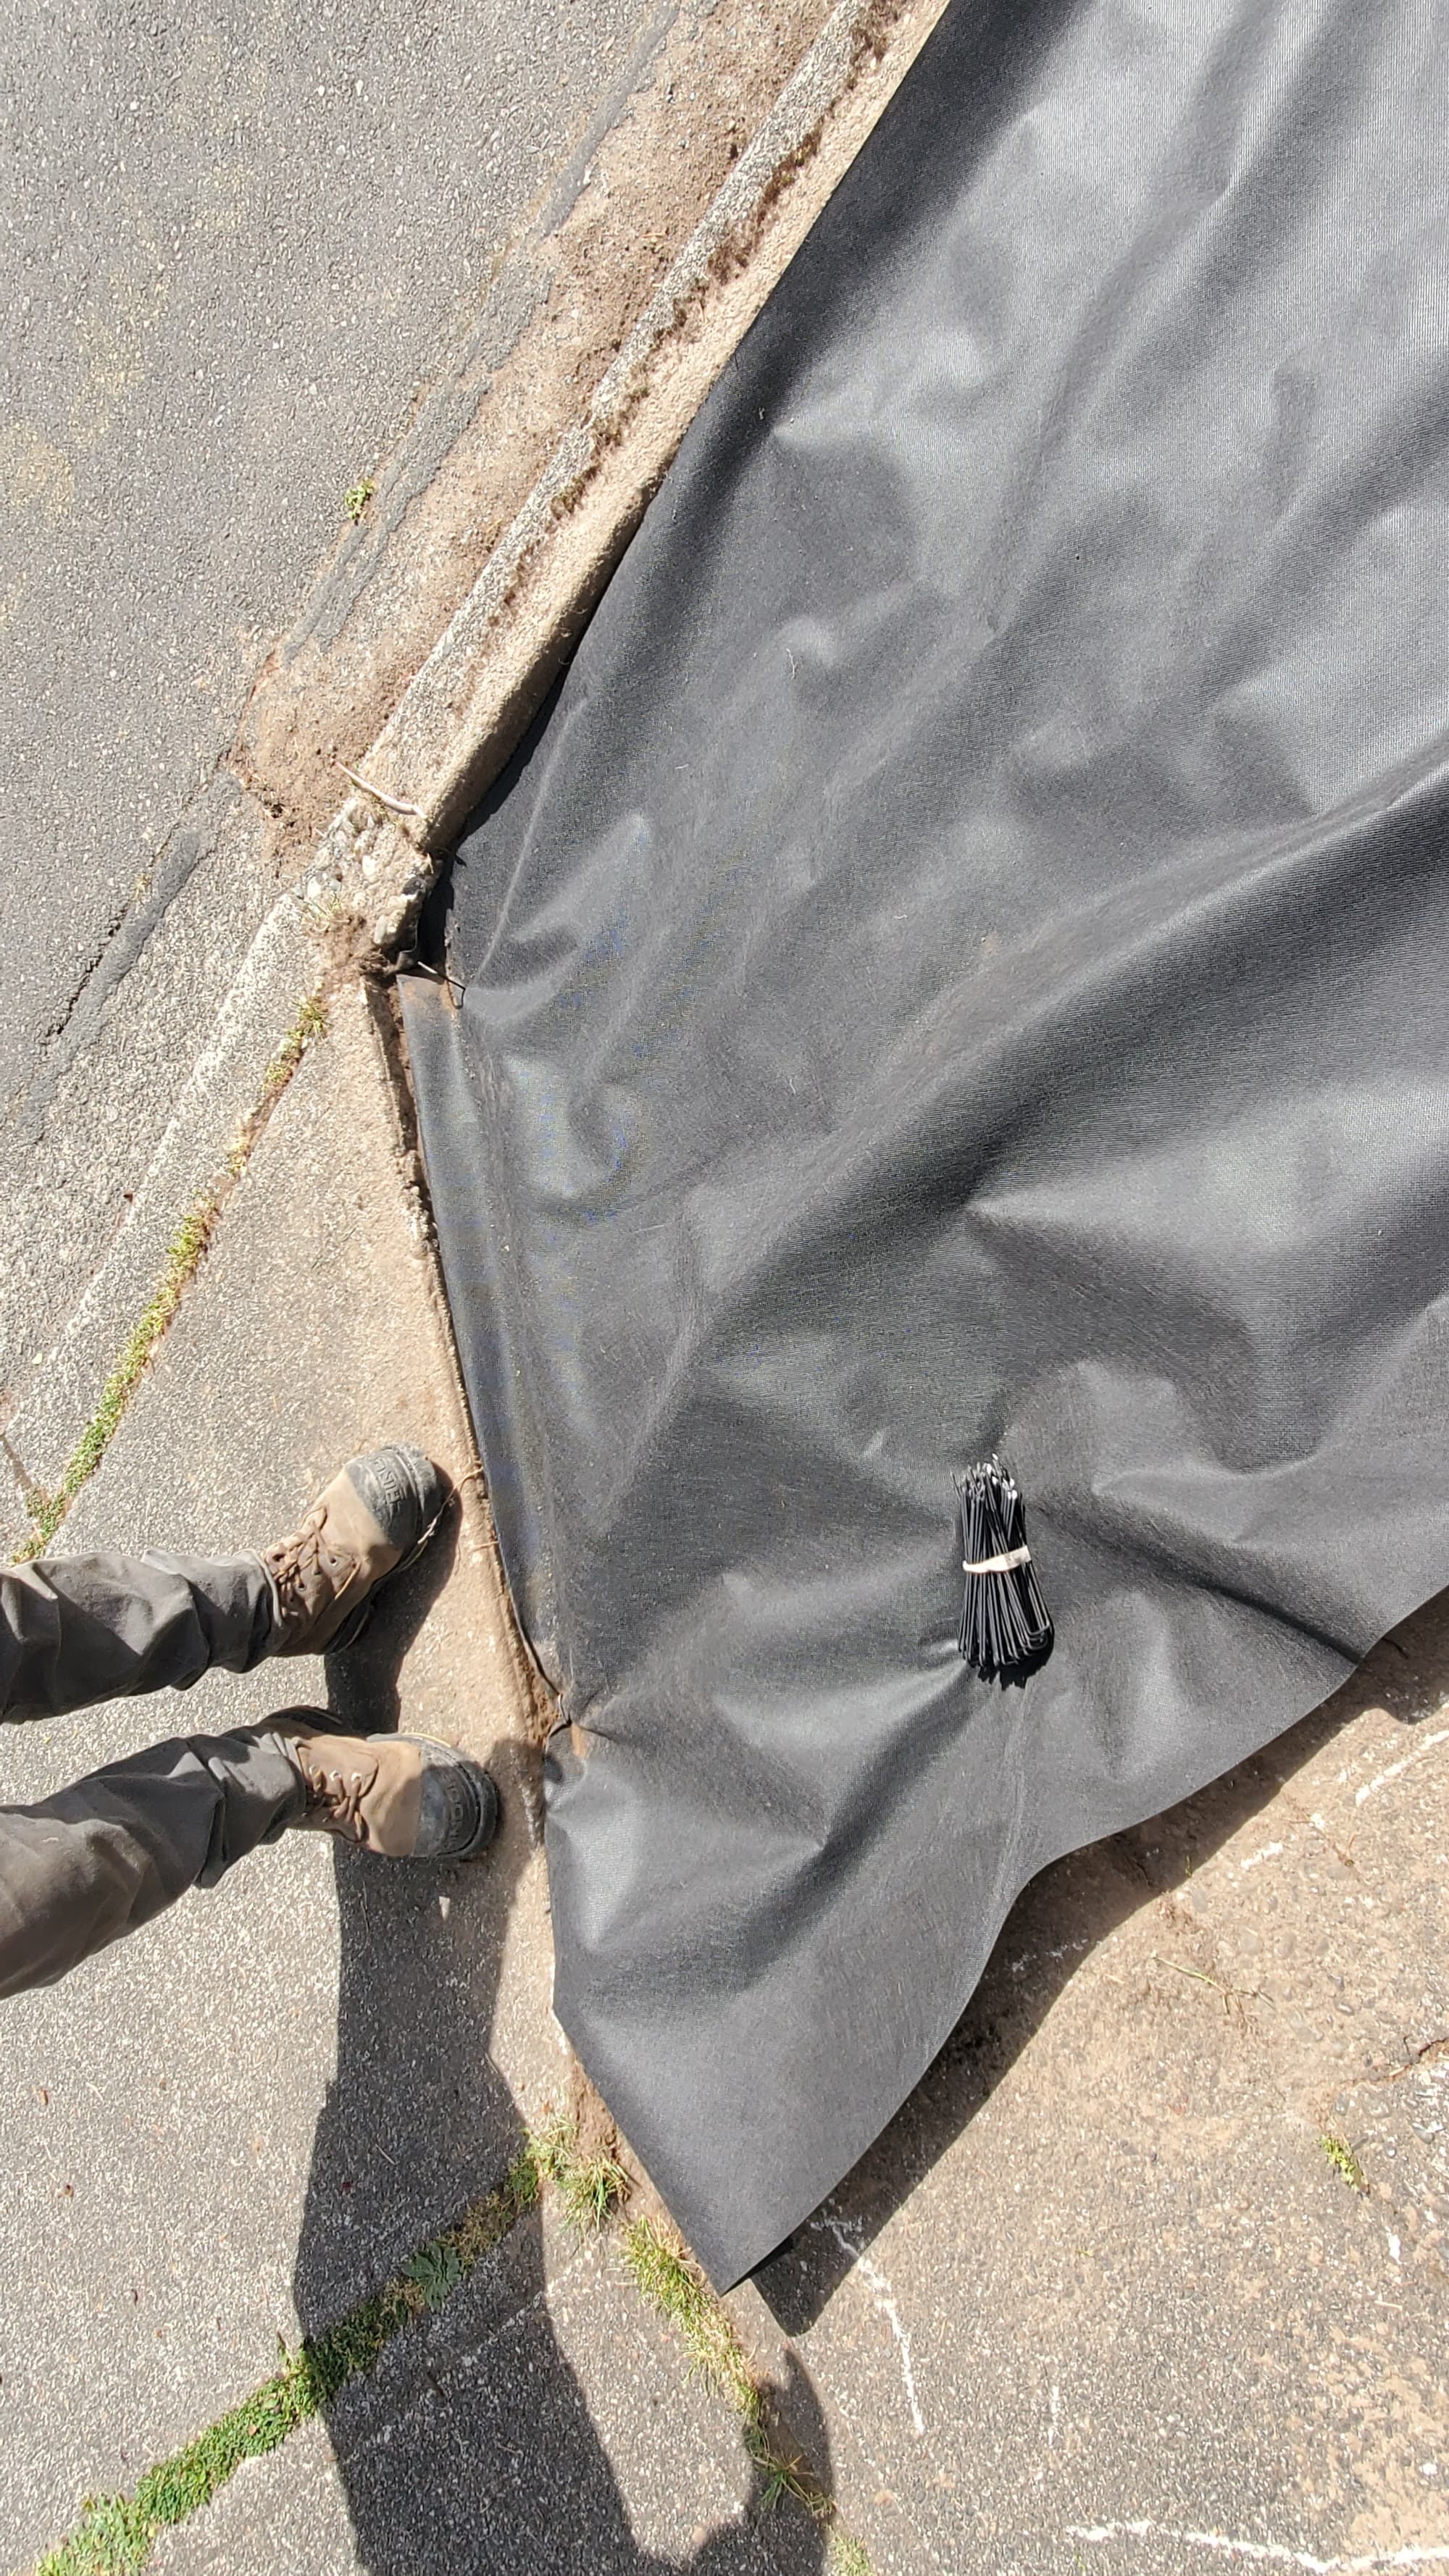
- Landscape fabric (optional)
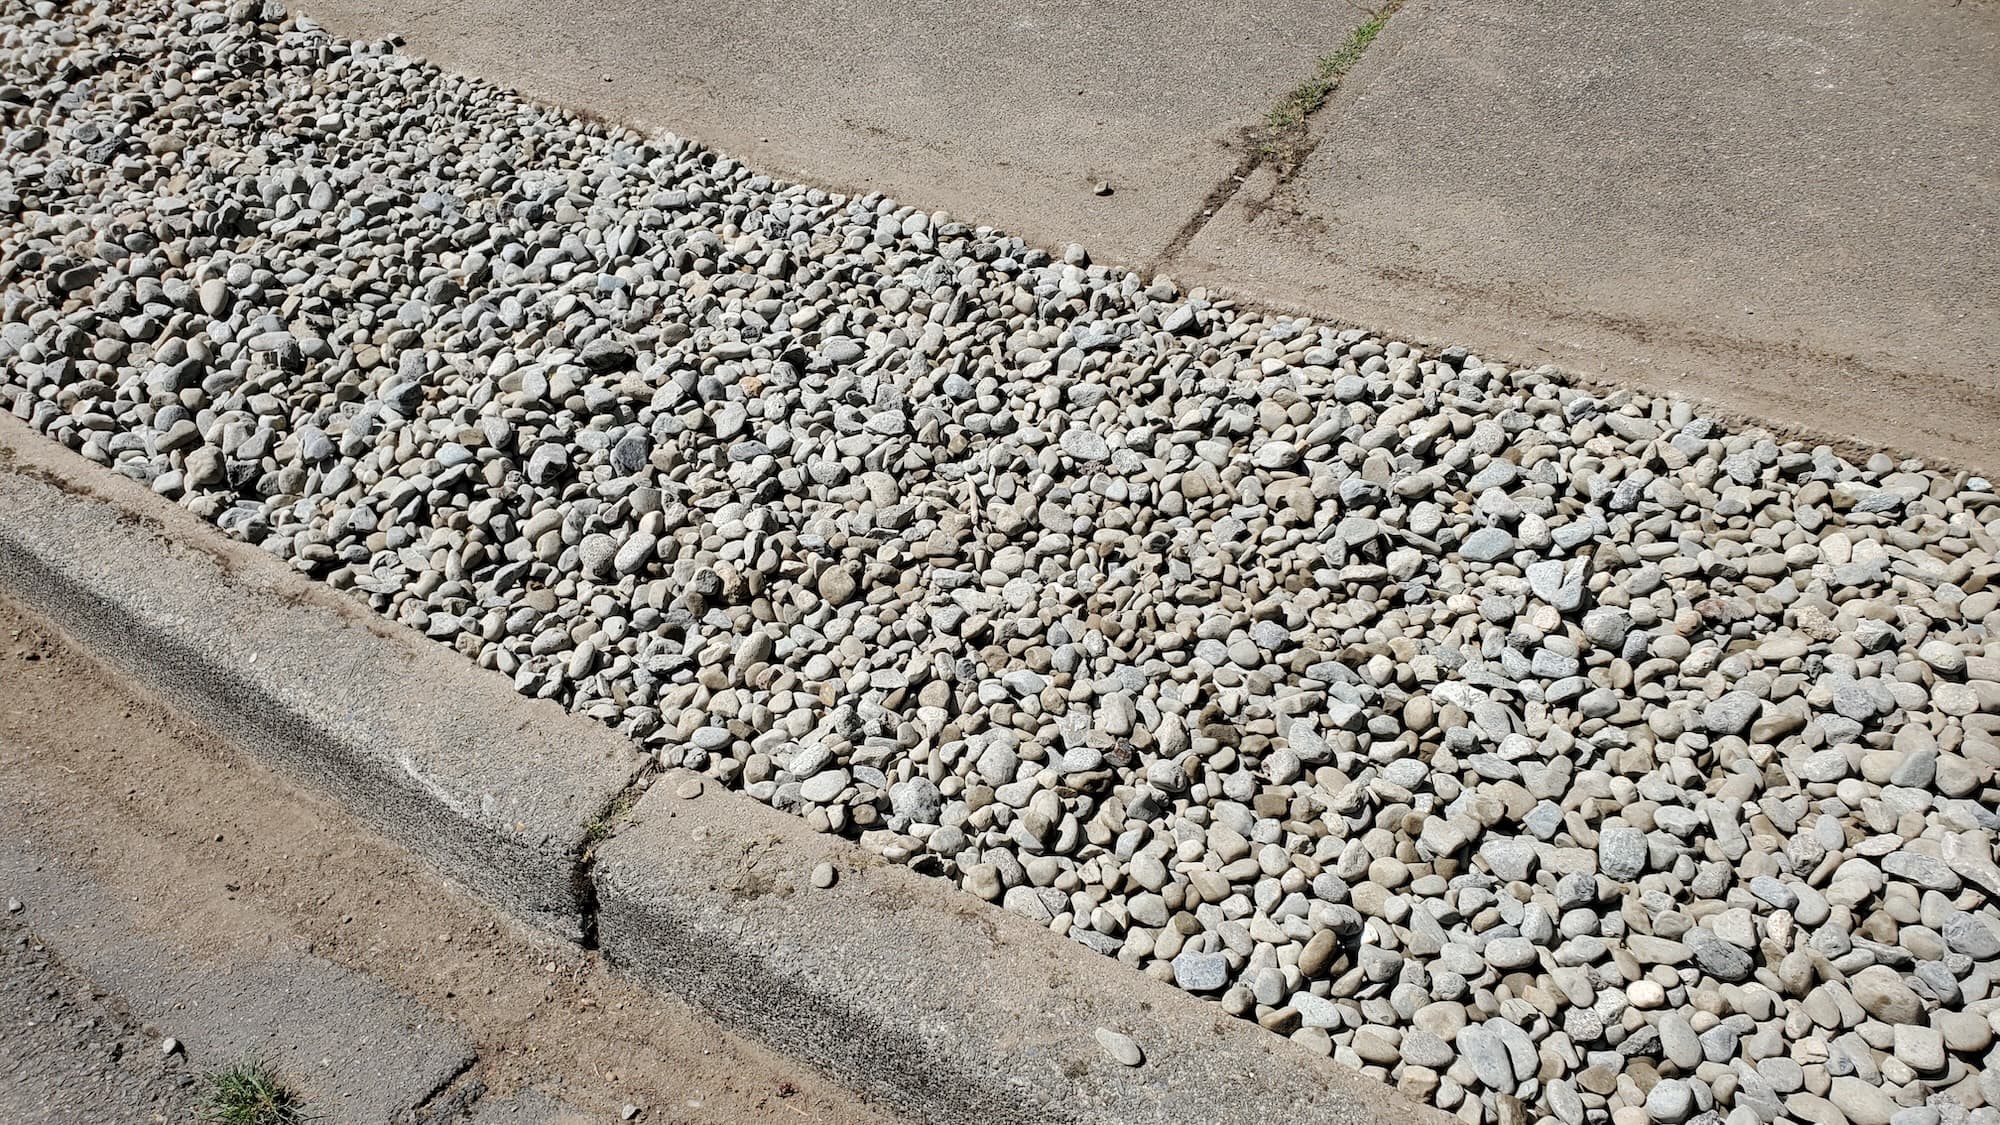
- Gravel or mulch (optional)
- Tools:
- Remove Old Timbers:
- Use a pry bar to lift out the rotted timbers carefully.
- Remove any nails or screws left in the ground.
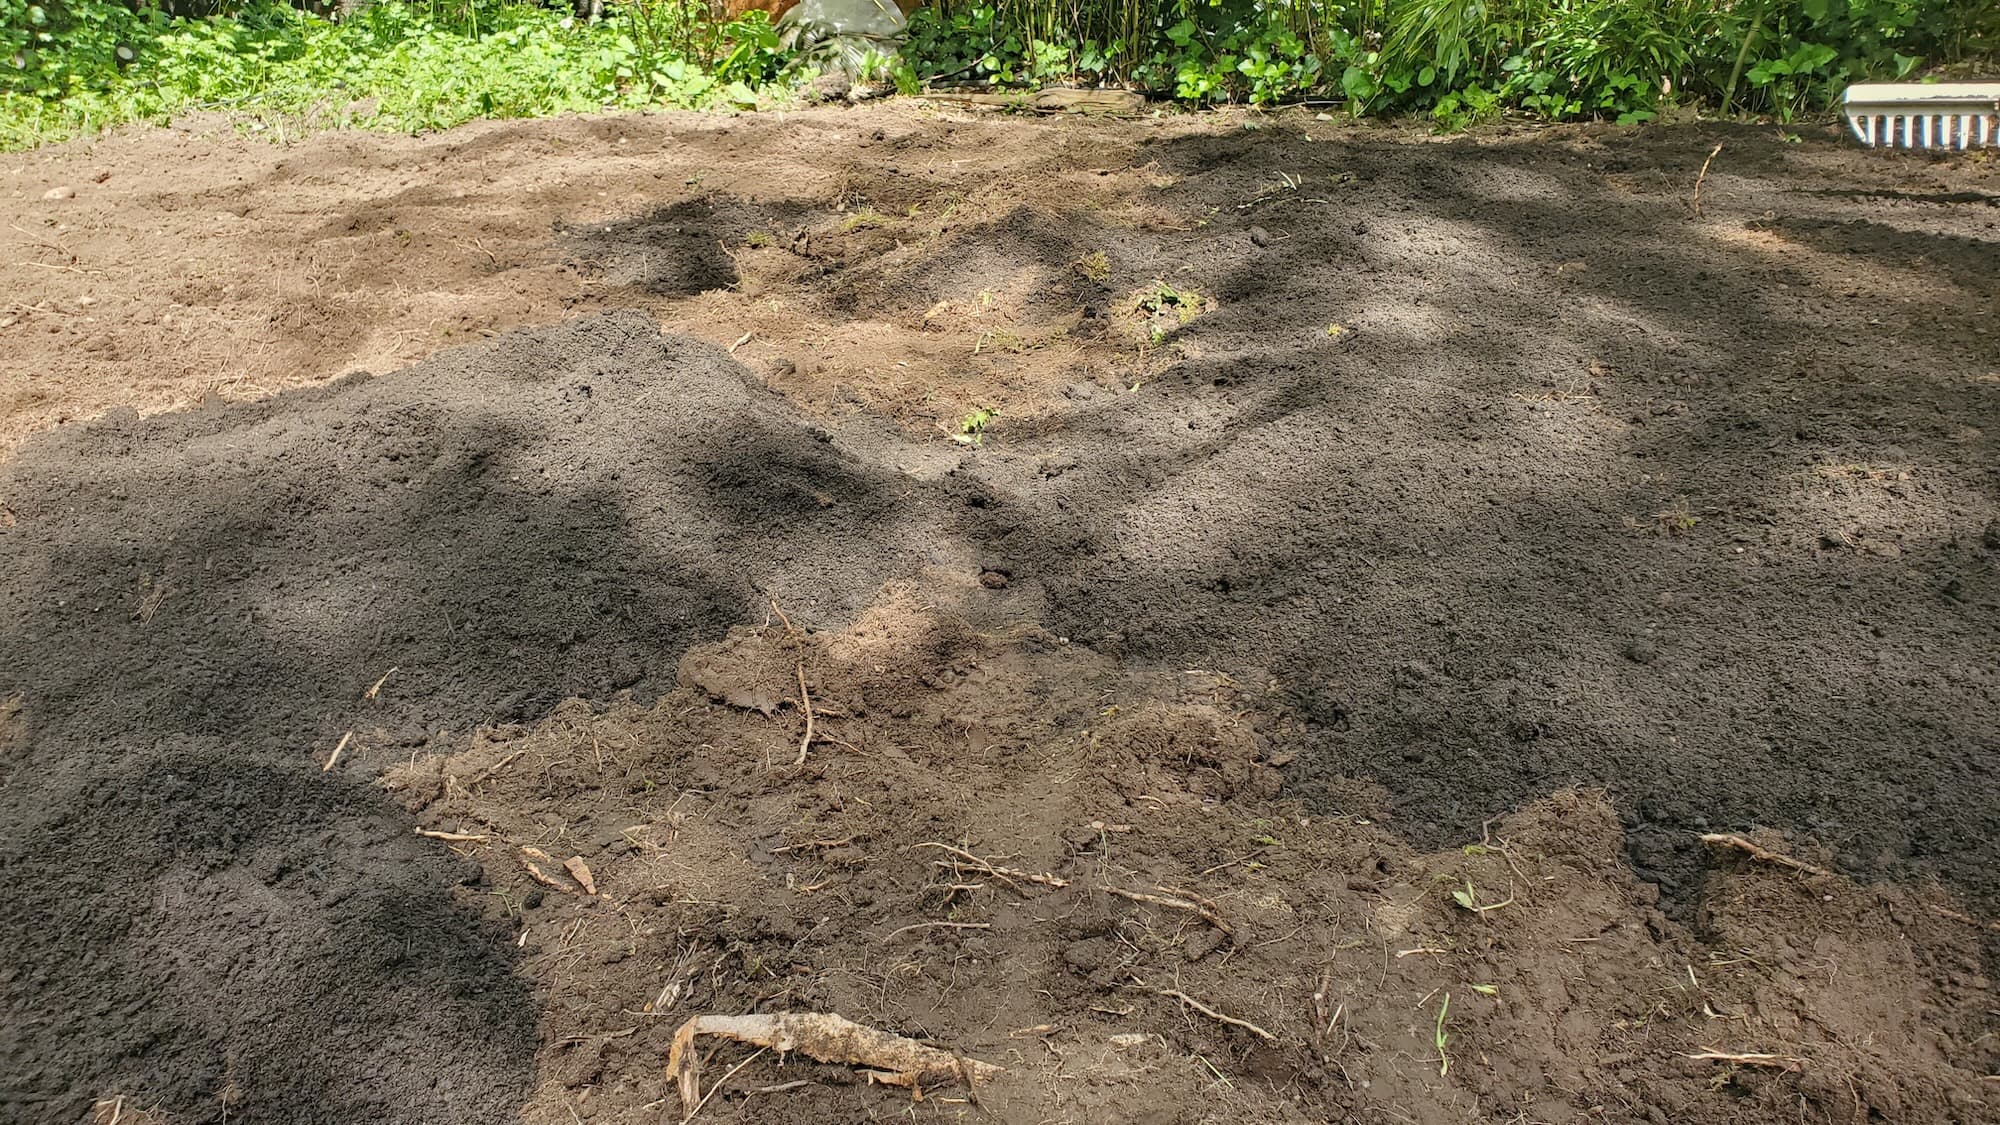
- Prepare the Area:
- Clear debris and level the ground where new timbers will sit.
- Install New Timbers:
- Place the new timber in position and use a level to ensure it’s straight.
- Secure it with screws or stakes.
- Add Finishing Touches (optional):
- Lay down landscape fabric to prevent weeds.
- Spread gravel or mulch around the timbers for added stability and aesthetics.
Timeline
- Assessment: 1-2 hours
- Removal: 1-3 hours, depending on the number of timbers
- Installation: 2-4 hours for a small to medium garden
Overall, expect the project to take a full day if you’re doing it yourself, or half a day with a professional crew.
Service Pricing
Pricing can vary based on several factors:
- Flat Rate vs. Custom: Many landscaping services offer a flat rate for straightforward jobs but may provide a custom quote for complex projects.
- Variables:
- Lot size
- Volume of debris
- Accessibility of the site
- Additional features (e.g., drainage solutions)
Expect costs to range from $500 to $2,000, depending on these factors. Keep in mind that tax, dump fees, and extra hauling charges may apply.
What’s Included
Core services typically involve:
- Timber replacement
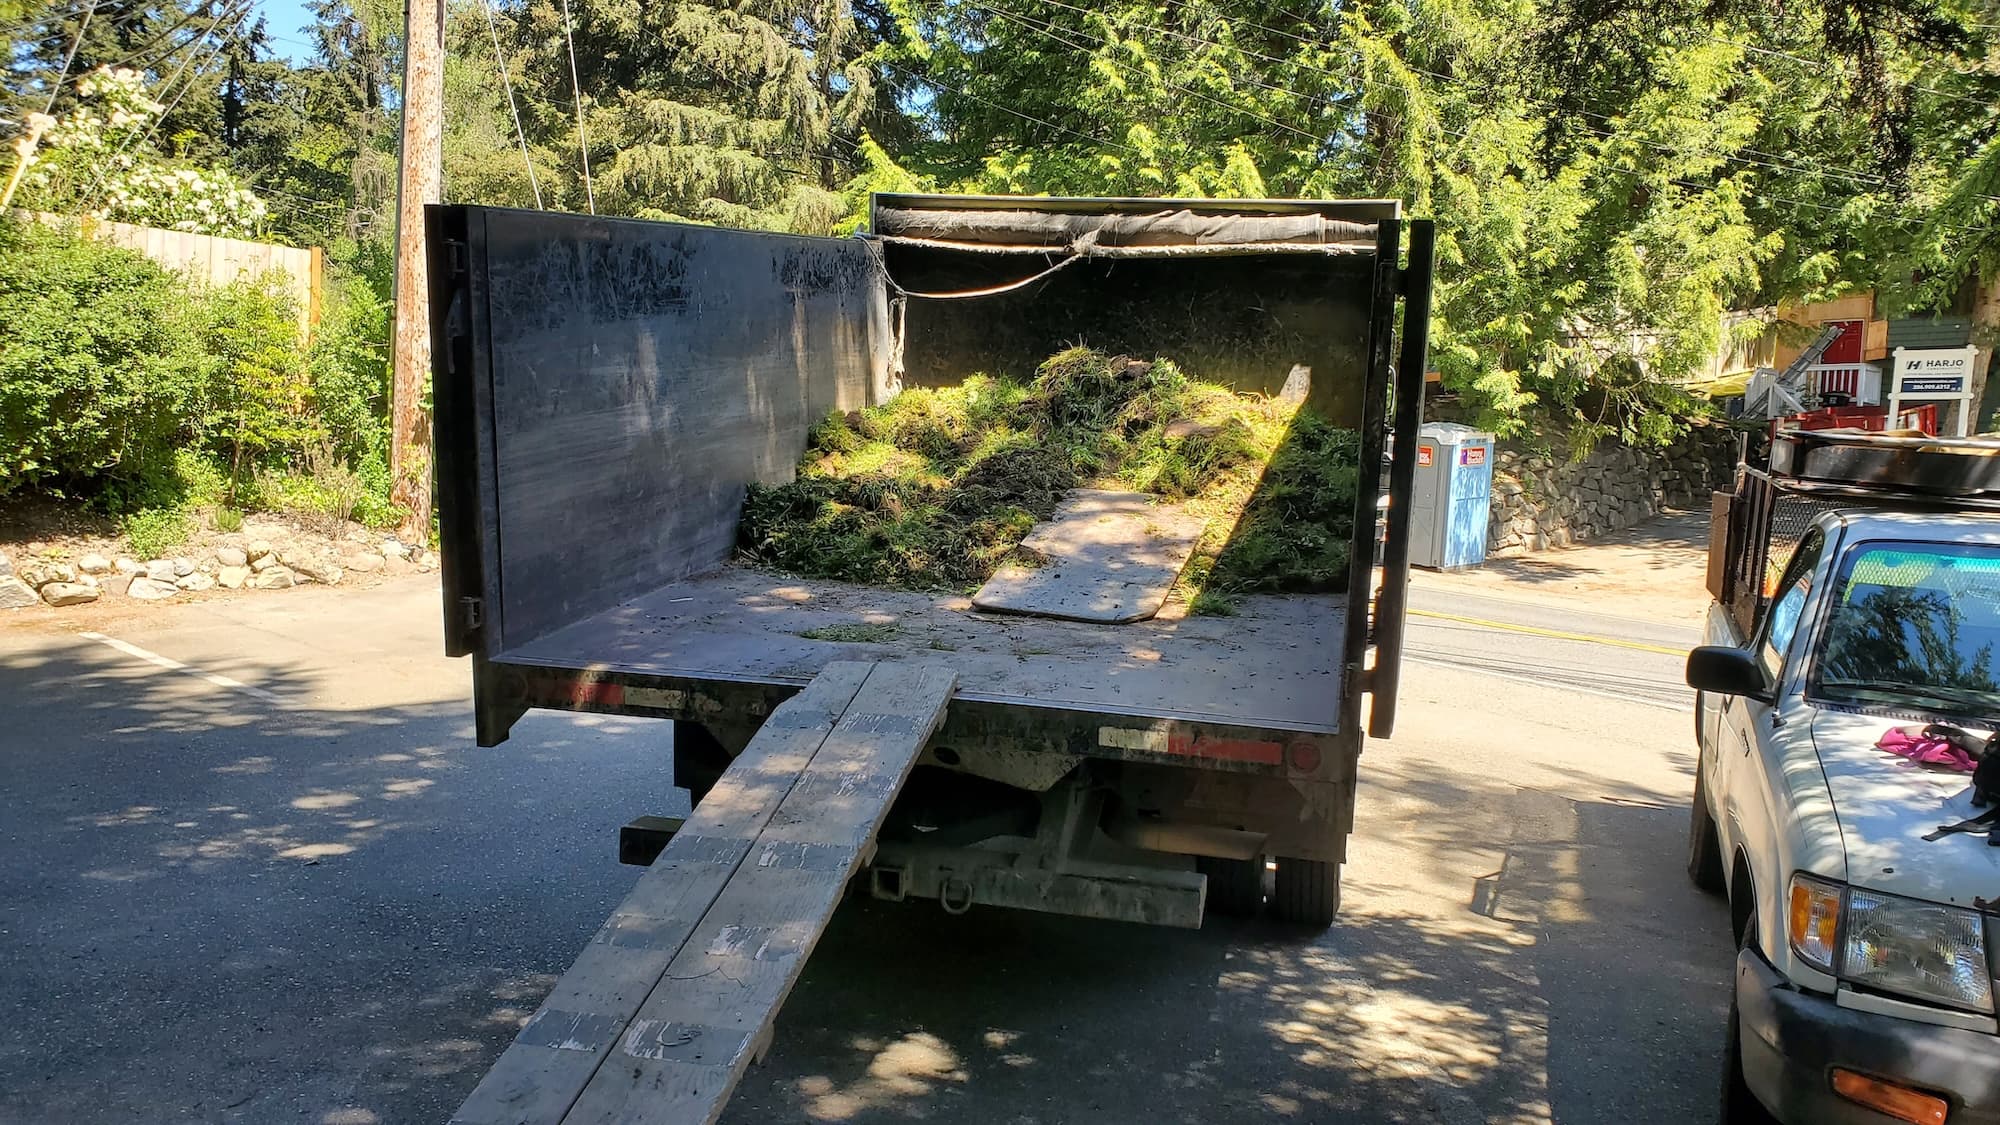
- Site cleanup
- Optional extras like:
- Gravel or mulch installation
- Landscape fabric application
- Planting new flowers or shrubs
FAQs
- How long does it take to schedule this service? Most companies can get you on the calendar within a week.
- What’s the turnaround time for the project? A full day for DIY or half a day for professionals.
- Are there dump fees? Yes, check with your service provider about any additional charges.
- What maintenance is needed? Regular inspections for rot and pests, and reapplication of mulch every year.
Why Choose Lee’s General Landscaping
- Experienced Local Crew: We work clean and efficiently.
- Licensed, Bonded & Insured: Enjoy peace of mind with our services.
- Hundreds of 5-Star Reviews: Check us out on Yelp and Google for customer satisfaction.
Common Mistakes
- Ignoring the Foundation: Always ensure the ground is level before installation.
- Using Non-Durable Materials: Choose pressure-treated wood or composite to avoid future rot.
- Skipping Safety Gear: Always wear gloves and goggles when working with tools.
DIY vs. Pro
DIY: If you’re handy and have the time, this can be a rewarding project. Just be sure to follow safety protocols and invest in quality materials.
Pro: If you want a hassle-free experience with guaranteed results, hiring a professional is the way to go. They’ll save you time and ensure everything is done right.
Ready for a yard that stays neat?
Call or text Lee’s General Landscaping for a quick quote and a maintenance plan that fits your property.
⭐⭐⭐⭐⭐ 400+ Yelp Reviews • ⭐⭐⭐⭐⭐ 130+ Google Map Reviews
📧 Email: lees.g.landscaping@gmail.com
📞 Office: 206-259-7919
🕘 Hours: Mon–Sun: 9AM–6PM
🔒 Licensed • Bonded • Insured