Replace Gate Hinges & Hardware
If your gate is sagging, hard to open, or the hinges are rusting away, you’re not alone. Many homeowners face the challenge of deteriorating gate hardware, which can impact both safety and curb appeal. The good news? Replacing gate hinges and hardware is a straightforward task that can significantly improve the look and functionality of your gate. In this article, we’ll walk you through the process, highlight the benefits, and help you decide whether to tackle this project yourself or hire a professional.
Description
Replacing gate hinges and hardware includes:
- Removing old hardware: Safely detach the existing hinges and latch.
- Installing new hinges and latch: Securely attach new, durable hardware.
- Adjusting the gate: Ensure proper alignment for smooth operation.
Key Benefits:
- Improved Appearance: New hardware can refresh the look of your gate, enhancing your property’s overall curb appeal.
- Increased Durability: High-quality materials will withstand the elements better, reducing the frequency of repairs.
- Enhanced Safety: A properly functioning gate keeps your property secure and prevents accidents.
- Eco-Friendly Options: Consider using sustainable materials for hardware to minimize your environmental footprint.
Why Hire a Pro?
- Local Expertise: A professional knows the best materials and techniques for your specific environment.
- Licensed & Insured: Protects you from potential liabilities during the project.
- Professional Tools: Ensures the job is done efficiently and effectively.
Our Approach
Here’s a step-by-step breakdown of the process:
Tools & Materials Needed:
- New gate hinges (choose stainless steel or galvanized for durability)
- New gate latch
- Drill and drill bits
- Screwdriver
- Level
- Measuring tape
- Safety goggles and gloves
- Wrench (if needed)
- Wood filler (optional, for old screw holes)
Step-by-Step Process:
Assess the Situation:
- Check the condition of your current hinges and latch. Note any damages that might require additional attention.
Gather Your Tools:
- Collect all tools and materials listed above.
Remove the Old Hardware:
- Put on safety goggles and gloves.
- Use a drill or screwdriver to remove the old hinges and latch. Keep the gate supported to avoid it falling.
Prepare the Surface:
- If there are any old screw holes, fill them with wood filler and let dry. This provides a stable surface for the new hardware.
Install New Hinges:
- Position the new hinges on the gate and post according to the manufacturer’s instructions.
- Use a level to ensure they are straight before securing them with screws.
Attach the Latch:
- Install the new latch at a height that is easy to reach. Again, use a level to ensure it’s properly aligned.
Test the Gate:
- Open and close the gate several times to check for smooth operation. Make adjustments as needed.
Final Touches:
- Touch up any paint or finish on the gate to match the new hardware.
Timeline:
- Estimated Time: 2-3 hours for most gates, depending on experience and condition of existing hardware.
Service Pricing
- Cost Range: Expect to spend between $50 to $200 for materials, depending on the quality of hardware chosen.
- Labor Costs: If hiring a pro, labor can add another $100 to $300 based on local rates.
- Additional Costs: Be aware of potential tax, dump fees for disposing of old hardware, or charges for extra materials or repairs.
What’s Included
Core Services:
- Removal of old hinges and latch
- Installation of new hardware
- Minor adjustments for optimal gate function
Optional Extras:
- Upgrading to more durable or decorative hardware
- Gate painting or staining
- Adding a locking mechanism for enhanced security
FAQs
How long will the new hinges last?
- With proper maintenance, quality hinges can last several years.
What if my gate is still misaligned after replacing hardware?
- You may need to adjust the gate or check for structural issues with the post.
Are there any additional fees?
- Fees may apply for travel or if extensive repairs are needed beyond the hardware replacement.
Maintenance Tips:
- Regularly inspect hinges and latches for rust or wear.
- Lubricate moving parts annually to prevent squeaking and ensure smooth operation.
- Clean the gate and hardware periodically to remove dirt and debris.
DIY vs. Pro
DIY: If you’re handy with tools and have some experience, replacing gate hinges and hardware can be a rewarding project. It saves money and gives you a sense of accomplishment.
Pro: If you prefer a hassle-free experience or if your gate has complex issues, hiring a professional ensures the job is done right the first time. Plus, you can enjoy peace of mind knowing it’s handled by experts.
Common Mistakes
- Not Measuring Correctly: Ensure proper alignment and spacing when installing new hardware.
- Ignoring Gate Alignment: If the gate isn’t level, new hardware may not function correctly.
- Using Low-Quality Materials: Investing in durable hardware pays off in the long run.
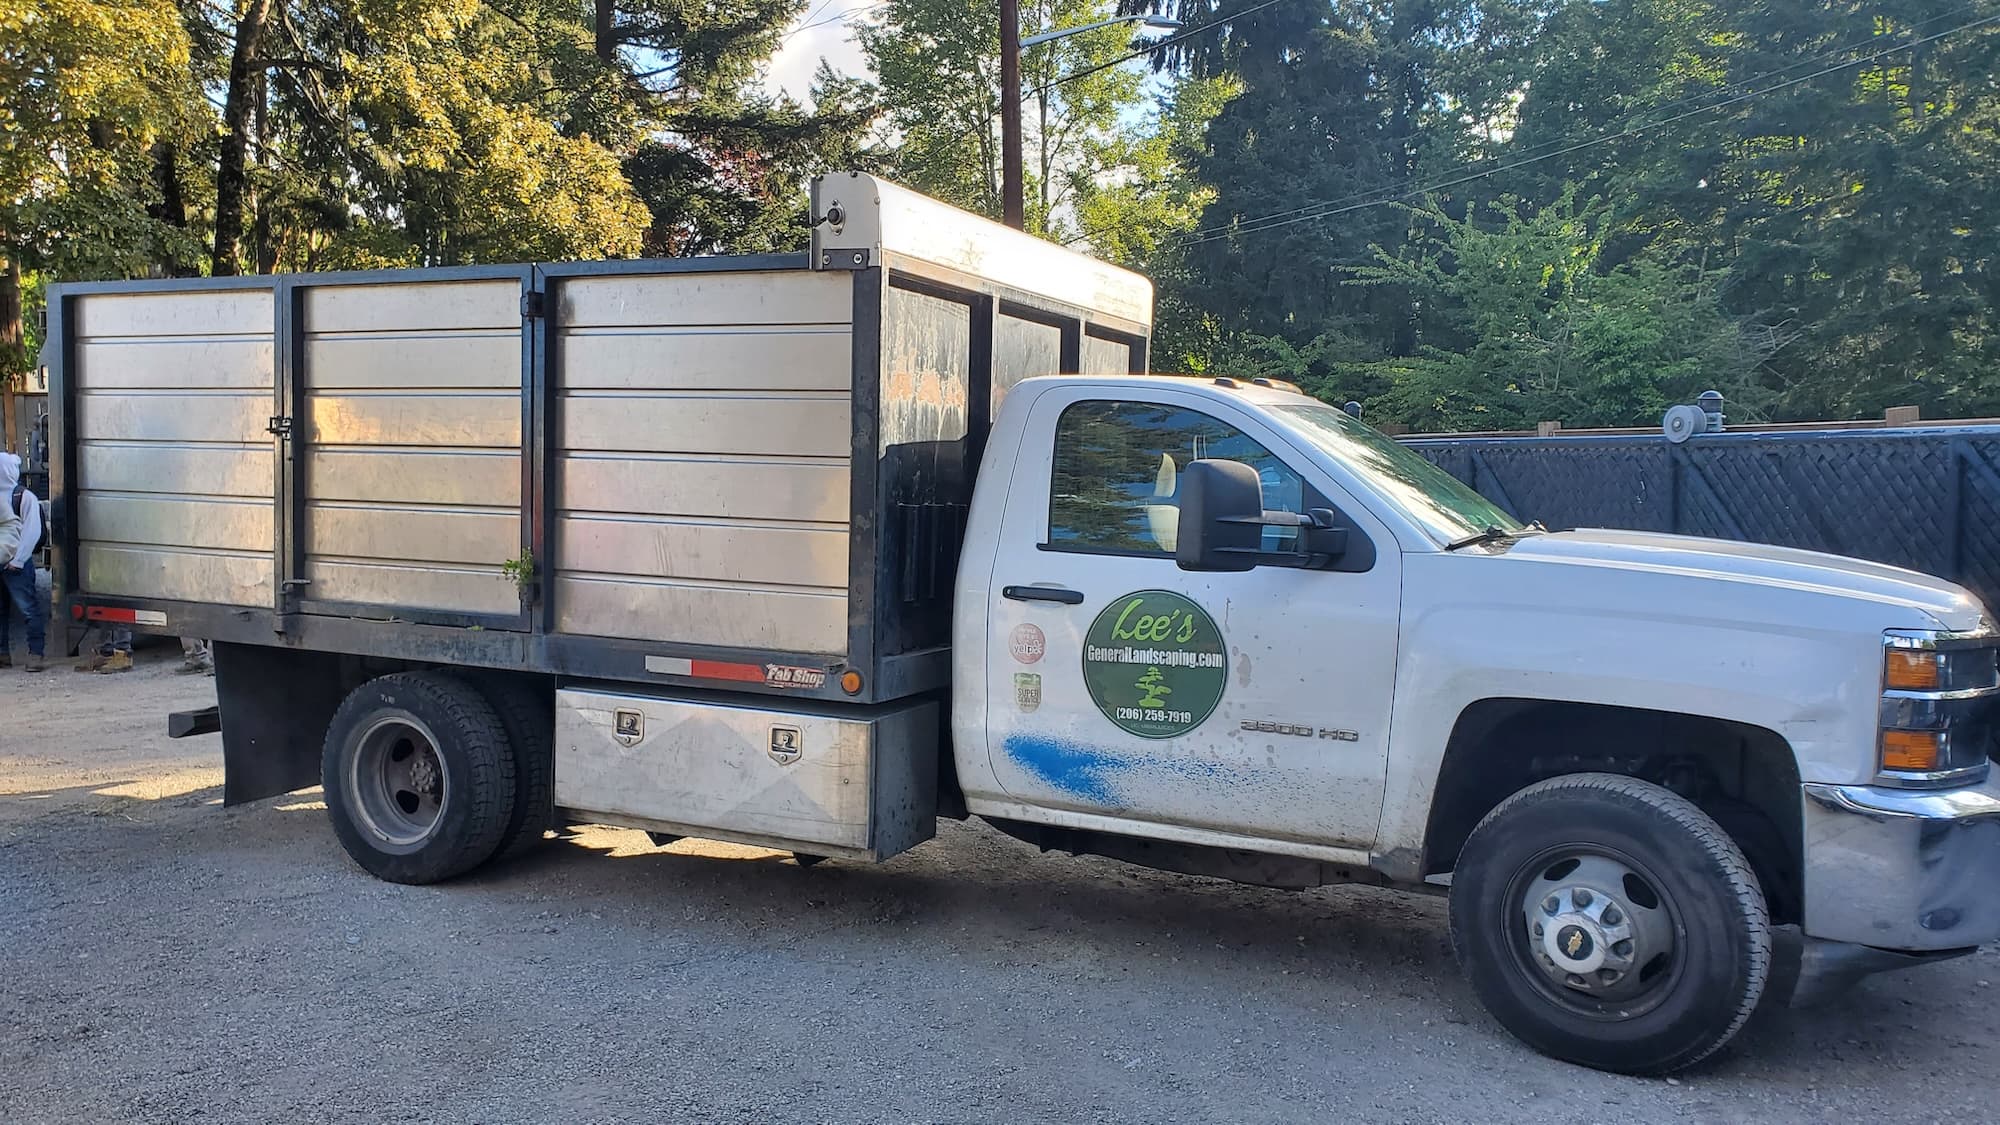
Why Choose Lee’s General Landscaping
With our experienced local crew, we prioritize clean and efficient work. We’re:
- Licensed, bonded & insured for your peace of mind.
- Backed by hundreds of 5-star reviews across Yelp and Google.
Ready for a gate that functions beautifully?
Call or text Lee’s General Landscaping for a quick quote and a maintenance plan that fits your property.
⭐⭐⭐⭐⭐ 400+ Yelp Reviews • ⭐⭐⭐⭐⭐ 130+ Google Map Reviews
📧 Email: lees.g.landscaping@gmail.com
📞 Office: 206-259-7919
🕘 Hours: Mon–Sun: 9AM–6PM
🔒 Licensed • Bonded • Insured