Replace Broken Trellis Panels
Broken trellis panels can be a frustrating eyesore in your yard, detracting from your home’s curb appeal and potentially posing safety hazards. Whether it’s a result of weather damage, pests, or simply wear and tear, replacing these panels is essential. The best solution is to replace the broken panels with durable materials that enhance your landscape’s aesthetic and functionality. This article will guide you through the process of replacing trellis panels, highlighting the tools and materials needed, step-by-step instructions, and the benefits of a well-maintained trellis.
Description
What the Service Includes
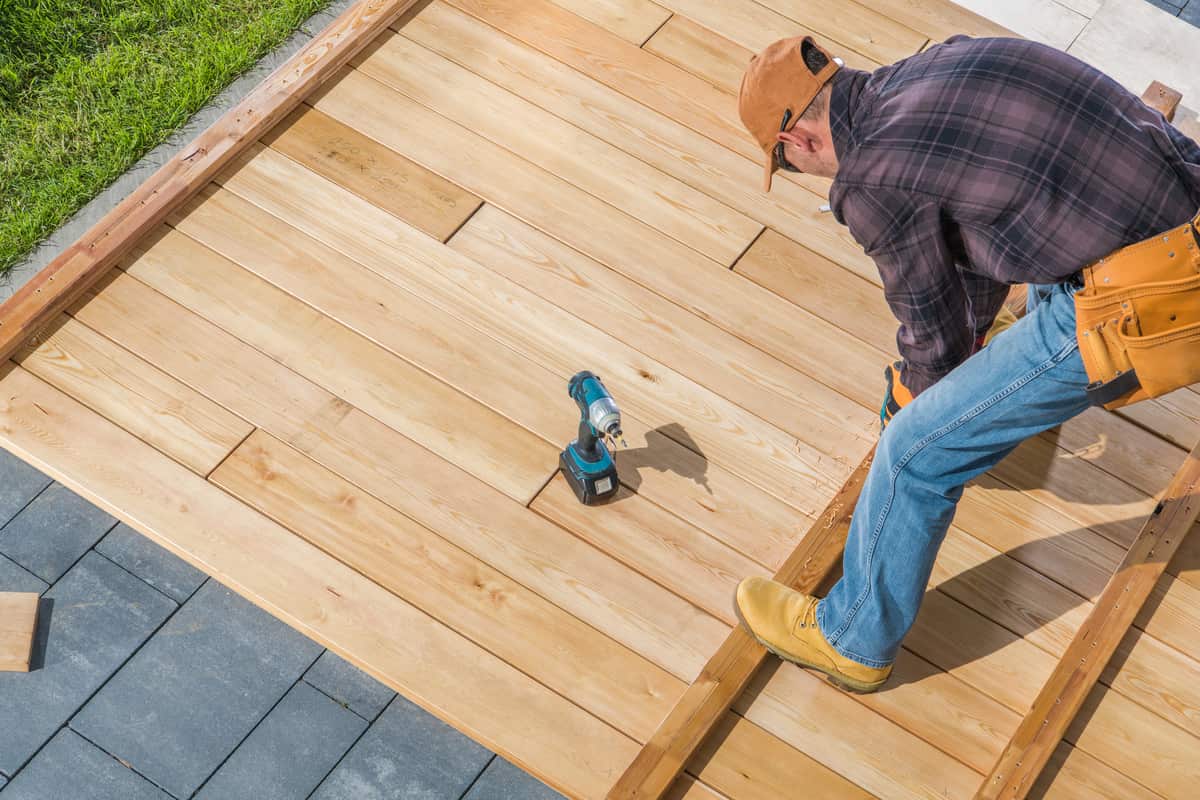
Replacing broken trellis panels involves several tasks:
- Assessment: Evaluating the extent of the damage and determining the required replacement.
- Removal: Carefully taking down the broken panels and any supporting structures.
- Installation: Installing new panels securely and ensuring they are properly aligned.
- Finishing Touches: Painting or sealing the panels for added protection and aesthetics.
Key Benefits
- Improved Appearance: New panels enhance your garden’s look.
- Durability: Quality materials last longer and resist damage.
- Safety: A stable trellis prevents accidents from falling debris.
- Eco-Friendly Options: Consider sustainable materials that benefit the environment.
Why Hire a Pro
Hiring a professional ensures:
- Local Expertise: Knowledge of materials and styles suited for your area.
- Licensed & Insured Crew: Protection against damages and accidents.
- Professional Tools: Access to specialized equipment for a job well done.
Our Approach
Step-by-Step Breakdown of Tasks
Assess the Damage: Inspect the existing trellis and determine what needs replacing.
Gather Tools and Materials:
- Tools:
- Screwdriver or drill
- Saw (hand saw or power saw)
- Level
- Tape measure
- Safety gloves and goggles
- Materials:
- Replacement trellis panels (wood, vinyl, or metal)
- Screws or nails
- Wood sealant or paint (if applicable)
- Tools:
Remove the Old Panels:
- Carefully unscrew or pry off the broken panels.
- Remove any supporting posts if they are damaged.
Prepare the Site:
- Clean the area where the new panels will be installed.
- Ensure the ground is level for proper installation.
Install New Panels:
- Position the new panels and secure them with screws or nails.
- Use a level to ensure they are straight.
Finishing Touches:
- Seal or paint the panels as needed to protect against weathering.
What Homeowners Can Expect
- Efficiency: A professional crew can typically complete the job in a few hours.
- Safety: All work is done with care to prevent injuries.
- Long-Lasting Results: Proper installation means you won’t have to worry about it again for years.
Service Pricing
How Pricing Works
- Flat Rate vs. Custom: Costs can vary based on the complexity of the job.
- Variables:
- Lot size
- Volume of debris removal
- Access to the installation site
- Additional features like decorative elements
Estimated Cost Ranges
- Basic panel replacement can range from $200 to $600.
- Custom designs or high-quality materials may increase costs to $700 or more.
Additional Notes
- Be aware of potential extra costs such as tax, dump fees, or charges for additional hauling.
What’s Included
Core Services
- Removal of old panels
- Installation of new panels
- Site cleanup
Optional Extras
- Decorative elements (e.g., lattice work)
- Painting or sealing the new panels
- Landscaping adjustments around the trellis
FAQs
Common Customer Concerns
- Scheduling: Most jobs can be scheduled within a week.
- Turnaround Time: Expect the job to take 4-8 hours, depending on complexity.
- Dump Fees: Typically included in the service cost, but confirm with your provider.
Maintenance Tips
- Regularly check for signs of rot or damage.
- Clean panels occasionally to prevent mold or mildew.
- Reapply sealant or paint every few years for longevity.
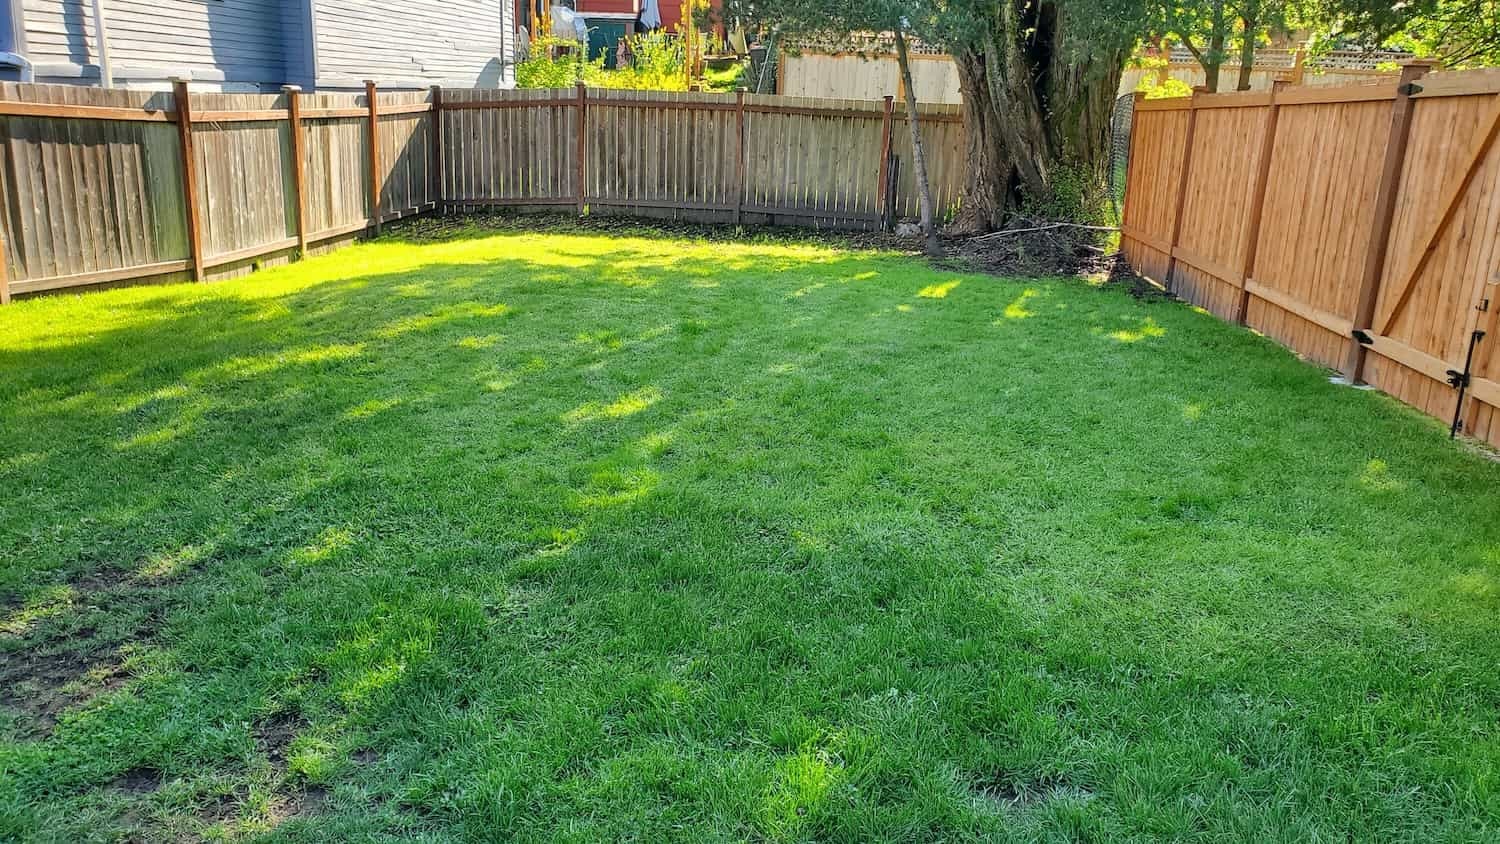
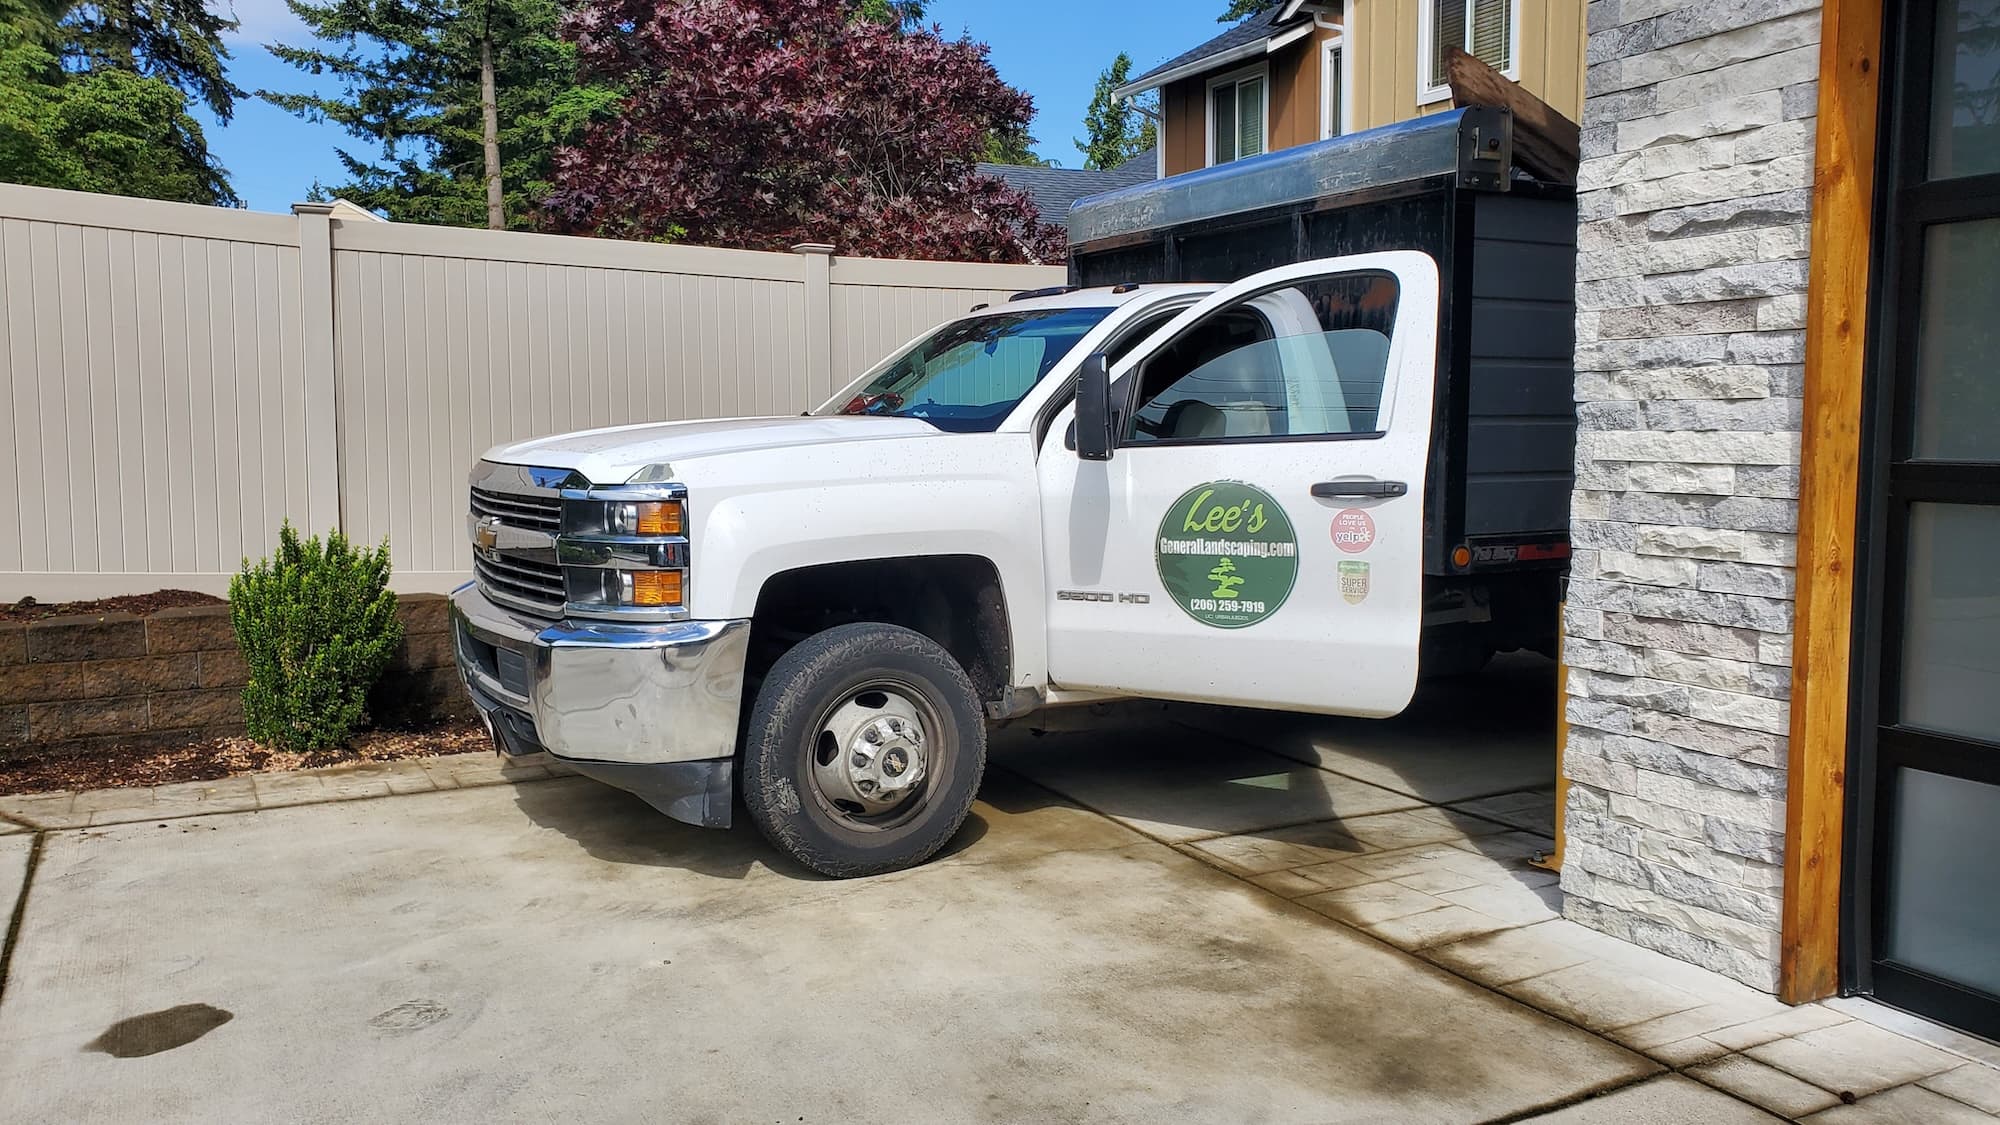
Why Choose Lee’s General Landscaping
- Our experienced local crew works clean and efficiently.
- We are licensed, bonded, and insured for your peace of mind.
- We have hundreds of 5-star reviews across Yelp and Google, ensuring customer satisfaction.
Ready for a yard that stays neat?
Call or text Lee’s General Landscaping for a quick quote and a maintenance plan that fits your property.
⭐⭐⭐⭐⭐ 400+ Yelp Reviews • ⭐⭐⭐⭐⭐ 130+ Google Map Reviews
📧 Email: lees.g.landscaping@gmail.com
📞 Office: 206-259-7919
🕘 Hours: Mon–Sun: 9AM–6PM
🔒 Licensed • Bonded • Insured