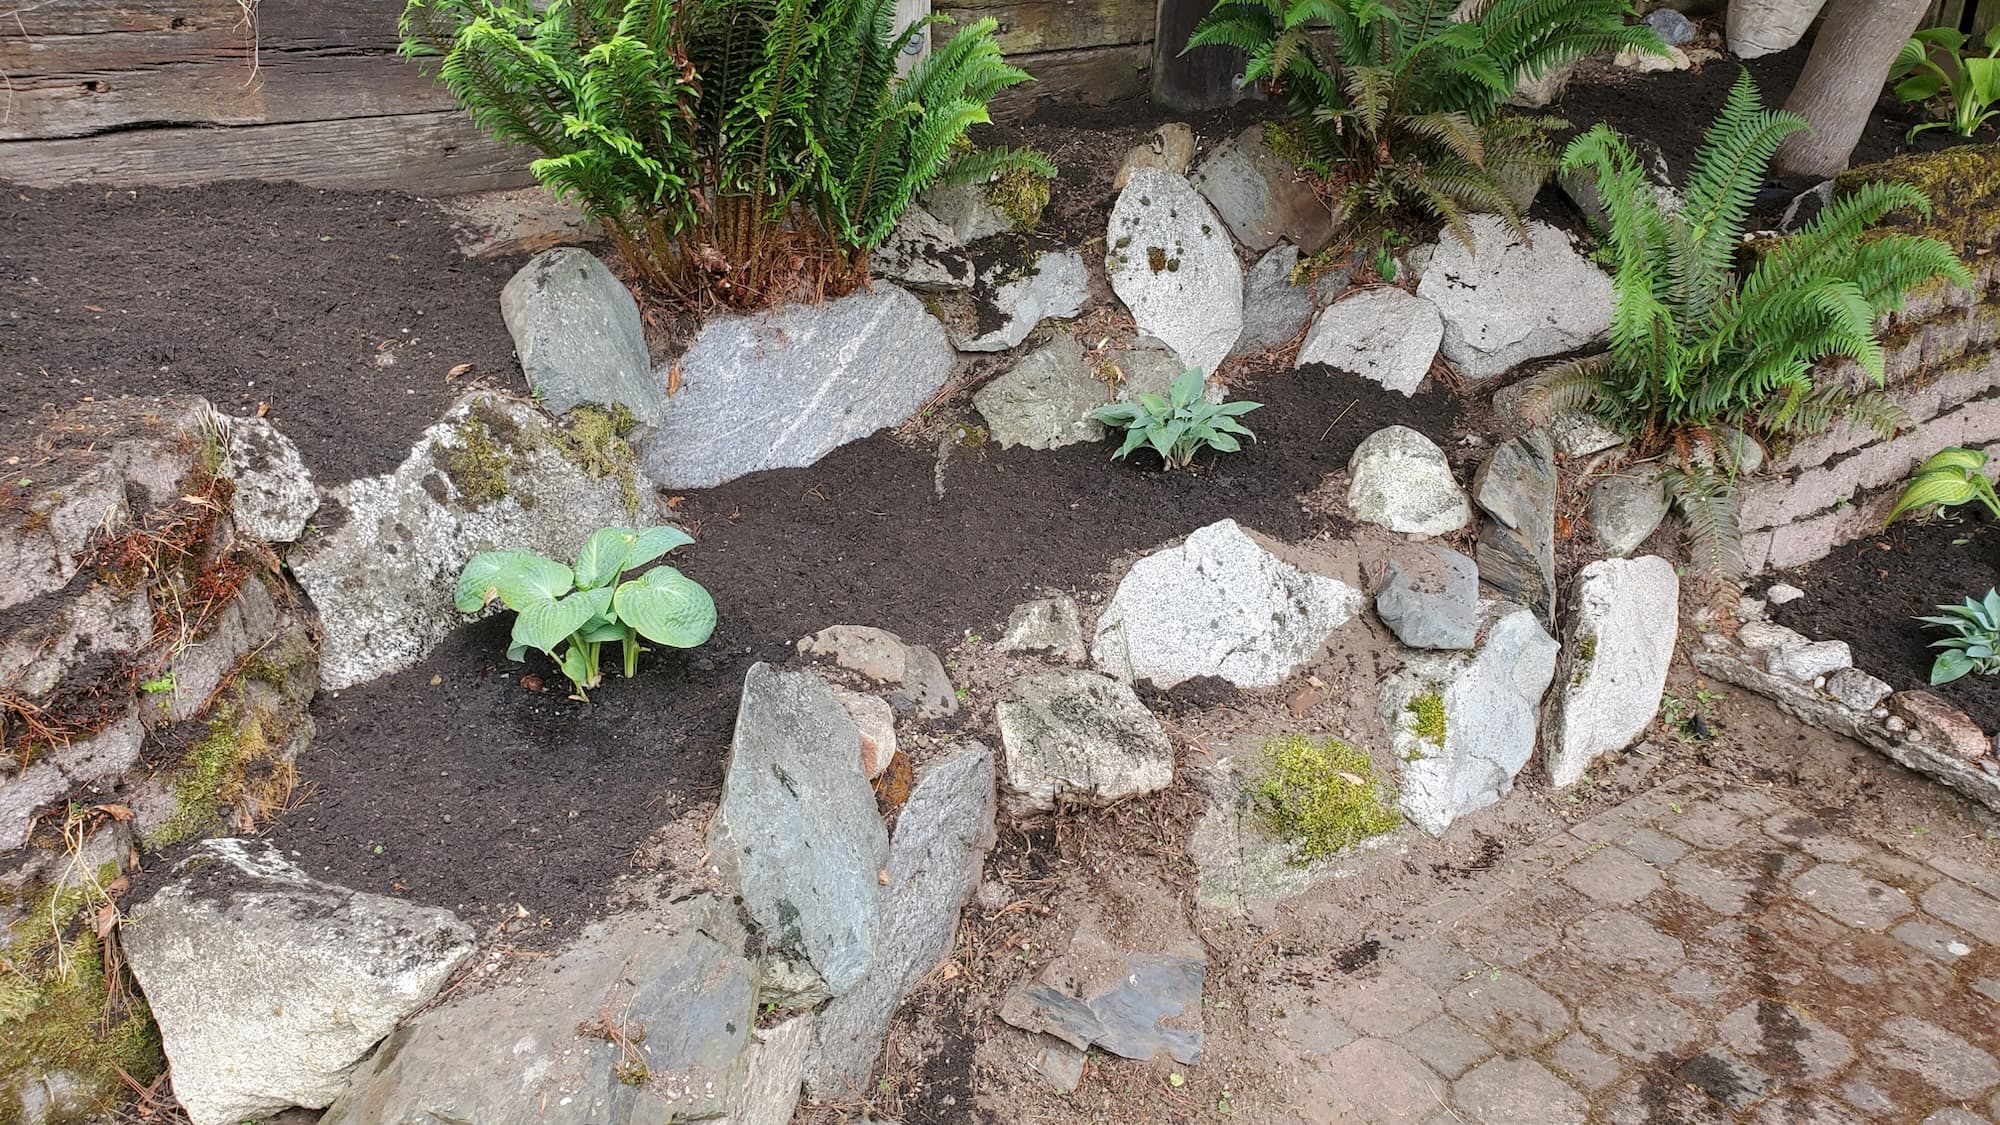
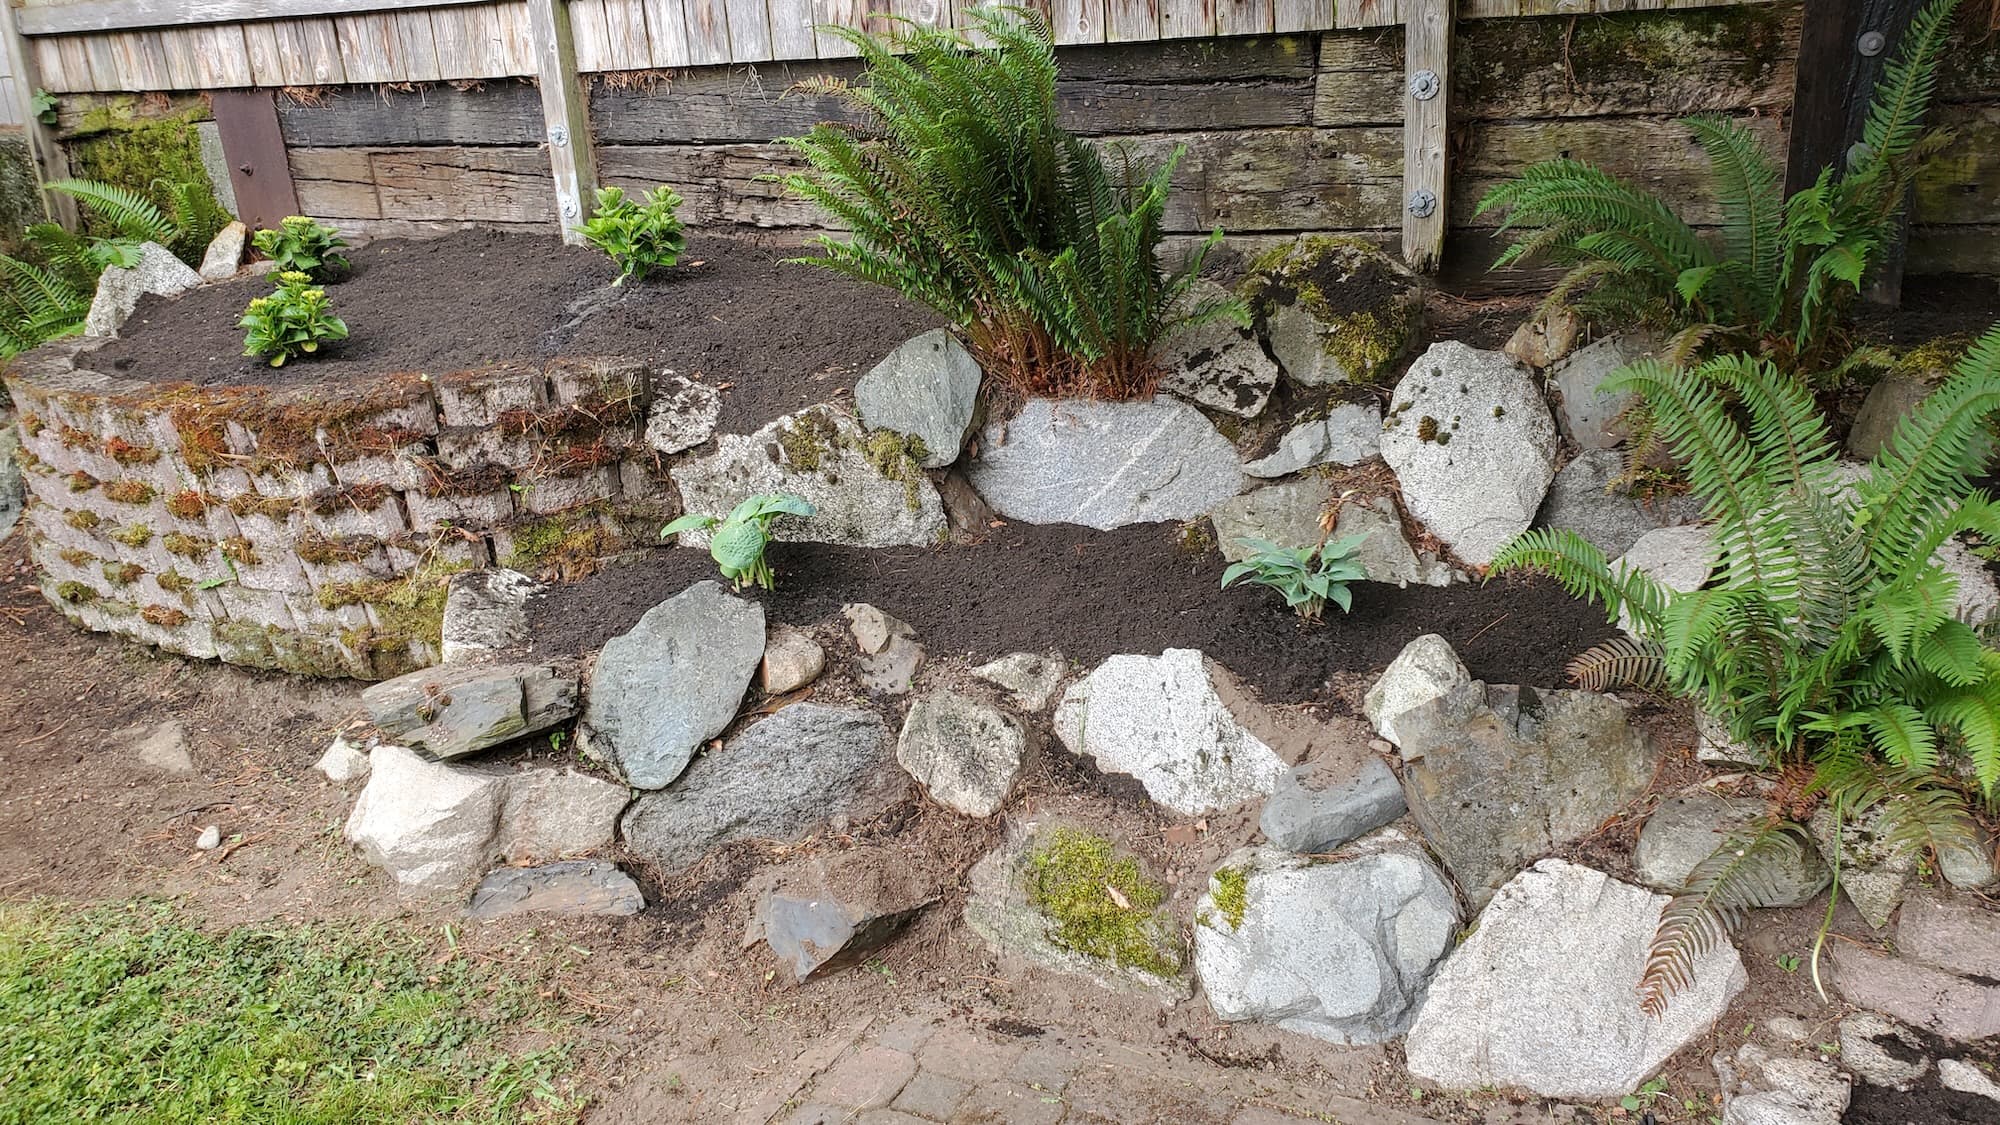
Repair irrigation valves
As a homeowner, dealing with a malfunctioning irrigation system can be a frustrating challenge. When your irrigation valves fail, it can lead to uneven watering, wasted water, and even damage to your landscaping. Fortunately, repairing irrigation valves is a manageable task that can significantly enhance your property’s curb appeal, ensure the safety of your plants, and reduce long-term maintenance costs. In this article, we’ll walk you through the steps to repair your irrigation valves, discuss tools and materials needed, and help you decide whether to tackle the project yourself or call in a professional.
Description
Repairing irrigation valves involves several key tasks:
- Diagnosing the problem: Identifying whether the valve is leaking, stuck, or broken.
- Disassembling the valve: Safely removing the valve from the irrigation system.
- Replacing damaged parts: Swapping out gaskets, diaphragms, or entire valves as needed.
- Reassembling and testing: Putting everything back together and ensuring the system operates correctly.
Key Benefits
- Improved Appearance: A properly functioning irrigation system maintains healthy, vibrant plants.
- Durability: Regular maintenance and repairs extend the life of your irrigation system.
- Safety: Prevents water pooling and reduces the risk of slips or falls.
- Eco-Friendly Options: Consider upgrading to water-efficient valves to conserve water.
Why Hire a Pro
While DIY repairs are possible, hiring a professional offers several advantages:
- Local Expertise: Knowledge of local regulations and best practices.
- Licensed & Insured Crew: Peace of mind knowing you’re covered for any accidents.
- Professional Tools: Access to specialized tools that can save time and ensure proper installation.
Our Approach
Here’s a step-by-step breakdown of how to repair irrigation valves:
Step 1: Diagnose the Issue
- Check for visible leaks or unusual sounds.
- Test the valve by manually operating it to see if it opens and closes correctly.
Step 2: Gather Tools & Materials
Tools:
- Adjustable wrench
- Screwdriver (flathead and Phillips)
- Teflon tape
- Utility knife
- Bucket (to catch any water)
Materials:
- Replacement gaskets or diaphragms
- New valve (if necessary)
- Pipe fittings (if damaged)
Step 3: Turn Off Water Supply
- Locate the main water shut-off valve and turn off the water supply to the irrigation system.
Step 4: Disassemble the Valve
- Use the adjustable wrench to loosen the fittings and remove the valve from the system.
- Place the valve in a bucket to catch any residual water.
Step 5: Inspect and Replace Parts
- Check the valve components for wear and tear.
- Replace any damaged gaskets or diaphragms.
- If the valve is severely damaged, consider replacing it entirely.
Step 6: Reassemble the Valve
- Reattach the valve to the irrigation system using Teflon tape on the threads to ensure a tight seal.
- Tighten the fittings securely but avoid overtightening.
Step 7: Test the System
- Turn the water supply back on and test the valve to ensure it operates correctly.
- Check for leaks and make any necessary adjustments.
Timeline
- DIY Duration: 2–4 hours, depending on your experience level.
- Professional Duration: 1–2 hours for a crew to complete the job.
Service Pricing
Pricing for irrigation valve repairs can vary based on several factors:
- Flat Rate vs. Custom Pricing: Many professionals offer flat rates for standard repairs, while more complex issues may require custom quotes.
- Variables: Lot size, number of valves, accessibility, and if any additional repairs are needed.
- Extras: Be aware of potential extra charges for tax, dump fees, or any additional materials needed.
Cost Ranges: Expect to pay anywhere from $100 to $300 for repairs, depending on the complexity of the job.
What’s Included
When you hire a professional for irrigation valve repair, core services typically include:
- Valve inspection and diagnosis
- Parts replacement
- System testing
Optional extras may include:
- Upgrading to more efficient valves
- Installing new irrigation lines
- Seasonal maintenance checks
FAQs
Common Customer Concerns
- Scheduling: Most services can be scheduled within a week.
- Turnaround Time: Repairs typically take a few hours.
- Dump Fees: Usually included in the quote, but confirm beforehand.
Maintenance Tips
- Regularly inspect your irrigation system for leaks or signs of wear.
- Clean filters and flush the system at least once a year to prevent clogs.
Why Choose Lee’s General Landscaping
- Experienced Local Crew: We know the ins and outs of local irrigation systems.
- Licensed, Bonded & Insured: You can trust us to handle your property safely.
- Hundreds of 5-Star Reviews: Our satisfied customers speak for our quality service.
DIY vs. Pro
DIY: If you’re handy and have some experience with plumbing, this can be a rewarding project. Just be aware of your limits; complex issues might require professional intervention.
Pro: For peace of mind, efficiency, and a guarantee of work quality, hiring a professional is often the best route.
Common Mistakes
- Ignoring Leaks: Small leaks can lead to bigger problems if left unchecked.
- Overtightening Fittings: This can damage threads and create more leaks.
- Not Testing the System: Always ensure everything works correctly before considering the job done.
Ready for a yard that stays neat?
Call or text Lee’s General Landscaping for a quick quote and a maintenance plan that fits your property.
⭐⭐⭐⭐⭐ 400+ Yelp Reviews • ⭐⭐⭐⭐⭐ 130+ Google Map Reviews
📧 Email: lees.g.landscaping@gmail.com
📞 Office: 206-259-7919
🕘 Hours: Mon–Sun: 9AM–6PM
🔒 Licensed • Bonded • Insured