Repair Damaged Garden Edging
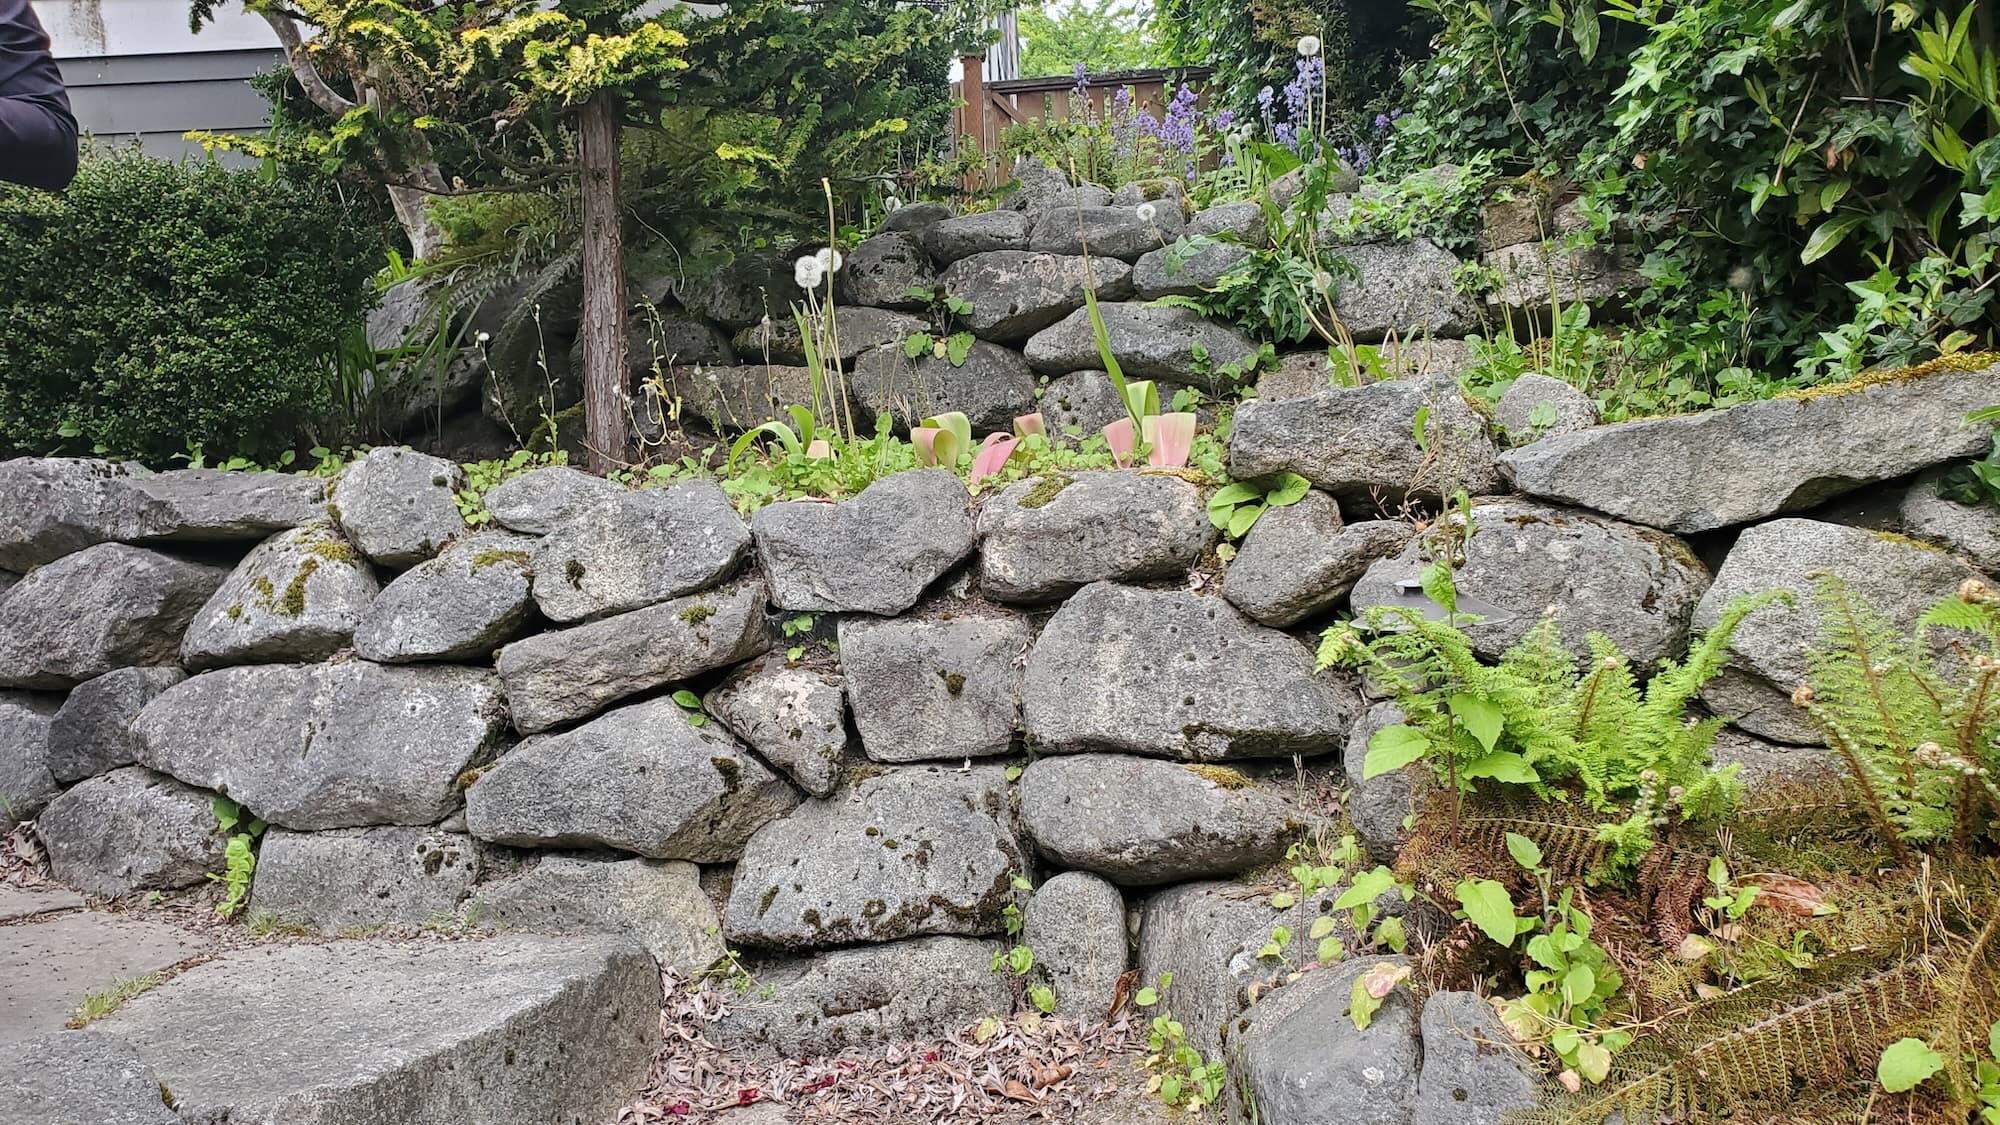
Homeowners often face the challenge of damaged garden edging, which can detract from the overall beauty of their landscape while also making maintenance more difficult. Whether it’s due to weather, wear and tear, or landscaping overhauls, repairing your garden edging is essential. A well-maintained border not only enhances curb appeal but also provides safety by preventing soil erosion and keeps mulch and other materials contained. In this article, we’ll guide you through the process of repairing damaged garden edging, covering everything from tools needed to maintenance tips.
Description
Repairing garden edging involves several key tasks that restore both functionality and appearance. Here’s what to expect:
- Assessment: Evaluating the extent of damage and determining whether to replace or repair.
- Removal: Taking out any broken or damaged sections of the edging.
- Replacement: Installing new materials or fixing existing ones.
- Finishing Touches: Adding mulch or soil to ensure a neat and tidy look.
Key Benefits
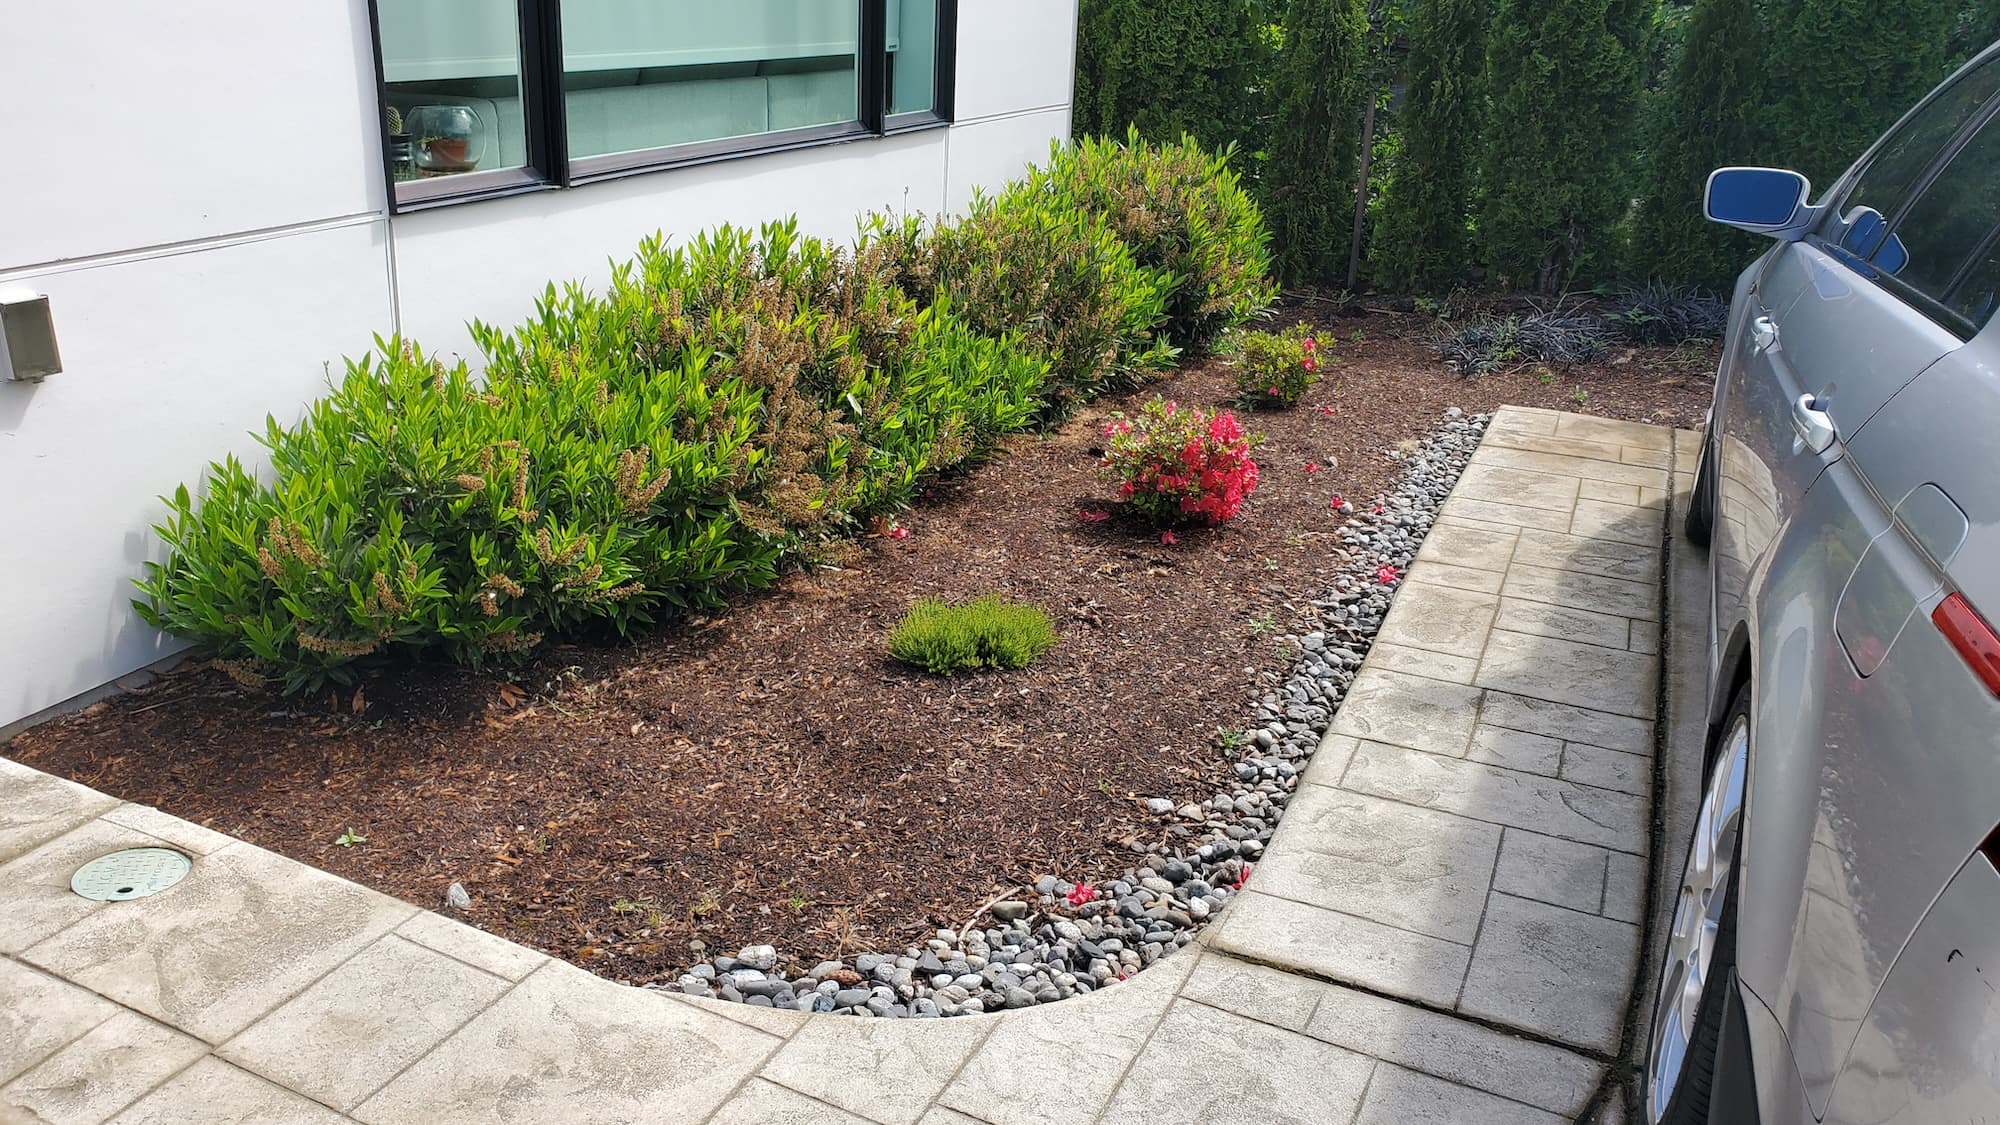
- Improved Appearance: Fresh edging gives your garden a polished look.
- Durability: High-quality materials can withstand weather and landscaping impacts.
- Safety: Proper edging prevents soil erosion and keeps pathways clear.
- Eco-Friendly Options: Consider using recycled materials for a sustainable choice.
Why Hire a Pro
Hiring a professional ensures:
- Local expertise and familiarity with your area’s climate and soil.
- A licensed and insured crew that brings professional tools and techniques.
- Efficient work that saves you time and effort.
Our Approach
Step-by-Step Breakdown
- Evaluate: Inspect the existing edging. Determine what needs to be removed or repaired.
- Gather Tools & Materials:
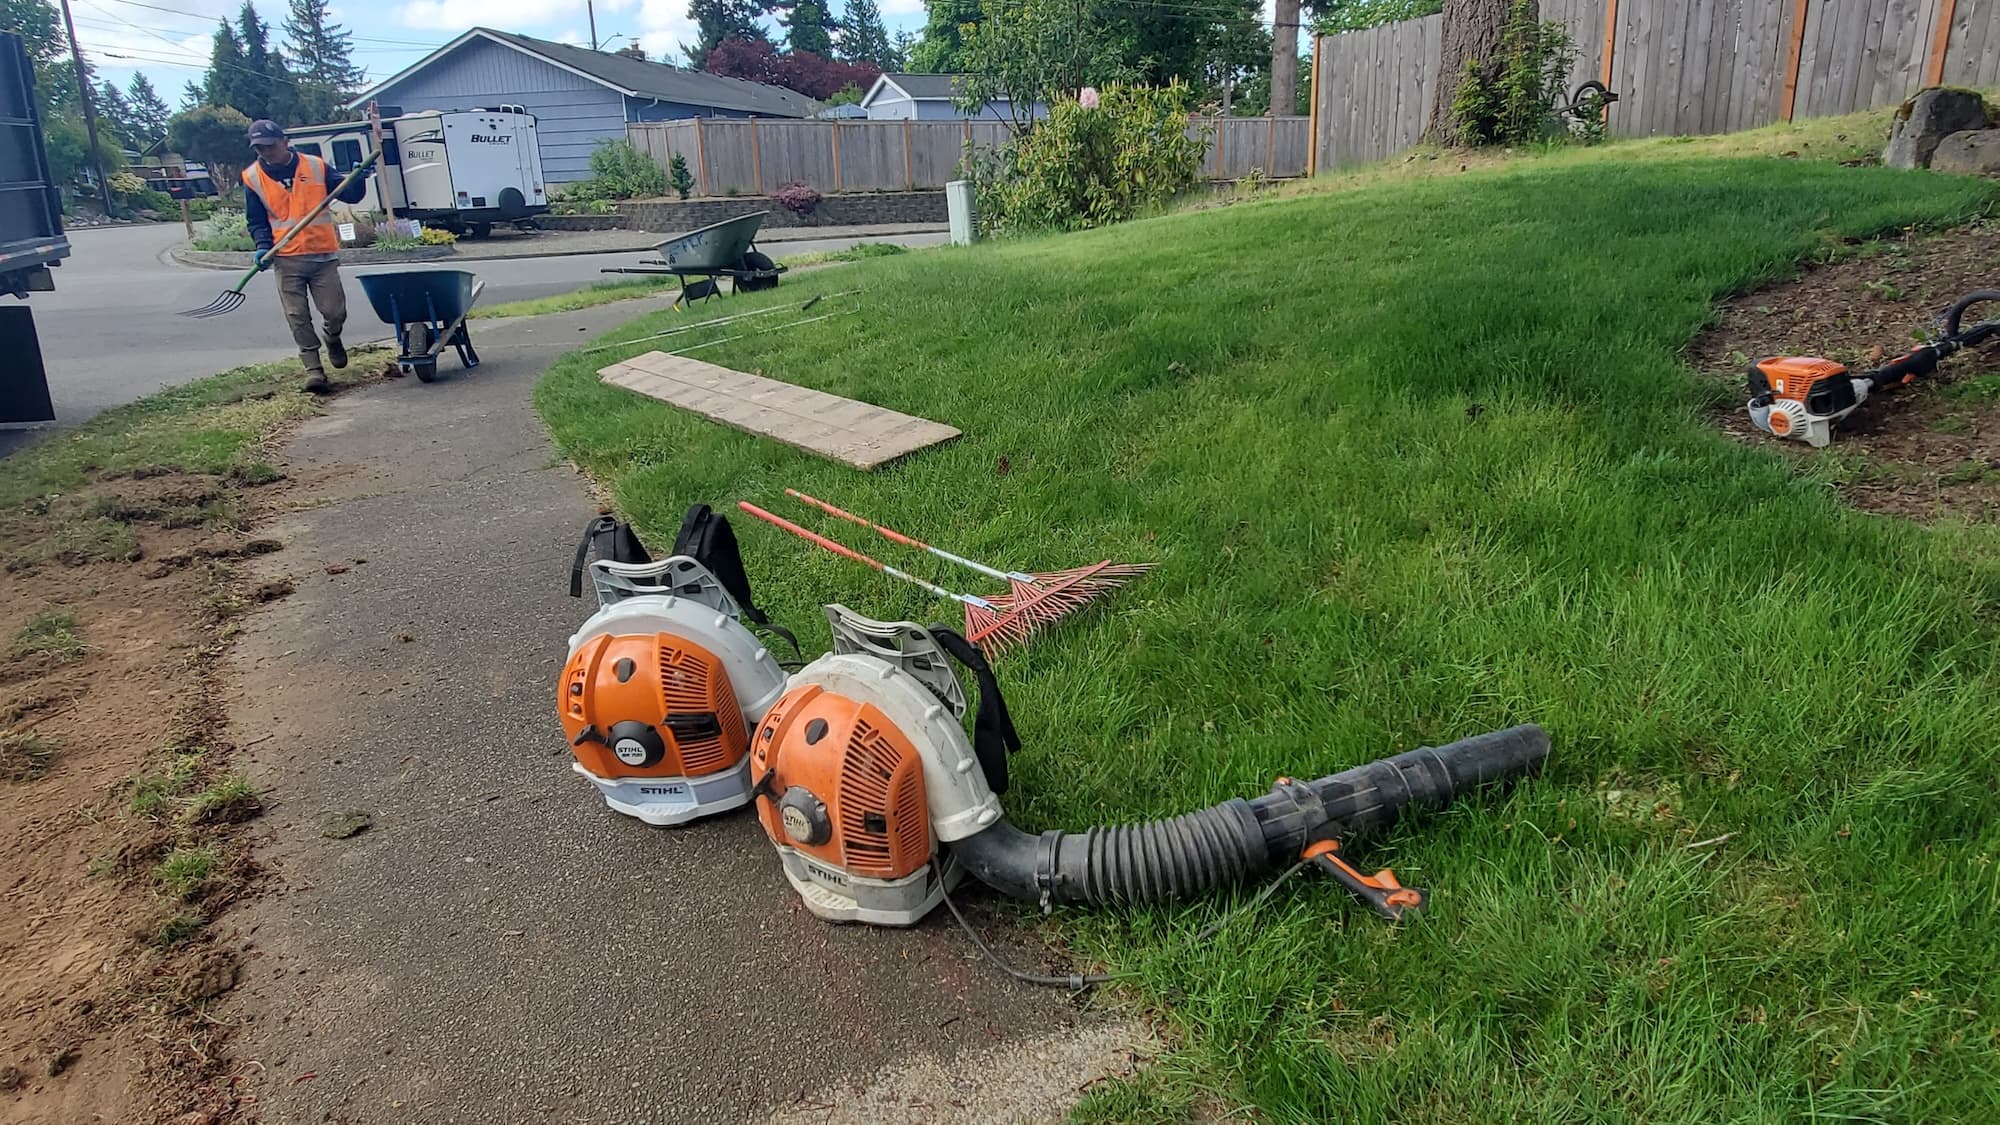
- Tools: shovel, trowel, mallet, level, measuring tape, and safety gloves.
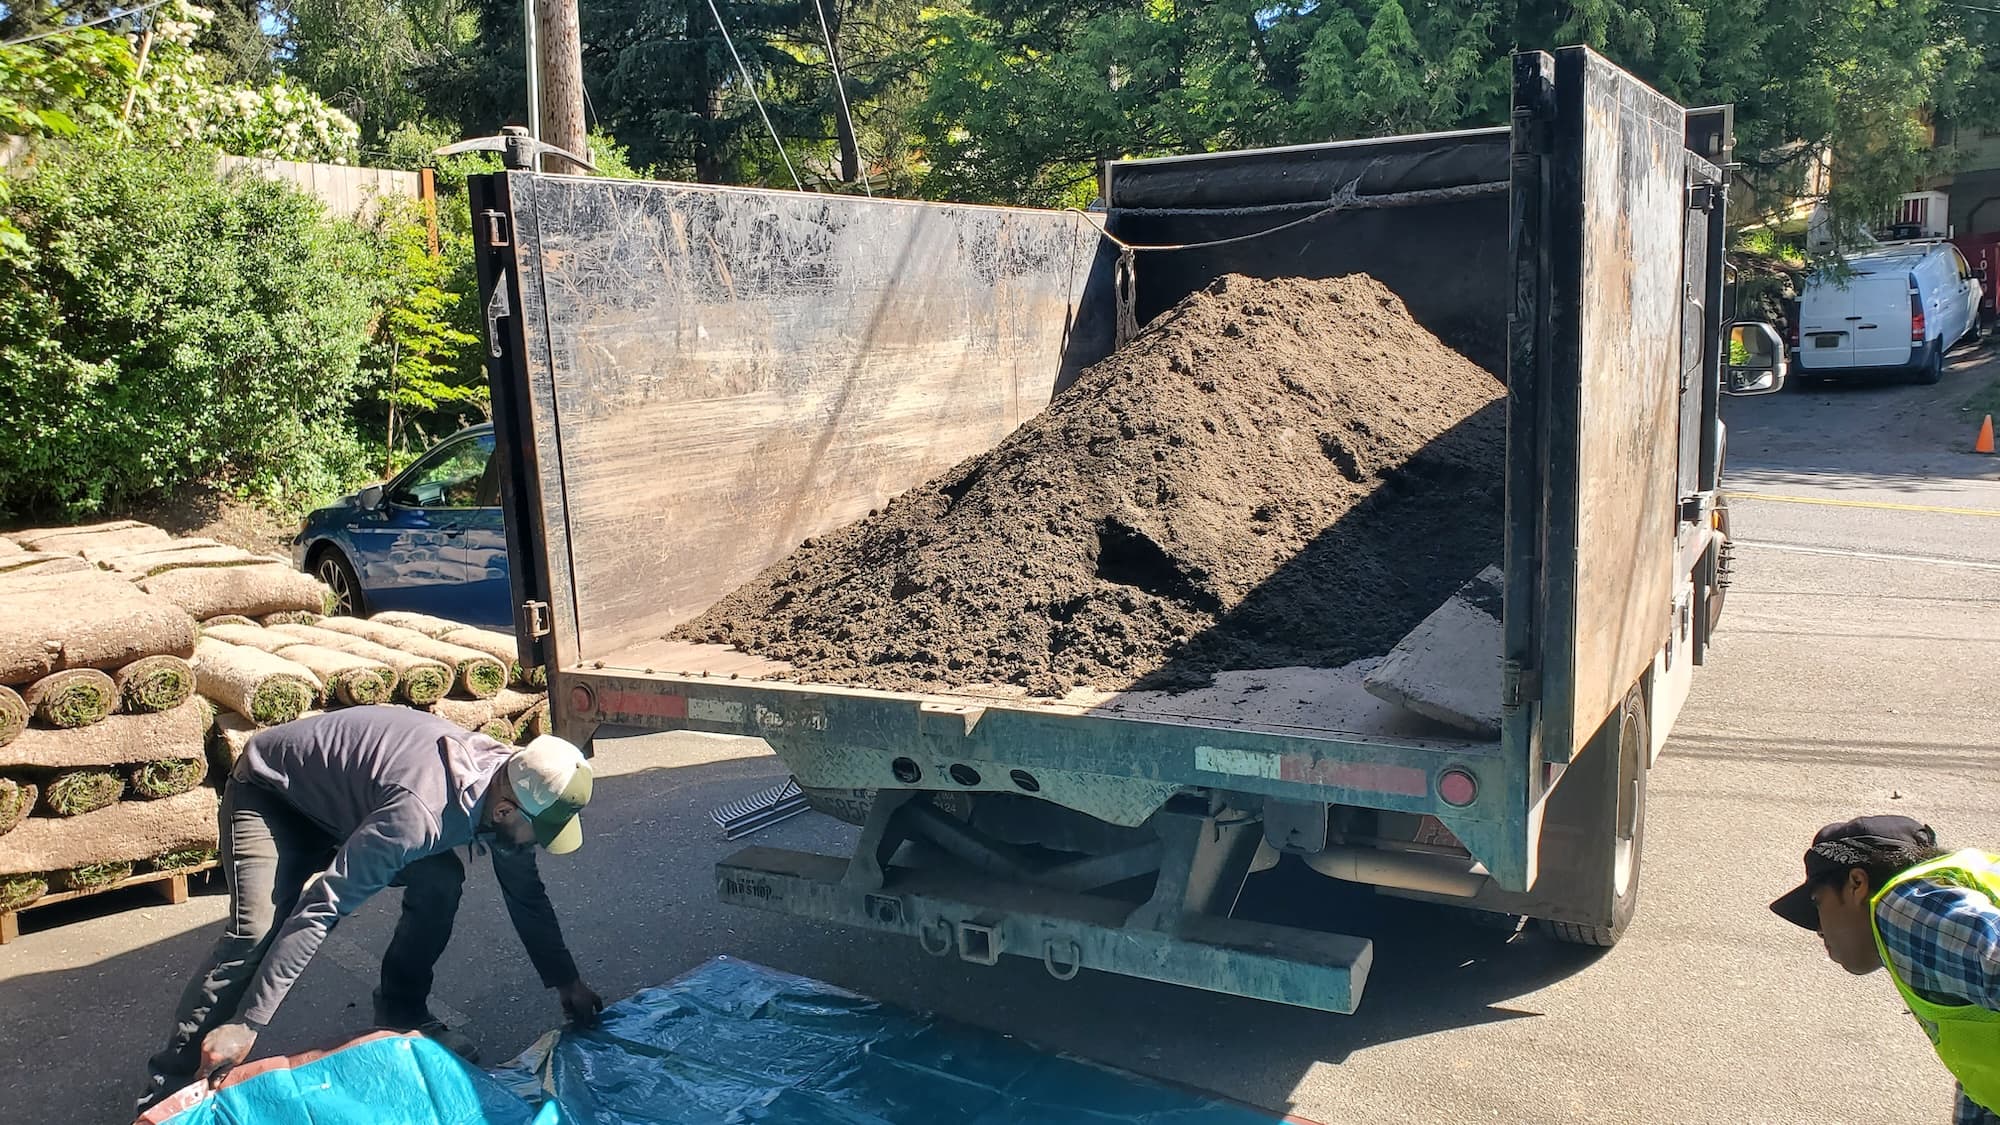
- Materials: replacement edging (wood, stone, metal, or plastic), landscape fabric, mulch, and soil.
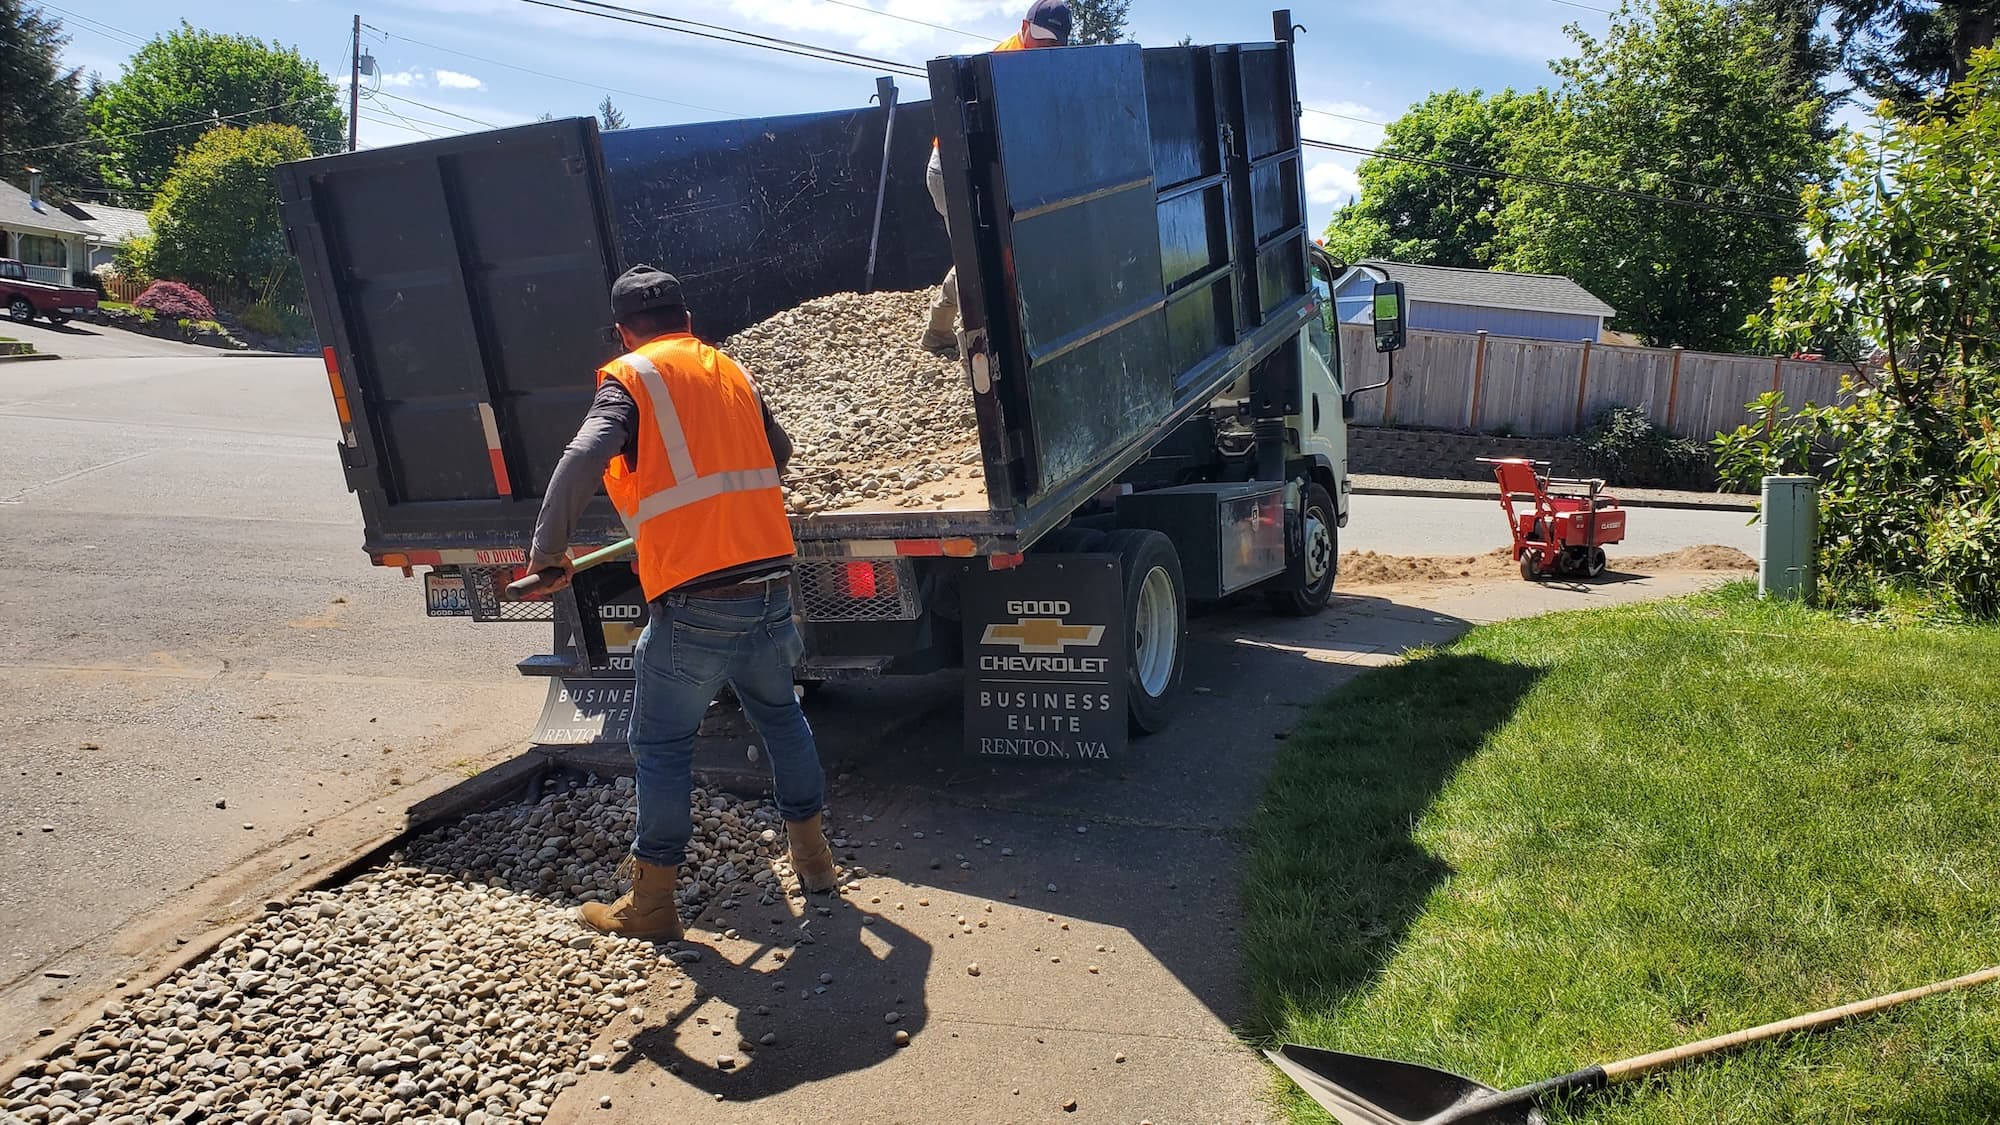
- Remove Damaged Edging: Carefully excavate the damaged sections using a shovel or trowel.
- Prepare the Site: Level the ground where the new edging will go. Add landscape fabric if needed.
- Install New Edging: Place your new edging into position, ensuring it’s level and secure.
- Fill in Gaps: Use soil or mulch to fill in around the edging for a clean finish.
What Homeowners Can Expect
- A professional crew that works efficiently while respecting your property.
- Safety measures in place to protect both workers and your landscape.
- A focus on long-lasting results, so you won’t have to repeat the process soon.
Service Pricing
Pricing Breakdown
- Flat Rate vs. Custom Quotes: Pricing can vary. Some projects may be charged at a flat rate, while others will require a custom quote based on specific needs.
- Variables Impacting Cost:
- Lot size and length of the edging.
- Volume of debris to remove.
- Accessibility of the site (e.g., tight spaces).
- Add-ons like new plants or additional mulch.
Additional Costs
- Taxes and dump fees may apply.
- Extra charges for hauling away debris.
What’s Included
Core Services
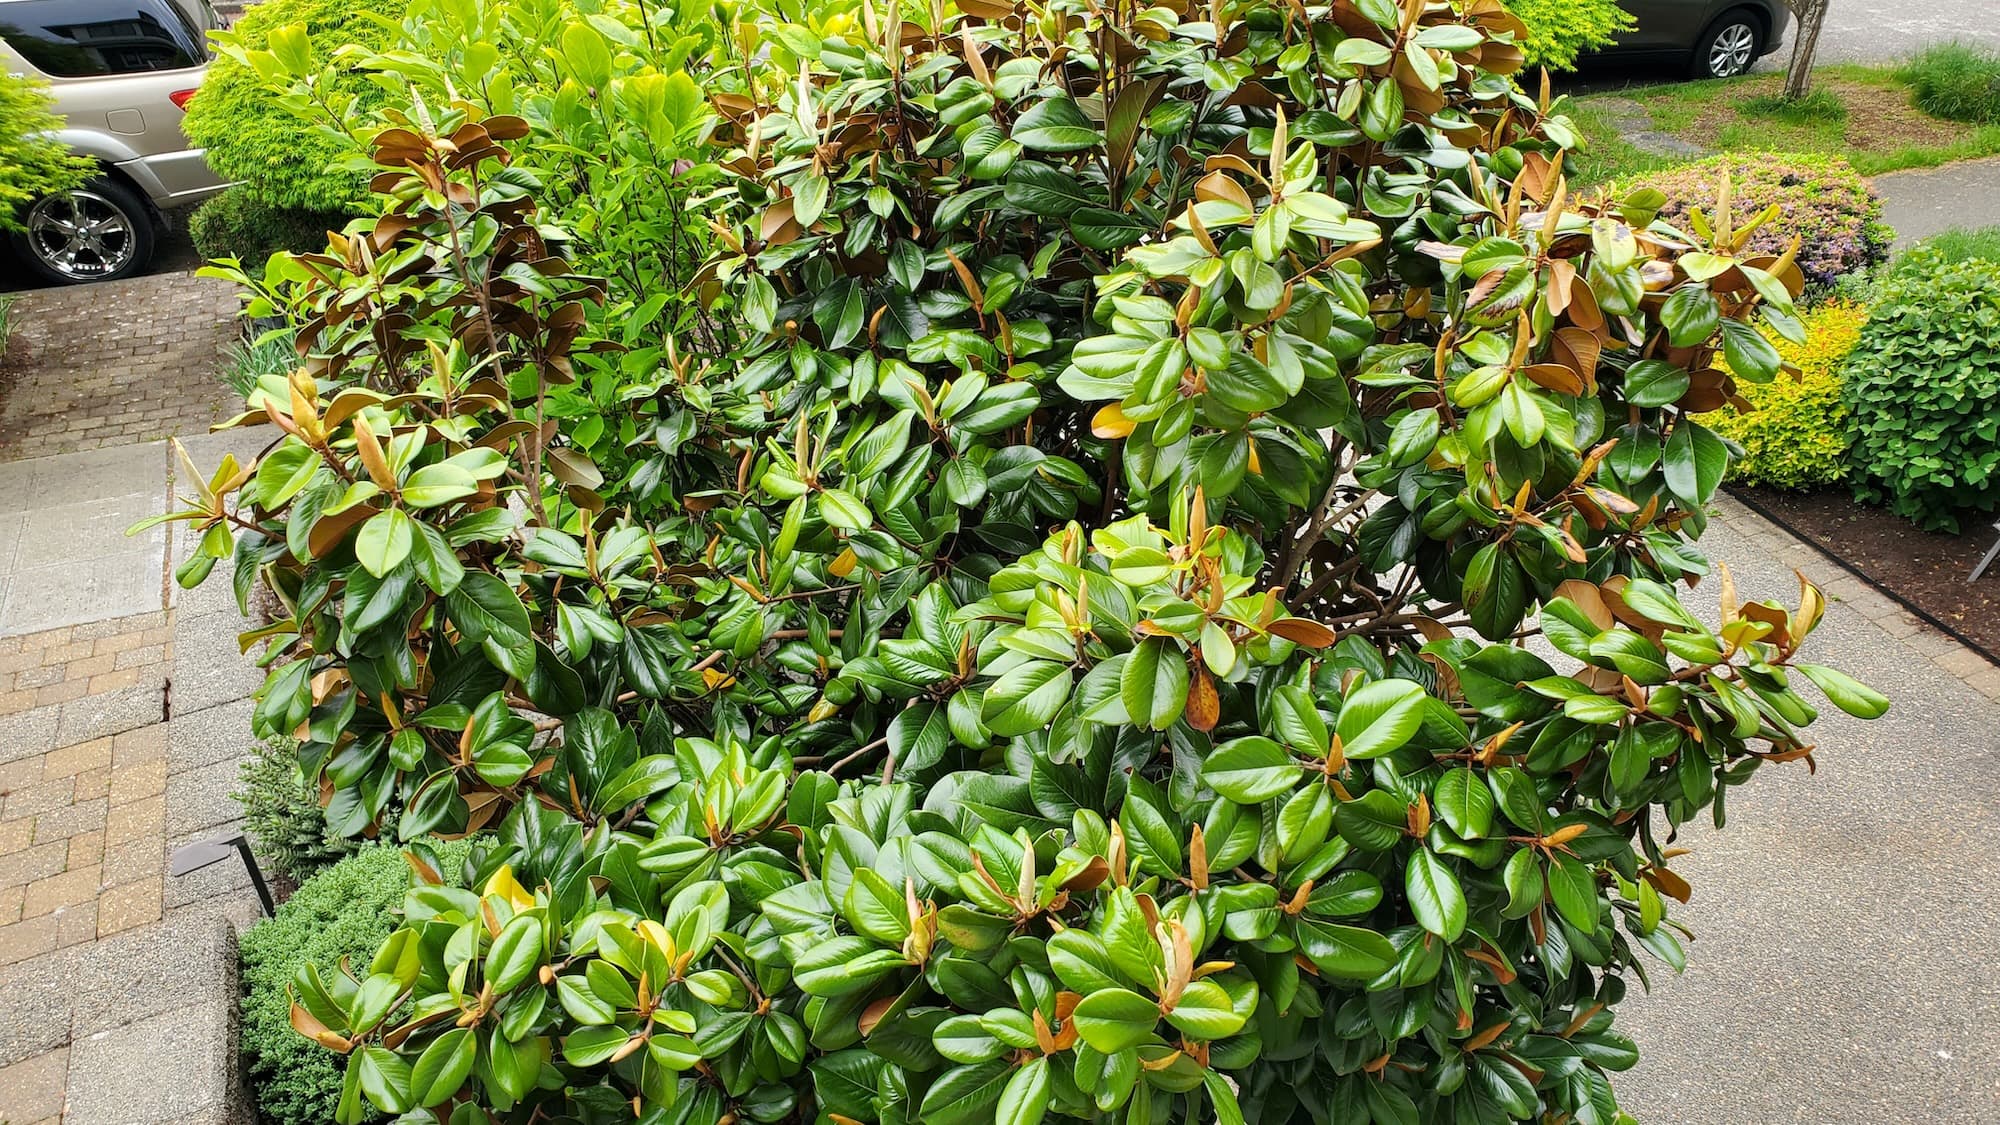
- Trimming: Neatening up overgrown plants along the edges.
- Edging: Installing or repairing borders around flowerbeds and lawns.
- Weeding: Removing unwanted plants that can disrupt the edging.
- Mulching: Adding a protective layer to improve aesthetics and soil health.
- Pruning: Shaping plants to maintain a tidy appearance.
Optional Extras
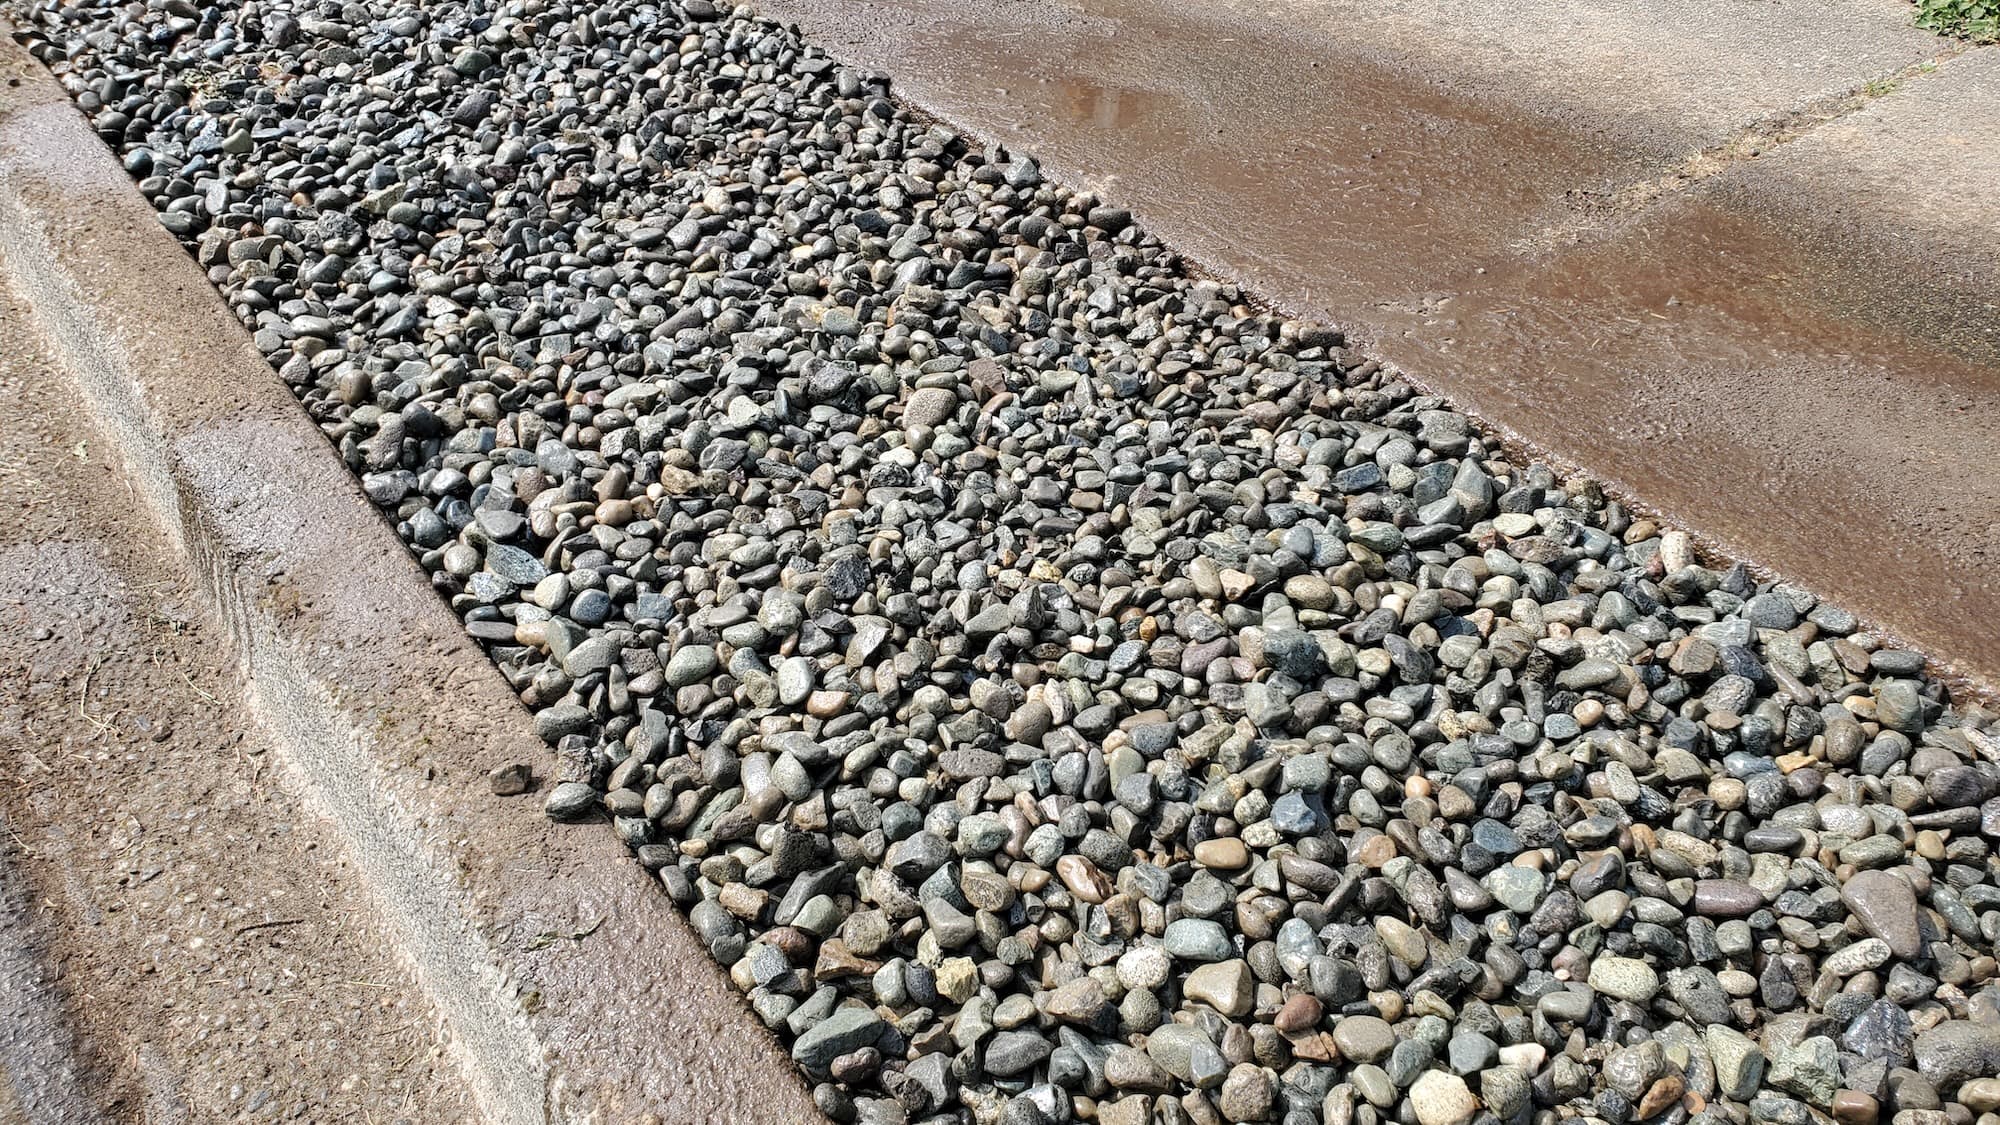
- Gravel: For a decorative finish that also aids in drainage.
- Landscape Fabric: To suppress weeds and maintain edging integrity.
- Planting: Adding flowers or shrubs for enhanced visual appeal.
- Seasonal Upgrades: Refreshing the edging with seasonal plants or decor.
FAQs
Common Customer Concerns
- Scheduling: Most repairs can be scheduled within a week, depending on crew availability.
- Turnaround Time: Small repairs usually take a few hours, while larger projects may require a day or more.
- Dump Fees: These vary by location and are typically included in the quote.
Maintenance Tips
- Regularly check the edging for any signs of damage.
- Keep mulch levels consistent to protect the soil underneath.
- Remove weeds promptly to prevent them from encroaching on your garden.
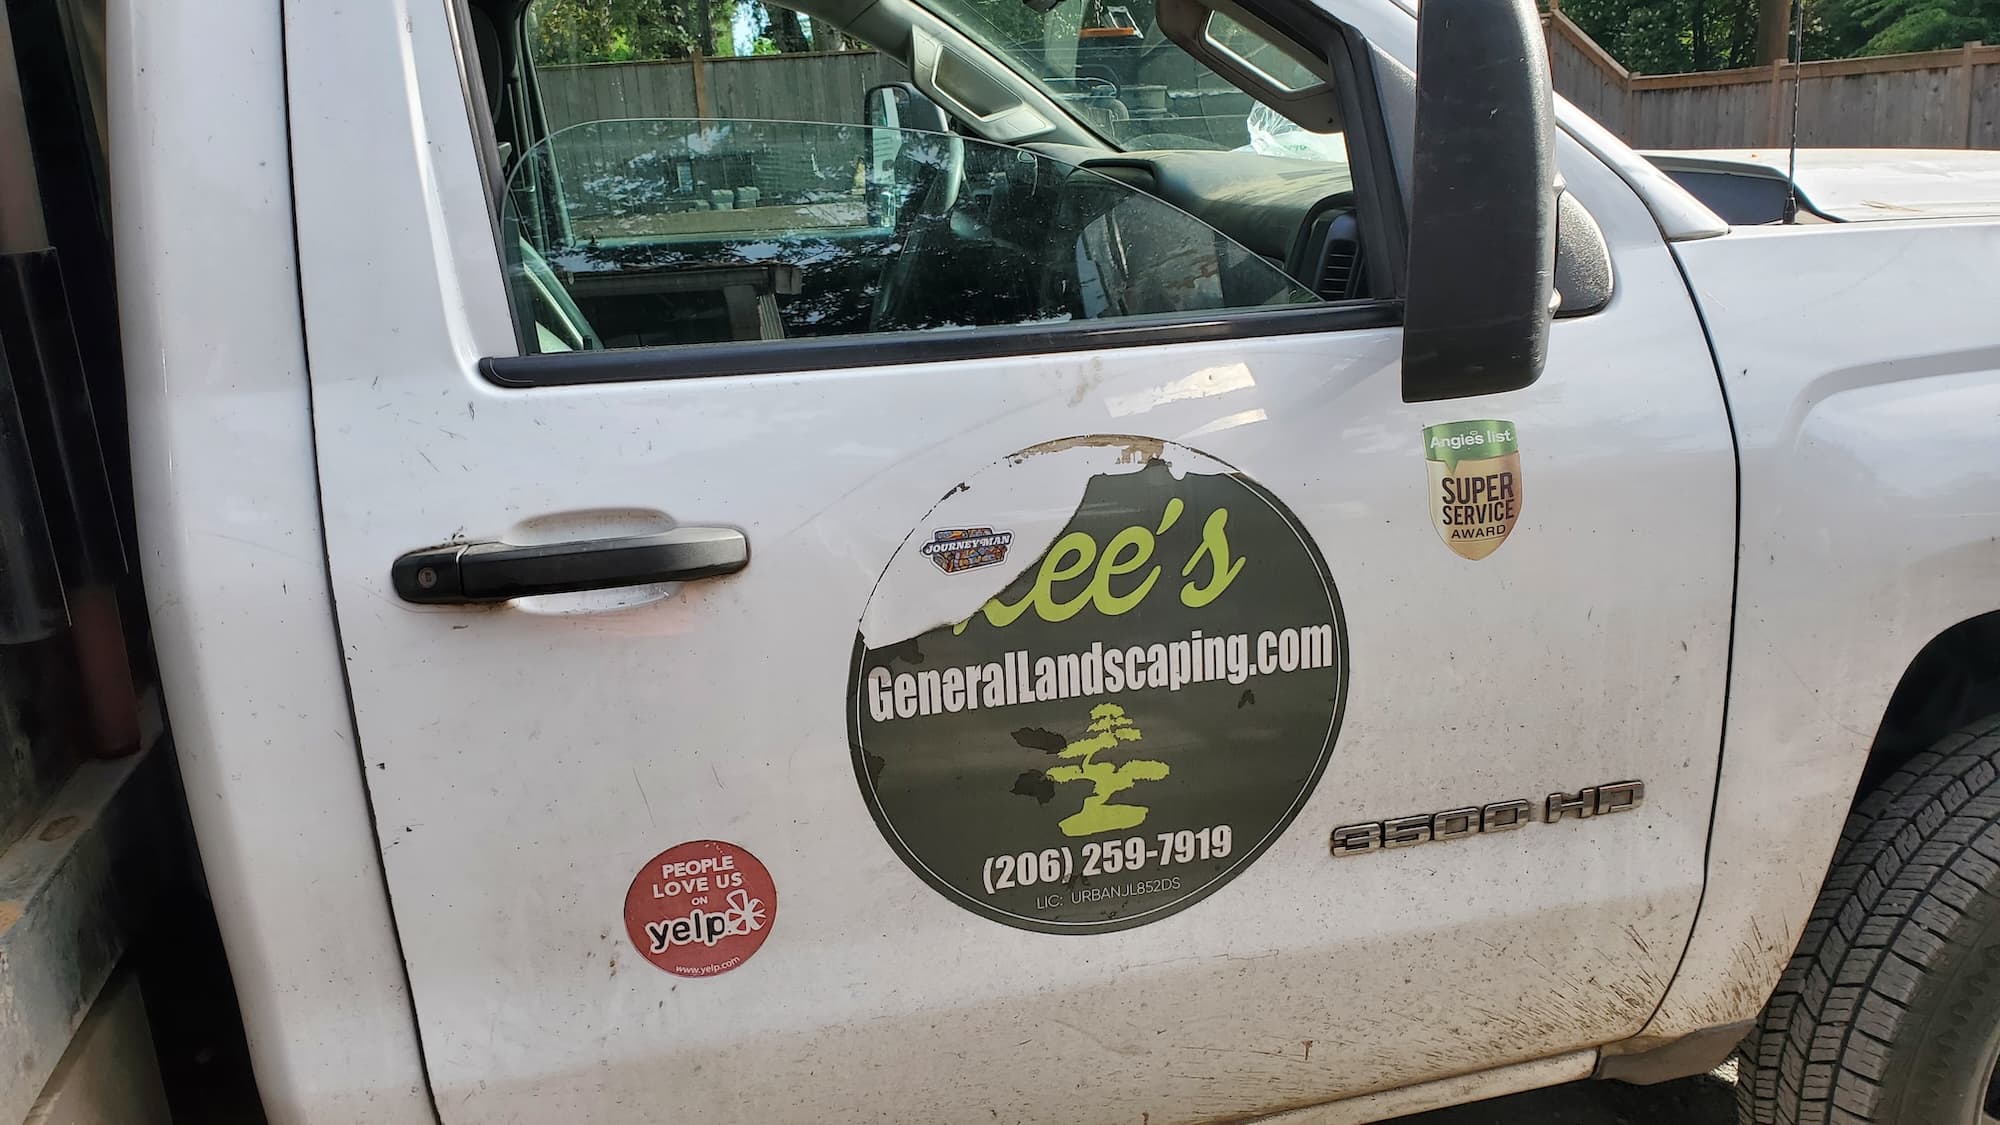
Why Choose Lee’s General Landscaping
- Our experienced local crew is committed to working clean and efficiently.
- Licensed, bonded & insured for your peace of mind.
- Hundreds of 5-star reviews across Yelp and Google reflect our dedication to quality service.
Ready for a yard that stays neat?
Call or text Lee’s General Landscaping for a quick quote and a maintenance plan that fits your property.
⭐⭐⭐⭐⭐ 400+ Yelp Reviews • ⭐⭐⭐⭐⭐ 130+ Google Map Reviews
📧 Email: lees.g.landscaping@gmail.com
📞 Office: 206-259-7919
🕘 Hours: Mon–Sun: 9AM–6PM
🔒 Licensed • Bonded • Insured
DIY vs. Pro
While DIY repairs can save money, they often require more time and effort. If you’re not comfortable with tools or heavy lifting, hiring a pro can be the better choice for a polished finish and less hassle.
Common Mistakes
- Rushing the Process: Take your time to do it right; hasty repairs can lead to more damage.
- Ignoring Site Preparation: Proper leveling and preparation are key to ensuring longevity.
- Using Inappropriate Materials: Choose materials that are suitable for your climate and soil conditions.