Relevel Sunken or Heaved Pavers
If your outdoor space features pavers that have sunken or heaved, you’re likely dealing with an unsightly and potentially hazardous situation. Uneven pavers can lead to tripping hazards, water pooling, and an overall decline in curb appeal. Fortunately, releveling pavers is a manageable task that can restore the beauty of your hardscape while improving safety and reducing long-term maintenance. This article will guide you through the process, including tools needed, step-by-step instructions, cost estimates, and tips for keeping your pavers in top shape.
Description
Releveling sunken or heaved pavers involves:
- Assessing the area: Identifying which pavers need adjustment.
- Removing affected pavers: Carefully taking up the sunken or heaved pavers.
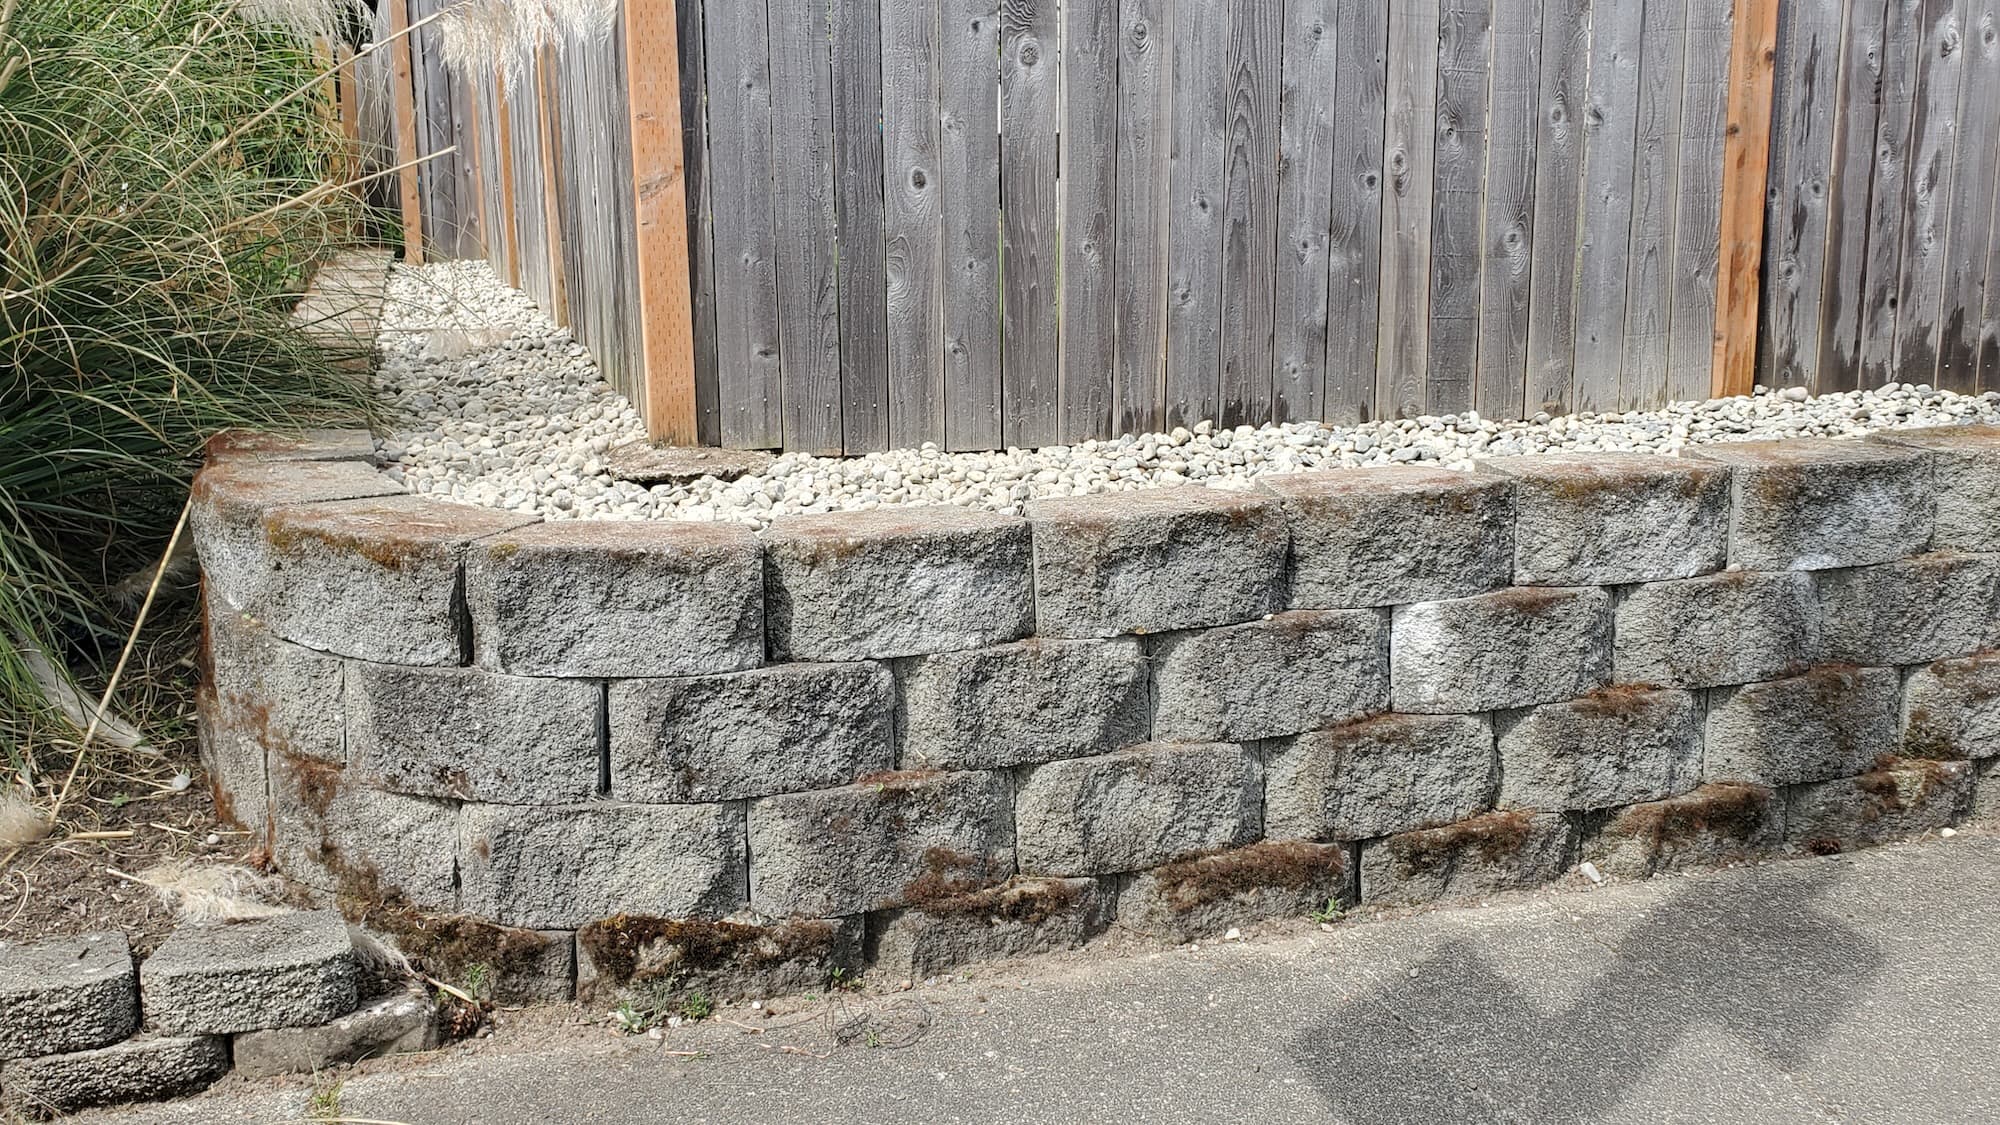
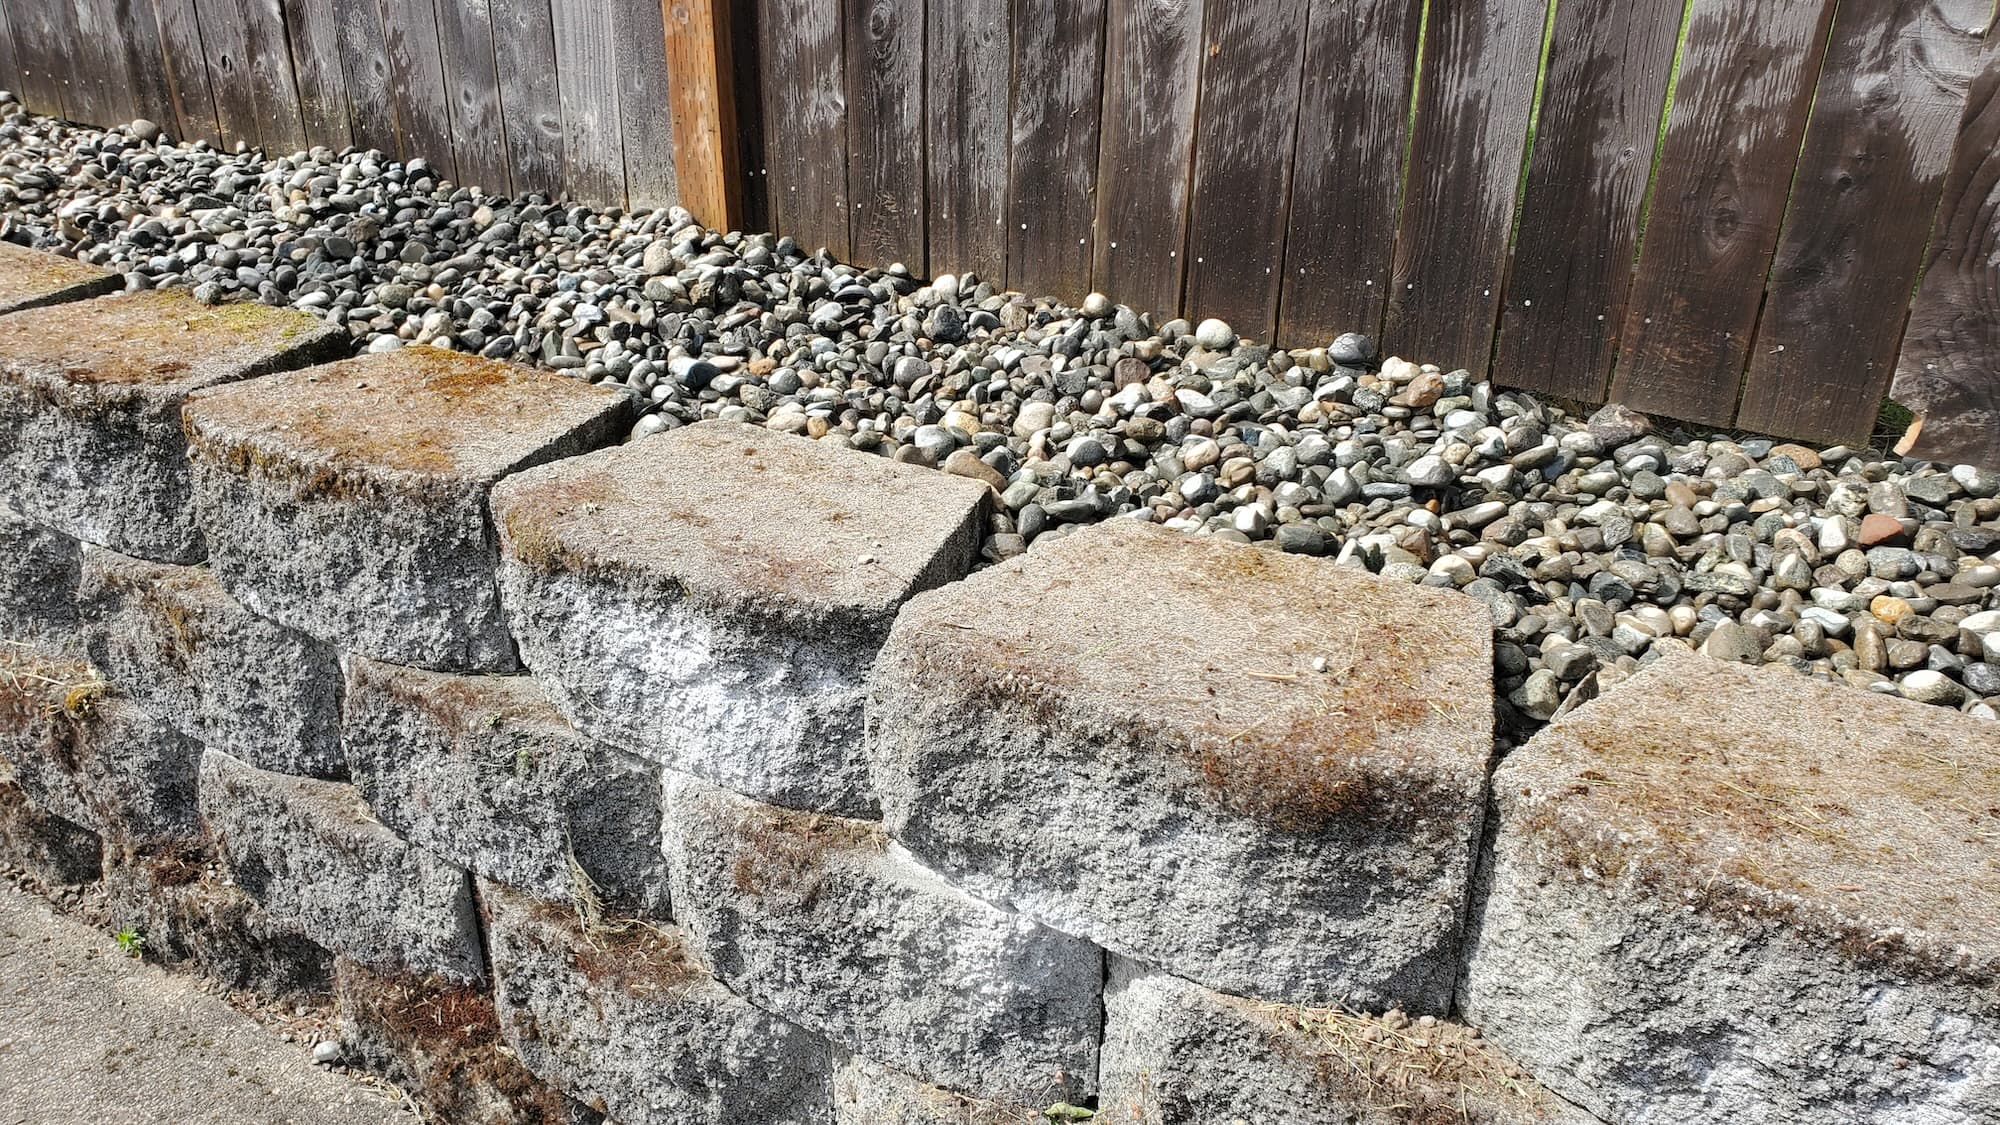
- Preparing the base: Adding or redistributing sand or gravel to create a level foundation.
- Reinstalling pavers: Placing the pavers back in their original position and ensuring they are level.
- Compacting: Using a compactor to secure the base and pavers.
Key Benefits
- Improved Appearance: Level pavers enhance the aesthetic appeal of your property.
- Increased Durability: Properly leveled pavers resist wear and tear better, extending their lifespan.
- Safety: Eliminating tripping hazards makes your outdoor space safer for everyone.
- Eco-Friendly Options: Avoiding unnecessary replacements reduces waste.
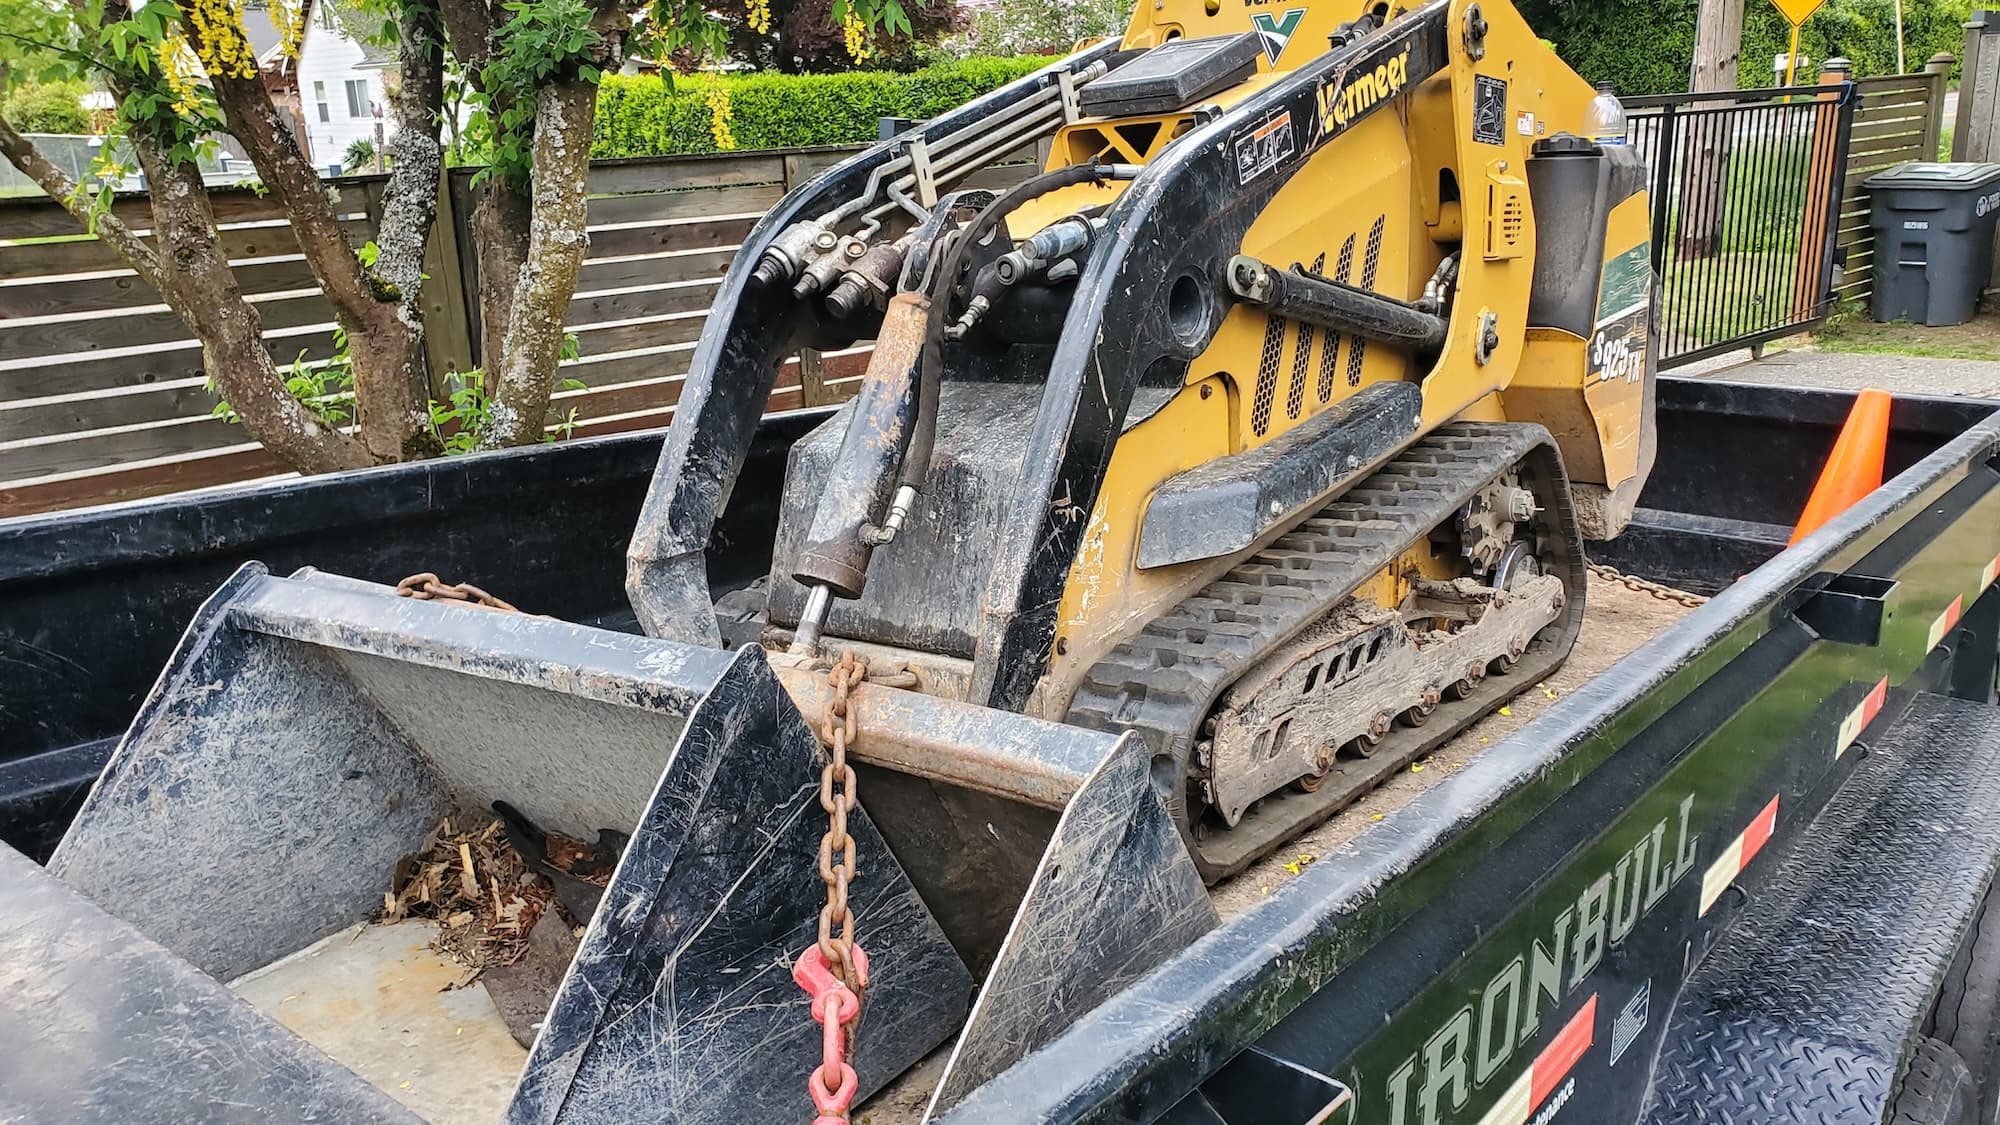
Why Hire a Pro
Hiring a professional crew offers:
- Local Expertise: Knowledge of local soil conditions and regulations.
- Licensed & Insured Crew: Peace of mind knowing that the work is done safely and correctly.
- Professional Tools: Access to specialized equipment for efficient results.
Our Approach
Step-by-Step Breakdown
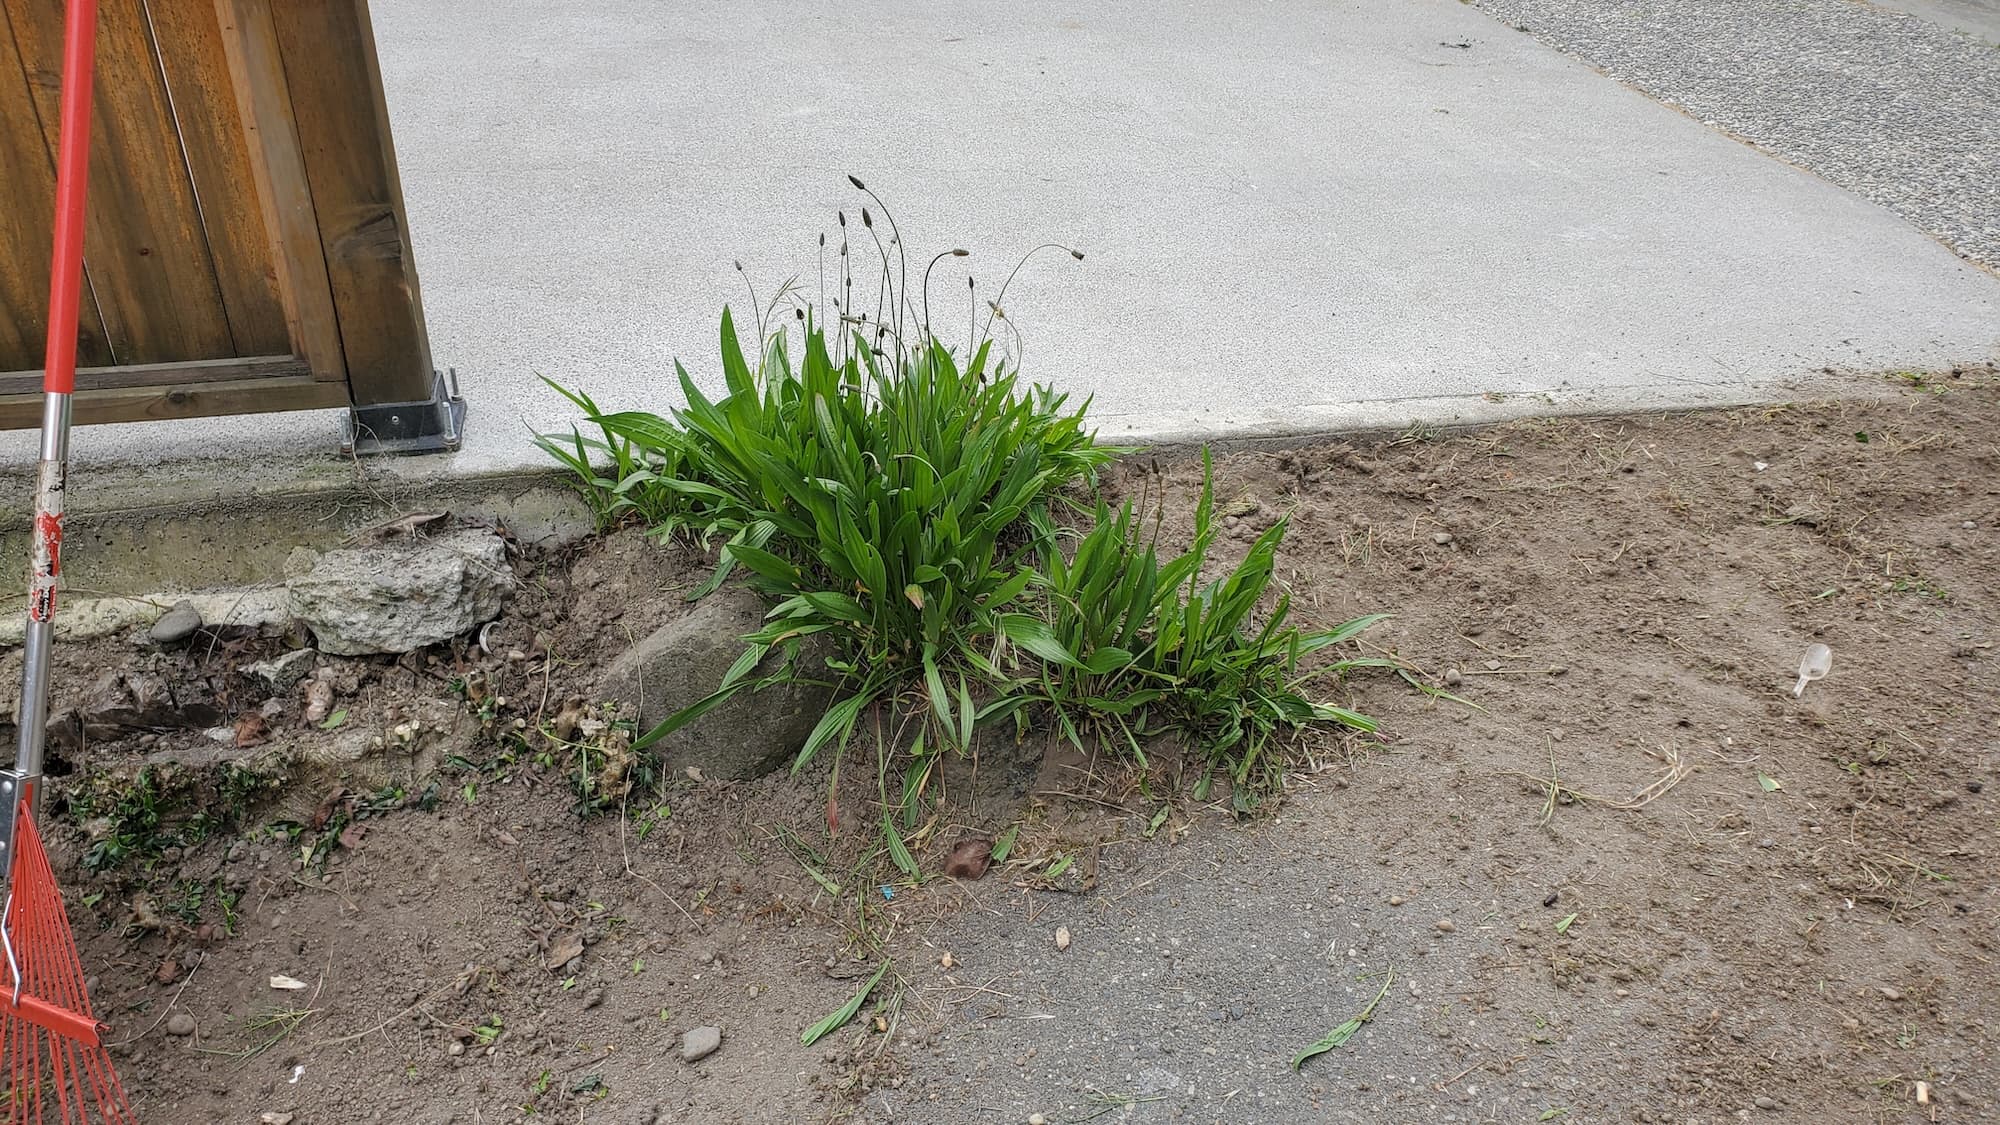
Evaluate the Area
- Inspect the pavers to determine which ones are sunken or heaved.
- Look for signs of drainage issues or soil erosion.
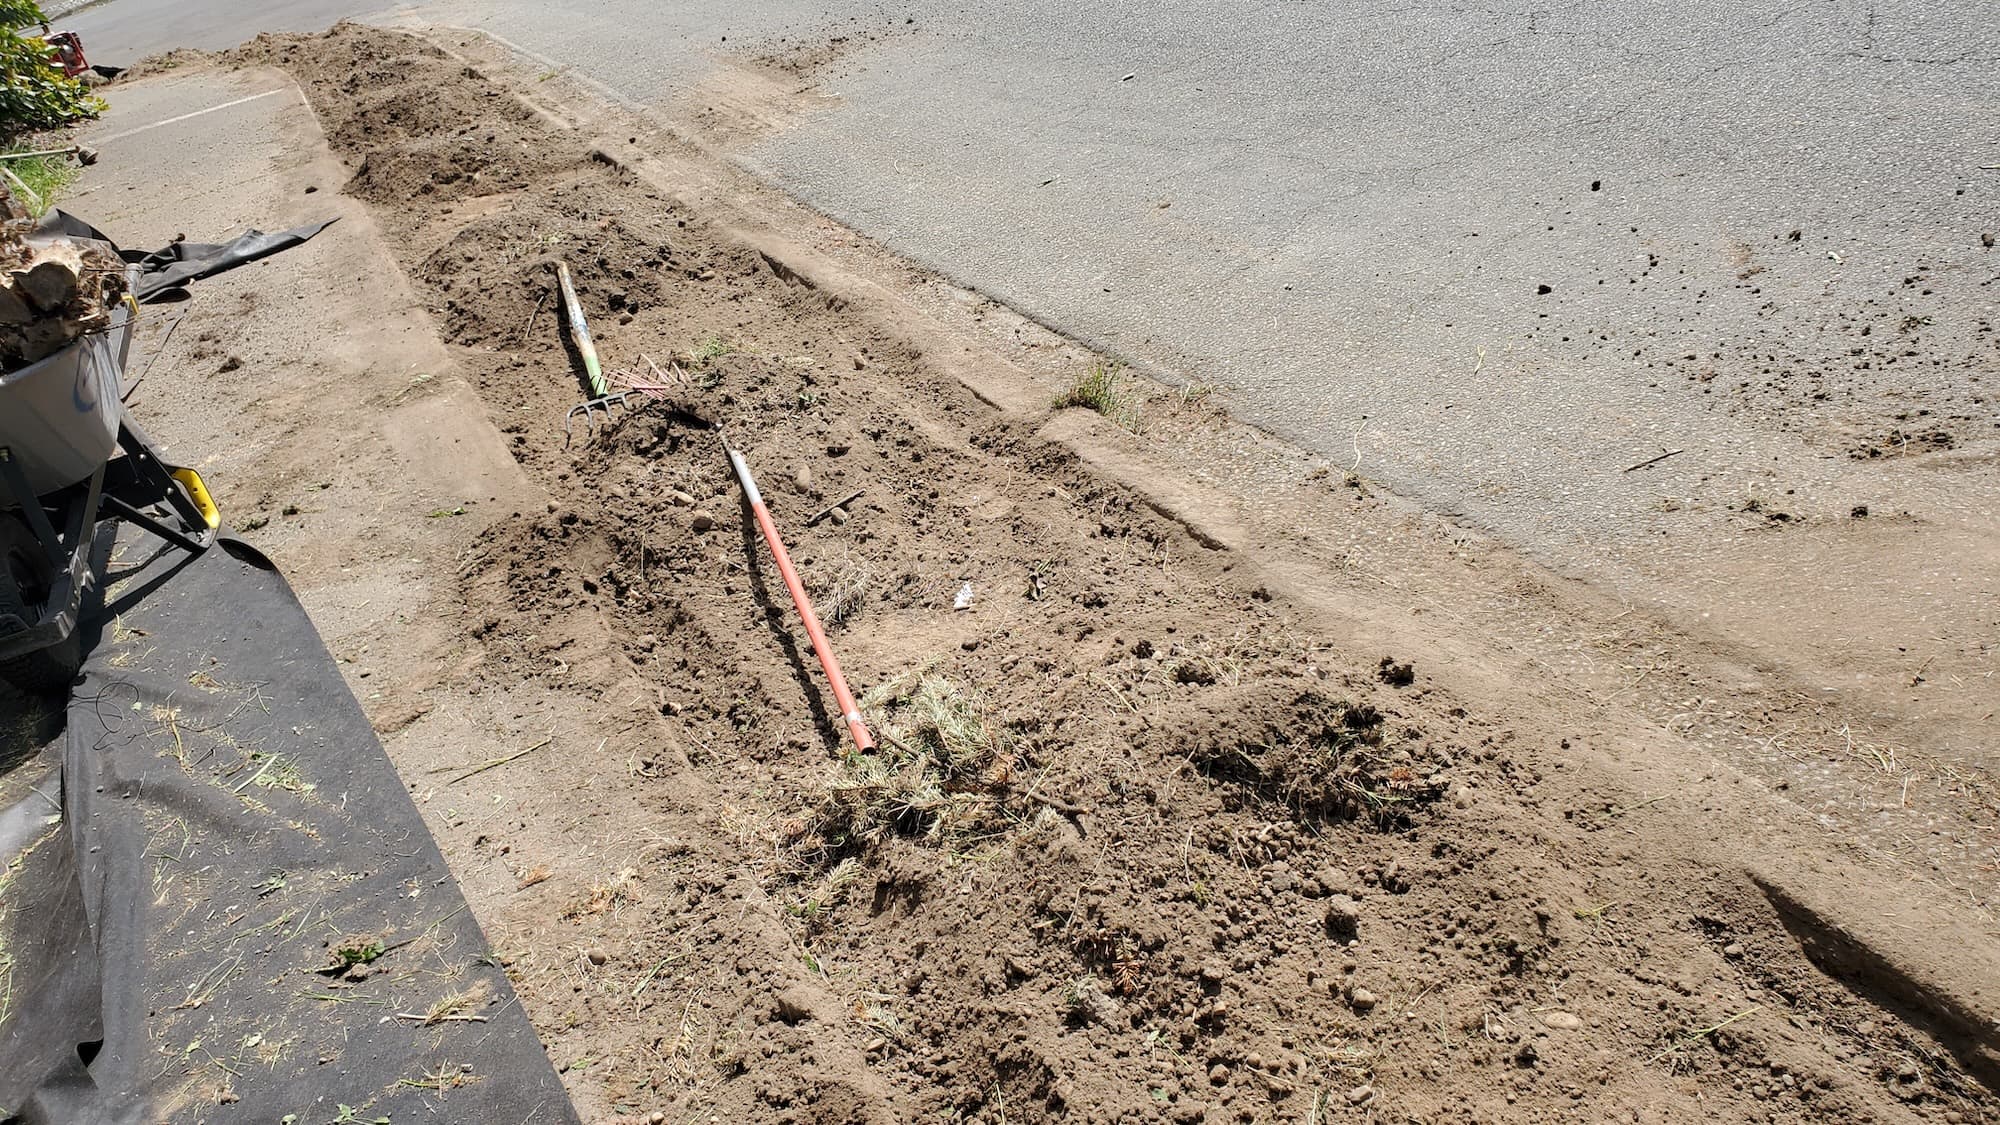
Remove Affected Pavers
- Use a flat pry bar to gently lift the pavers out of place.
- Keep them in a safe area to avoid damage.
Prepare the Base
- Remove any debris or loose material from the base.
- Add a layer of sand or gravel, ensuring it’s evenly distributed.
- Use a level to check that the base is flat.
Reinstall Pavers
- Place the pavers back in their original positions, ensuring they fit snugly.
- Tap them down lightly with a rubber mallet for a secure fit.
Compact the Area
- Use a plate compactor to settle the pavers into the base.
- Recheck for levelness and make adjustments as necessary.
Fill Gaps
- Sweep sand into the joints between the pavers to lock them in place.
- Mist with water to help the sand settle.
What Homeowners Can Expect
Expect a crew that works efficiently, prioritizing safety and quality. You’ll see a noticeable improvement in the look and function of your pavers by the end of the day.
Service Pricing
Pricing for releveling pavers can vary based on:
- Lot Size: Larger areas will naturally cost more.
- Debris Volume: More extensive repairs will require more labor and materials.
- Access: Difficult-to-reach areas may incur additional charges.
- Add-Ons: Options such as sealing pavers or adding decorative gravel can increase costs.
Cost Range: Expect to pay between $3 to $10 per square foot, depending on the factors mentioned above. Be aware of potential additional fees for taxes, dump fees, or extra hauling charges.
What’s Included
Core Services
- Assessment of Pavers: Identifying problem areas.
- Removal and Reinstallation: Carefully lifting and replacing pavers.
- Base Preparation: Ensuring a stable foundation for longevity.
Optional Extras
- Sealing Pavers: To protect against stains and weather.
- Decorative Gravel: For enhanced aesthetics.
- Planting: Adding greenery around your hardscape for a polished look.
FAQs
Common Customer Concerns
How long will the process take?
- Most releveling jobs can be completed in a day, depending on the extent of the work.
Are there any dump fees?
- Yes, if debris or old materials need to be disposed of, there may be additional charges.
What maintenance is needed afterward?
- Regularly check for shifting or settling and refill sand in joints as needed.
Why Choose Lee’s General Landscaping
- Experienced Local Crew: We work cleanly and efficiently, respecting your property.
- Licensed, Bonded & Insured: Enjoy peace of mind knowing your project is in good hands.
- Hundreds of 5-Star Reviews: Our satisfied customers speak for our quality.
DIY vs. Pro
DIY: If you’re handy and have some experience, you can tackle this project yourself. Just be prepared with the right tools and take your time to ensure everything is level.
Pro: For those unfamiliar with the process or lacking tools, hiring a professional ensures a job well done without the hassle of renting equipment or managing logistics.
Common Mistakes
- Neglecting the Base: Failing to properly prepare the base can lead to future sinking or heaving.
- Rushing the Process: Take your time to ensure everything is level and compacted before finishing.
- Using the Wrong Materials: Make sure to use sand or gravel that is appropriate for paver installation.
Ready for a yard that stays neat?
Call or text Lee’s General Landscaping for a quick quote and a maintenance plan that fits your property.
⭐⭐⭐⭐⭐ 400+ Yelp Reviews • ⭐⭐⭐⭐⭐ 130+ Google Map Reviews
📧 Email: lees.g.landscaping@gmail.com
📞 Office: 206-259-7919
🕘 Hours: Mon–Sun: 9AM–6PM
🔒 Licensed • Bonded • Insured