Re-Grout Stone Joints for Durability
If your stone surfaces are starting to show wear and tear, it may be time to re-grout the joints. Over time, the grout can crack, chip, or discolor, leading to not only an unsightly appearance but potential safety hazards as well. Re-grouting is a straightforward solution that can enhance your property’s curb appeal, improve safety by reducing tripping hazards, and lower your maintenance efforts in the long run. In this article, we’ll walk you through the re-grouting process, the tools you’ll need, and why this is a job you might want to consider hiring a professional for.
Description
Re-grouting stone joints involves removing old grout and replacing it with fresh material. This task includes the following:
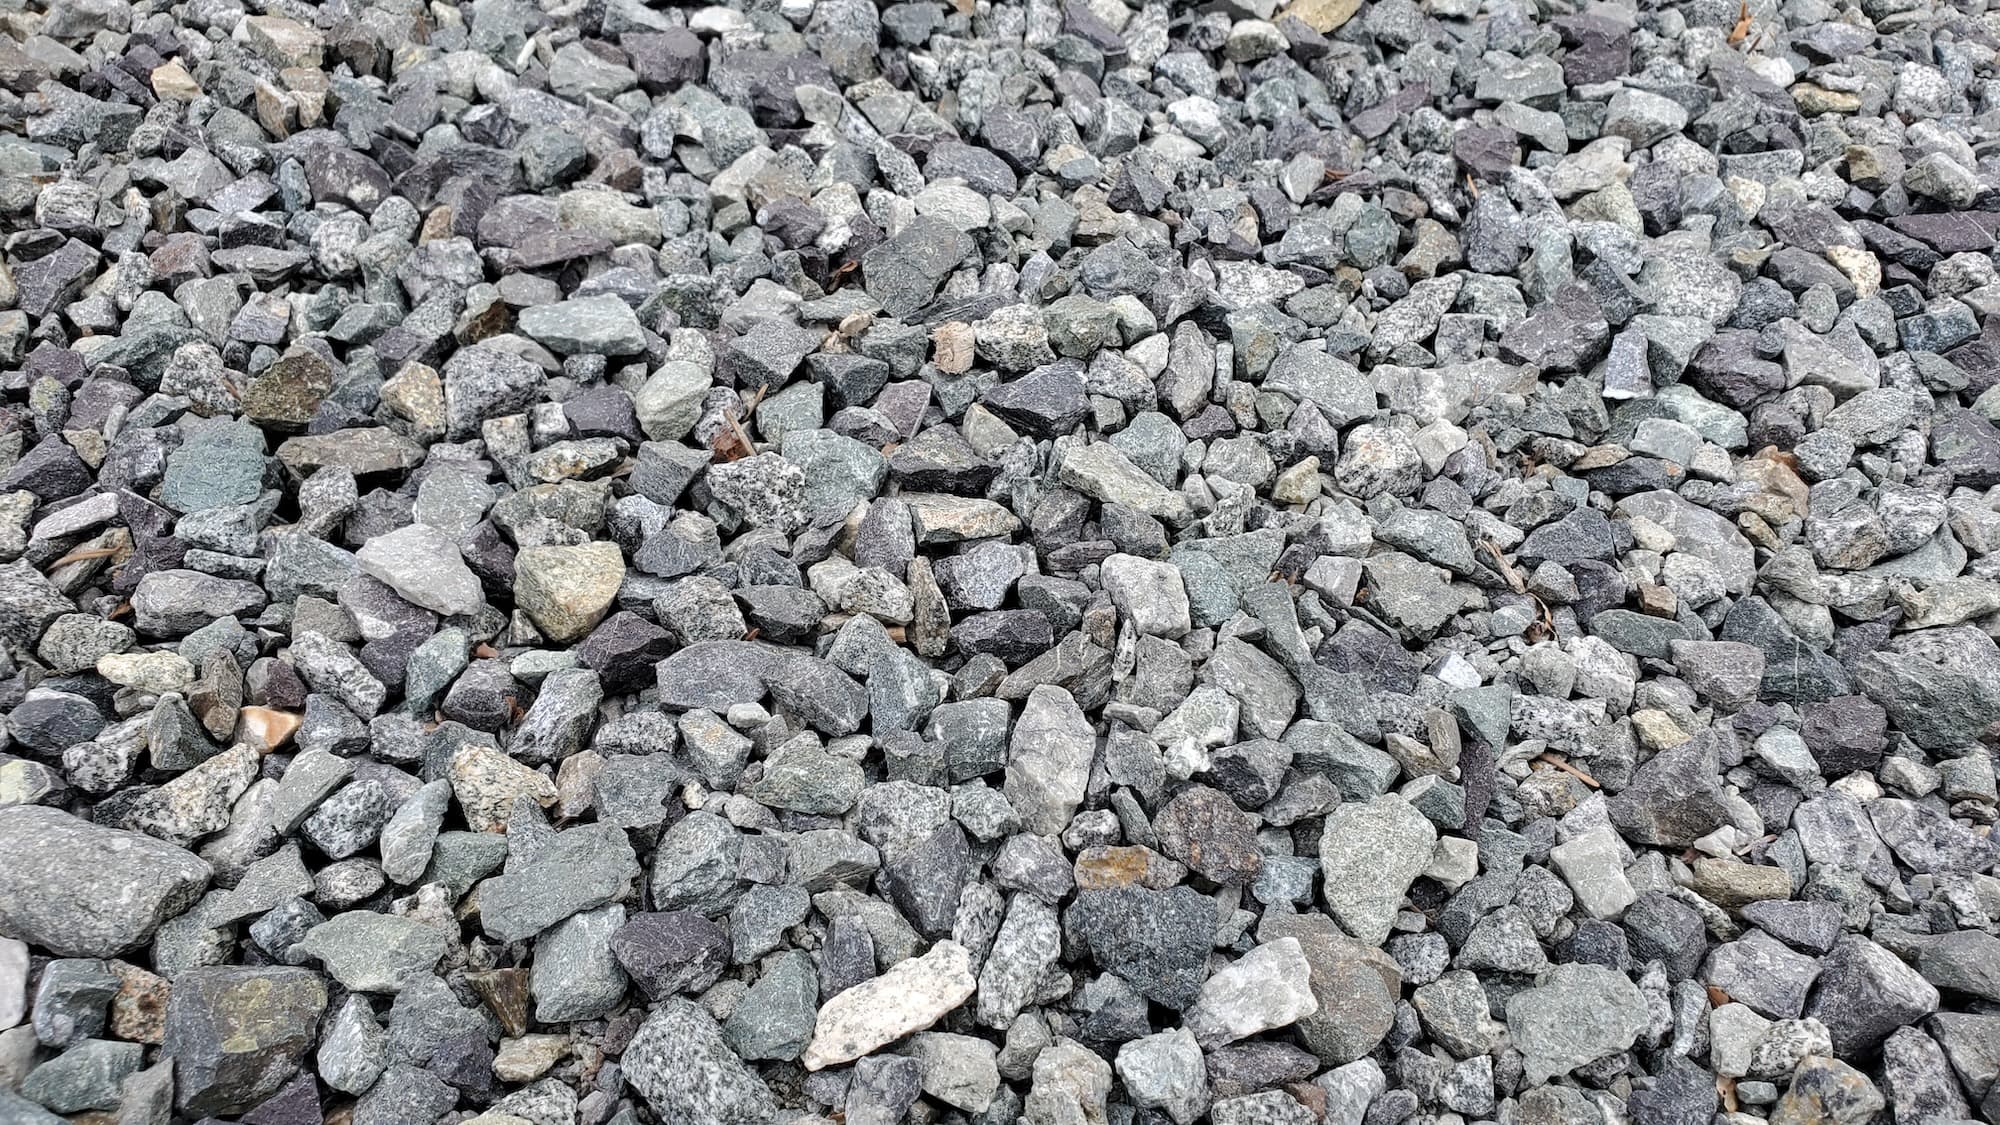
- Assessment: Evaluate the condition of existing grout and stones.
- Removal: Safely extract old grout from the joints.
- Preparation: Clean the joints and prepare the area for new grout.
- Application: Apply new grout and finish it properly for a durable seal.
Key Benefits
- Improved Appearance: Fresh grout enhances the look of your stone surfaces.
- Durability: New grout is more resistant to moisture, dirt, and wear.
- Safety: Minimizes tripping hazards created by loose stones or cracked grout.
- Eco-Friendly Options: Many grout materials are now available with environmentally friendly compositions.
Why Hire a Pro?
While some homeowners may opt for DIY, hiring a professional can save time and ensure quality results. Pros bring local expertise, are licensed and insured, and have access to professional-grade tools.
Our Approach
Step-by-Step Breakdown
Assessment and Planning:
- Inspect all stone surfaces to determine the extent of the damage.
- Plan the work based on the size of the area and the condition of the grout.
Tools & Materials:
- Tools: Grout saw or chisel, utility knife, vacuum, sponge, trowel, grout float.
- Materials: New grout (choose based on color and type), grout sealer, cleaning solution.
Removal of Old Grout:
- Use a grout saw or chisel to carefully remove the old grout without damaging the stone.
- Vacuum the joints to remove dust and debris.
Preparation:
- Clean the joints with a solution to eliminate any mold or mildew.
- Allow the area to dry completely.
Application of New Grout:
- Mix the grout according to the manufacturer’s instructions.
- Use a grout float to apply the new grout, pressing it into the joints thoroughly.
- Remove excess grout with a damp sponge.
Finishing Up:
- Allow the grout to cure as per the product instructions (typically 24-48 hours).
- Apply a grout sealer to protect the new grout from stains and moisture.
Timeline
- Preparation and Removal: 1-2 days depending on the size of the area.
- Grouting Application: 1 day.
- Curing Time: 1-2 days before using the area.
Cost Ranges
- DIY Costs: $50-$200 for materials, depending on the size of the area and grout type.
- Professional Service: $300-$800, depending on the complexity and size of the job. Factors such as debris volume and access can affect pricing.
Safety Notes
- Always wear safety goggles and gloves when working with grout and tools.
- Ensure proper ventilation, especially when using chemical cleaning solutions.
Maintenance Tips
- Seal the grout annually to maintain its integrity.
- Regularly clean the stone surfaces to prevent mold and mildew buildup.
- Address any cracks or chips in the grout promptly to prevent further damage.
DIY vs. Pro
DIY: If you’re handy and have some experience with home improvement projects, re-grouting can be a satisfying DIY task. Just be prepared for the time commitment and physical effort involved.
Pro: Hiring a professional is often the best choice for larger areas or if you’re unsure about your skills. Pros will ensure a clean, efficient job and save you from potential mistakes that could lead to greater expenses down the line.
Common Mistakes
- Rushing the Removal: Not fully removing old grout can lead to uneven application and poor adhesion.
- Ignoring Moisture: Grouting over wet surfaces can trap moisture, leading to mold growth.
- Skipping Sealer Application: Not sealing the grout can result in stains and quicker deterioration.
Service Pricing
Our pricing structure is straightforward. We offer both flat rates for standard jobs and custom quotes based on your specific needs. Variables affecting your final cost include:
- Size of the area
- Condition of existing grout
- Accessibility
- Optional add-ons such as sealing or cleaning
Keep in mind that additional charges may apply for tax, dump fees, or extra hauling.
What’s Included
When you choose our re-grouting service, you can expect:
- Core Services: Assessment, removal, preparation, application, and sealing.
- Optional Extras: Stone cleaning, sealing, or even complete restoration if needed.
FAQs
- How long does the process take? Typically, 2-3 days including curing time.
- Are there any hidden fees? We are transparent about our pricing and will inform you of any potential extra costs upfront.
- What maintenance do I need to do afterward? Regular cleaning and annual sealing will keep your grout looking fresh.
Why Choose Lee’s General Landscaping
- Experienced Local Crew: Our team works clean and efficiently, ensuring minimal disruption to your home.
- Licensed, Bonded & Insured: Rest easy knowing you’re protected.
- Hundreds of 5-Star Reviews: We take pride in our reputation, with numerous satisfied customers.
Ready for a yard that stays neat?
Call or text Lee’s General Landscaping for a quick quote and a maintenance plan that fits your property.
⭐⭐⭐⭐⭐ 400+ Yelp Reviews • ⭐⭐⭐⭐⭐ 130+ Google Map Reviews
📧 Email: lees.g.landscaping@gmail.com
📞 Office: 206-259-7919
🕘 Hours: Mon–Sun: 9AM–6PM
🔒 Licensed • Bonded • Insured