Paver Planter Box Walls (Vegetable/Herb)
Creating a paver planter box wall for your vegetable or herb garden can be a rewarding project, but it comes with its challenges. Homeowners often grapple with selecting the right materials, ensuring structural integrity, and achieving the desired aesthetic. Fortunately, a well-constructed paver planter not only enhances your garden’s curb appeal but also provides safety, lower maintenance, and eco-friendly benefits. This article will walk you through the entire process—from planning and materials to installation and maintenance—so you can enjoy a thriving garden space.
Description
What the Service Includes
Building a paver planter box wall involves several key tasks:
- Design Planning: Determine the size and layout of your planter box.
- Material Selection: Choose pavers, gravel, and soil.
- Excavation: Prepare the site by digging out the area for the base.
- Base Layer Installation: Lay a foundation of gravel for drainage.
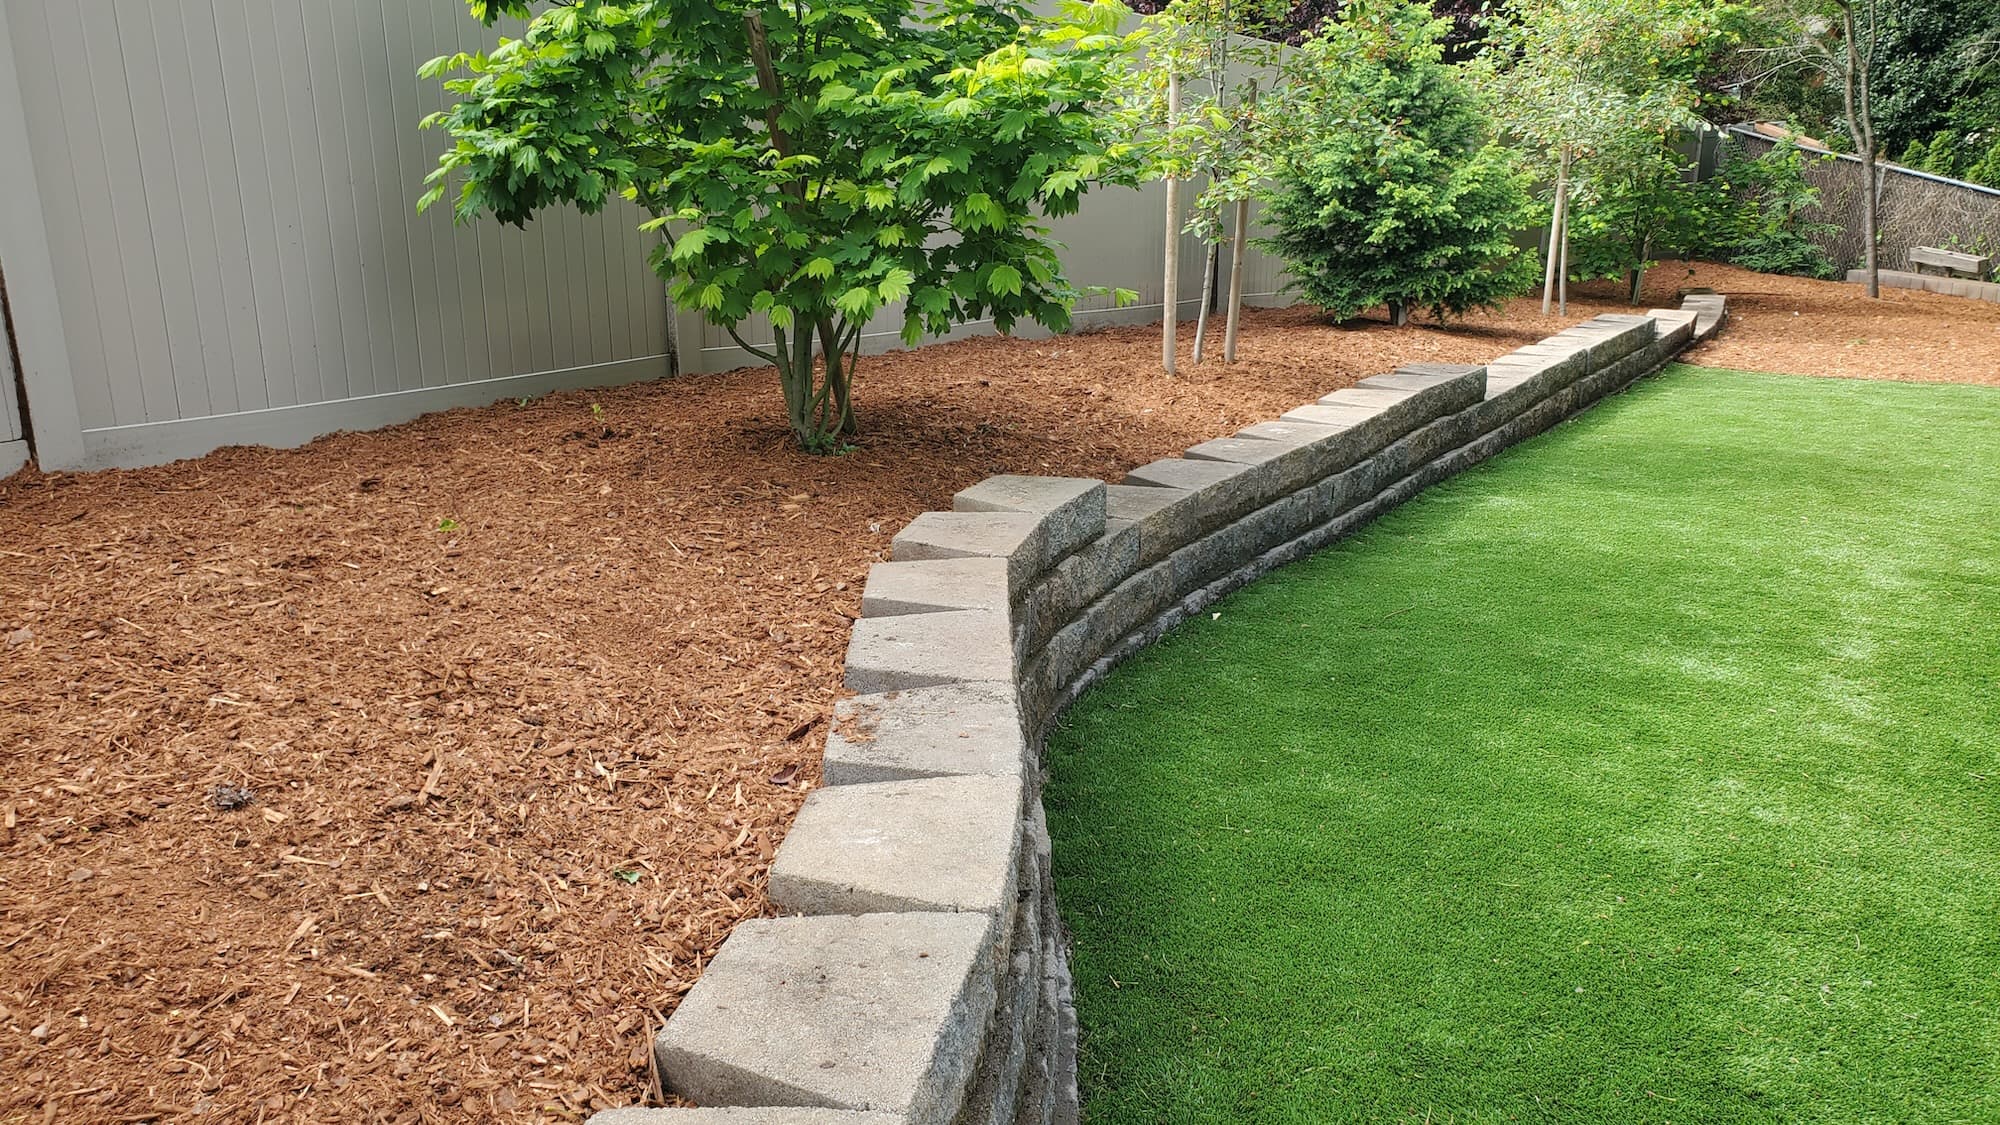
- Paver Installation: Stack and secure pavers to form the walls.
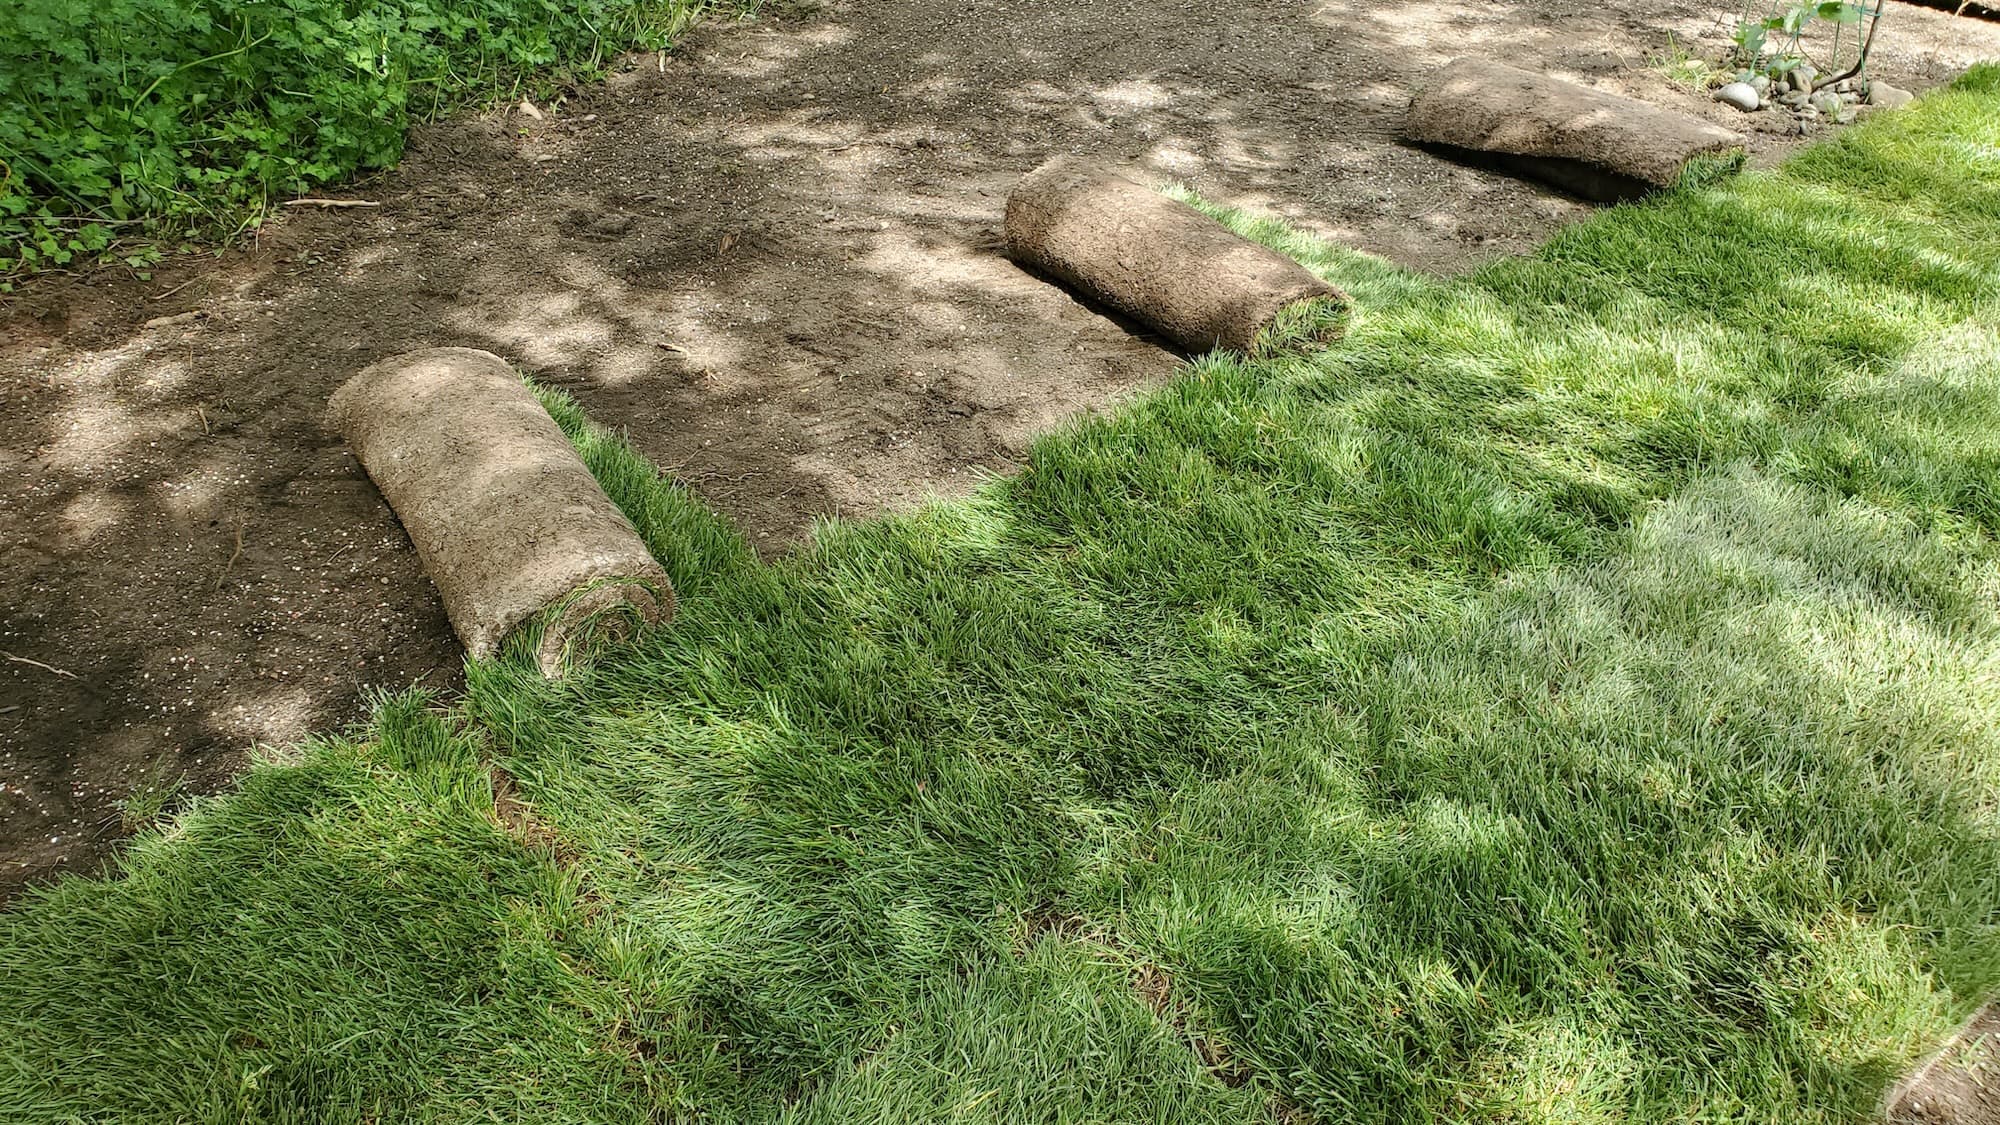
- Soil Filling: Add soil and compost for planting.
Key Benefits
- Improved Appearance: A well-built planter box adds visual interest to your yard.
- Durability: Pavers are robust and resistant to weathering.
- Safety: Defined garden spaces can prevent tripping hazards.
- Eco-Friendly Options: Natural materials promote sustainable gardening.
Why Hire a Pro
- Local Expertise: Knowledge of regional soil and climate conditions.
- Licensed & Insured: Peace of mind with professional liability coverage.
- Professional Tools: Access to high-quality equipment for efficient work.
Our Approach
Step-by-Step Breakdown
Planning & Design
- Decide on the dimensions and location of your planter box.
- Sketch a simple design for reference.
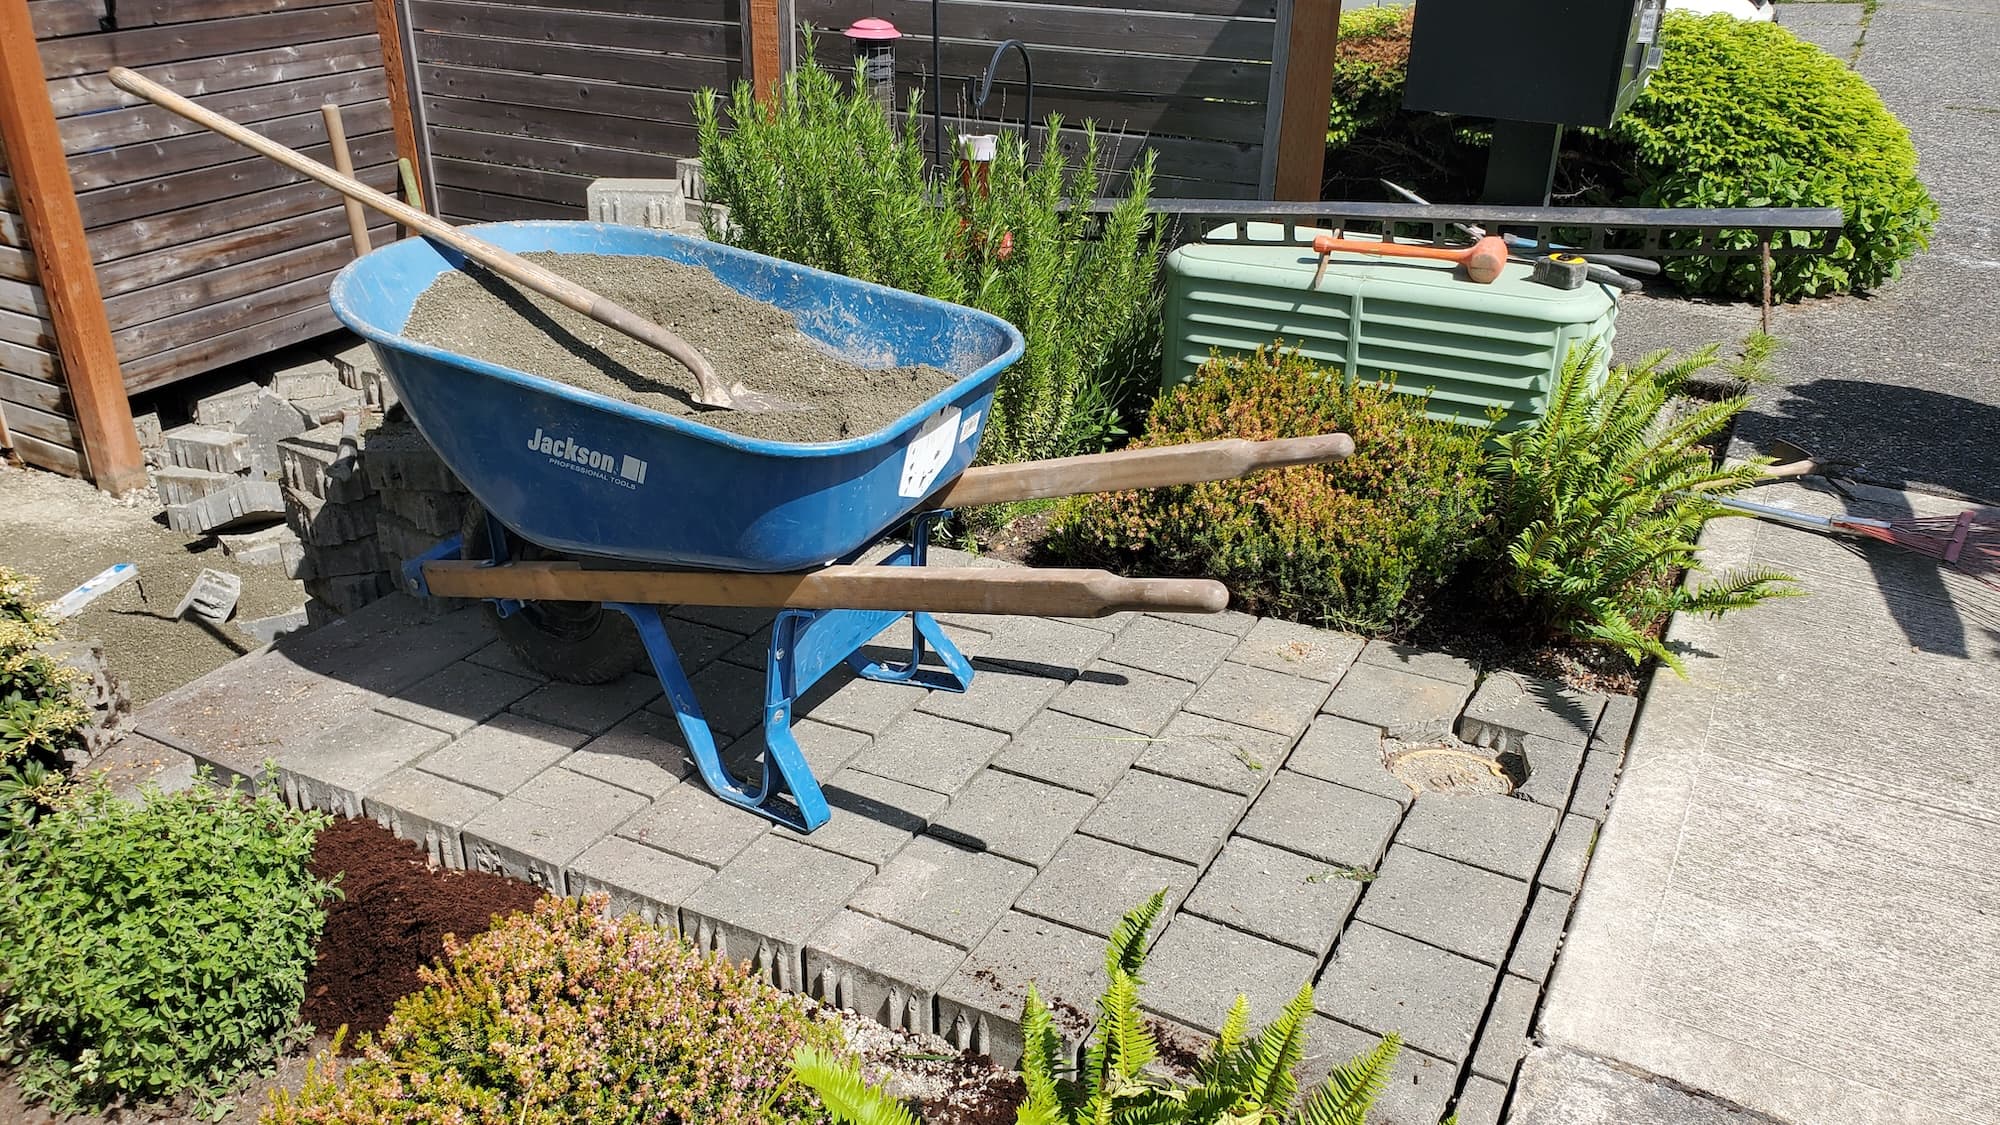
Gather Tools & Materials
- Tools: Shovel, level, rubber mallet, tamper, measuring tape, landscaping fabric, and a saw (if cutting pavers).
- Materials: Pavers, gravel, soil, and optional landscape fabric.
Excavate the Area
- Dig a trench about 6-12 inches deep and wide enough for your pavers.
- Ensure the base is level for stability.
Create a Base Layer
- Add 4-6 inches of gravel for drainage and compact it down.
Install Pavers
- Start laying pavers from one corner, using a level to ensure even placement.
- Use a rubber mallet to tap them into place.
Fill the Planter
- Once the walls are built, add a layer of landscape fabric to keep soil in place and prevent weeds.
- Fill the planter with soil and compost, mixing well.
Plant Your Vegetables or Herbs
- Choose plants that thrive in your climate and enjoy your garden!
On-Site Expectations
Our crew will work efficiently to minimize disruption. We prioritize safety and cleanliness, ensuring your property remains tidy throughout the project. Expect clear communication and updates on progress.
Service Pricing
How Pricing Works
- Flat Rate vs. Custom: Most projects are quoted based on size and complexity. Custom quotes account for specific requests.
- Variables: Pricing can vary based on:
- Lot size and complexity of the design
- Volume of debris or materials
- Accessibility of the site
- Any additional features like lighting or irrigation
Additional Costs
- Be aware of potential tax, dump fees, or extra hauling charges that may apply.
What’s Included
Core Services
- Excavation & Base Preparation: Includes the digging and gravel base.
- Paver Installation: Professional placement of pavers.
- Soil Preparation: Filling and preparing soil for planting.
Optional Extras
- Gravel Base Upgrades: Enhanced drainage options.
- Landscape Fabric: To improve soil retention.
- Planting Services: We can help you select and plant the right herbs or vegetables.
- Seasonal Upgrades: Include mulch or seasonal flowers for added color.
FAQs
Common Customer Concerns
- Scheduling: We typically schedule projects within 1-2 weeks, depending on demand.
- Turnaround Time: Most planter box installations can be completed in 1-3 days.
- Dump Fees: Discuss any potential fees upfront to avoid surprises.
Maintenance Tips
- Water regularly and ensure proper drainage.
- Mulch around plants to retain moisture and suppress weeds.
- Inspect the paver walls for any shifting or damage annually.
DIY vs. Pro
DIY: If you’re handy and have the time, building a paver planter box can be a fulfilling project. Just remember that it requires careful planning and physical labor.
Pro: Hiring a professional ensures a high-quality finish, saves time, and often leads to fewer mistakes. With our expertise, you can expect a durable and beautiful result.
Common Mistakes
- Poor Planning: Not measuring correctly can lead to uneven walls.
- Inadequate Drainage: Skipping gravel or drainage layers can cause water pooling.
- Ignoring Soil Quality: Using poor soil can negatively impact plant health.
Why Choose Lee’s General Landscaping
- Our experienced local crew works cleanly and efficiently.
- We’re licensed, bonded, and insured for your peace of mind.
- With hundreds of 5-star reviews across Yelp and Google, we have a proven track record.
Ready for a yard that stays neat?
Call or text Lee’s General Landscaping for a quick quote and a maintenance plan that fits your property.
⭐⭐⭐⭐⭐ 400+ Yelp Reviews • ⭐⭐⭐⭐⭐ 130+ Google Map Reviews
📧 Email: lees.g.landscaping@gmail.com
📞 Office: 206-259-7919
🕘 Hours: Mon–Sun: 9AM–6PM
🔒 Licensed • Bonded • Insured