Paver Landings with Contrasting Borders
Creating a stunning entryway or pathway with paver landings and contrasting borders can transform your outdoor space. However, homeowners often face challenges such as choosing the right materials, ensuring proper drainage, and achieving a cohesive design. The good news? This project not only enhances curb appeal but also improves safety and reduces maintenance. In this article, we’ll guide you through the process of installing paver landings with contrasting borders step-by-step, along with the tools you’ll need, estimated costs, and maintenance tips.
Description
What the Service Includes
- Design Consultation: Discuss layout and color options for pavers and borders.
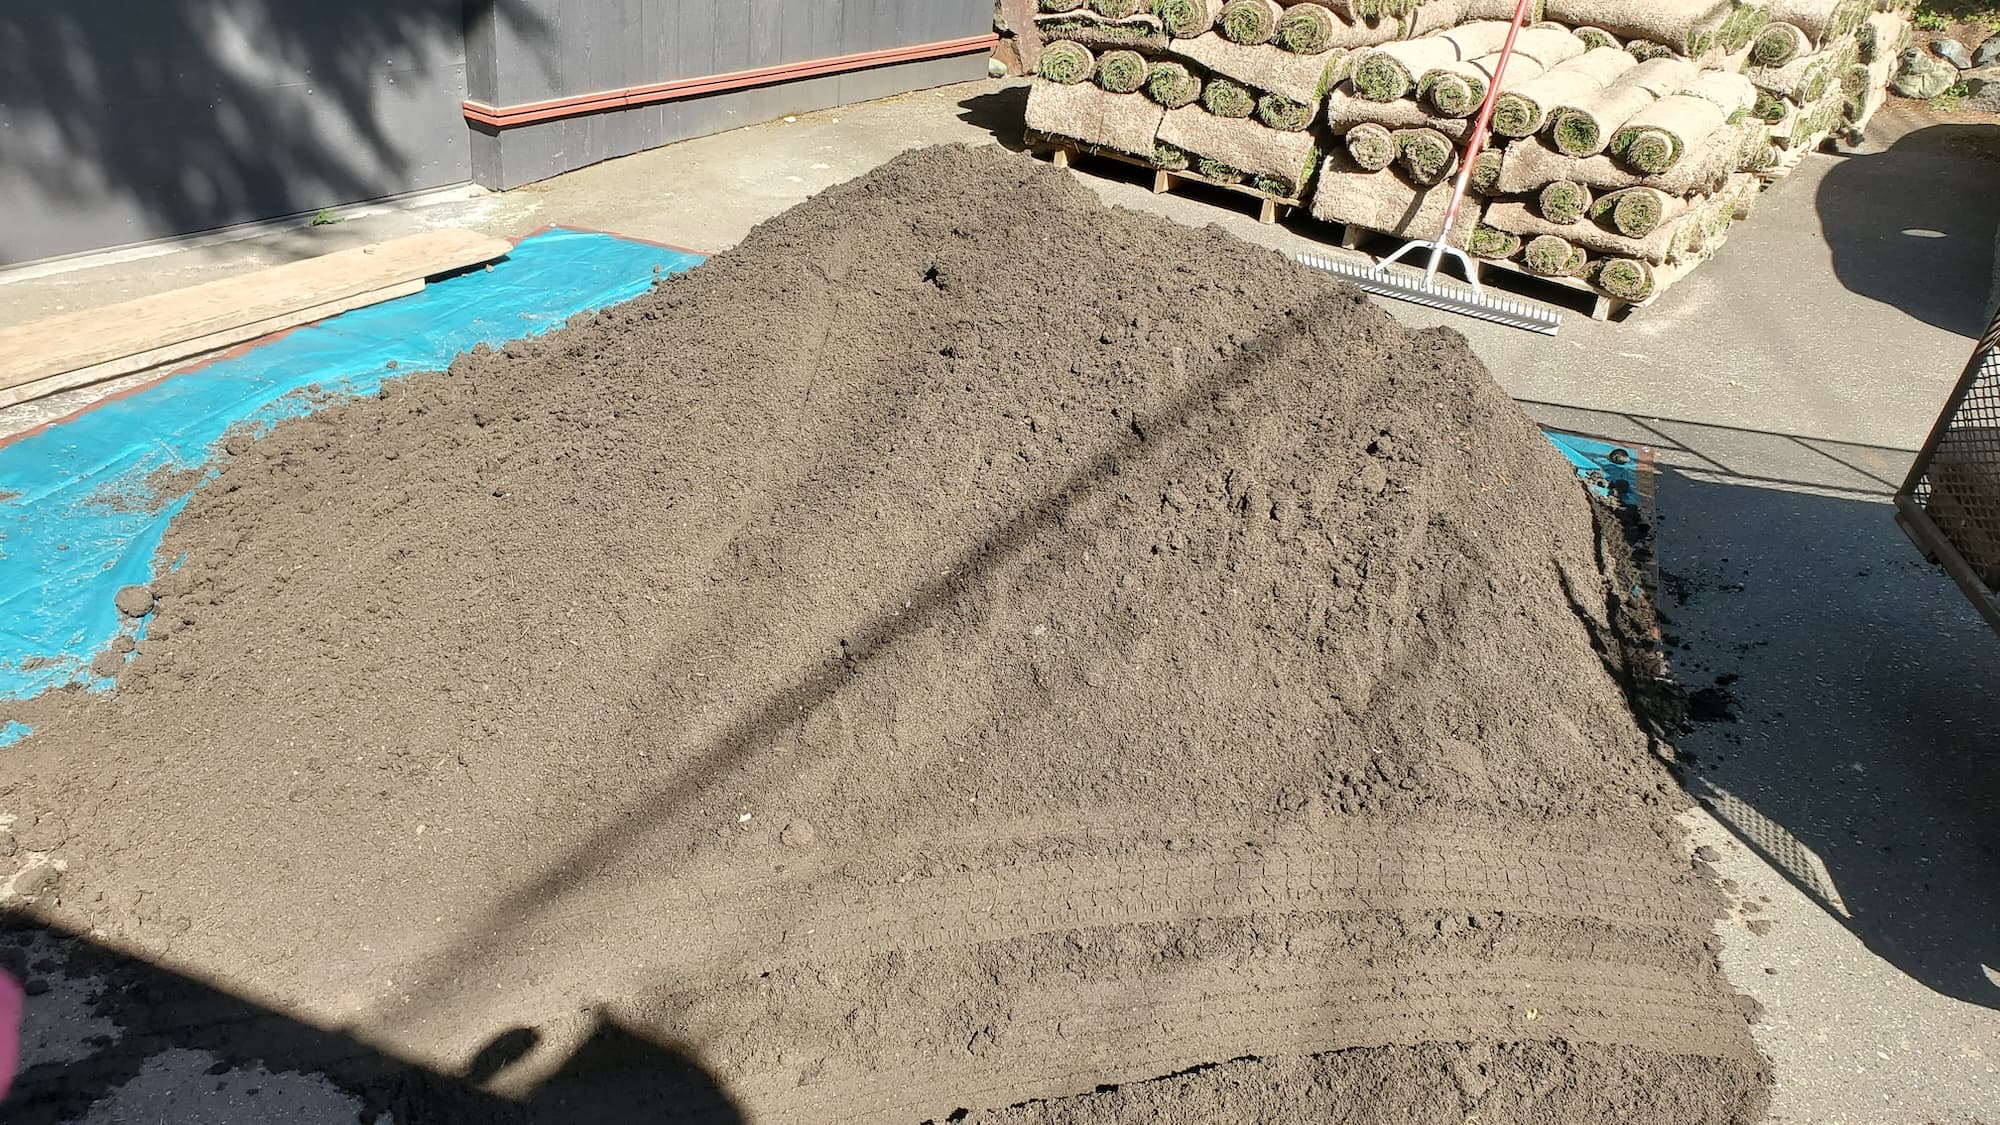
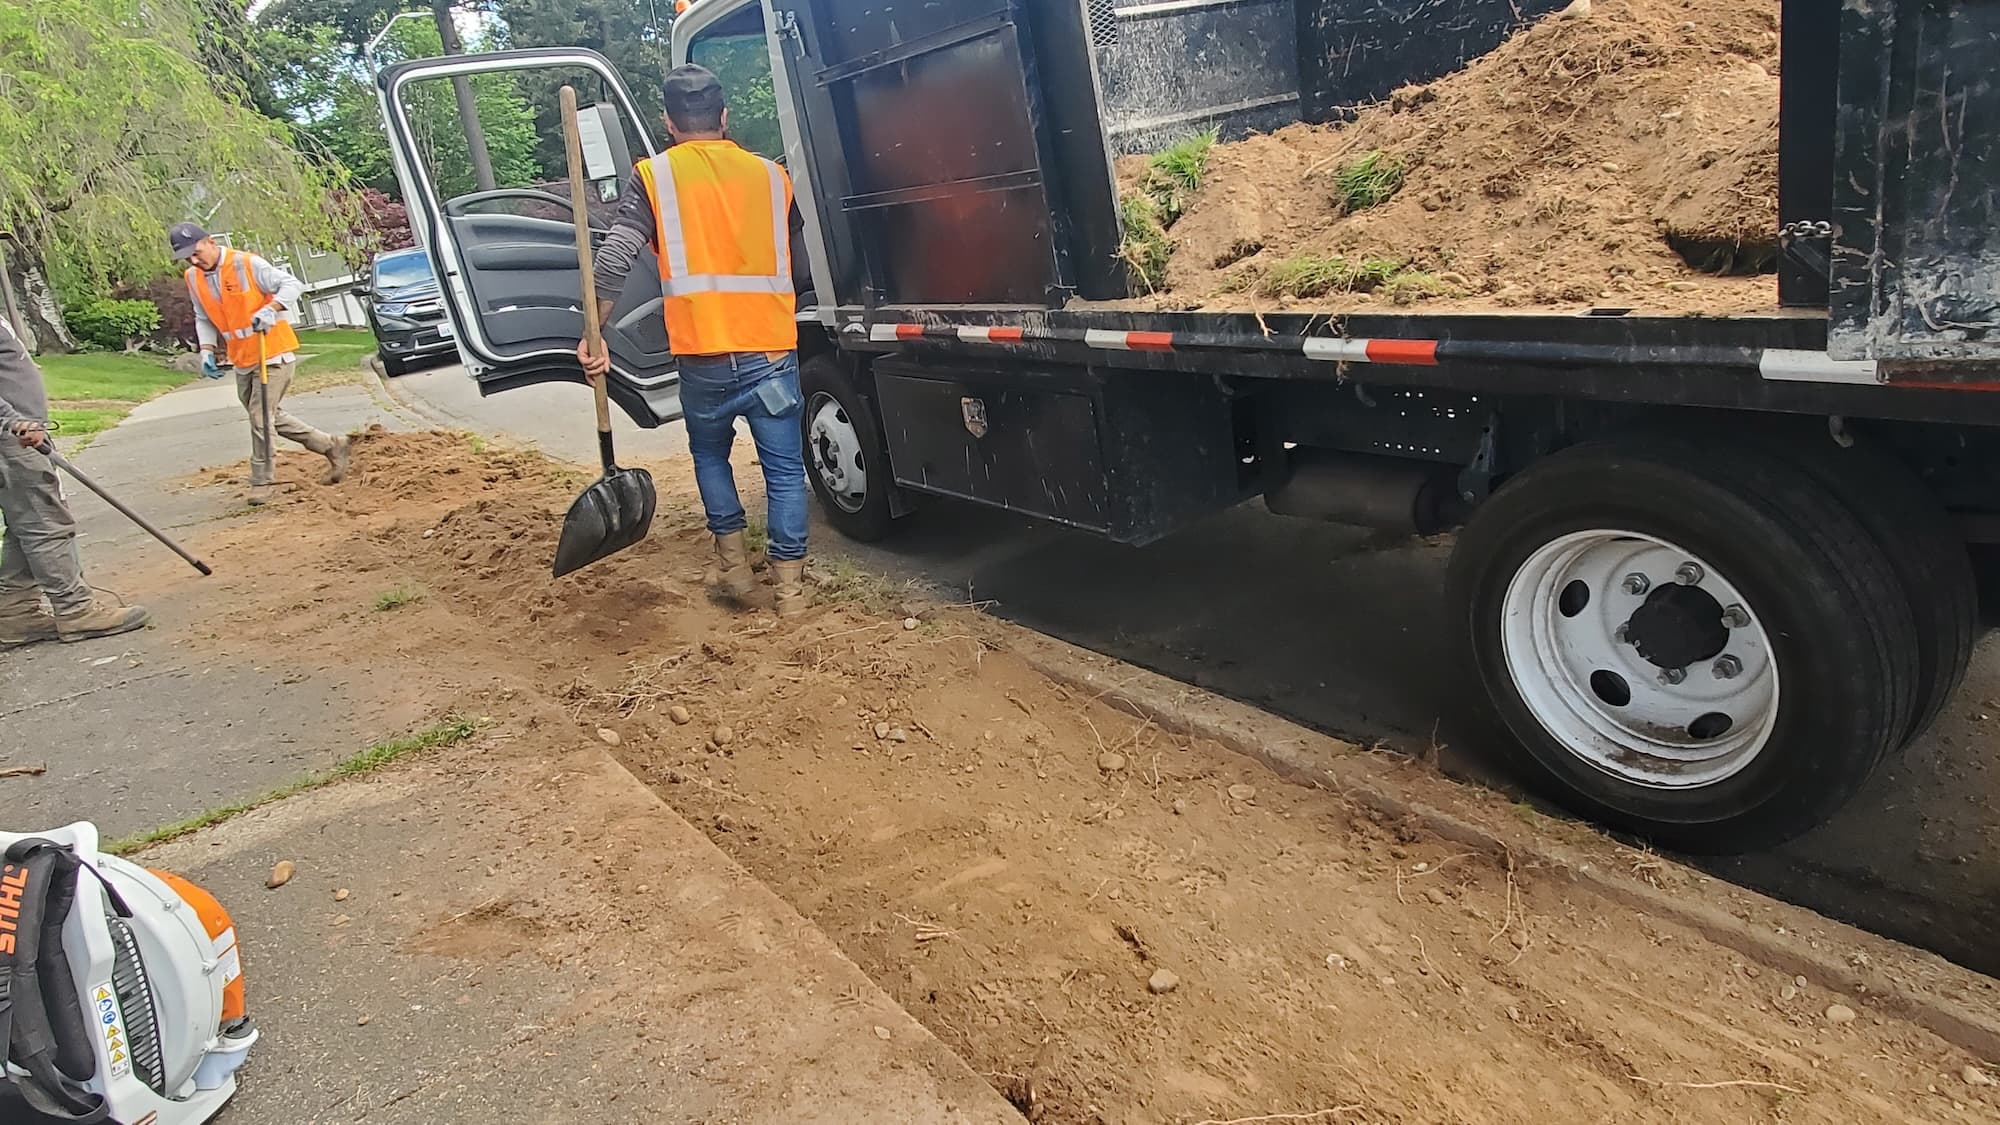
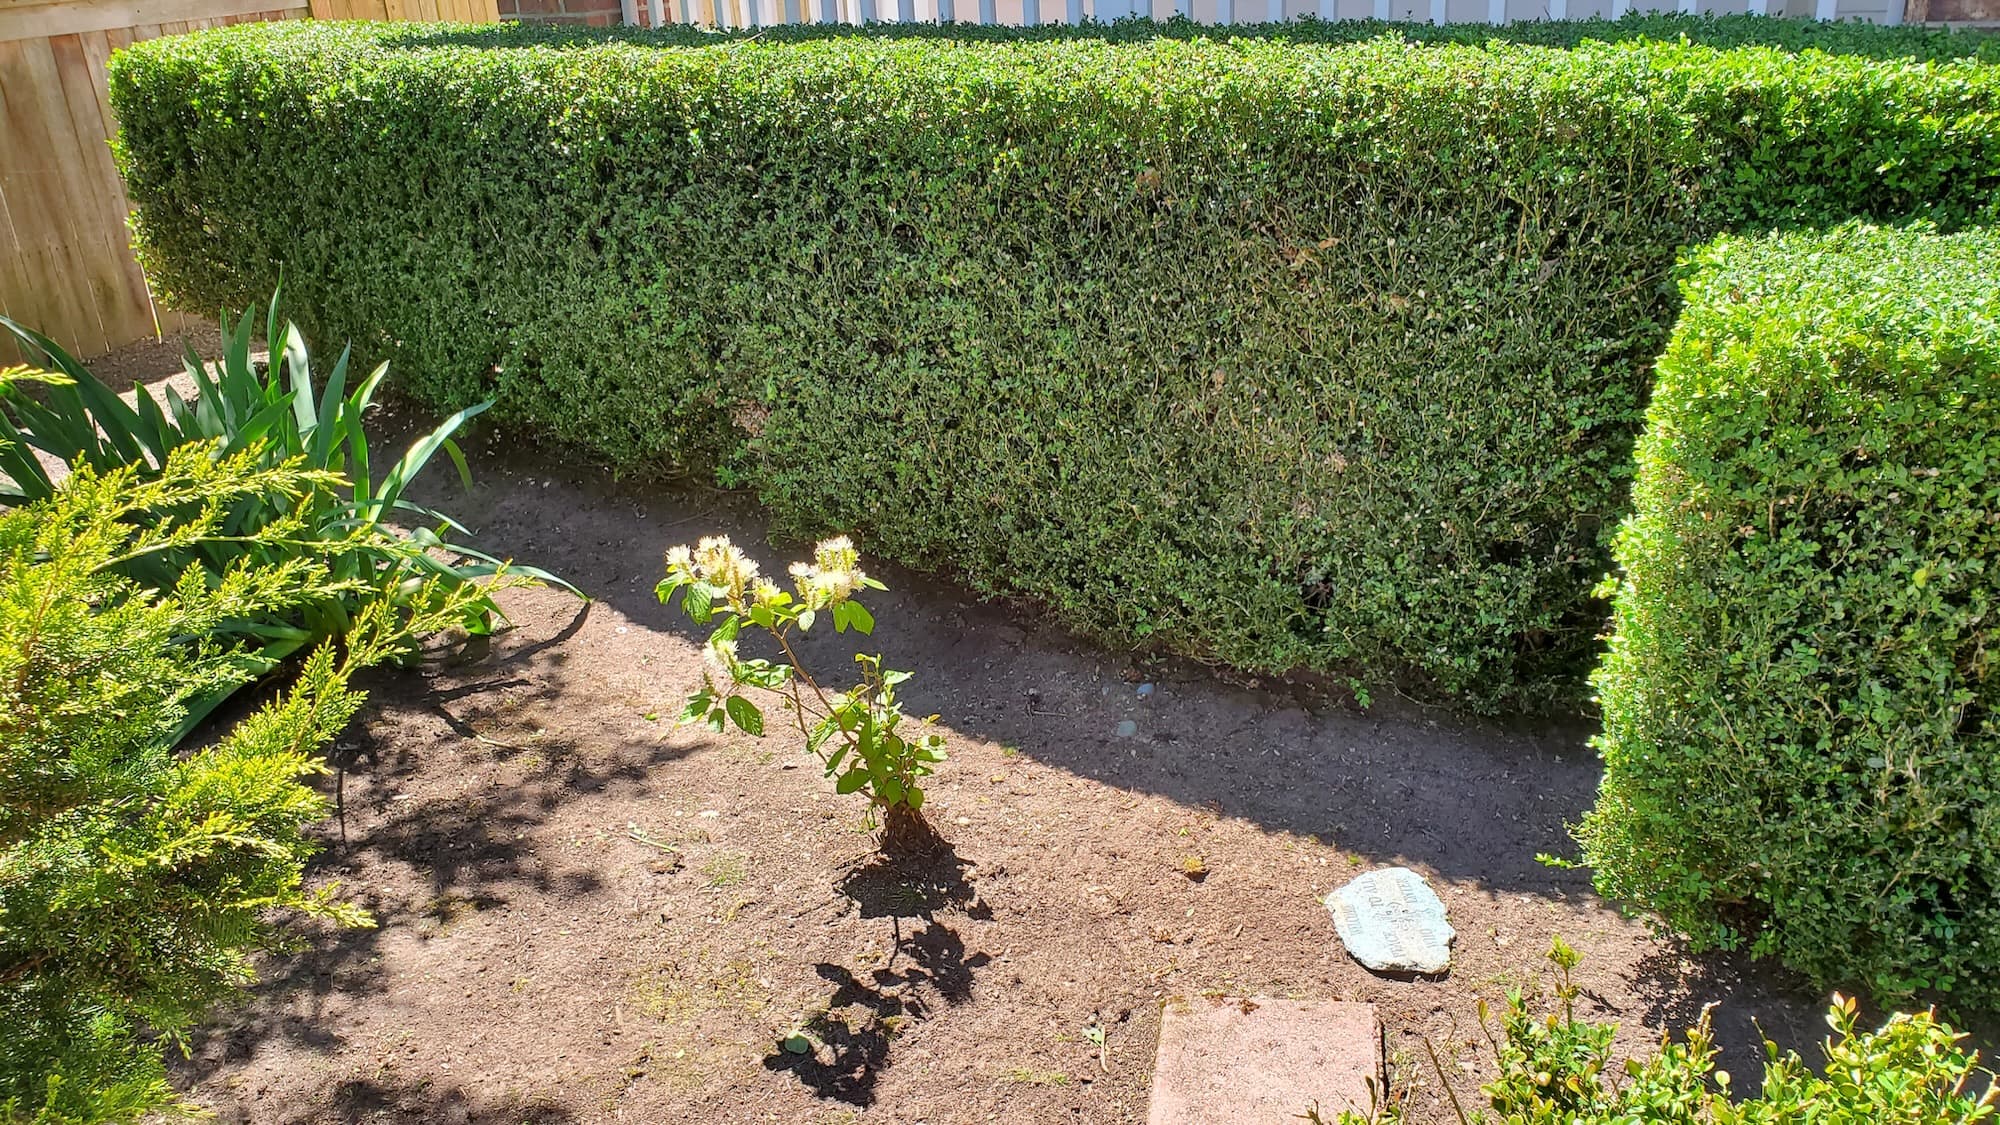
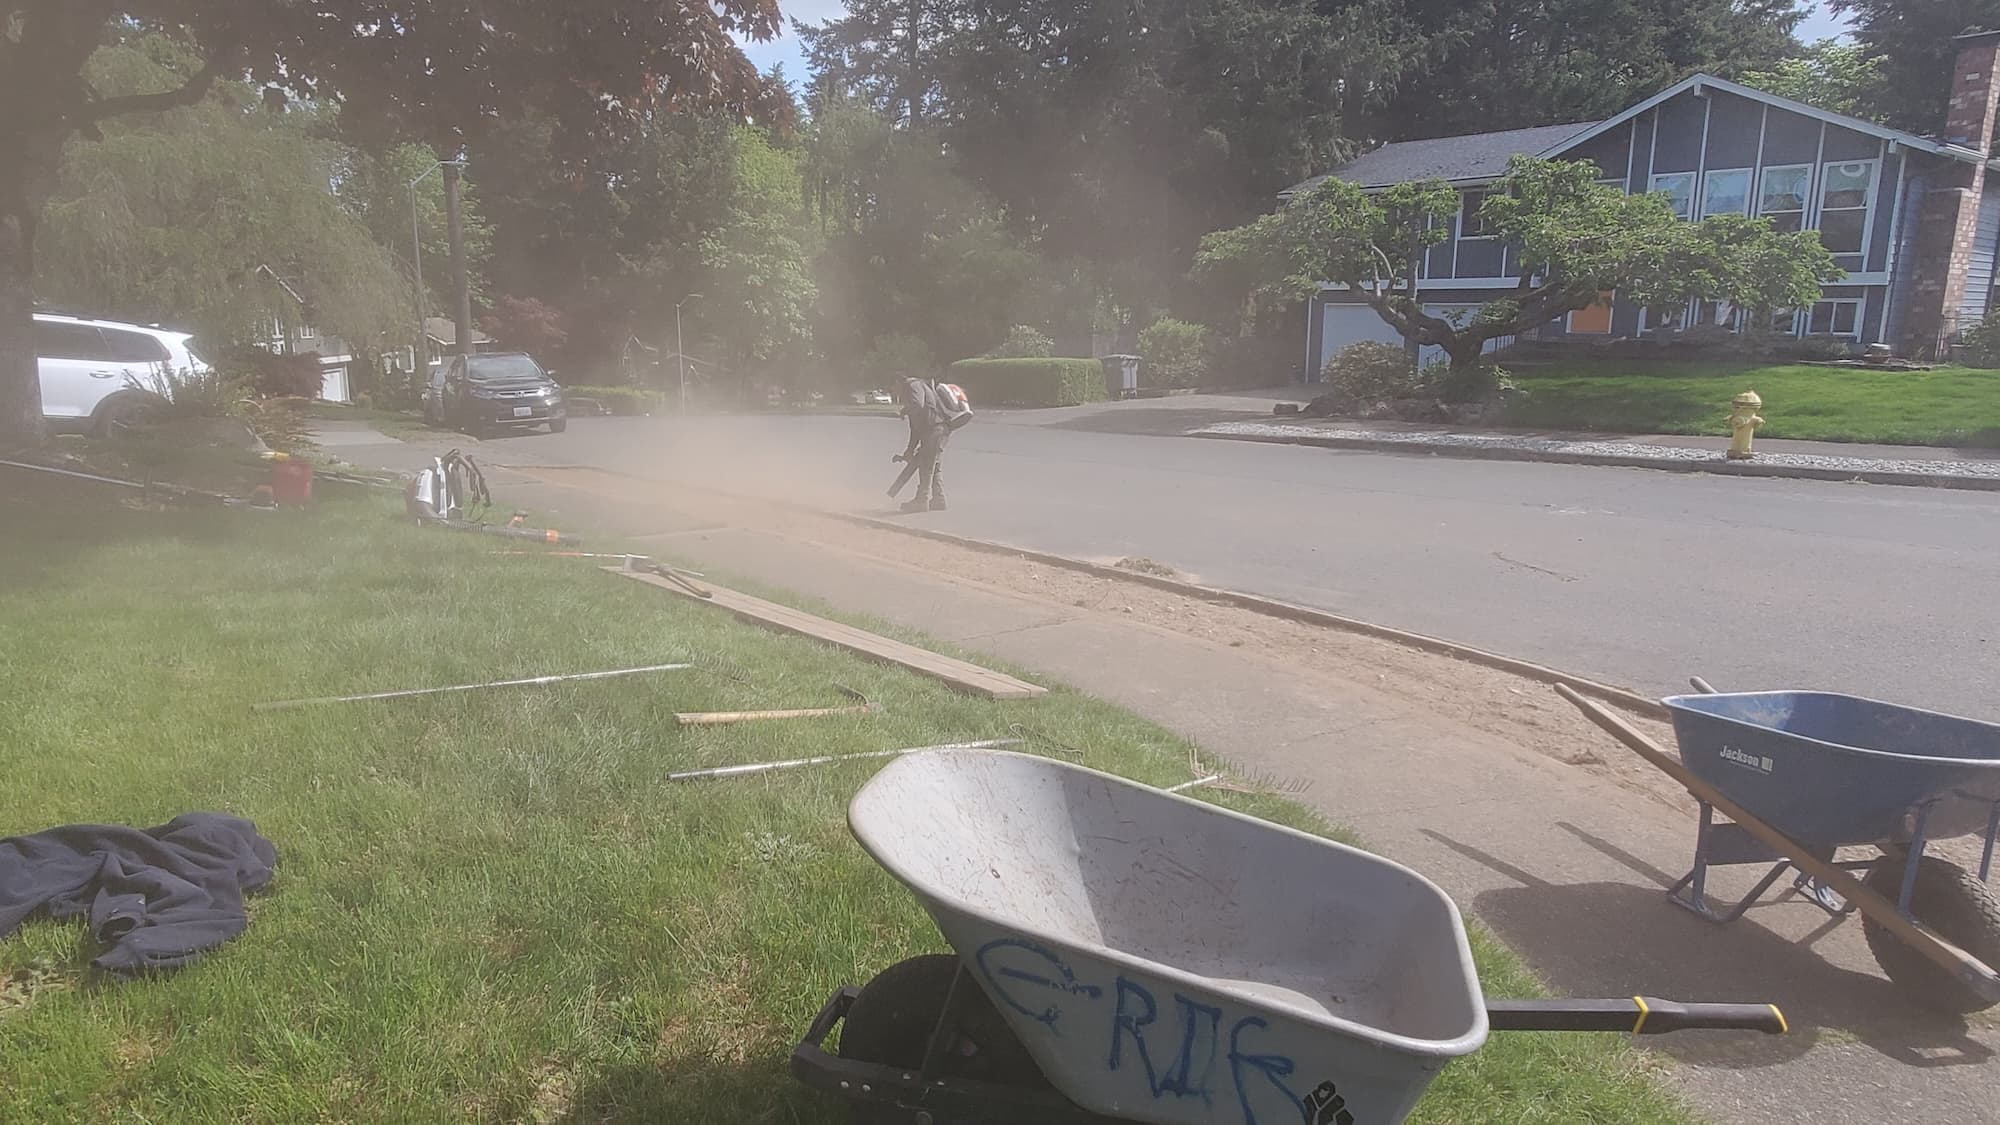
- Site Preparation: Clearing the area of grass, weeds, and debris.
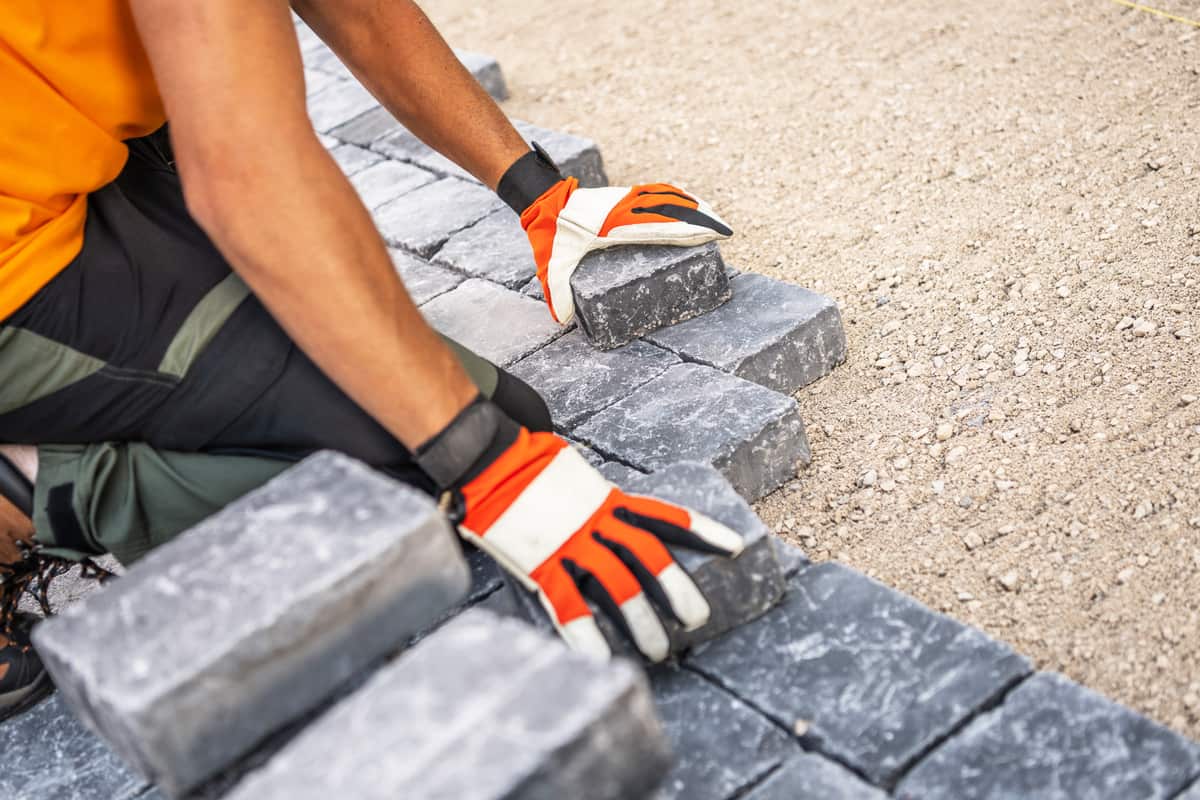
- Base Layer Installation: Adding crushed stone for drainage and stability.
- Paver Placement: Laying pavers in your chosen pattern.
- Border Installation: Adding contrasting borders for visual appeal.
- Finishing Touches: Sanding between pavers and cleaning up the site.
Key Benefits
- Improved Appearance: A well-designed paver landing enhances the overall look of your property.
- Durability: Quality pavers withstand weather changes and heavy foot traffic.
- Safety: Non-slip surfaces reduce the risk of slips and falls.
- Eco-Friendly Options: Many pavers are made from recycled materials and allow water drainage, minimizing runoff.
Why Hire a Pro
- Local Expertise: Knowledge of regional climate and soil conditions.
- Licensed & Insured Crew: Protection against accidents and damages.
- Professional Tools: Access to high-quality equipment ensures a polished finish.
Our Approach
Step-by-Step Breakdown
- Consultation: Discuss design preferences and site conditions.
- Site Preparation:
- Clear the area of grass and weeds.
- Excavate to a depth of 6-8 inches for the base layer.
- Base Layer Installation:
- Lay down a 4-6 inch layer of crushed stone.
- Compact it with a plate compactor.
- Paver Placement:
- Lay pavers in the desired pattern, leaving small gaps for sand.
- Border Installation:
- Install contrasting borders around the landing, using adhesive if necessary.
- Finishing Touches:
- Fill gaps with polymeric sand and compact.
- Clean the area of debris and dust.
On-Site Expectations
- Efficiency: Our crew works systematically to minimize disruption.
- Safety: We adhere to safety protocols, using gloves and protective gear.
- Clean-Up: We leave your space tidy, ready for you to enjoy.
Service Pricing
Pricing Structure
- Flat Rate: Common for standard projects based on square footage.
- Custom Quotes: Considerations for unique designs, site conditions, and material choices.
Variables Influencing Cost
- Lot Size: Larger areas increase material and labor costs.
- Debris Volume: More debris may require additional disposal fees.
- Access: Difficult terrain or limited access can increase labor time.
- Add-Ons: Features like lighting or drainage solutions will affect the final price.
Additional Costs
- Tax: Local sales tax may apply.
- Dump Fees: Charges for disposing of debris.
- Extra Hauling Charges: If additional material needs to be brought in.
What’s Included
Core Services
- Trimming: Edging around the paver landing.
- Edging: Installing borders for a neat finish.
- Weeding: Removing existing weeds before installation.
- Mulching: Adding mulch around the landing for aesthetics and weed control.
- Pruning: Trimming nearby plants for a tidy look.
Optional Extras
- Gravel: For added drainage solutions.
- Landscape Fabric: To suppress weeds beneath the pavers.
- Planting: Adding flowers or shrubs around the landing.
- Seasonal Upgrades: Lighting or decorative elements for special occasions.
FAQs
Common Customer Concerns
- Scheduling: Projects typically take 1-3 days, depending on size.
- Turnaround Time: We aim for quick, efficient service without sacrificing quality.
- Dump Fees: Discussed upfront during the consultation to avoid surprises.
Maintenance Tips
- Regular Cleaning: Sweep away debris and wash with water occasionally.
- Reapply Sand: If gaps between pavers widen, add polymeric sand to maintain stability.
- Inspect Borders: Check for shifting or damage, especially after heavy rains.
Why Choose Lee’s General Landscaping
- Experienced Local Crew: We know the best practices for your specific area.
- Licensed, Bonded & Insured: Peace of mind with professional protection.
- Positive Reviews: Hundreds of satisfied customers across platforms like Yelp and Google.
Ready for a yard that stays neat?
Call or text Lee’s General Landscaping for a quick quote and a maintenance plan that fits your property.
⭐⭐⭐⭐⭐ 400+ Yelp Reviews • ⭐⭐⭐⭐⭐ 130+ Google Map Reviews
📧 Email: lees.g.landscaping@gmail.com
📞 Office: 206-259-7919
🕘 Hours: Mon–Sun: 9AM–6PM
🔒 Licensed • Bonded • Insured
DIY vs. Pro
While DIY may save you some money, hiring a professional ensures quality, saves time, and provides peace of mind. Professionals have the tools and expertise to navigate challenges that may arise during the installation.
Common Mistakes
- Poor Site Preparation: Skipping proper excavation can lead to uneven surfaces.
- Ignoring Drainage: Not considering water runoff can lead to future problems.
- Choosing Incompatible Materials: Ensure pavers and borders complement each other for a cohesive look.
By following this guide, you’re well on your way to creating beautiful and functional paver landings with contrasting borders that will enhance your home’s curb appeal for years to come!