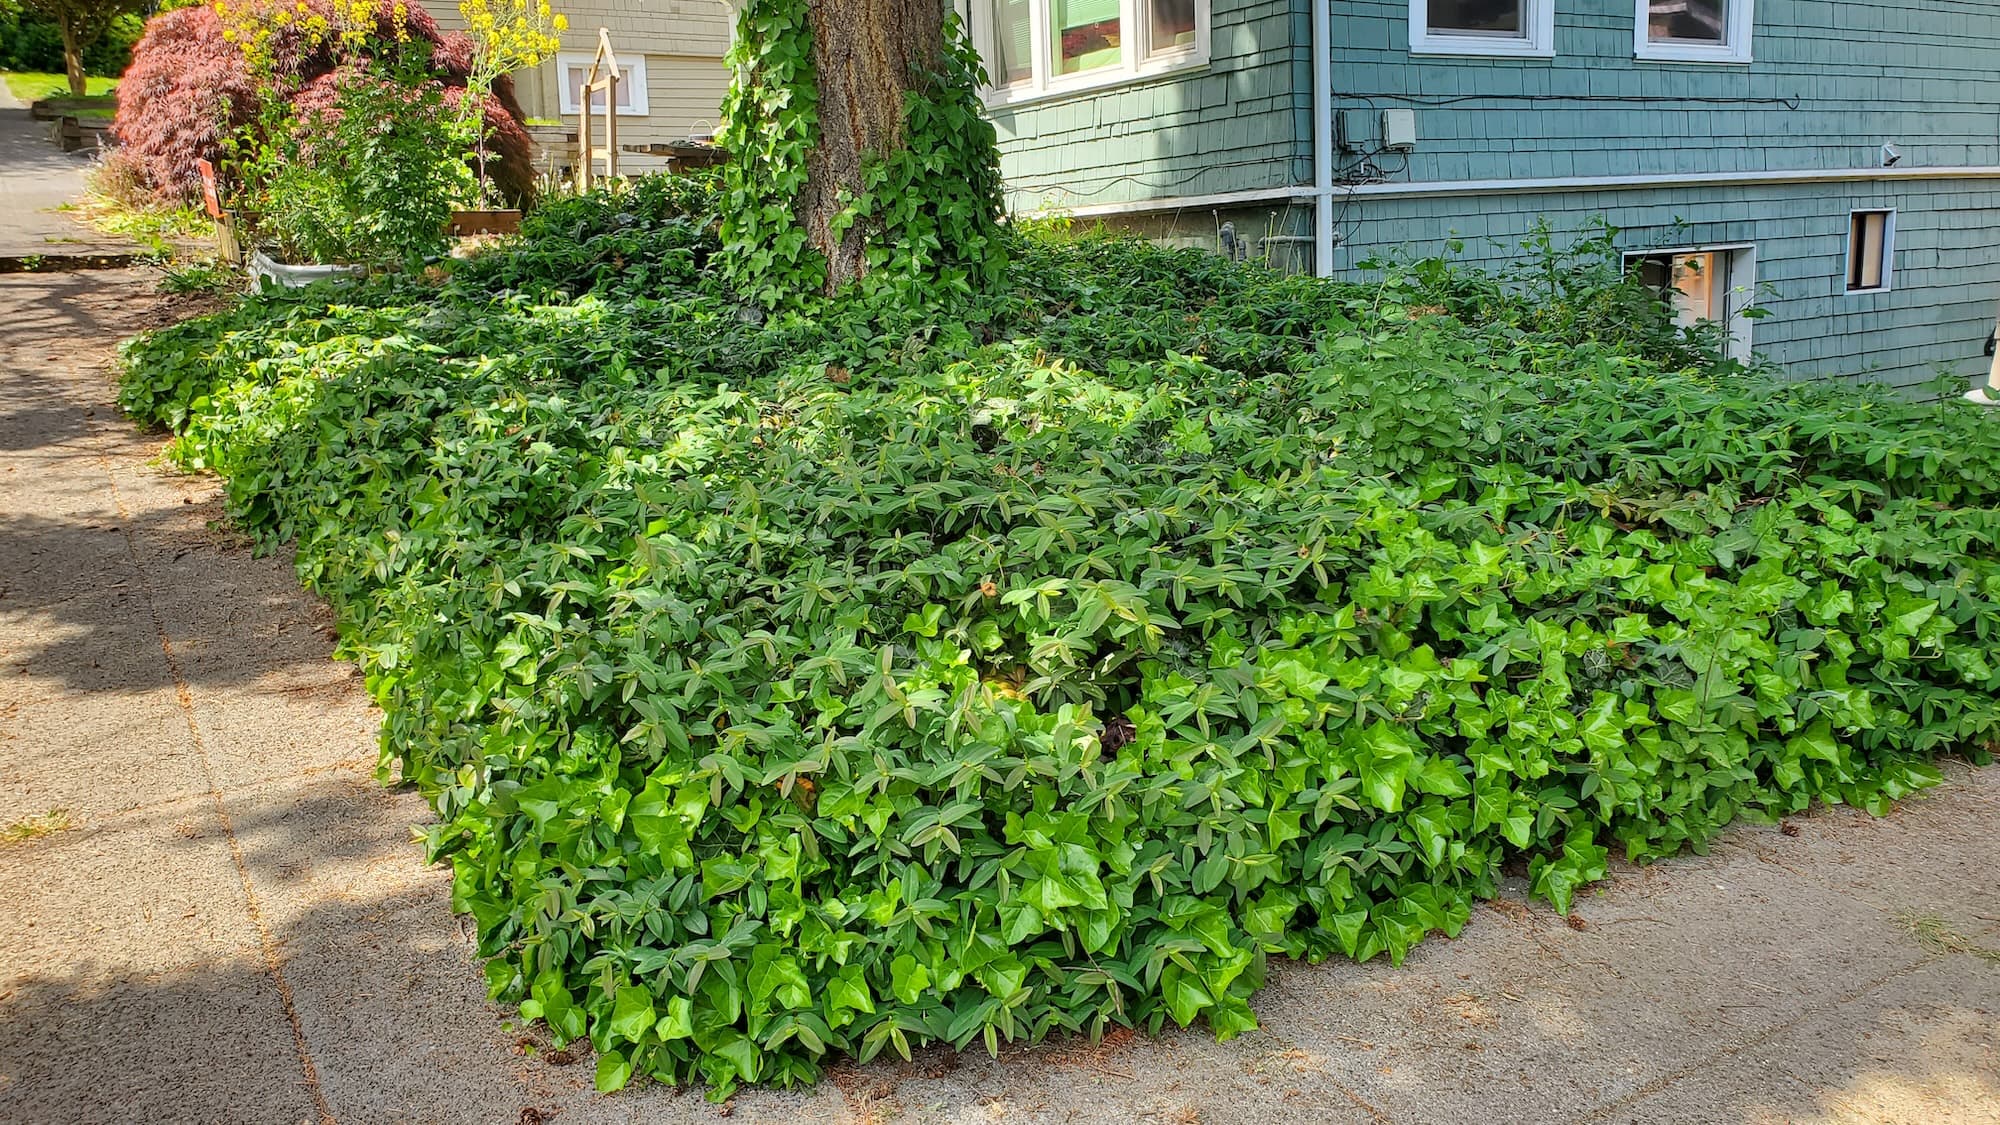
Mulch cover for soil weed suppression
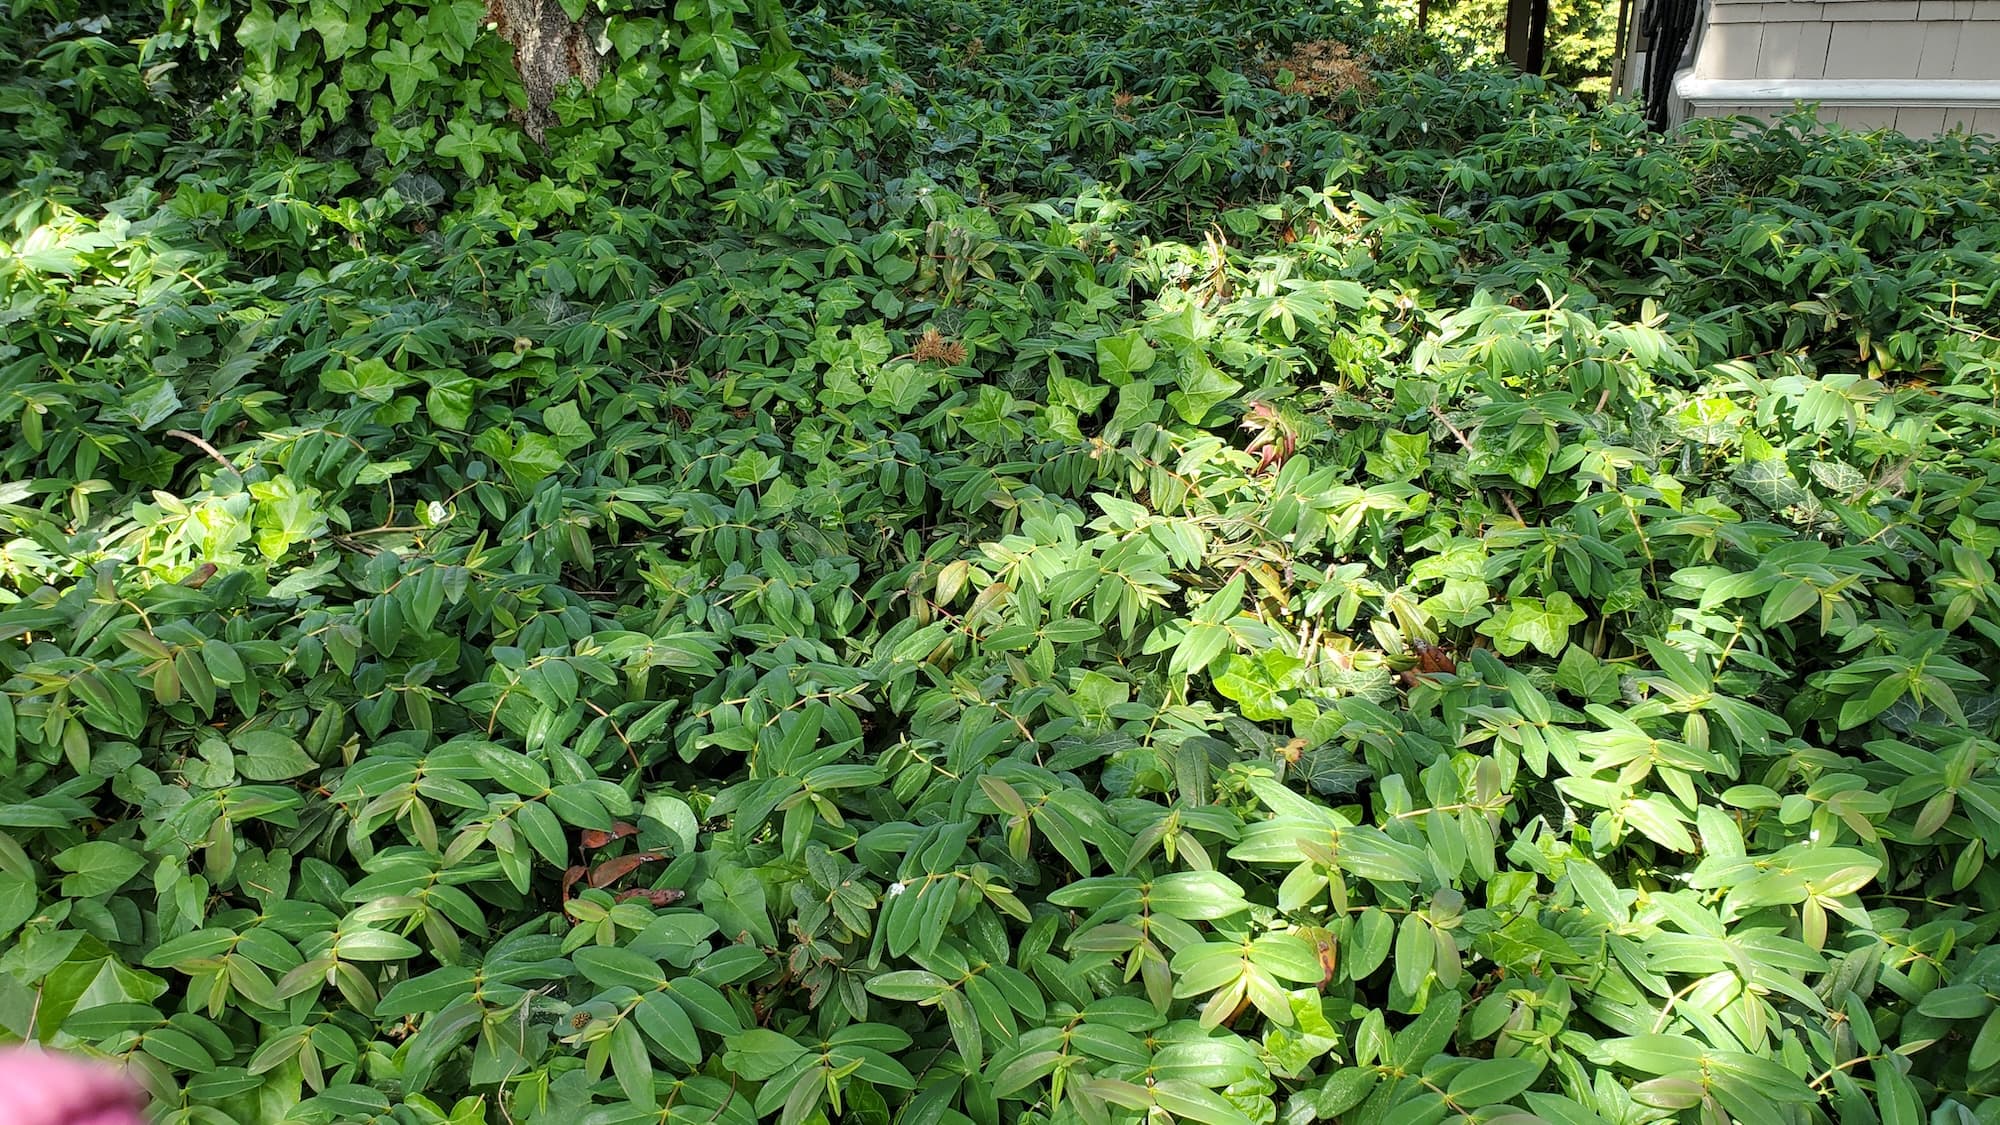
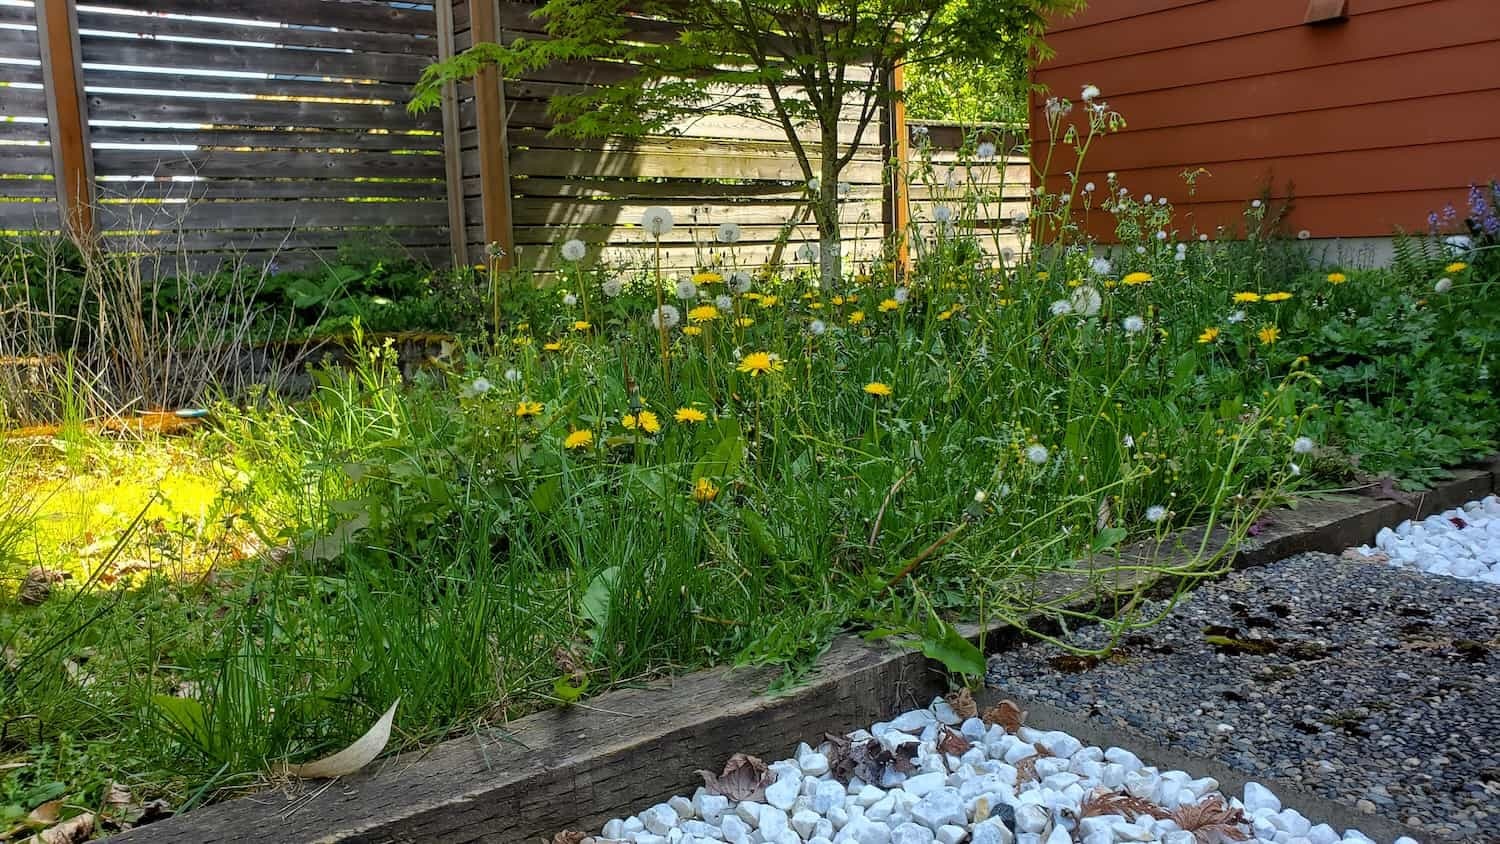
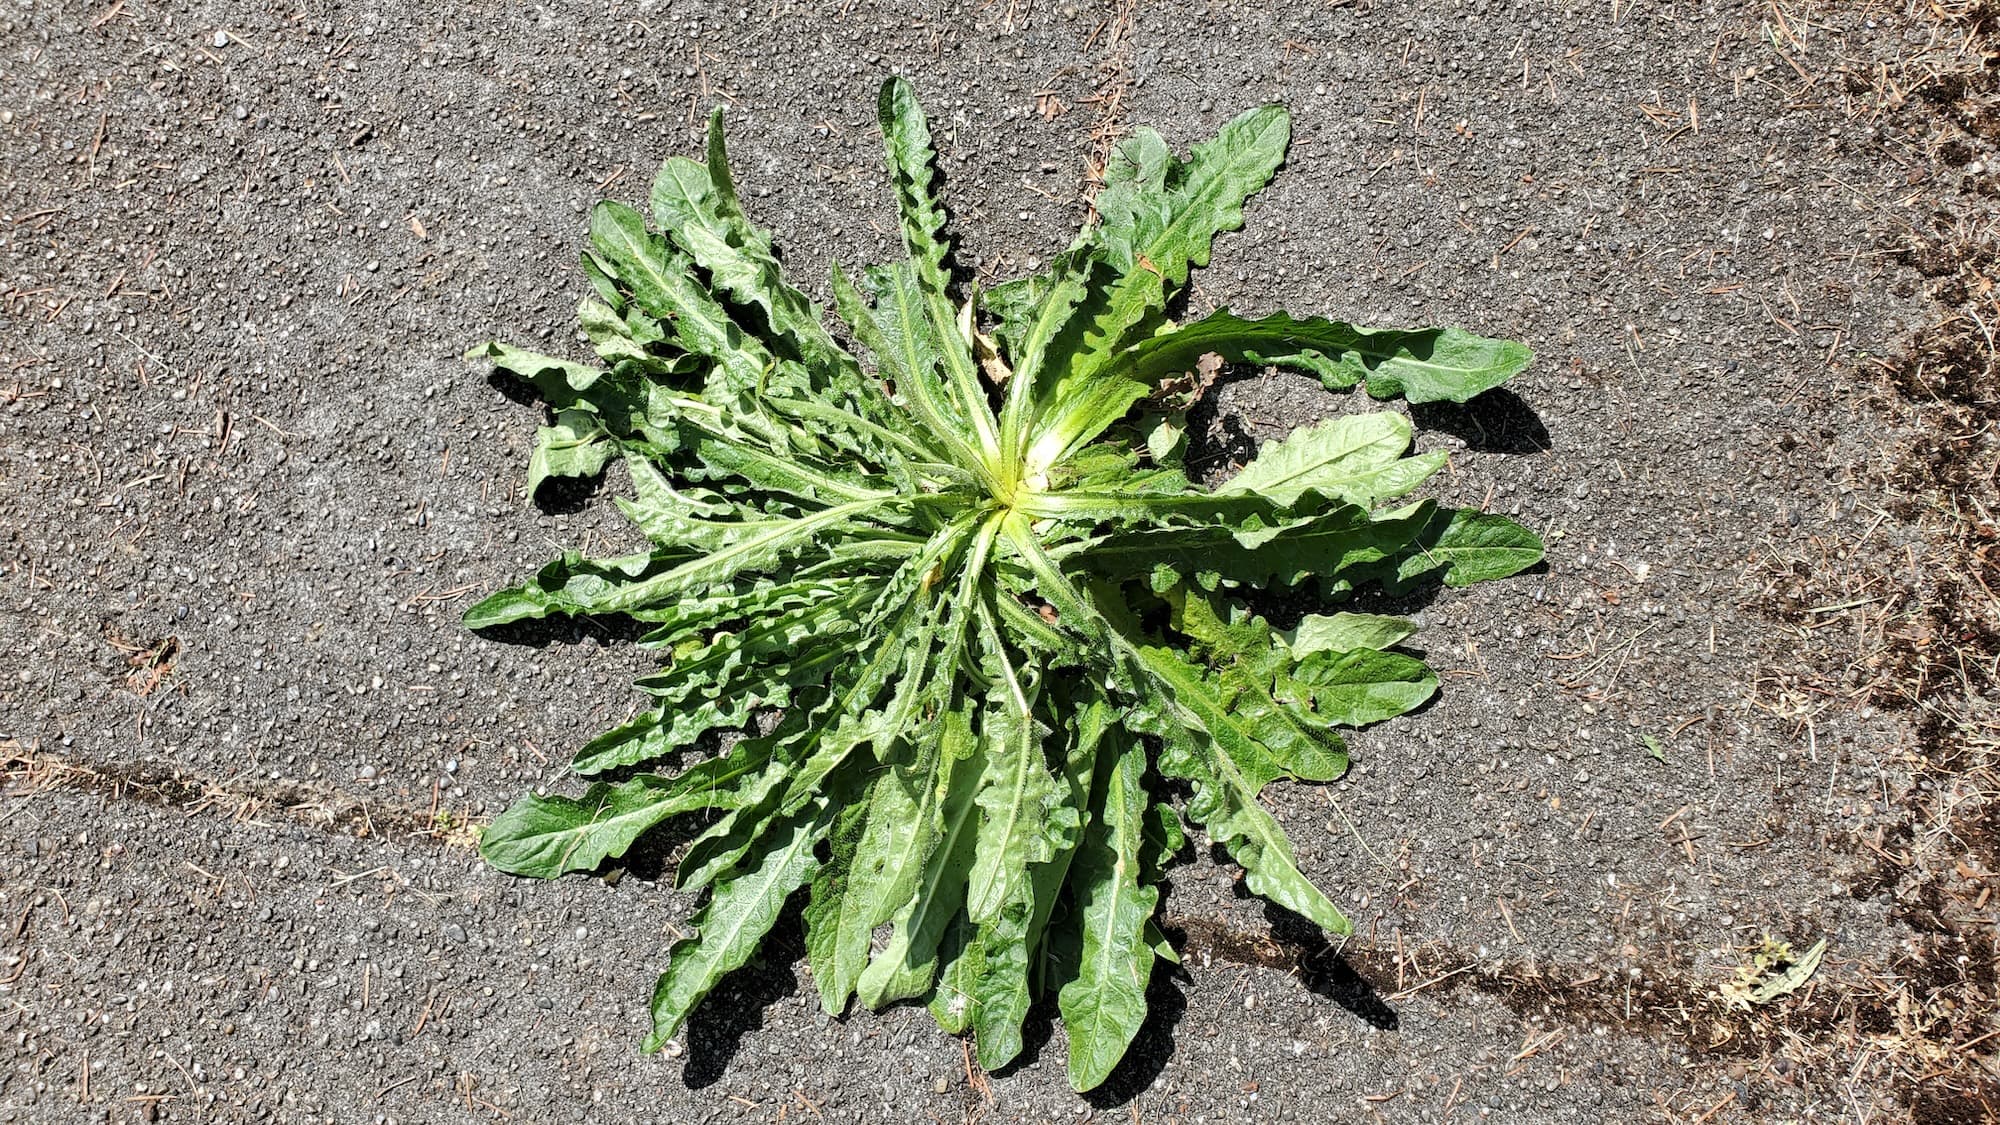
Dealing with weeds is a common headache for homeowners. They pop up unexpectedly, competing with your plants for nutrients and water, and can quickly turn a beautiful garden into an unsightly mess. Fortunately, there’s a solution that not only suppresses these pesky invaders but also enhances your landscape’s overall appeal: mulch. In this article, we’ll walk you through the process of applying mulch for weed suppression, covering all the essential steps, tools, and tips you need for a successful project.
Description
What the Service Includes
When you opt for a mulch cover, you’re looking at a comprehensive service that includes:
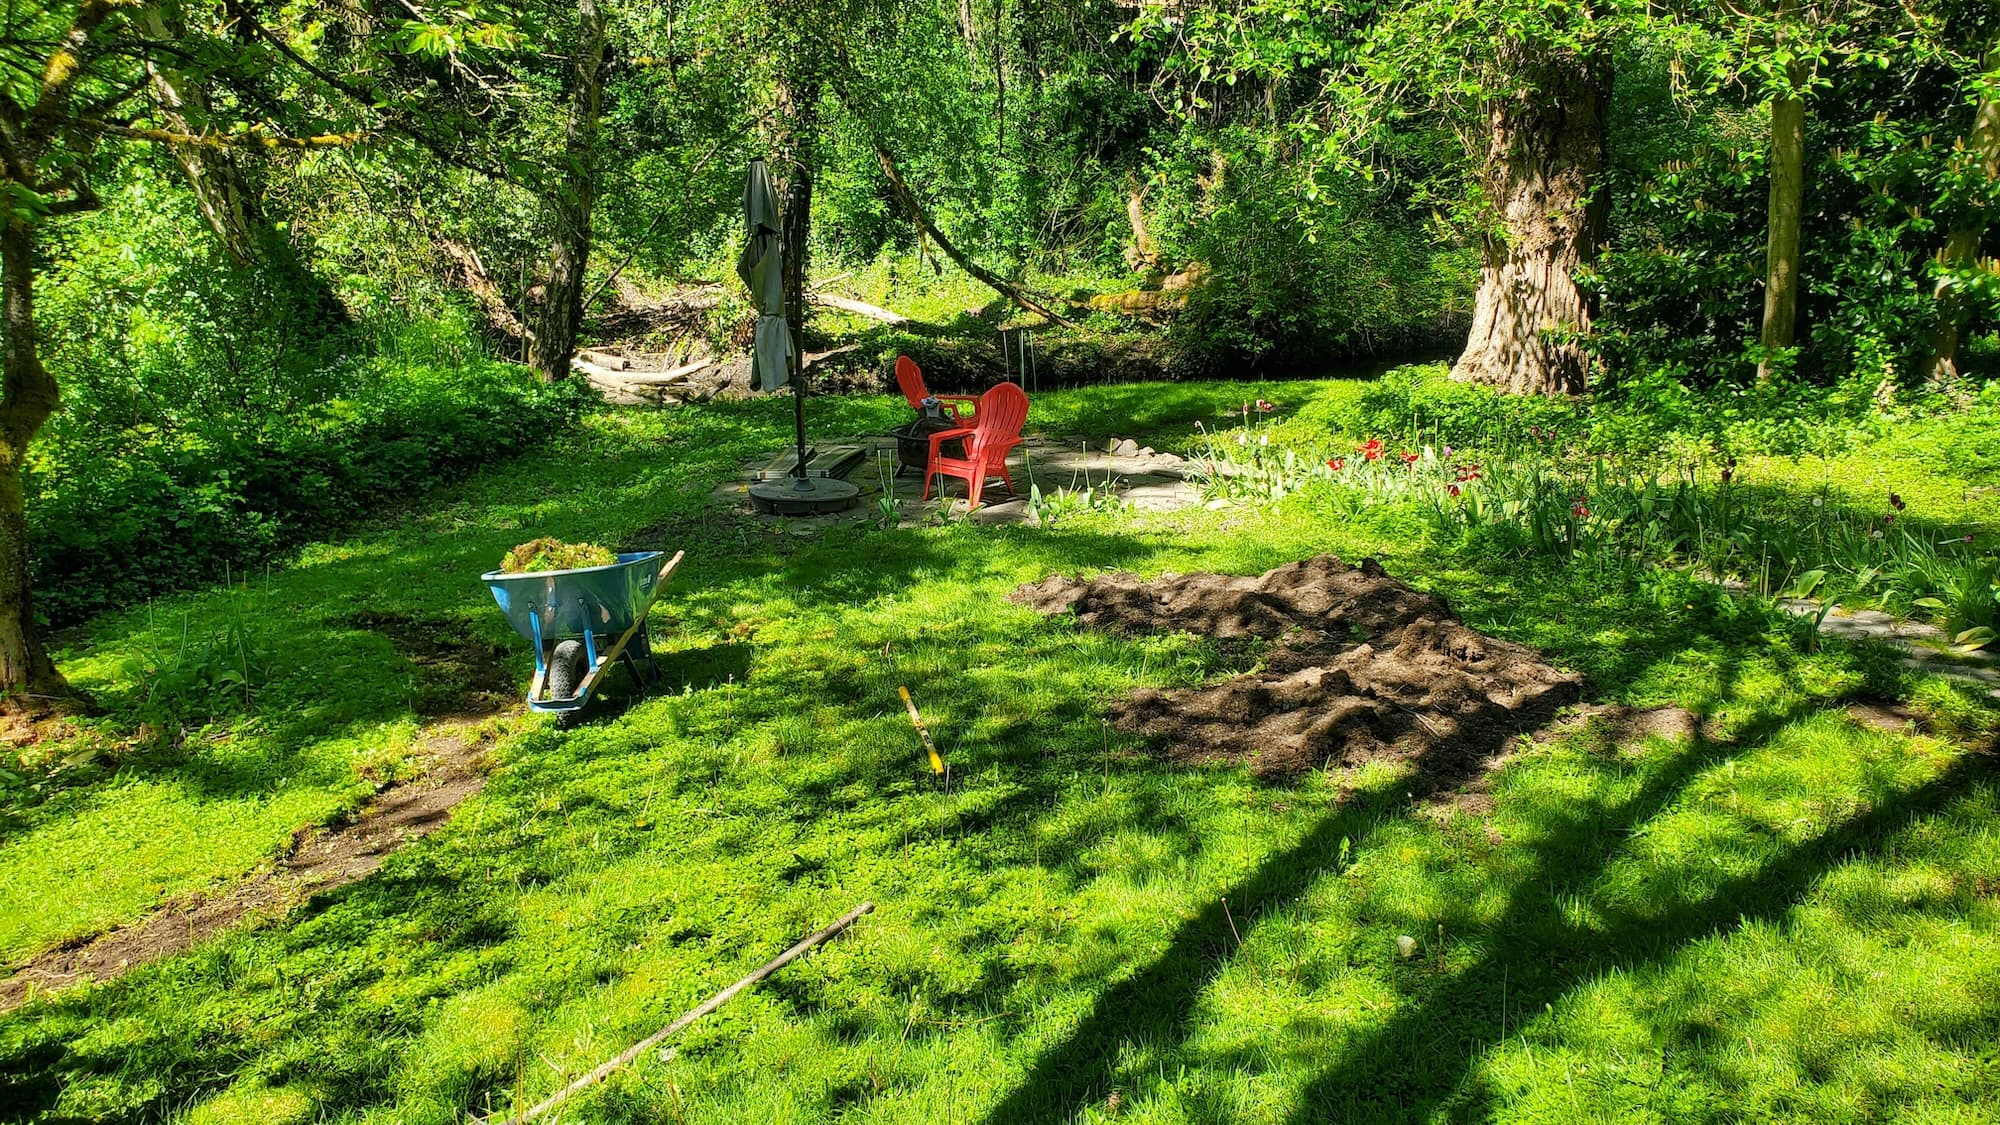
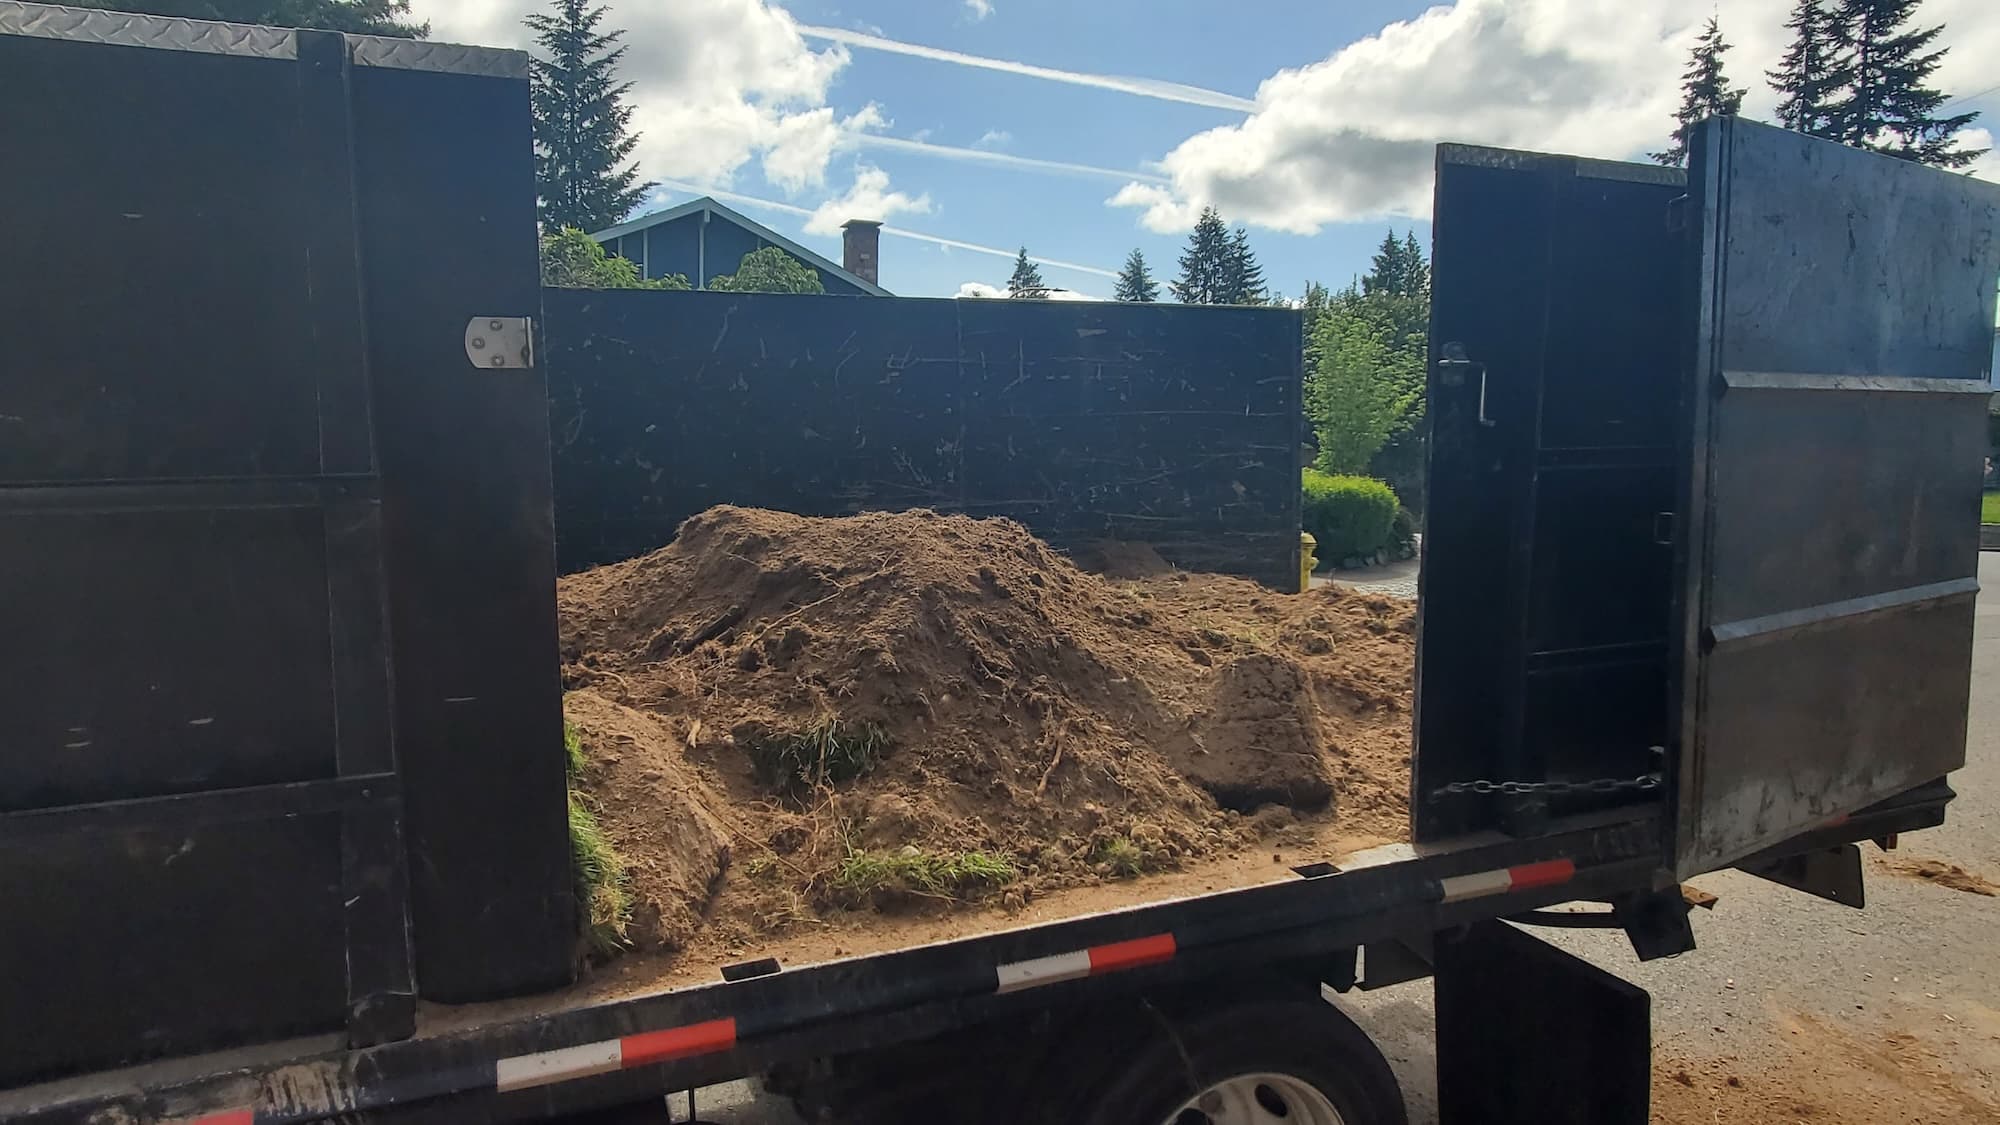
- Site Preparation: Clearing the area of existing weeds and debris.
- Edging: Creating a defined boundary for the mulch bed.
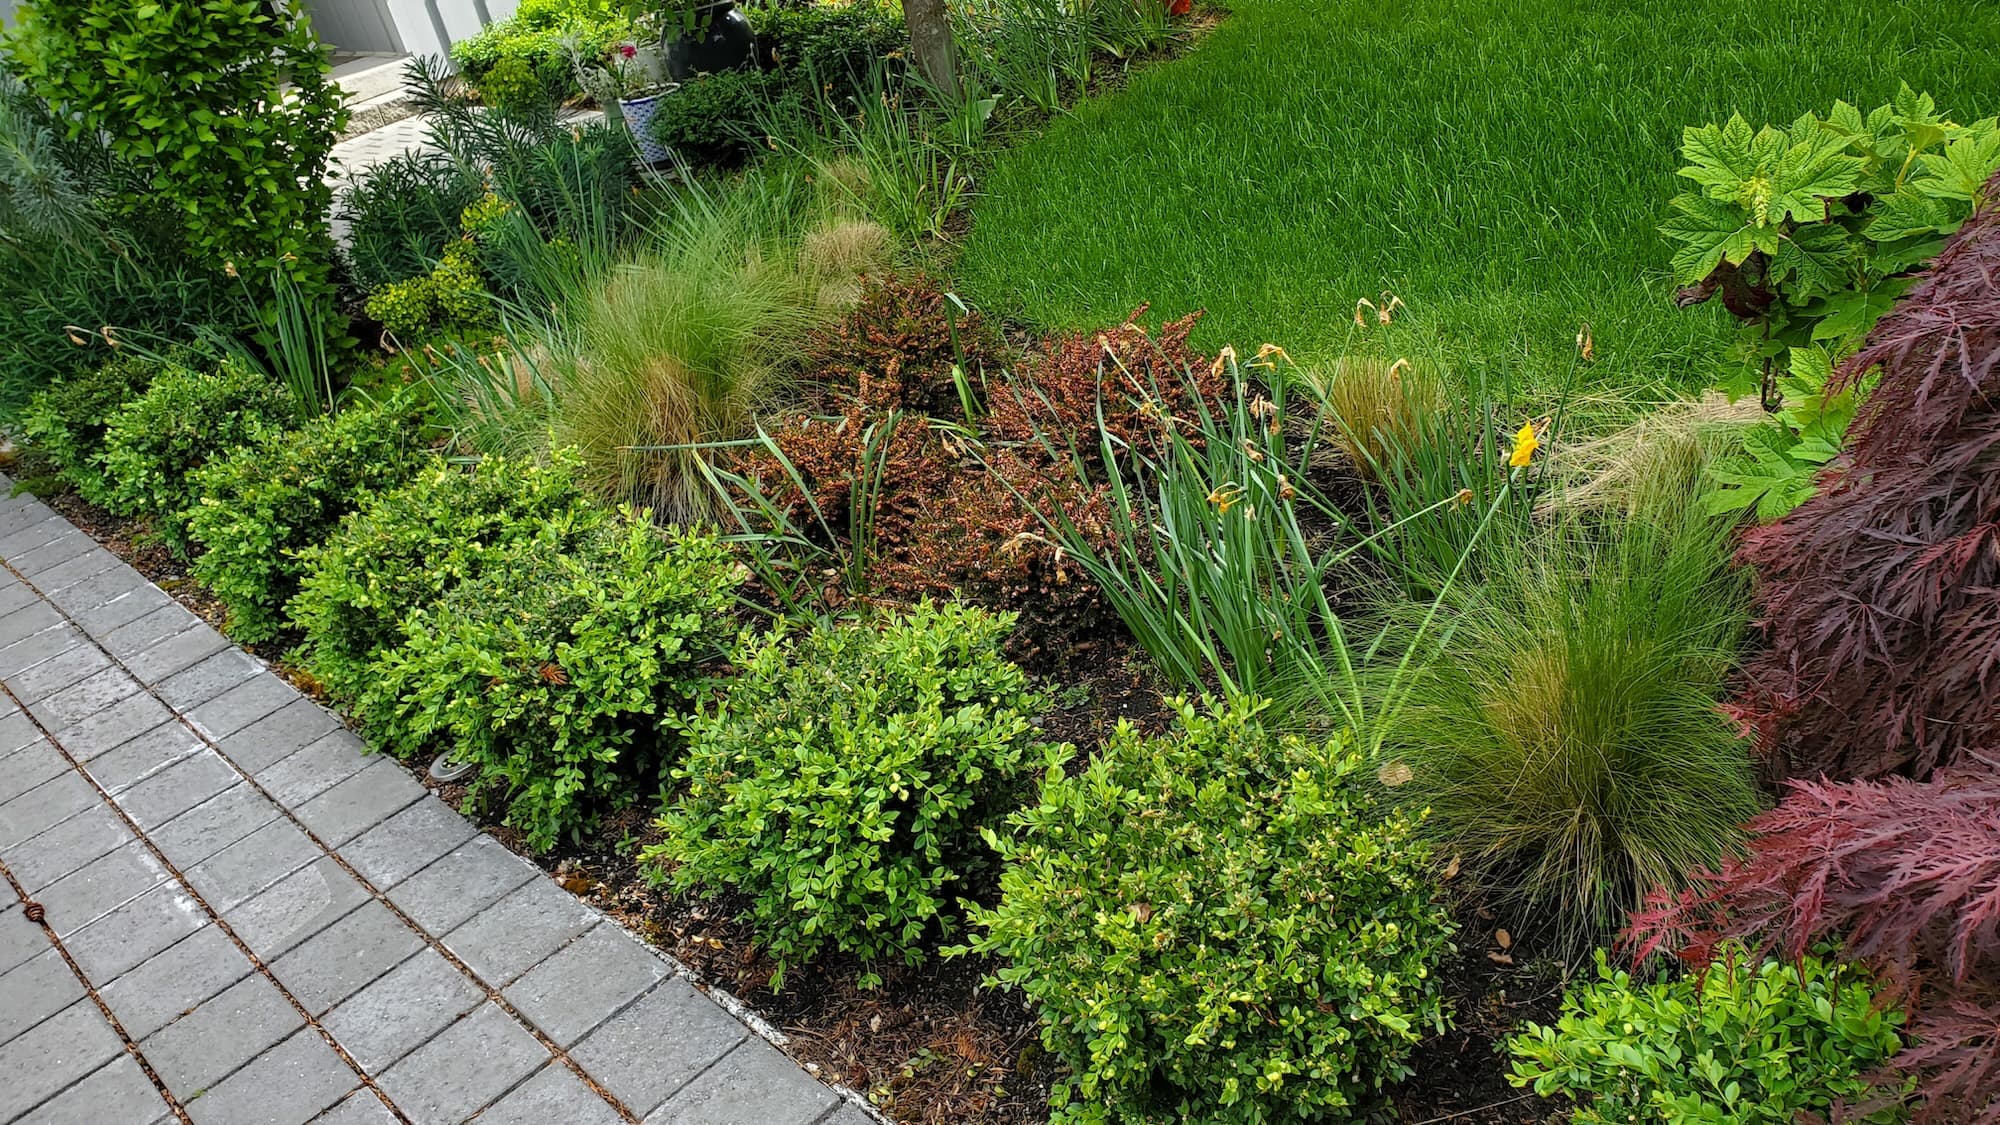
- Mulching: Applying a layer of mulch to suppress weeds and retain moisture.
Key Benefits
- Improved Appearance: Fresh mulch instantly boosts your yard’s curb appeal.
- Durability: A good mulch layer can last for months, reducing the need for frequent maintenance.
- Safety: Mulch can prevent soil erosion and reduce weed growth, making your garden safer for children and pets.
- Eco-Friendly Options: Many mulches are made from recycled materials, making them a sustainable choice.
Why Hire a Pro
While mulching can be a DIY task, hiring a professional offers several advantages:
- Local Expertise: Pros understand the best mulch types for your area.
- Licensed & Insured Crew: Protects you from liability and ensures quality work.
- Professional Tools: Access to specialized equipment makes the job quicker and more efficient.
Our Approach
Step-by-Step Breakdown of Tasks
- Assess the Area: Determine the size and shape of the area to be mulched.
- Weed Removal: Clear existing weeds and debris to provide a clean canvas.
- Edging: Use a spade or edging tool to define the borders of the mulch bed.
- Soil Preparation: Loosen the soil if necessary, and consider adding landscape fabric for an extra layer of weed protection.
- Mulch Application: Spread a 2- to 4-inch layer of mulch across the area evenly.
- Final Touches: Clean up the surrounding area and ensure the mulch is evenly distributed.
On-Site Expectations
When our crew arrives, you can expect:
- A friendly team ready to tackle the job.
- Efficient work practices to minimize disruption.
- A focus on safety, ensuring tools and materials are used correctly.
Service Pricing
Pricing for mulching services can vary based on several factors:
- Flat Rate vs. Custom Pricing: Smaller jobs may have a flat rate, while larger areas will have custom quotes.
- Variables Affecting Cost:
- Lot Size: Larger areas require more materials and time.
- Debris Volume: More weeds and debris to clear can increase labor costs.
- Access: Hard-to-reach areas may require extra effort.
- Add-Ons: Additional services like planting or gravel installation can affect the final price.
Cost Range: Expect to pay anywhere from $200 to $1,000 depending on the size and complexity of your project.
What’s Included
Core Services
- Trimming: Cleaning up overgrown plants for a tidy look.
- Edging: Defining borders to keep mulch contained.
- Weeding: Removing unwanted plants before applying mulch.
- Mulching: Applying the mulch layer.
- Pruning: Shaping plants for health and aesthetics.
Optional Extras
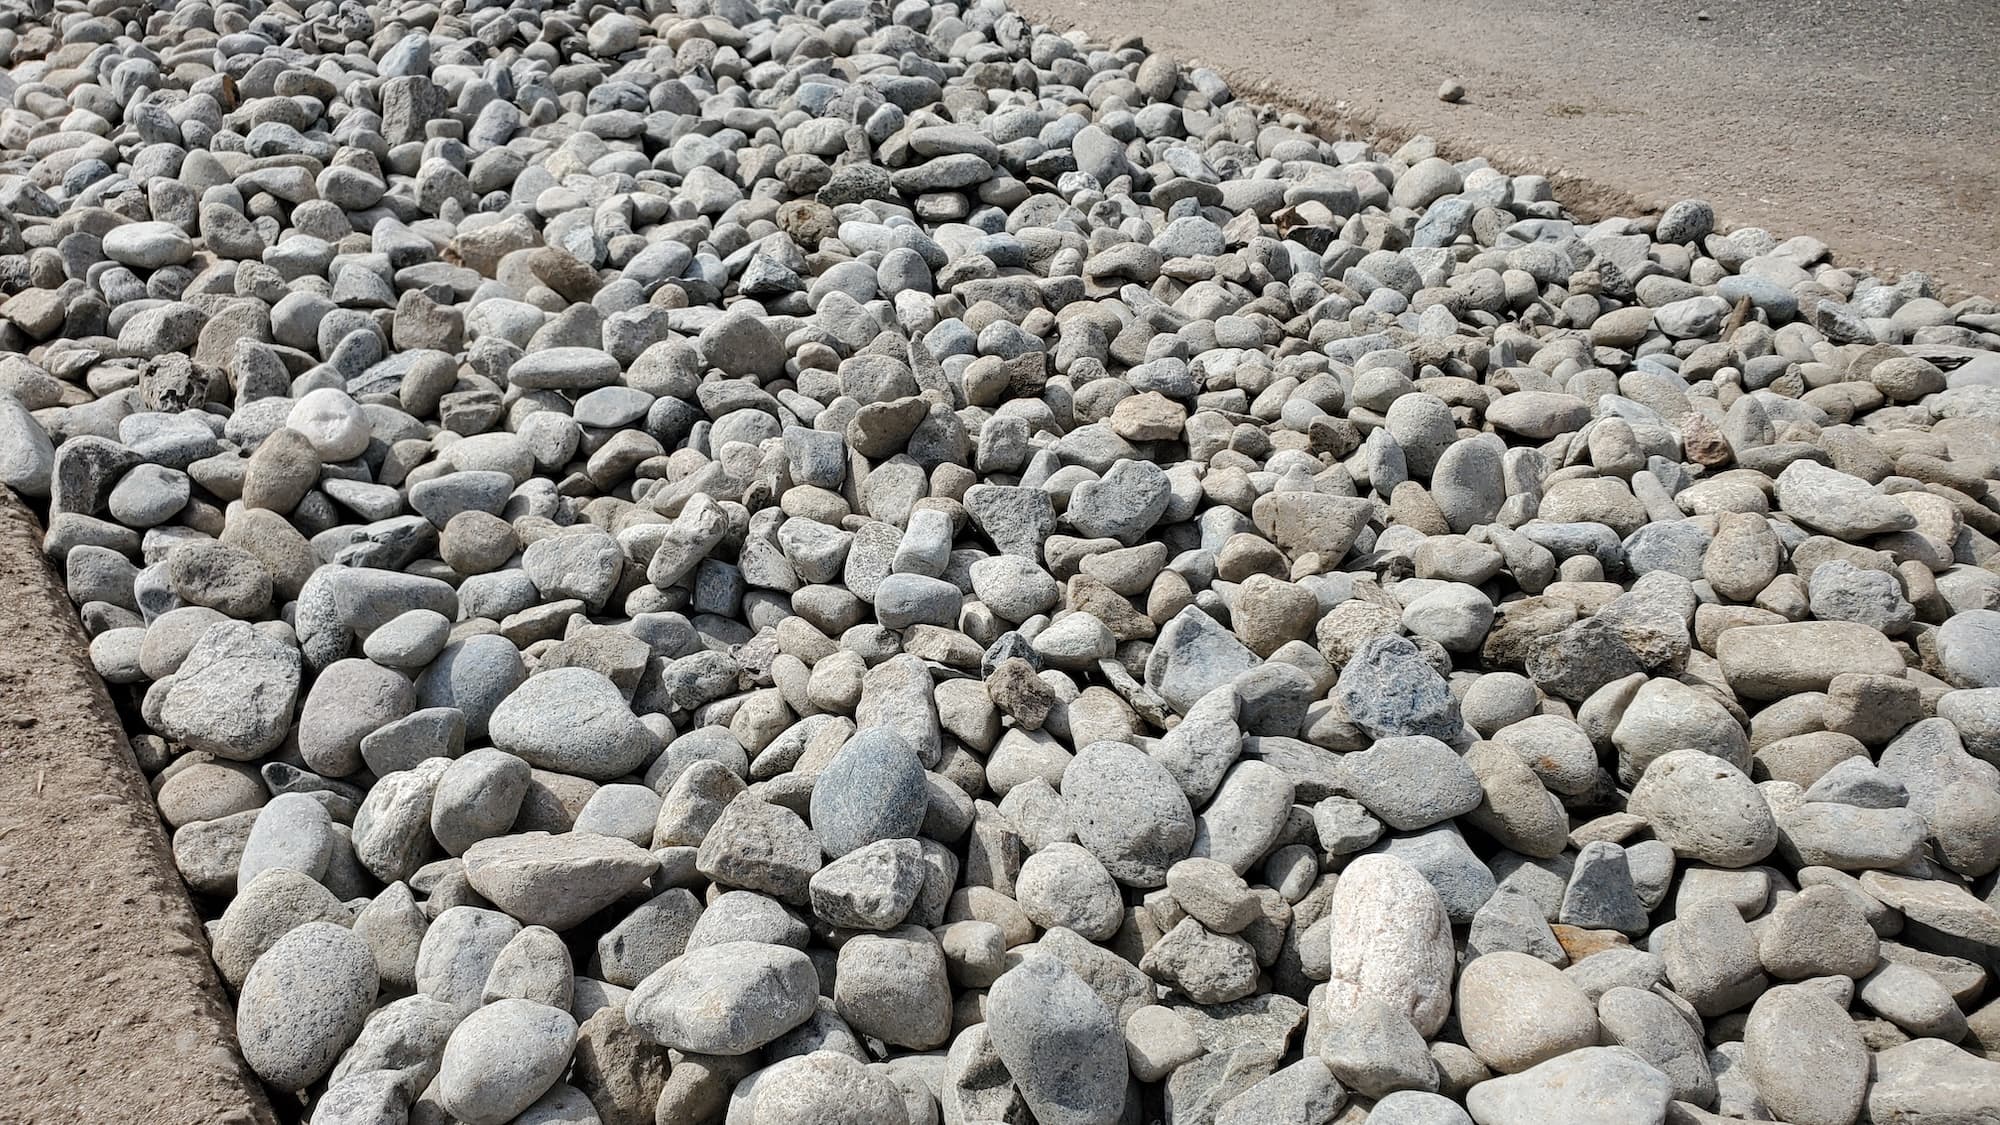
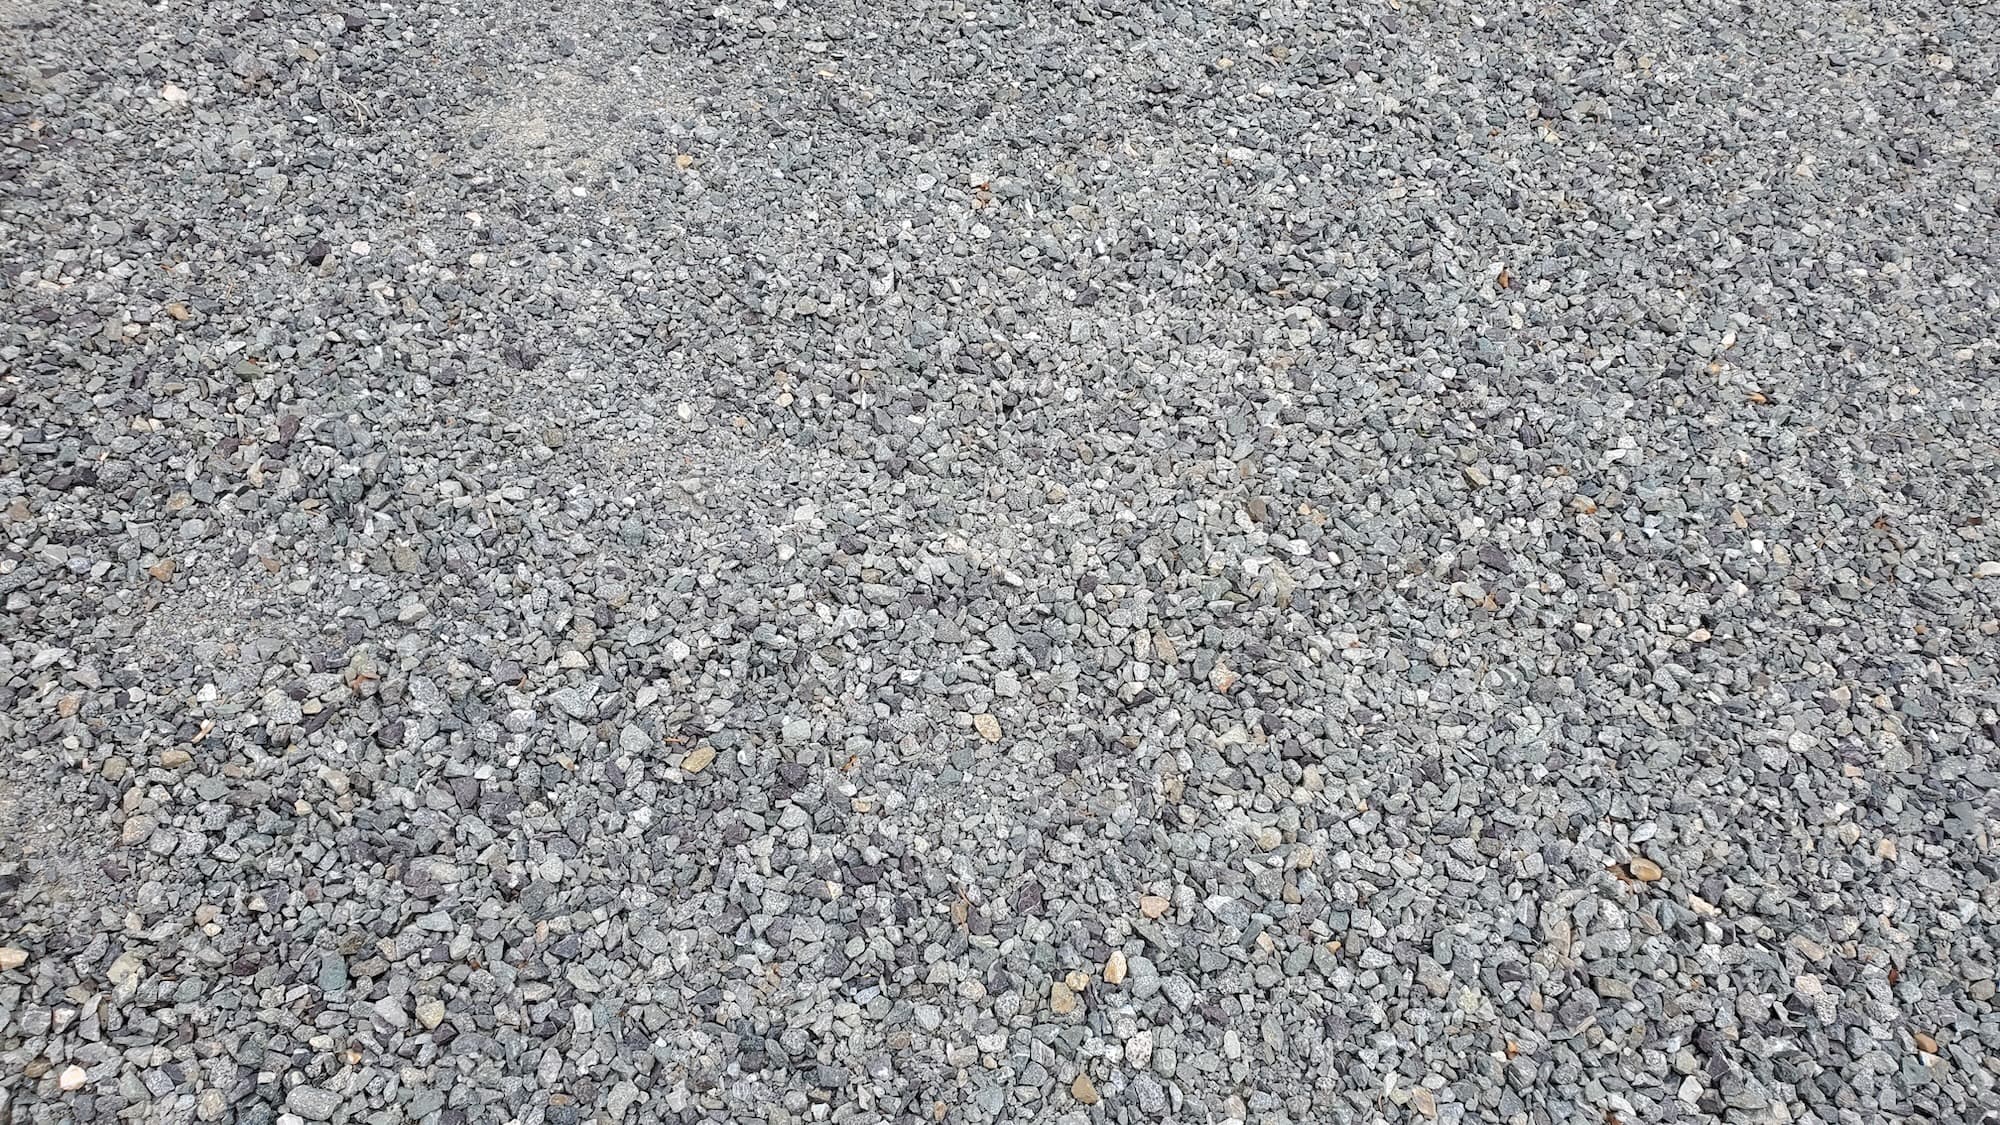
- Gravel: A decorative choice that can complement your mulch.
- Landscape Fabric: An additional barrier against weeds.
- Planting: Adding flowers or shrubs during the mulching process.
- Seasonal Upgrades: Refreshing mulch or adding seasonal plants.
FAQs
Common Customer Concerns
- Scheduling: We aim to complete projects within a week of your request, depending on crew availability.
- Turnaround Time: Most mulching jobs take 1-2 days, depending on the scope.
- Dump Fees: We handle all debris disposal, which may incur a small fee depending on volume.
Maintenance Tips
- Check Mulch Depth: Ensure your mulch stays at 2-4 inches for optimal effectiveness.
- Top Off as Needed: Over time, mulch breaks down; topping it off annually keeps it effective.
- Weed Check: Regularly inspect for any weeds that break through and remove them promptly.
Why Choose Lee’s General Landscaping
- Experienced Local Crew: We know the best practices for your specific area.
- Licensed, Bonded & Insured: Your peace of mind is our priority.
- Positive Reviews: Hundreds of satisfied customers on Yelp and Google.
Ready for a yard that stays neat?
Call or text Lee’s General Landscaping for a quick quote and a maintenance plan that fits your property.
⭐⭐⭐⭐⭐ 400+ Yelp Reviews • ⭐⭐⭐⭐⭐ 130+ Google Map Reviews
📧 Email: lees.g.landscaping@gmail.com
📞 Office: 206-259-7919
🕘 Hours: Mon–Sun: 9AM–6PM
🔒 Licensed • Bonded • Insured
DIY vs. Pro
DIY: A great option for those who enjoy hands-on work and have the necessary tools. However, be prepared for time and effort, and ensure you understand the proper techniques.
Pro: Ideal for busy homeowners or those who prefer a polished finish without the hassle. Professionals bring efficiency, expertise, and quality results that can save you time and stress.
Common Mistakes
- Not Clearing Weeds Properly: Weeds left behind can grow through the mulch, negating its effectiveness.
- Using Too Little Mulch: A thin layer won’t suppress weeds effectively—aim for at least 2 inches.
- Skipping Edging: Without proper edging, mulch can spread into unwanted areas, making maintenance harder.
By following these guidelines, you can effectively tackle weeds and enhance your landscape’s beauty with a well-applied mulch cover. Happy gardening!