Micro-drip irrigation for lawns
As a homeowner, you know the struggle of keeping your lawn lush and green without wasting water or spending countless hours on maintenance. Micro-drip irrigation is an efficient solution that delivers water directly to your plants’ roots, minimizing evaporation and runoff. This method not only enhances your lawn’s appearance but also reduces your water usage and maintenance efforts. In this article, we’ll cover everything you need to know about installing a micro-drip irrigation system for your lawn, from tools and materials to step-by-step instructions and cost estimates.
Description
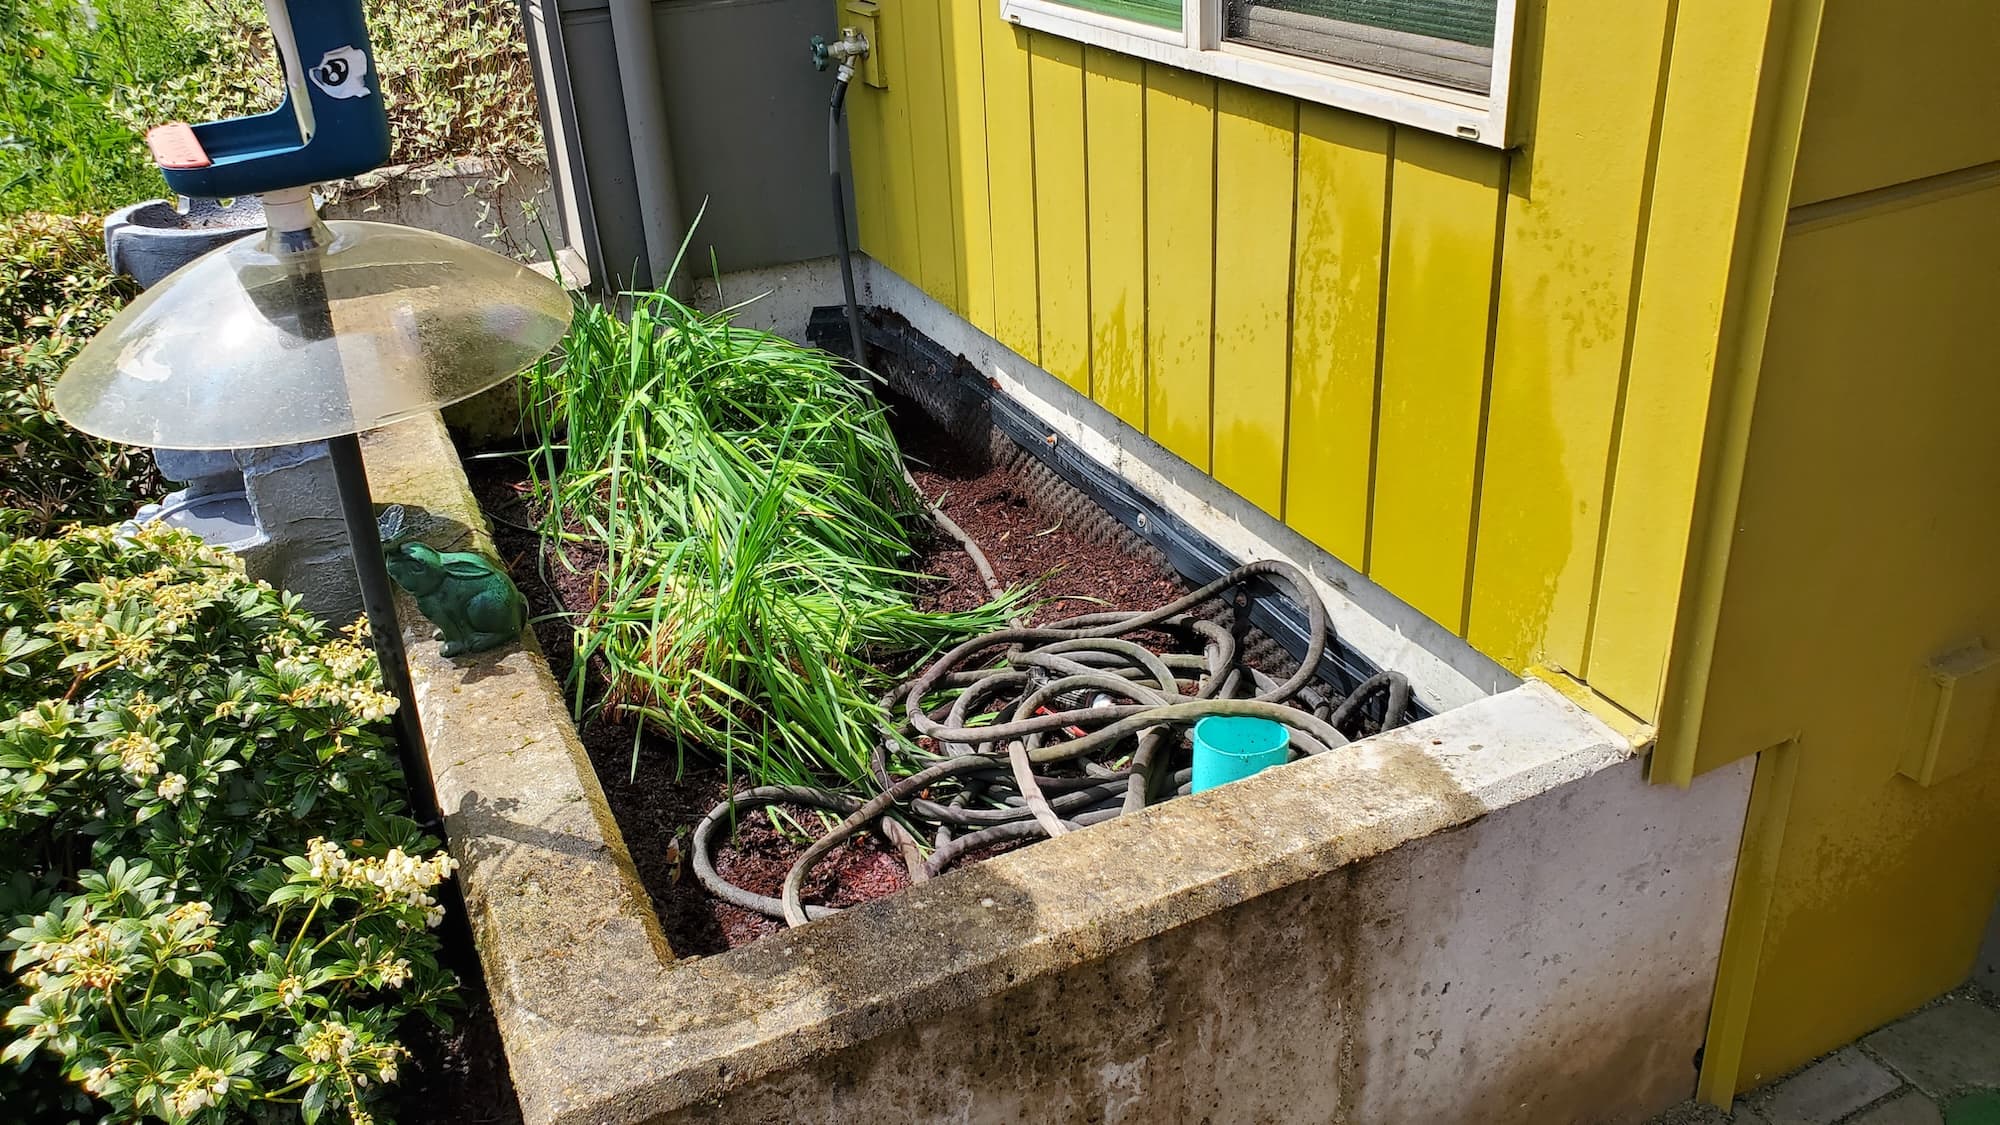
Micro-drip irrigation is a system that uses a network of tubes and emitters to deliver water directly to the base of plants. Here’s what the service typically includes:
- Designing the layout: Mapping out the areas to be watered.
- Installing tubing: Laying down the main and lateral lines.
- Placing emitters: Positioning drip emitters at the base of plants.
- Connecting to a water source: Attaching the system to your existing water line.
Key Benefits
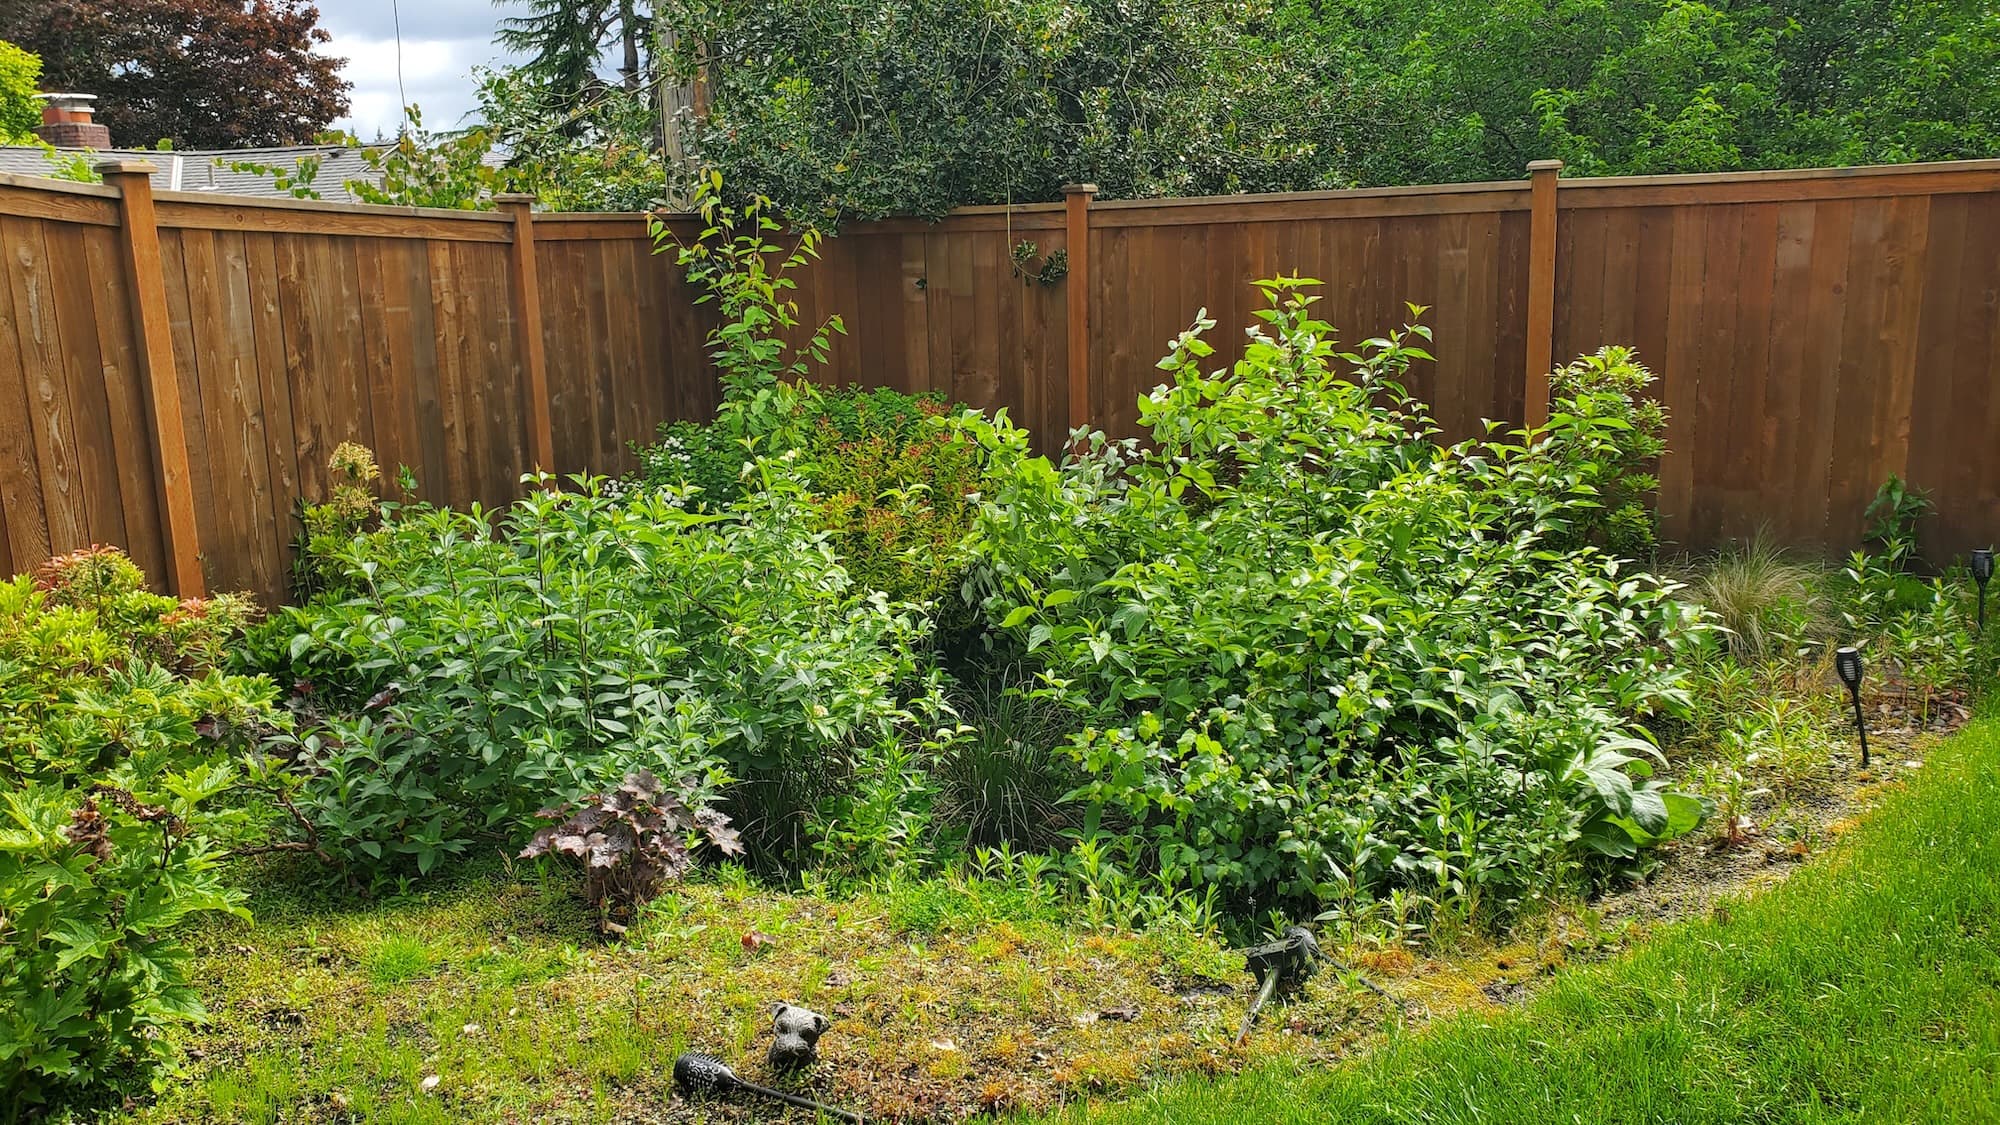
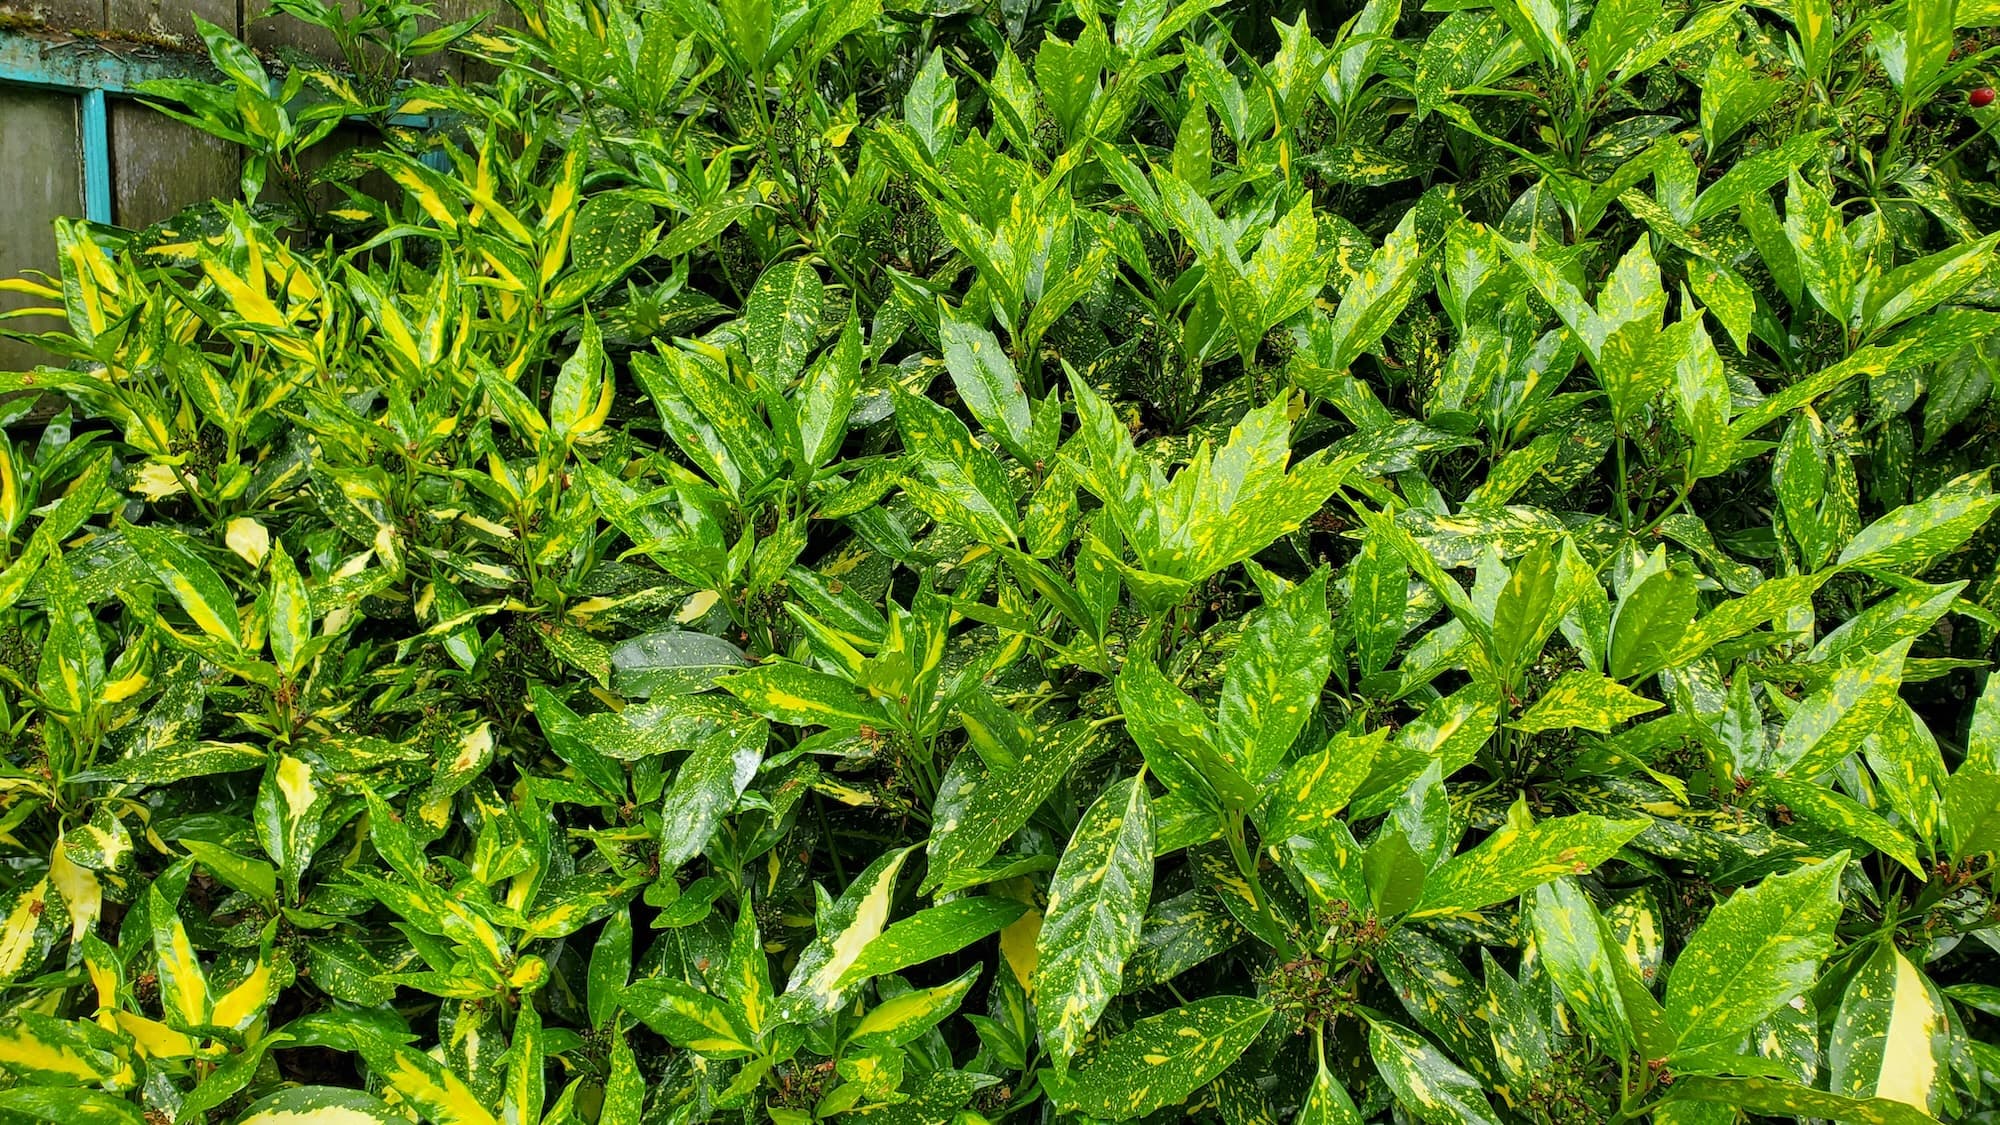
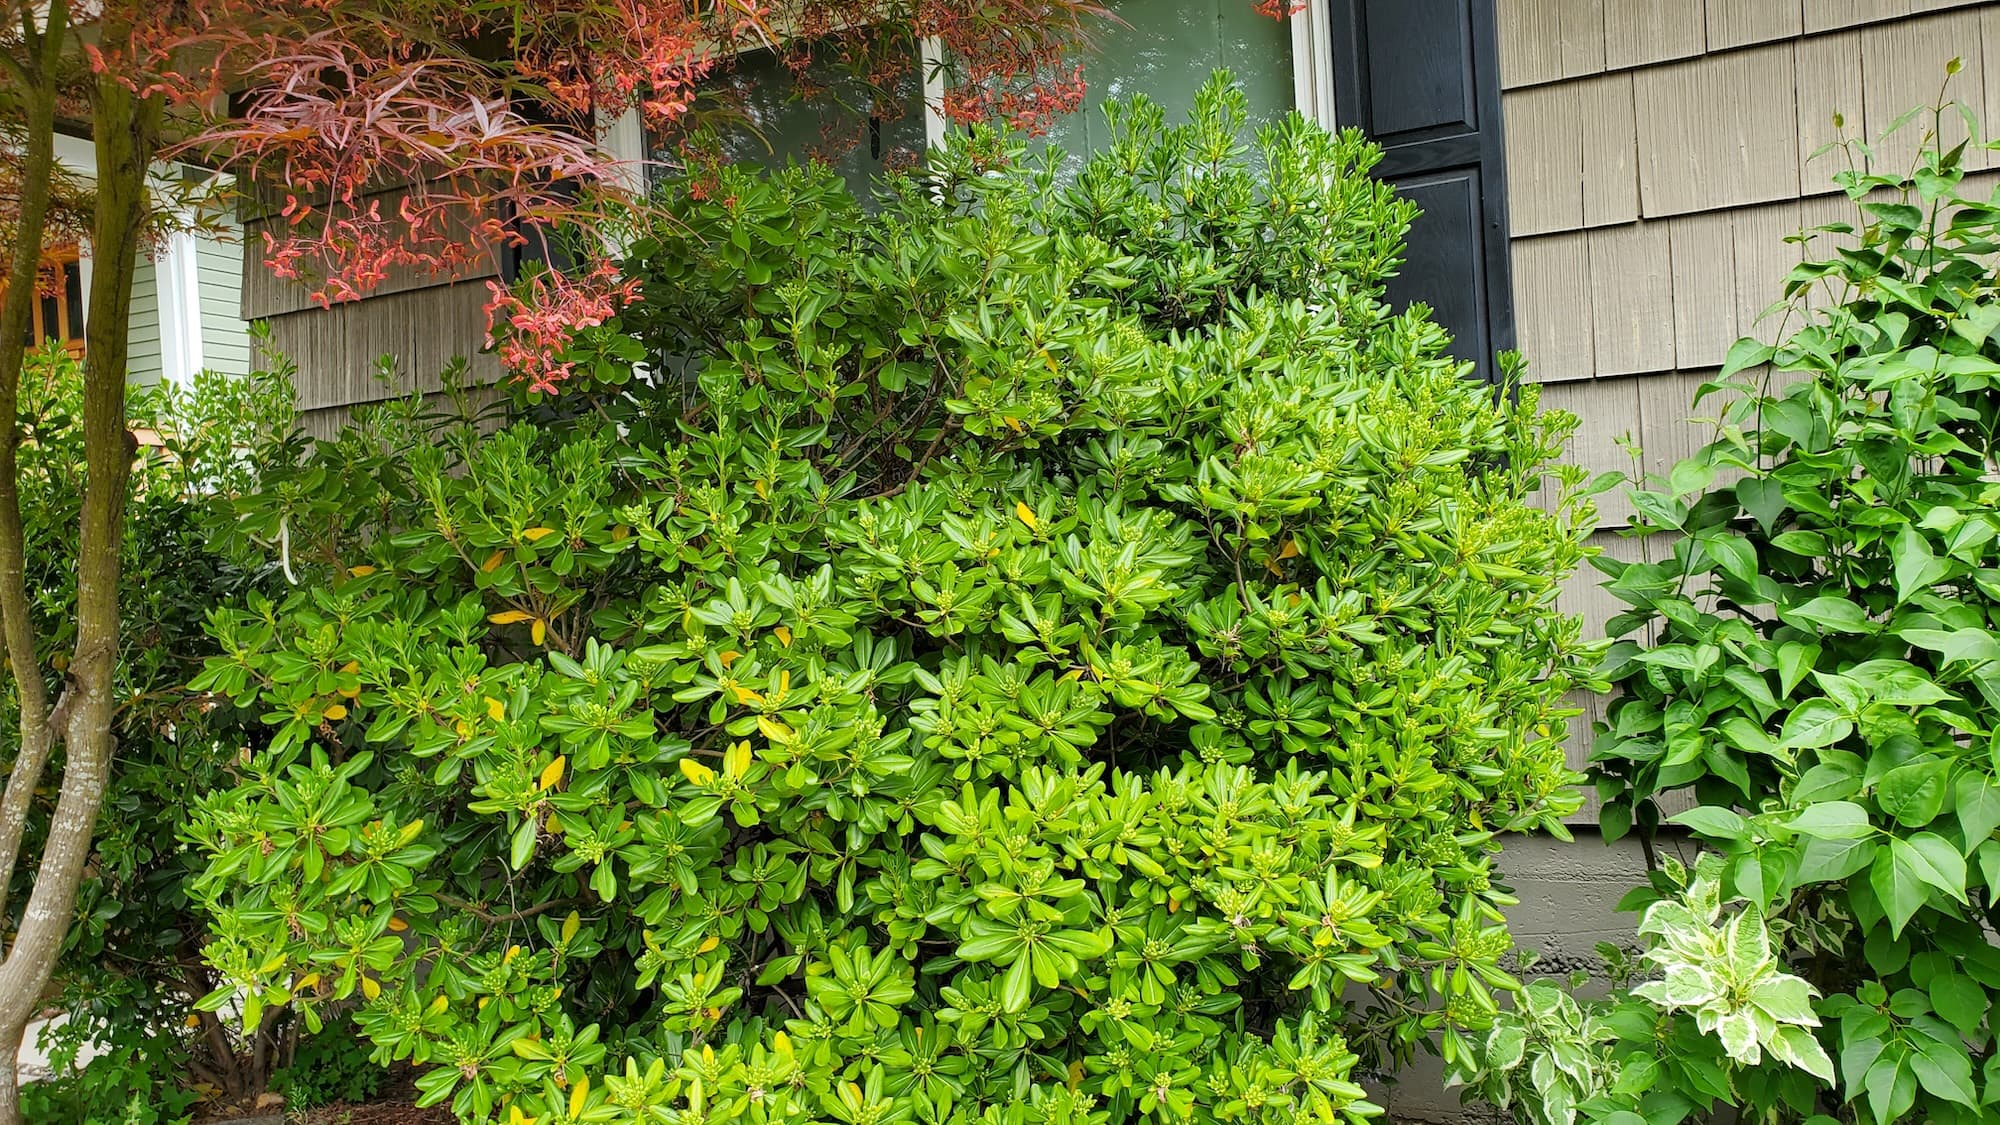
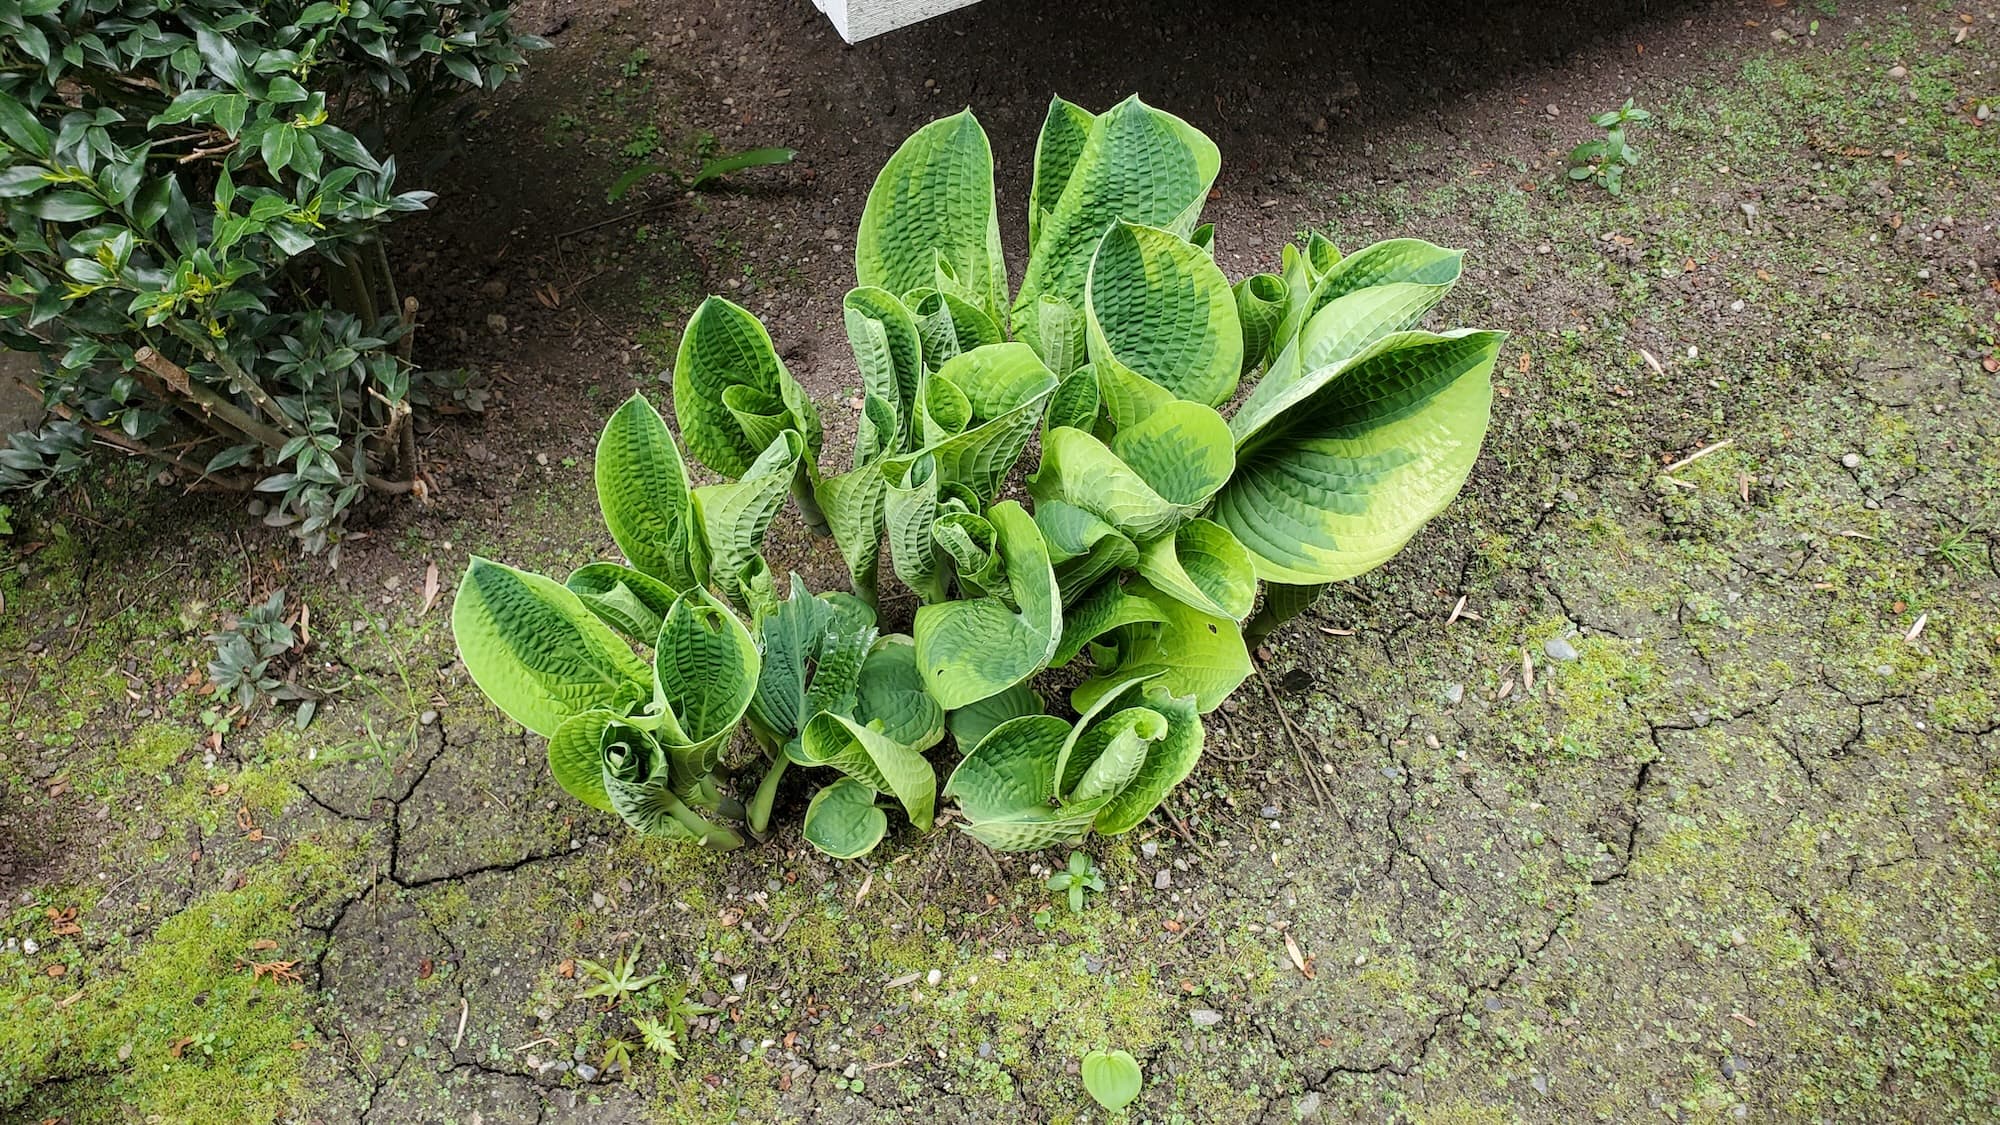
- Improved Appearance: A well-watered lawn looks healthier and more vibrant.
- Durability: Minimizes water stress on plants, promoting longevity.
- Safety: Reduces puddling and standing water, decreasing mosquito breeding.
- Eco-Friendly: Conserves water and reduces your utility bill.
Why Hire a Pro
While DIY installation is possible, hiring a professional offers several advantages:
- Local Expertise: Knowledge of the best practices for your specific climate.
- Licensed & Insured Crew: Protection against accidents and mishaps.
- Professional Tools: Access to specialized equipment for efficient installation.
Our Approach
Step-by-Step Breakdown
Planning:
- Measure the area to determine the length and number of tubes needed.
- Identify plant types and their watering needs.
Gather Tools & Materials:
- Tools:
- Utility knife
- Drill with drill bits
- Measuring tape
- Stakes or anchors (for securing tubing)
- Materials:
- Micro-drip tubing (mainline and lateral lines)
- Emitters (drippers)
- Connectors and stakes
- Filter and pressure regulator (to ensure clean, consistent water flow)
- Tools:
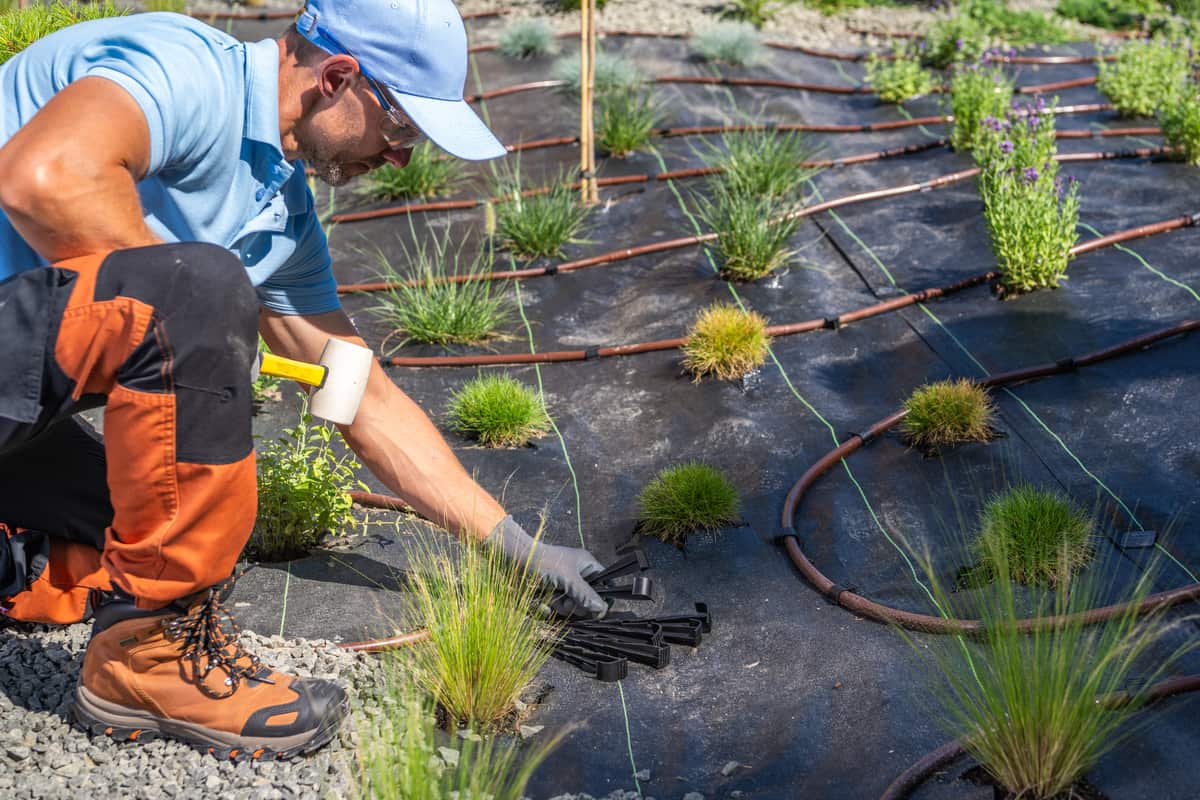
Installation:
- Lay out the mainline tubing along the planned path.
- Connect lateral lines to the mainline at appropriate intervals.
- Install emitters at the base of each plant.
- Secure tubing with stakes to prevent movement.
- Connect the system to your water source and test for leaks.
Testing:
- Run the system to ensure even water distribution.
- Adjust emitter placements as necessary.
Timeline
- Planning: 1-2 days
- Installation: 1 day for a small to medium yard; 2-3 days for larger areas or complex layouts.
- Testing and Adjustments: 1 day
Service Pricing
Pricing for micro-drip irrigation systems can vary widely based on several factors:
- Flat Rate vs. Custom: Some companies offer flat rates for standard installations, while others provide custom quotes based on specific needs.
- Variables:
- Lot size: Larger areas require more materials and labor.
- Debris volume: Clearing the area before installation can increase costs.
- Access: Difficult terrain might require additional equipment or labor.
- Estimated Costs:
- Basic systems range from $500 to $1,500.
- More complex installations could run between $1,500 and $3,500.
Additional Notes
- Be aware of potential tax, dump fees, or extra hauling charges if applicable.
What’s Included
When you opt for a professional micro-drip irrigation installation, expect the following core services:
- Design and layout planning
- Installation of mainline and lateral tubing
- Placement of emitters
- Connection to a water source
- System testing and adjustments
Optional Extras
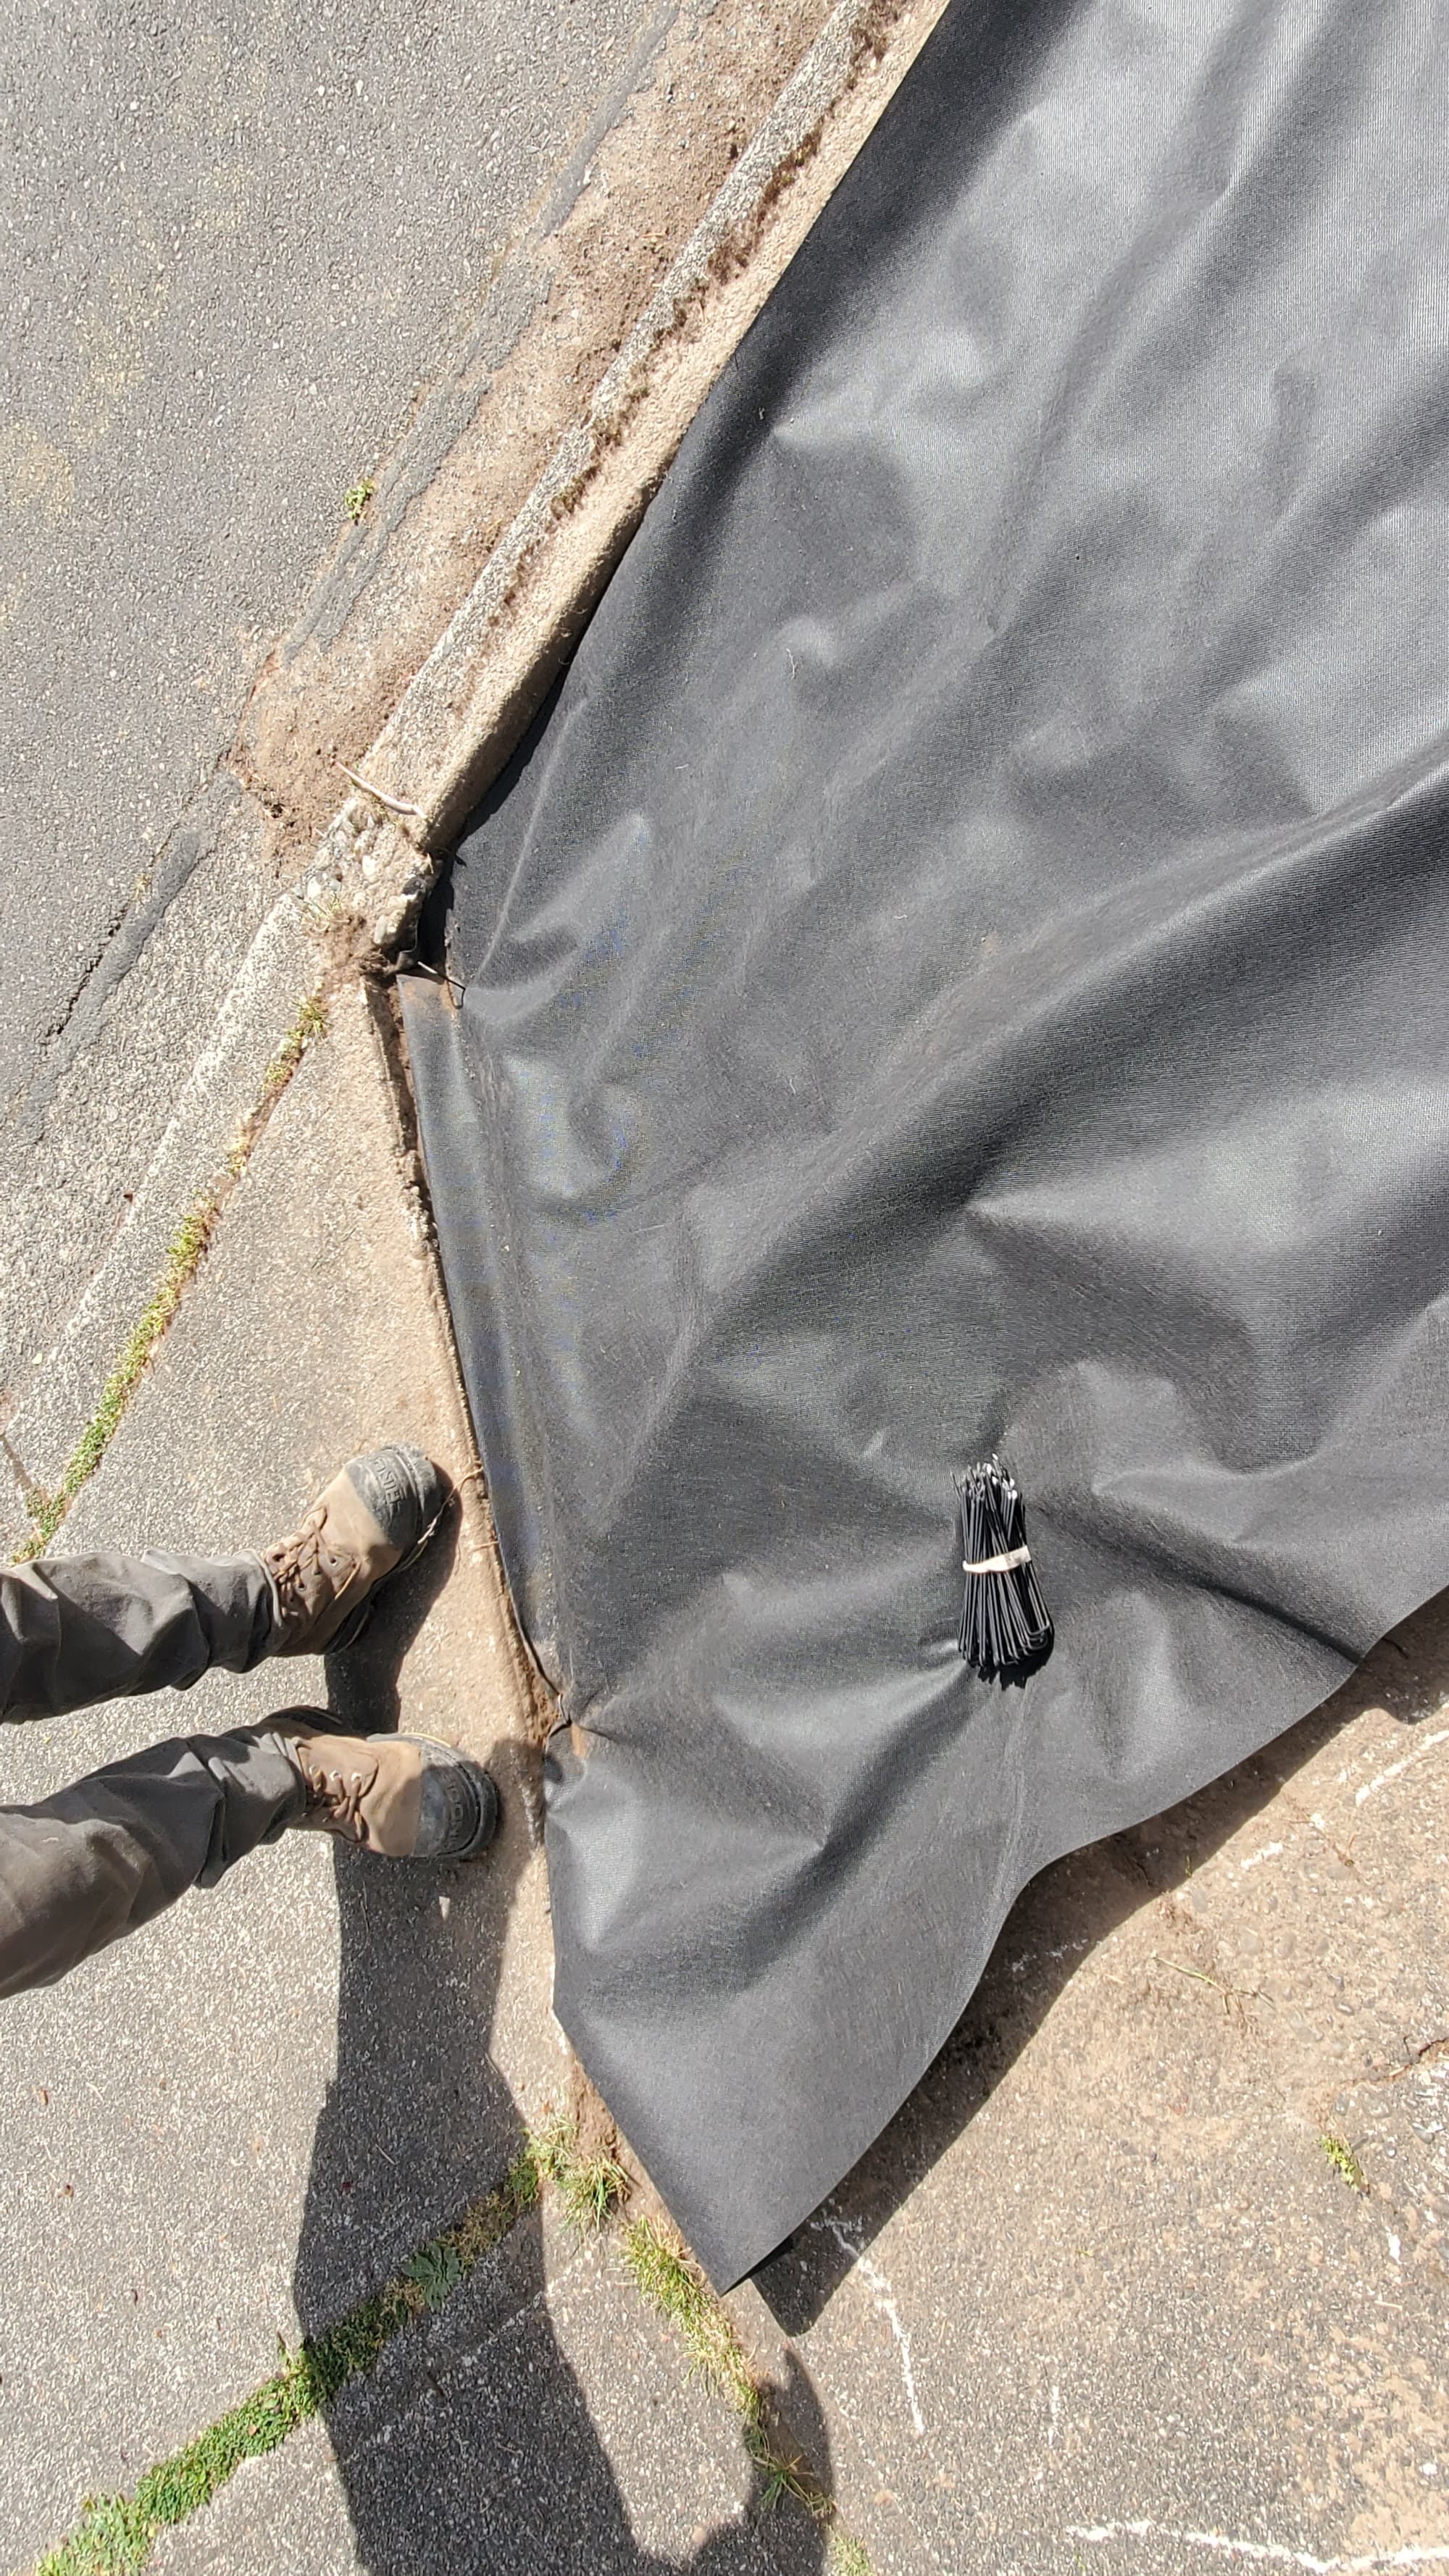
- Gravel or landscape fabric for drainage
- Seasonal upgrades like timers or rain sensors for added efficiency
- Routine maintenance plans
FAQs
Common Customer Concerns
- How long will installation take? Most installations can be completed in one to three days, depending on the size of your lawn.
- What about maintenance? A micro-drip system generally requires minimal maintenance—check for clogs and leaks periodically.
- Are there any hidden fees? Make sure to clarify all costs upfront, including potential extra charges for difficult access or debris removal.
Why Choose Lee’s General Landscaping
- Experienced Local Crew: Our team is knowledgeable about the best practices for your specific area.
- Licensed, Bonded & Insured: We prioritize your peace of mind.
- Hundreds of 5-Star Reviews: Our reputation speaks for itself on platforms like Yelp and Google.
Ready for a yard that stays neat?
Call or text Lee’s General Landscaping for a quick quote and a maintenance plan that fits your property.
⭐⭐⭐⭐⭐ 400+ Yelp Reviews • ⭐⭐⭐⭐⭐ 130+ Google Map Reviews
📧 Email: lees.g.landscaping@gmail.com
📞 Office: 206-259-7919
🕘 Hours: Mon–Sun: 9AM–6PM
🔒 Licensed • Bonded • Insured
DIY vs. Pro
- DIY: If you’re handy and have experience with irrigation systems, you can save money by installing it yourself. Just be prepared for a time investment and potential troubleshooting.
- Pro: Hiring a professional ensures a seamless installation and saves you time, plus you benefit from their expertise and equipment.
Common Mistakes
- Overwatering: Ensure emitters are spaced correctly to avoid water pooling.
- Ignoring Soil Type: Different soils absorb water at different rates; adjust emitter flow accordingly.
- Neglecting Maintenance: Regular checks for clogs and leaks will extend the life of your system.
With micro-drip irrigation, you can ensure your lawn stays healthy and vibrant while conserving water and reducing maintenance time. Whether you go the DIY route or hire a professional, you’ll be investing in a solution that pays off in beauty and efficiency.