Low-Voltage Lighting in Paver Pool Decks
Paver pool decks are a fantastic way to enhance your outdoor space, but they can often feel incomplete without proper lighting. The challenge homeowners face is finding a lighting solution that is both functional and aesthetically pleasing. Low-voltage lighting is the answer! It enhances curb appeal, improves safety, and requires less maintenance than traditional lighting options. In this article, we’ll cover the steps to install low-voltage lighting in your paver pool deck, the tools and materials you’ll need, timelines, costs, safety notes, and maintenance tips.
Description
What the Service Includes
- Tasks: Assessing the area, planning lighting layout, installing fixtures, and connecting to a transformer.
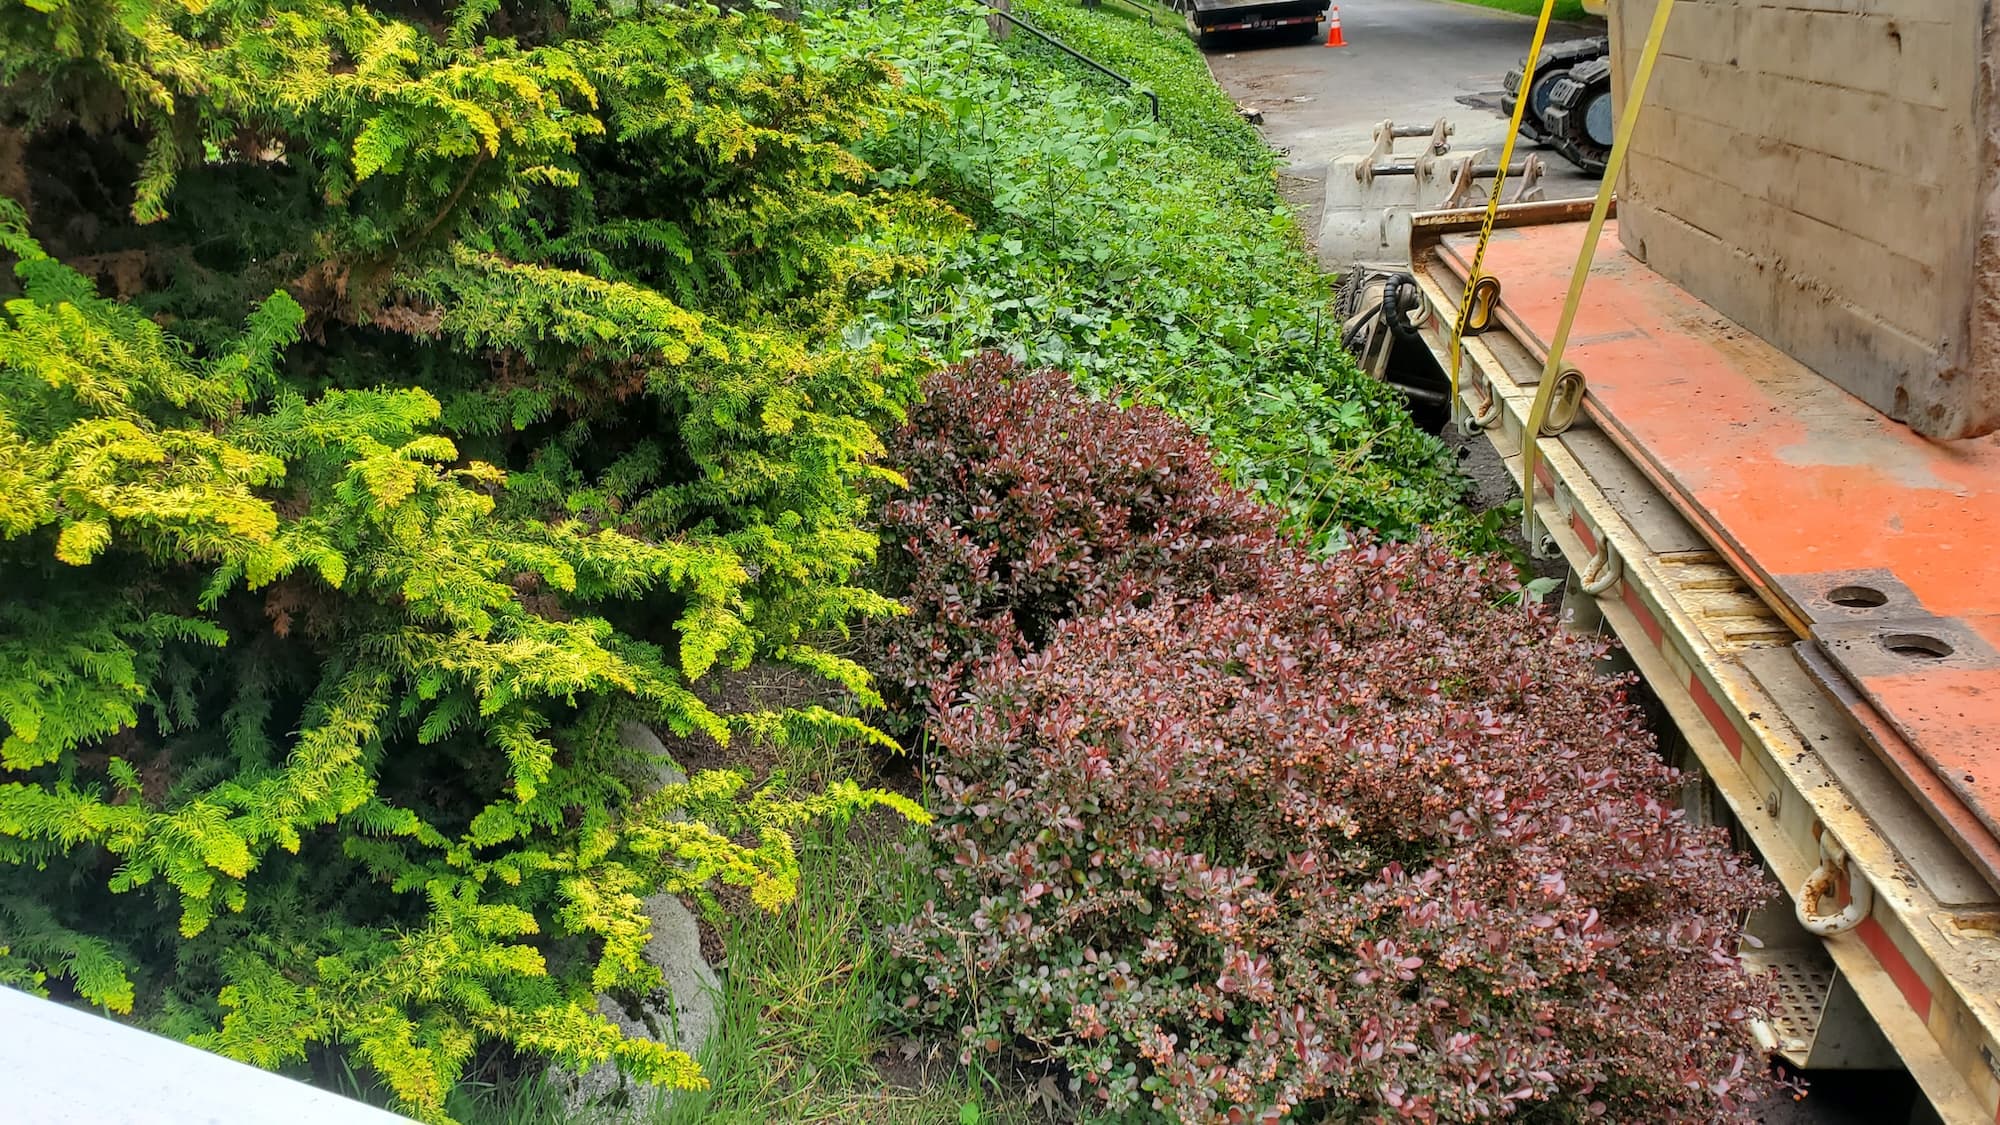
- Scope: Focus on the paver deck surrounding the pool, ensuring that all areas are well-lit for safety and ambiance.
- Process:
- Site assessment and design.
- Installation of low-voltage fixtures.
- Wiring and connection to the transformer.
Key Benefits
- Improved Appearance: Highlights the beauty of your pool and deck, creating a welcoming atmosphere.
- Durability: Low-voltage systems are designed to withstand outdoor conditions.
- Safety: Proper lighting reduces the risk of accidents around the pool area.
- Eco-Friendly Options: Many low-voltage lights use LED technology, consuming less energy and lasting longer than traditional bulbs.
Why Hire a Pro
- Local Expertise: Professionals understand the unique needs of your area.
- Licensed & Insured Crew: Protects you and your property during the installation process.
- Professional Tools: Ensures the installation is done right and efficiently.
Our Approach
Step-by-Step Breakdown of Tasks
- Site Assessment: Evaluate the pool deck to determine the best lighting locations.
- Design Layout: Create a lighting plan that balances functionality and aesthetics.
- Prepare the Area: Clear any debris and mark locations for fixtures.
- Install Fixtures: Securely place lights in the designated spots.
- Run Wiring: Lay low-voltage wire from the transformer to each fixture, ensuring it is buried safely.
- Connect to Transformer: Attach the wiring to the transformer and test the system.
- Final Adjustments: Adjust the angle of the lights for optimal illumination.
What Homeowners Can Expect
- A clean, organized worksite with minimal disruption.
- Transparent communication throughout the process.
- A beautifully lit pool deck ready for evening enjoyment.
Service Pricing
How Pricing Works
- Flat Rate vs. Custom: Most services are priced based on the number of fixtures and complexity of the installation.
Variables Affecting Cost
- Lot Size: Larger areas may require more fixtures and longer wiring.
- Debris Volume: More prep work can increase costs.
- Access: Difficult-to-reach areas might need special equipment.
- Add-Ons: Additional features like timers or smart controls can affect pricing.
Additional Costs
- Taxes, dump fees, and extra hauling charges may apply.
What’s Included
Core Services
- Installation of low-voltage lighting fixtures.
- Running necessary wiring and connections.
- Initial testing of the system.
Optional Extras
- Timers for automated lighting.
- Smart controls for remote operation.
- Seasonal upgrades like decorative lighting for events.
FAQs
Common Customer Concerns
- Scheduling: Installation typically takes 1-2 days, depending on the size of the project.
- Turnaround Time: Most projects can be scheduled within a week.
- Dump Fees: Minimal, as most installations do not generate significant debris.
Maintenance Tips
- Regularly check fixtures for dirt or debris.
- Replace bulbs as needed (LEDs can last several years).
- Inspect wiring for any signs of wear or damage.
Why Choose Lee’s General Landscaping
- Experienced Local Crew: Our team is trained to work efficiently and cleanly.
- Licensed, Bonded & Insured: You can trust us to handle your project safely.
- Hundreds of 5-Star Reviews: Our satisfied customers speak for our quality.
Ready for a yard that stays neat?
Call or text Lee’s General Landscaping for a quick quote and a maintenance plan that fits your property.
⭐⭐⭐⭐⭐ 400+ Yelp Reviews • ⭐⭐⭐⭐⭐ 130+ Google Map Reviews
📧 Email: lees.g.landscaping@gmail.com
📞 Office: 206-259-7919
🕘 Hours: Mon–Sun: 9AM–6PM
🔒 Licensed • Bonded • Insured
DIY vs. Pro
DIY Considerations
- Tools Needed: Wire strippers, shovel, drill, and measuring tape.
- Skill Level: Requires some electrical knowledge for safe installation.
- Time Commitment: Expect to spend a weekend or more, depending on the complexity.
When to Hire a Pro
- If you’re unsure about electrical work.
- For larger projects that require more fixtures.
- To save time and ensure a professional finish.
Common Mistakes
- Poor Planning: Not mapping out the lighting layout can lead to dark spots.
- Ignoring Safety: Failing to bury wiring properly can create tripping hazards.
- Overloading the Transformer: Ensure your transformer can handle the total wattage.
By following these guidelines, you can enjoy a beautifully lit paver pool deck that enhances safety and creates a stunning outdoor environment. Whether you choose to tackle the project yourself or hire a professional, the right lighting can make all the difference!