Herringbone Pattern Paver Walkways
Creating a stunning herringbone pattern paver walkway can elevate your home’s curb appeal, increase safety, and reduce maintenance needs. However, many homeowners find the process daunting—choosing the right materials, ensuring proper installation, and maintaining aesthetic appeal can be overwhelming. This article will guide you through the steps to design and install a beautiful herringbone walkway, while also outlining the benefits and considerations of hiring a professional versus tackling it as a DIY project.
Description
What the Service Includes
When you hire a professional landscaping crew for a herringbone paver walkway, you can expect the following tasks:
- Site Assessment: Evaluating your yard’s topography and existing conditions.
- Design Planning: Creating a layout that fits your space and style.
- Material Selection: Choosing pavers that match your aesthetic and budget.
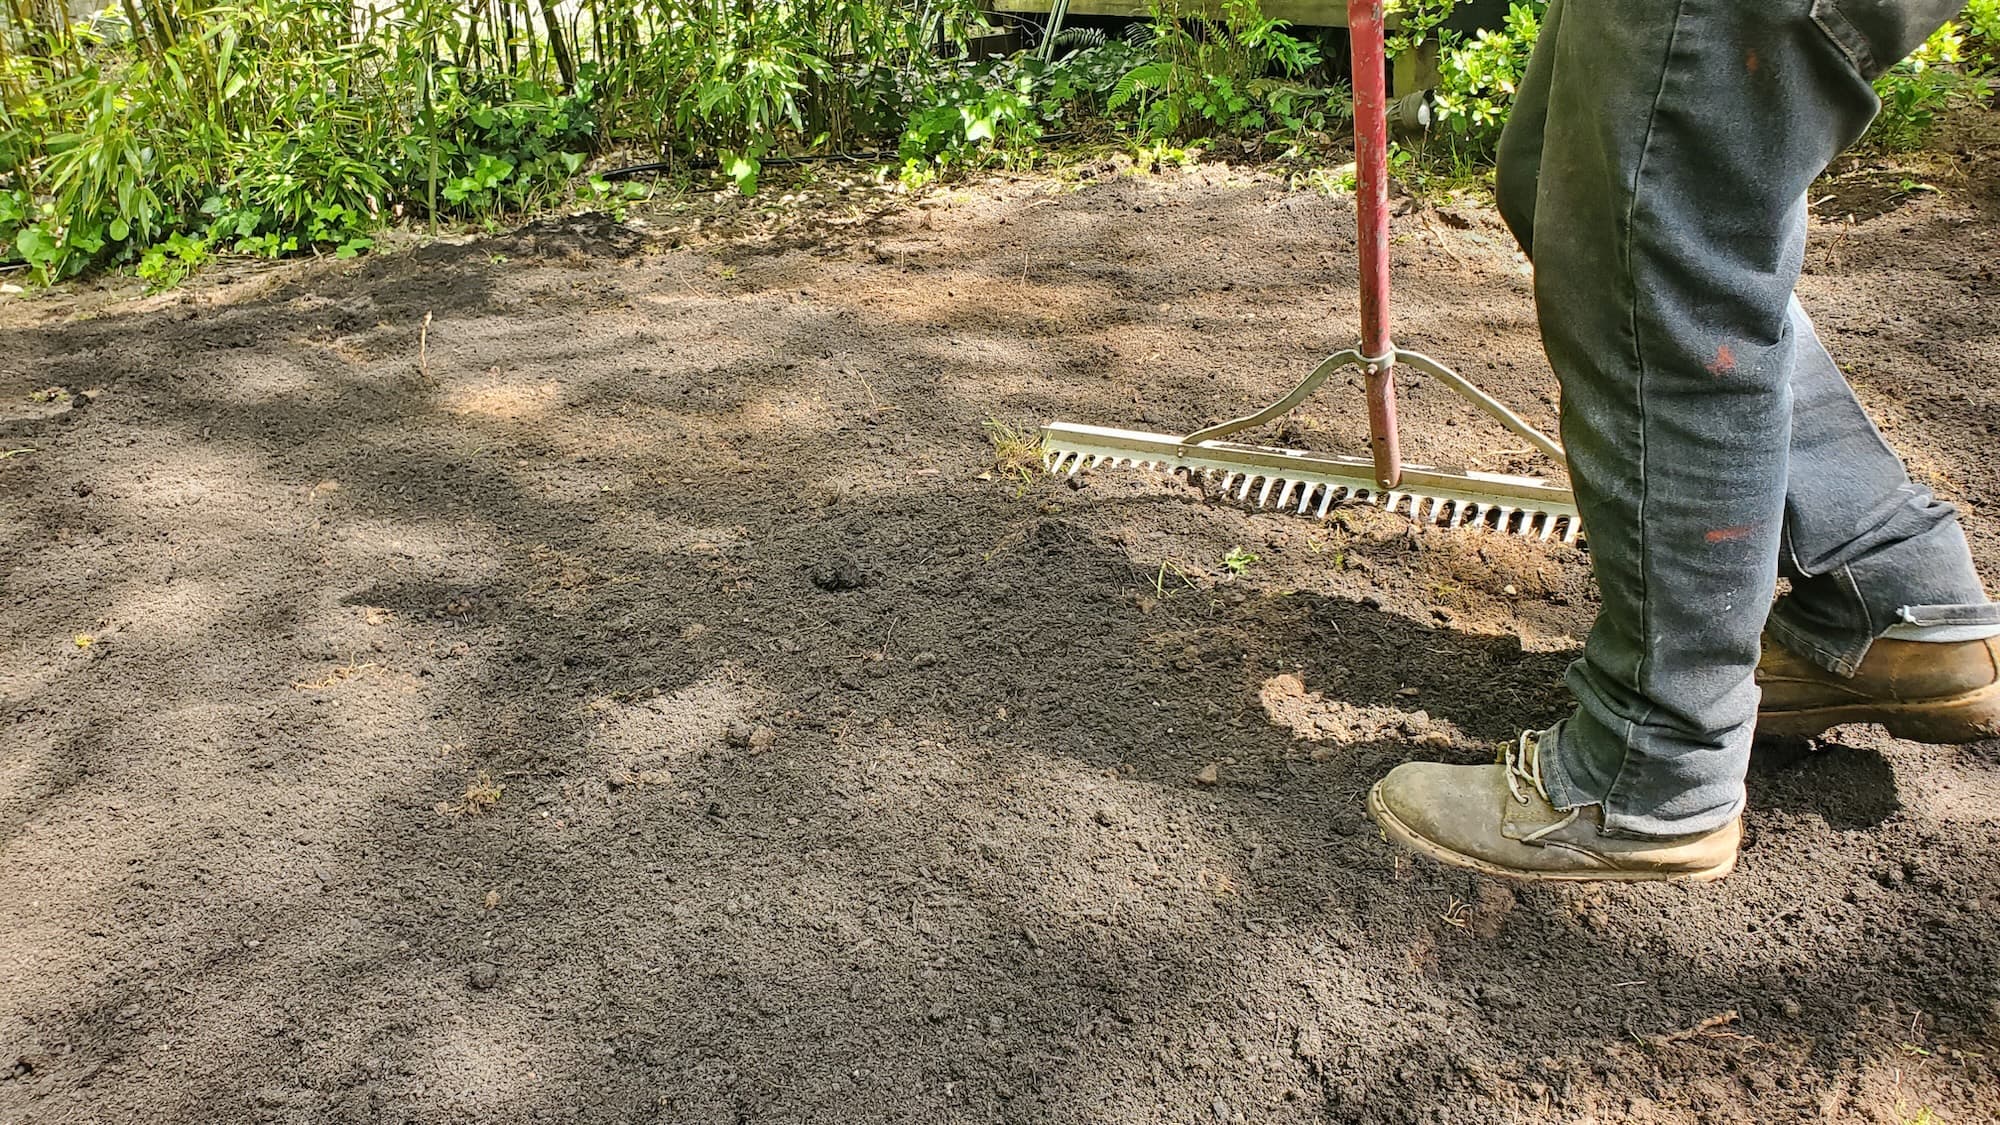
- Preparation: Clearing and leveling the area, ensuring proper drainage.
- Installation: Laying pavers in a herringbone pattern with precision.
- Finishing Touches: Filling joints with sand and compacting for stability.
Key Benefits
- Improved Appearance: A herringbone pattern adds visual interest and sophistication.
- Durability: Pavers are built to withstand heavy traffic and weather conditions.
- Safety: Provides a stable, slip-resistant surface for walking.
- Eco-Friendly Options: Many pavers are made from recycled materials and permeable options are available for better drainage.
Why Hire a Pro
Opting for a professional service ensures you have local expertise, a licensed and insured crew, and access to specialized tools that may not be available for DIY projects. Professionals also know how to prevent common mistakes, saving you time and money in the long run.
Our Approach
Step-by-Step Breakdown
- Site Assessment: Our crew evaluates your yard, discussing design preferences and assessing drainage.
- Material Selection: Choose pavers that suit your style—consider colors, sizes, and textures.
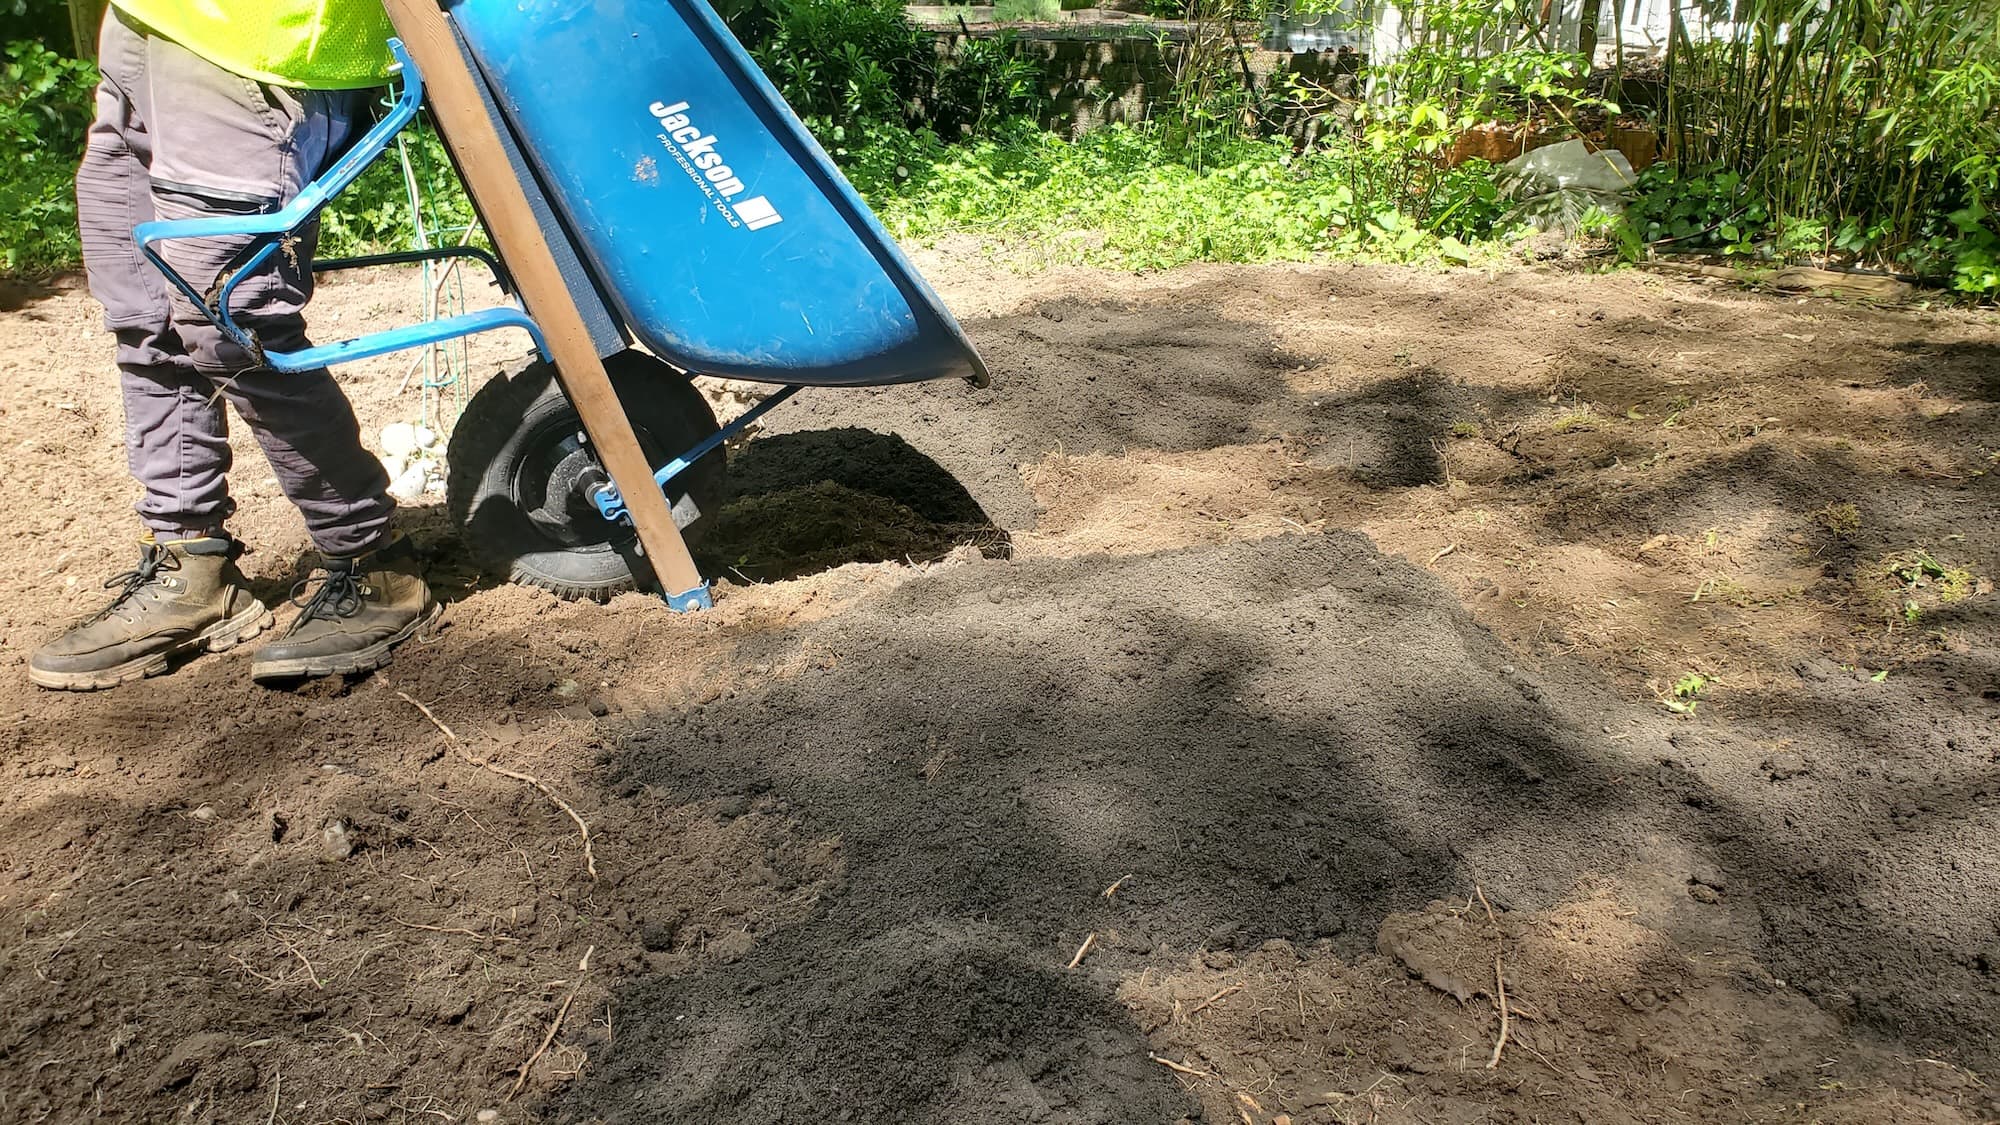
- Preparation: We clear the area of debris, weeds, and any existing structures. Then, we excavate to create a level base.
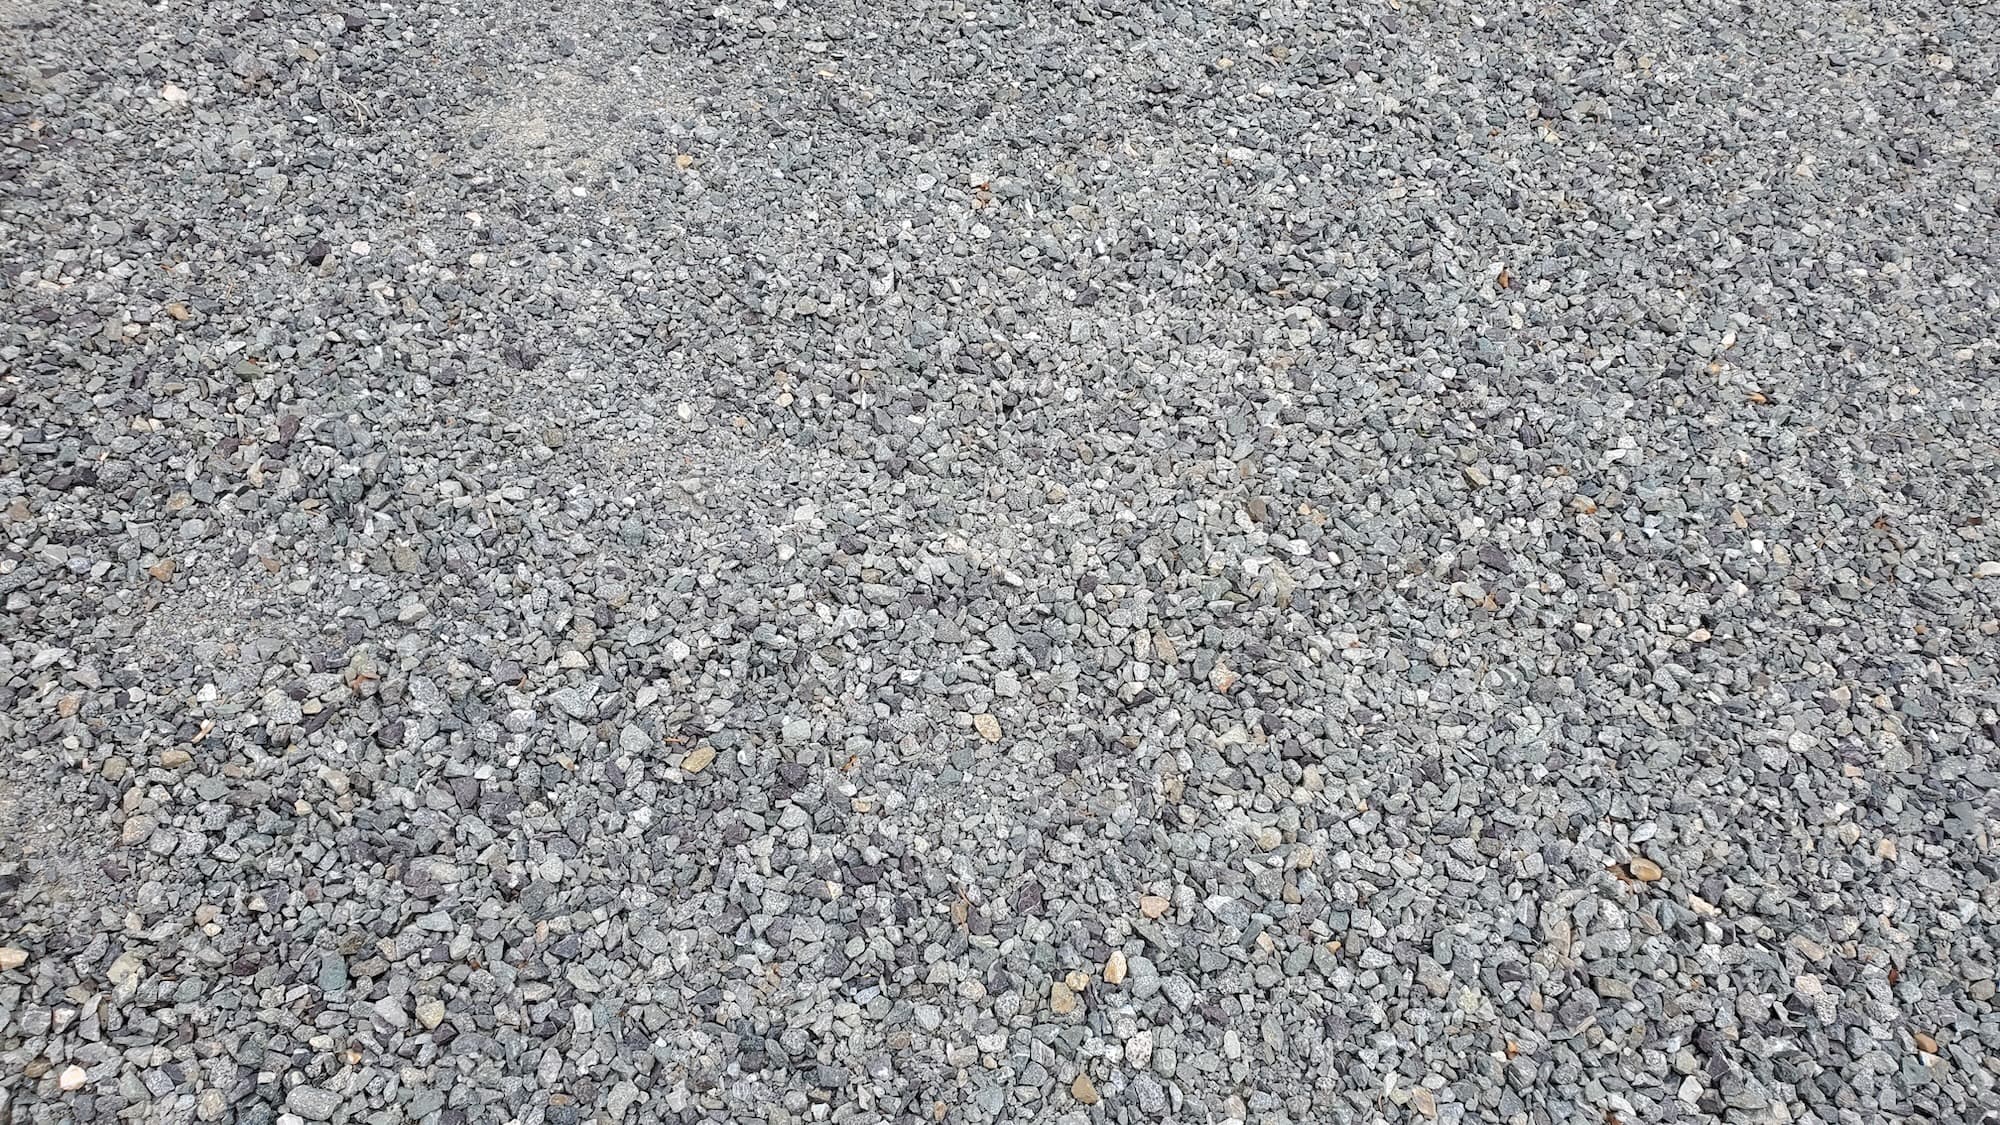
- Base Layer Installation: A layer of gravel is added for drainage, followed by sand for leveling.
- Laying the Pavers: Pavers are laid in a herringbone pattern, ensuring tight joints and alignment.
- Joint Filling: We fill joints with polymeric sand to prevent weed growth and stabilize the pavers.
- Finishing Touches: The area is cleaned, and we compact the surface to ensure durability.
On-Site Expectations
You can expect our crew to work efficiently, prioritizing safety and quality. We respect your property and aim to leave your yard cleaner than we found it.
Service Pricing
Understanding Pricing
Pricing for a herringbone paver walkway can vary significantly based on several factors:
- Flat Rate vs. Custom Quotes: Most companies offer both. A flat rate may be suitable for standard sizes, while custom quotes are better for unique designs.
- Variables: Lot size, accessibility, and the volume of debris can all affect pricing.
- Additional Costs: Keep in mind potential add-ons like extra materials or special features, as well as tax, dump fees, or hauling charges.
Realistic Cost Ranges
Expect to pay anywhere from $10 to $30 per square foot for materials and installation, depending on the complexity of your design and the quality of pavers chosen.
What’s Included
Core Services
- Trimming and Edging: Neatening up the edges of your walkway.
- Weeding and Mulching: Preventing weed growth around your new walkway.
- Pruning: Keeping surrounding plants healthy and visually appealing.
Optional Extras
- Gravel Base: Enhancing drainage and stability.
- Landscape Fabric: Preventing weed growth beneath the pavers.
- Planting: Adding plants or flowers along the walkway for added beauty.
- Seasonal Upgrades: Seasonal clean-up and maintenance options.
FAQs
Common Customer Concerns
- Scheduling: How long will the project take? Expect 1-3 days depending on size and complexity.
- Turnaround Time: We aim for quick, efficient service while ensuring quality.
- Dump Fees: These may apply for debris removal and should be discussed beforehand.
Maintenance Tips
- Regularly sweep away debris to prevent staining.
- Reseal pavers every couple of years to maintain their appearance and durability.
- Check for shifting or settling pavers and address issues promptly.
Why Choose Lee’s General Landscaping
- Experienced Local Crew: We know the local climate and soil conditions.
- Licensed, Bonded & Insured: Enjoy peace of mind knowing your property is protected.
- Outstanding Reputation: With hundreds of 5-star reviews on Yelp and Google, our work speaks for itself.
DIY vs. Pro
While DIY can be a rewarding project, it often lacks the efficiency and expertise of a professional crew. If you’re handy, you might save some costs, but be prepared for the time commitment and potential pitfalls, such as improper drainage or uneven pavers. A professional installation guarantees a quality finish and long-lasting results.
Common Mistakes
- Poor Drainage: Not accounting for water runoff can lead to paver damage.
- Skipping the Base Layer: A solid base is crucial for stability.
- Incorrect Joint Filling: Using the wrong material can lead to weed growth.
Ready for a yard that stays neat?
Call or text Lee’s General Landscaping for a quick quote and a maintenance plan that fits your property.
⭐⭐⭐⭐⭐ 400+ Yelp Reviews • ⭐⭐⭐⭐⭐ 130+ Google Map Reviews
📧 Email: lees.g.landscaping@gmail.com
📞 Office: 206-259-7919
🕘 Hours: Mon–Sun: 9AM–6PM
🔒 Licensed • Bonded • Insured