Garden Bed Edging Installation
Installing garden bed edging is a common challenge for homeowners looking to enhance their outdoor spaces. Without proper edging, garden beds can blend into lawns, leading to a messy appearance and making maintenance a hassle. The best solution is to install garden bed edging, which not only defines your garden beds but also elevates your property’s curb appeal and reduces maintenance time. In this article, we’ll cover everything you need to know about garden bed edging installation, including the benefits, step-by-step instructions, tools and materials needed, and more.
Description
Garden bed edging installation includes defining the perimeter of your garden beds with various materials, such as wood, bricks, stone, or metal. The process involves:
- Planning: Deciding on the shape and materials for your garden bed edges.
- Preparation: Clearing the area and marking the layout.
- Installation: Setting the edging materials in place.
- Finishing Touches: Adding mulch or soil to enhance the visual appeal.
Key Benefits:
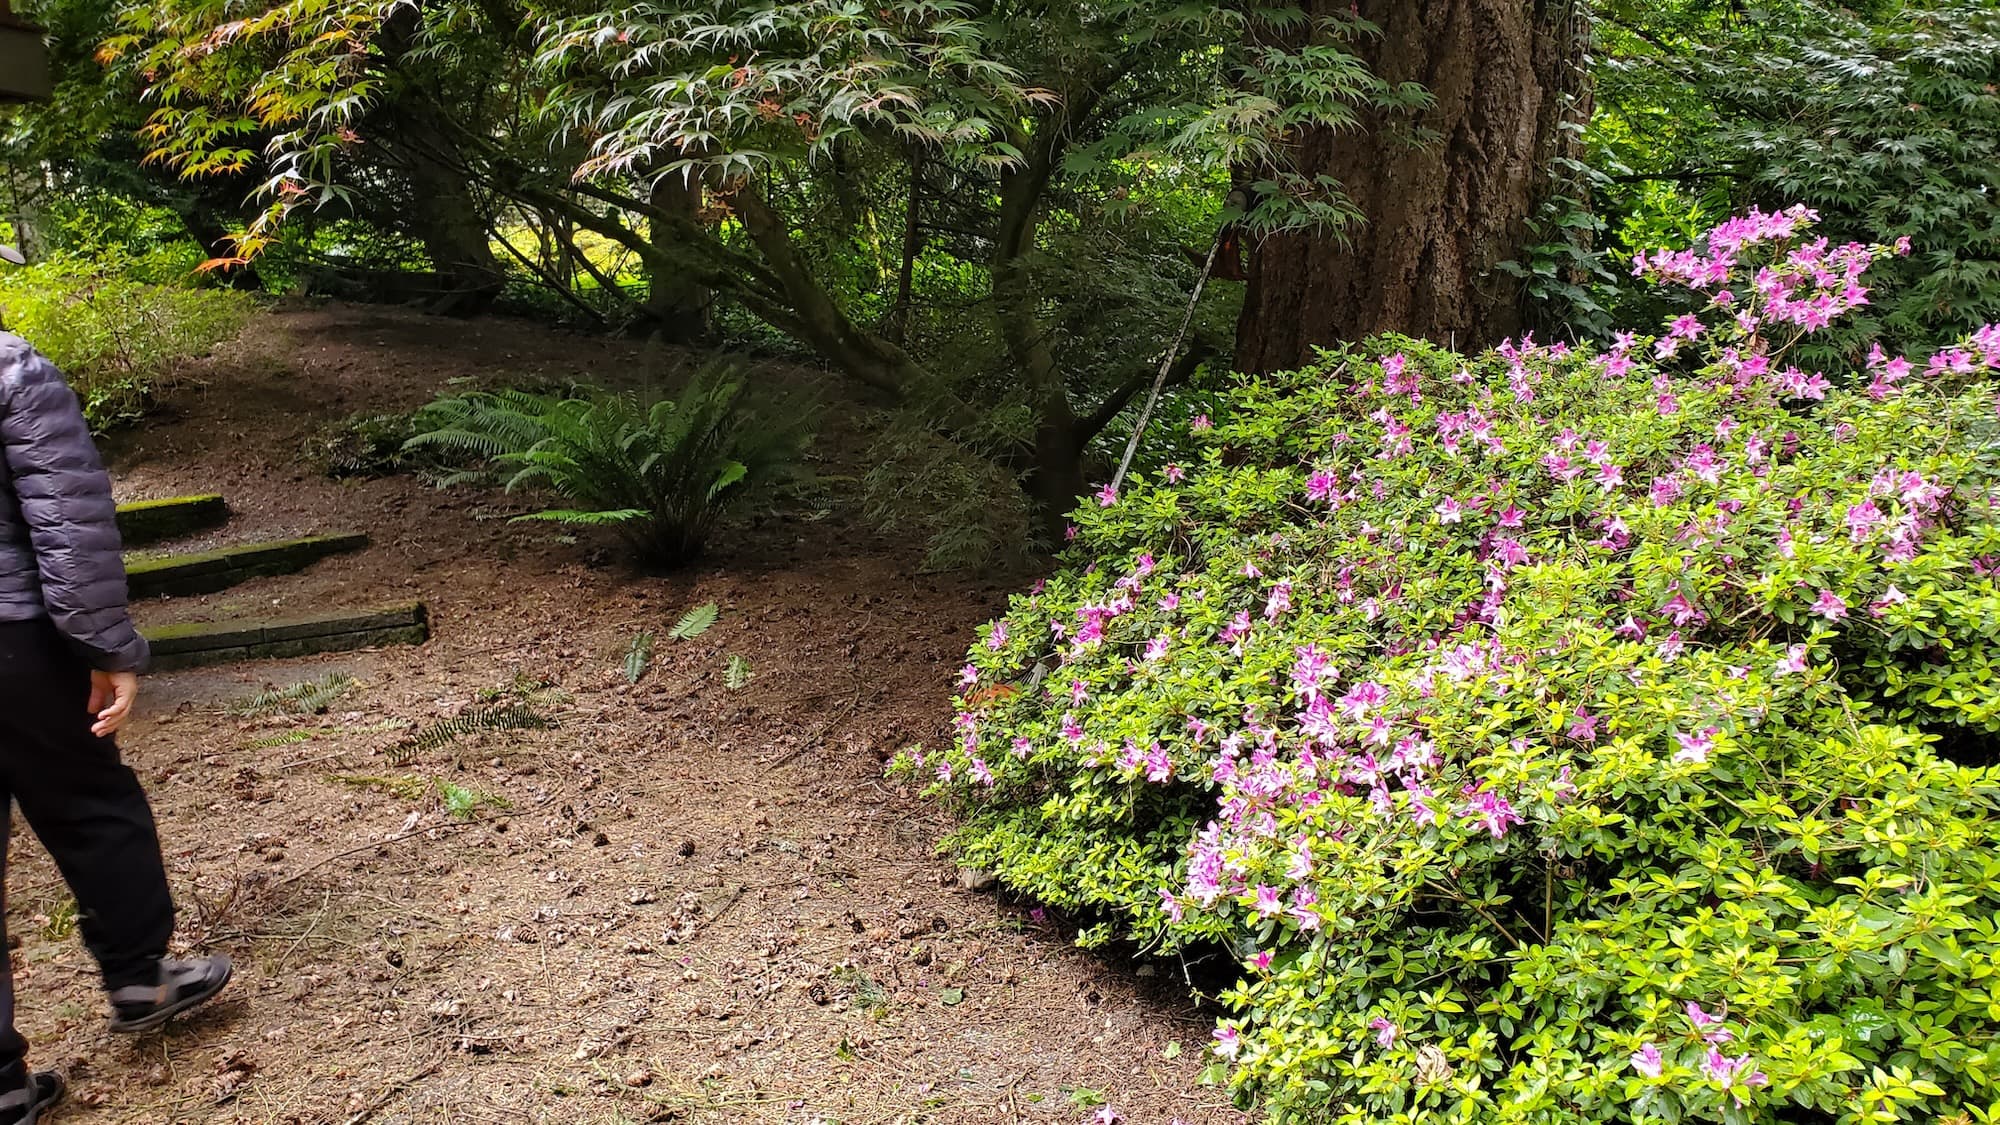
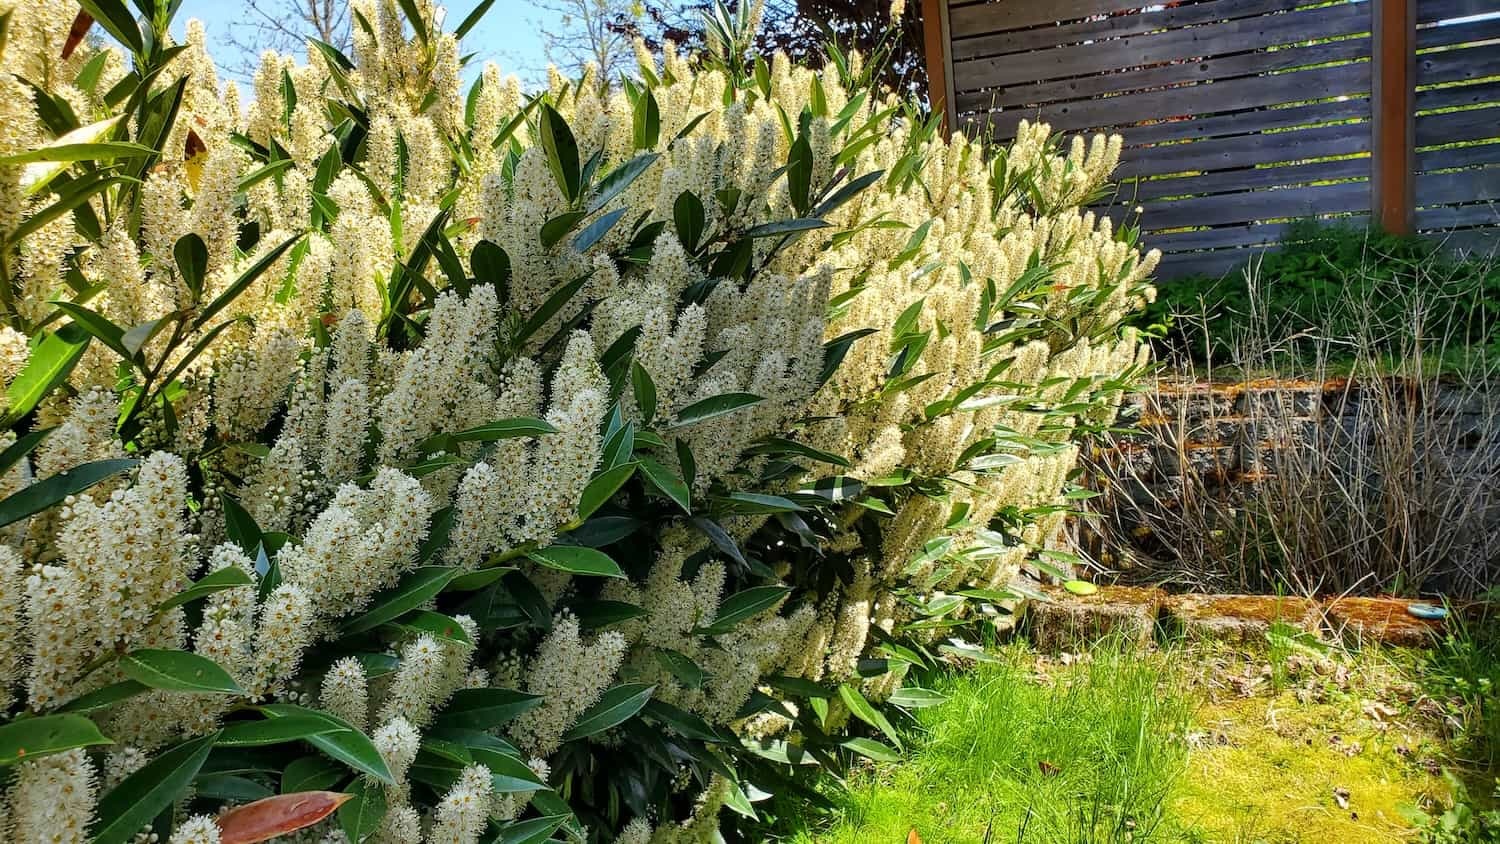
- Improved Appearance: Creates a clean, defined look for your garden beds.
- Durability: Quality materials withstand weather and wear over time.
- Safety: Prevents tripping hazards by clearly marking garden areas.
- Eco-Friendly Options: Many materials are sustainable and recyclable.
Why Hire a Pro:
- Local Expertise: Knowledge of regional plants and soil types.
- Licensed & Insured Crew: Protection against accidents and liability.
- Professional Tools: Access to high-quality tools for efficient installation.
Our Approach
Step-by-Step Breakdown of Tasks:
Plan Your Design:
- Measure your garden beds and decide on the shape and type of edging.
- Sketch a layout to visualize the final look.
Gather Tools & Materials:
- Tools:
- Spade or shovel
- Level
- Garden hose or string for layout
- Hammer (for stakes)
- Trowel
- Materials:
- Edging materials (wood, brick, stone, or metal)
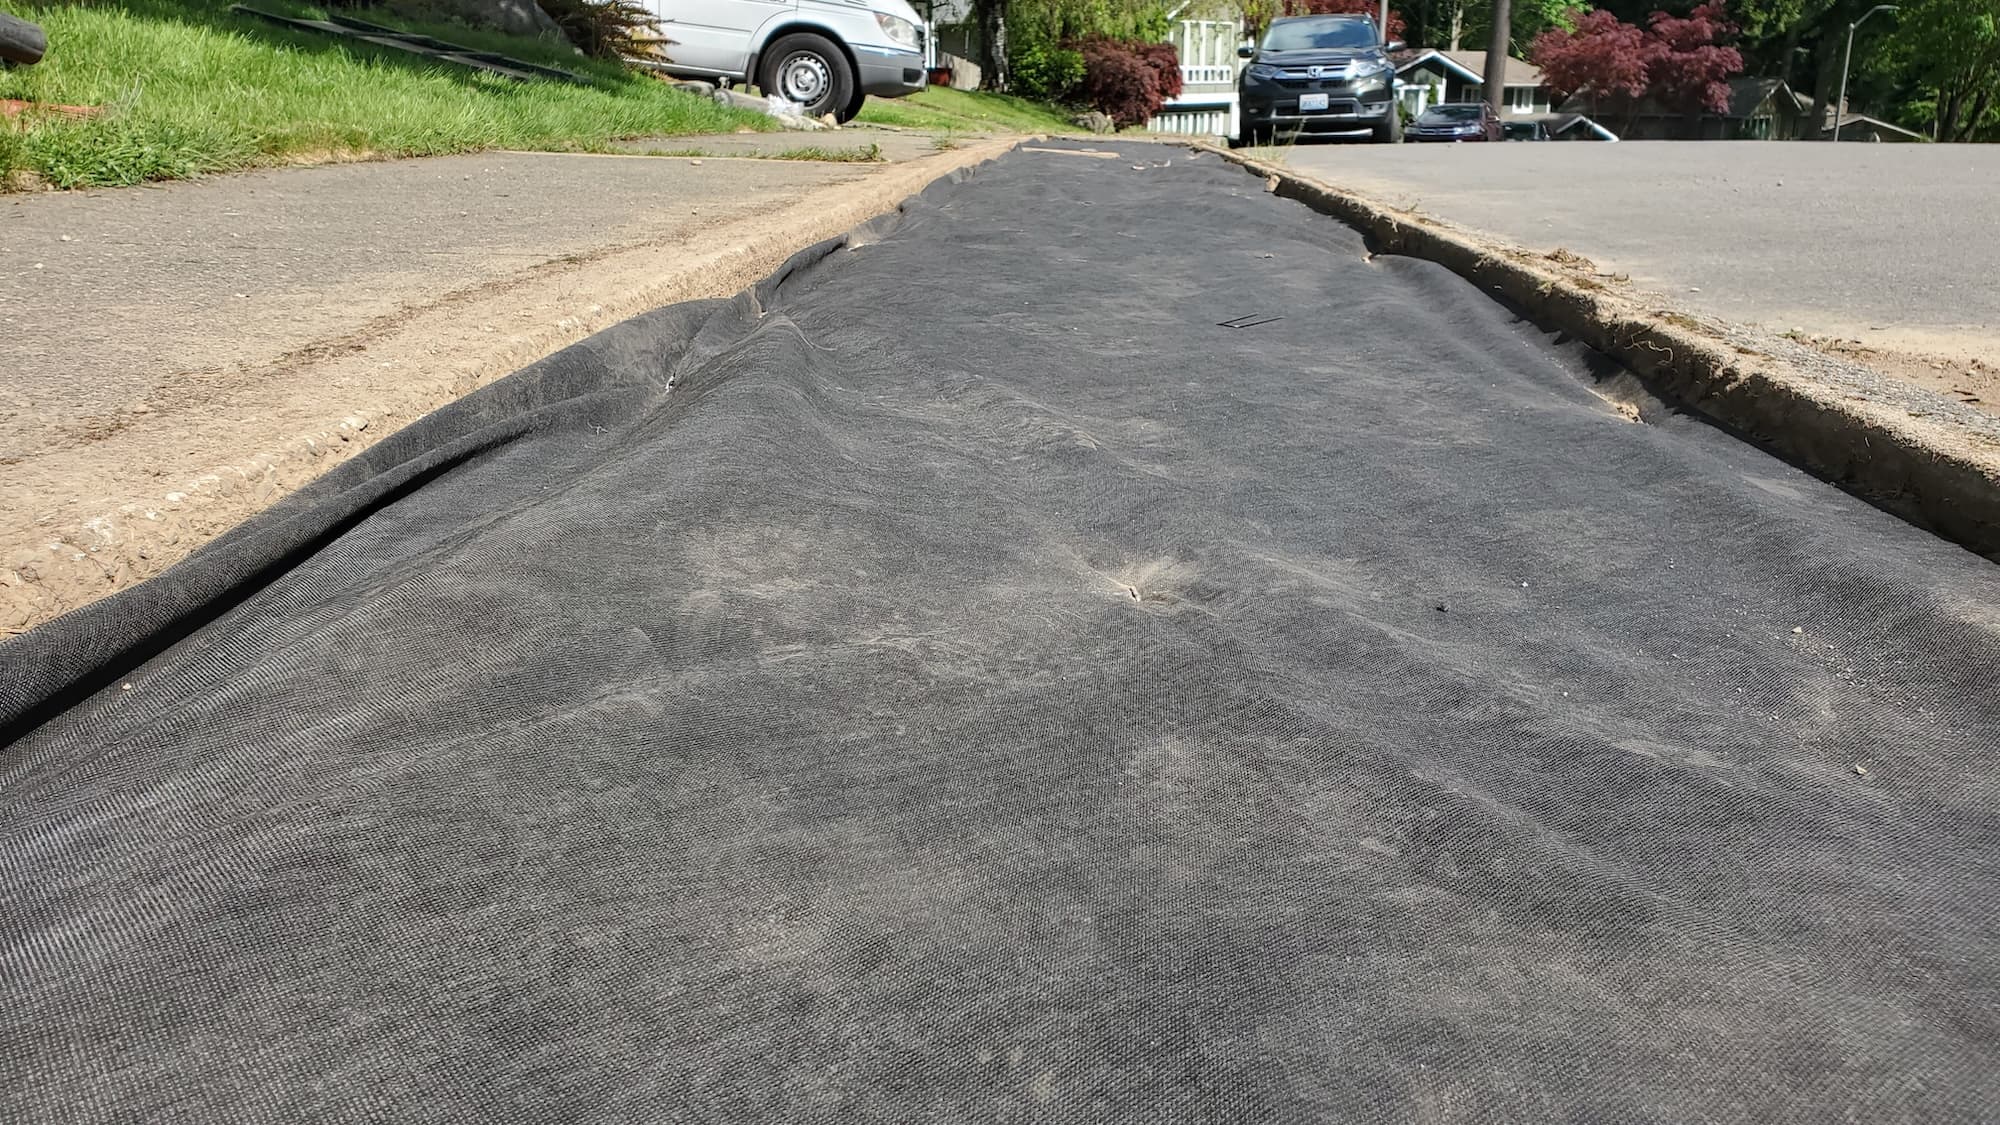
- Landscape fabric (optional)
- Mulch or soil for finishing
- Tools:
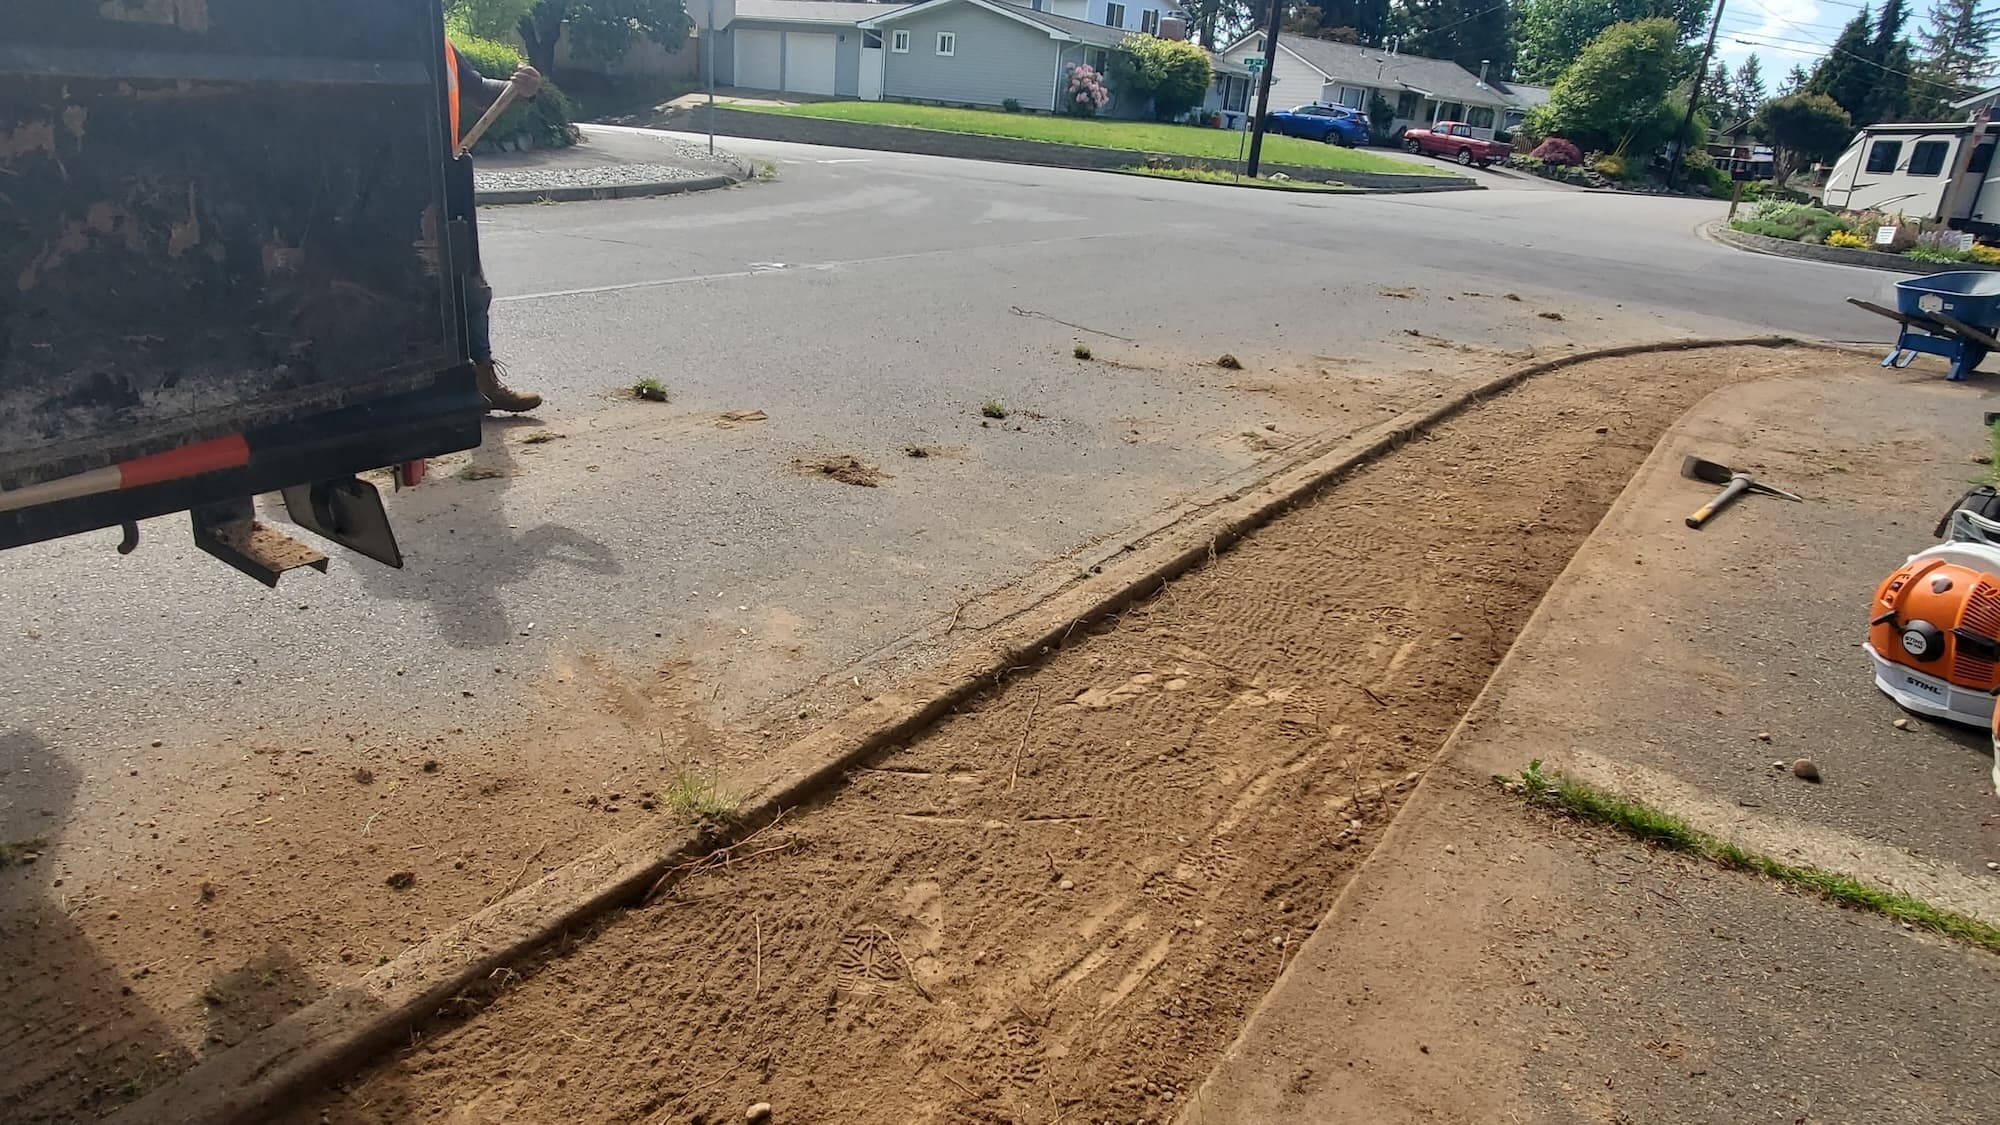
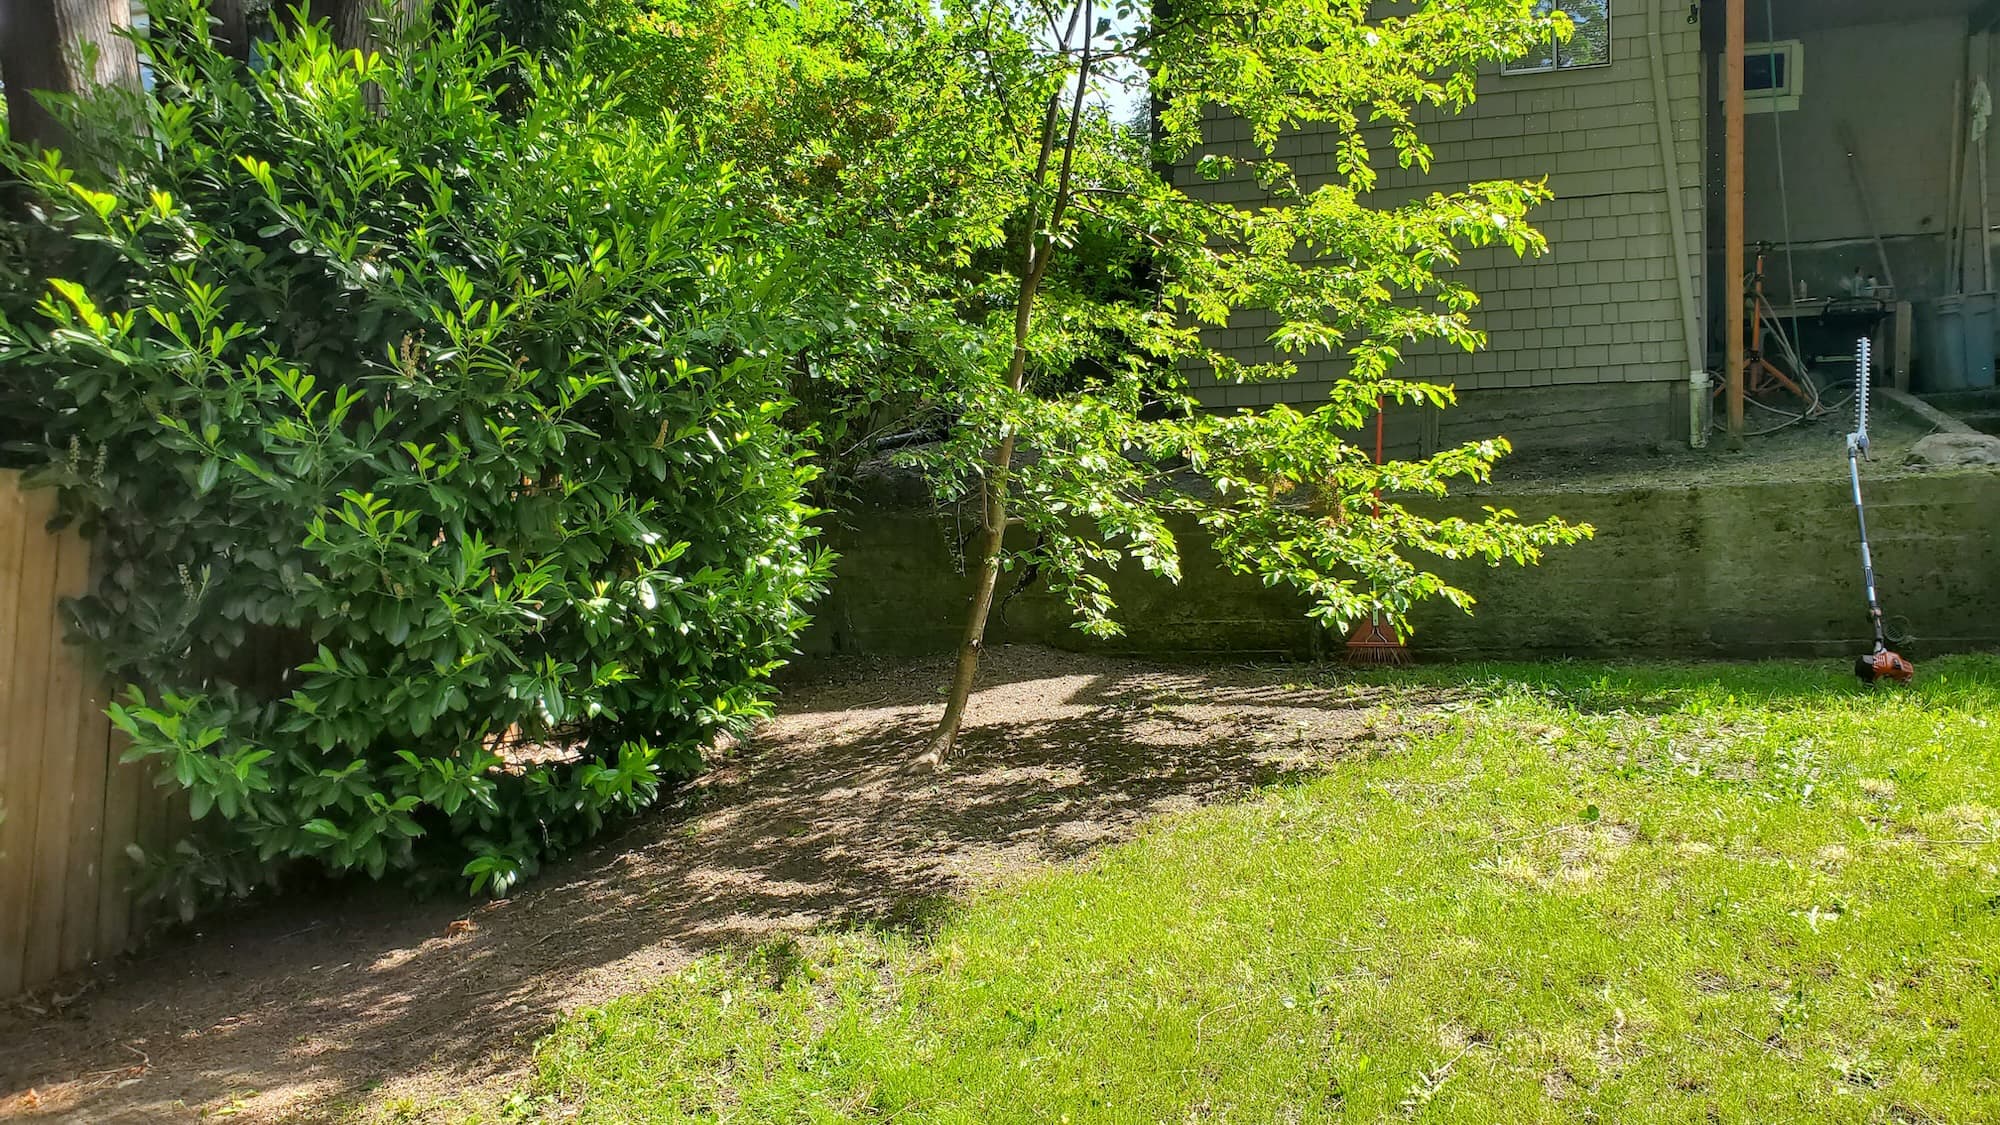
Prepare the Area:
- Clear any debris, weeds, or grass from the designated area.
- Use a garden hose or string to outline the shape of the edging.
Install the Edging:
- Dig a trench along the marked line, about 4-6 inches deep.
- Place the edging material into the trench, ensuring it is level and secure.
- If using stakes (for wood or metal), hammer them into the ground to hold the edging in place.
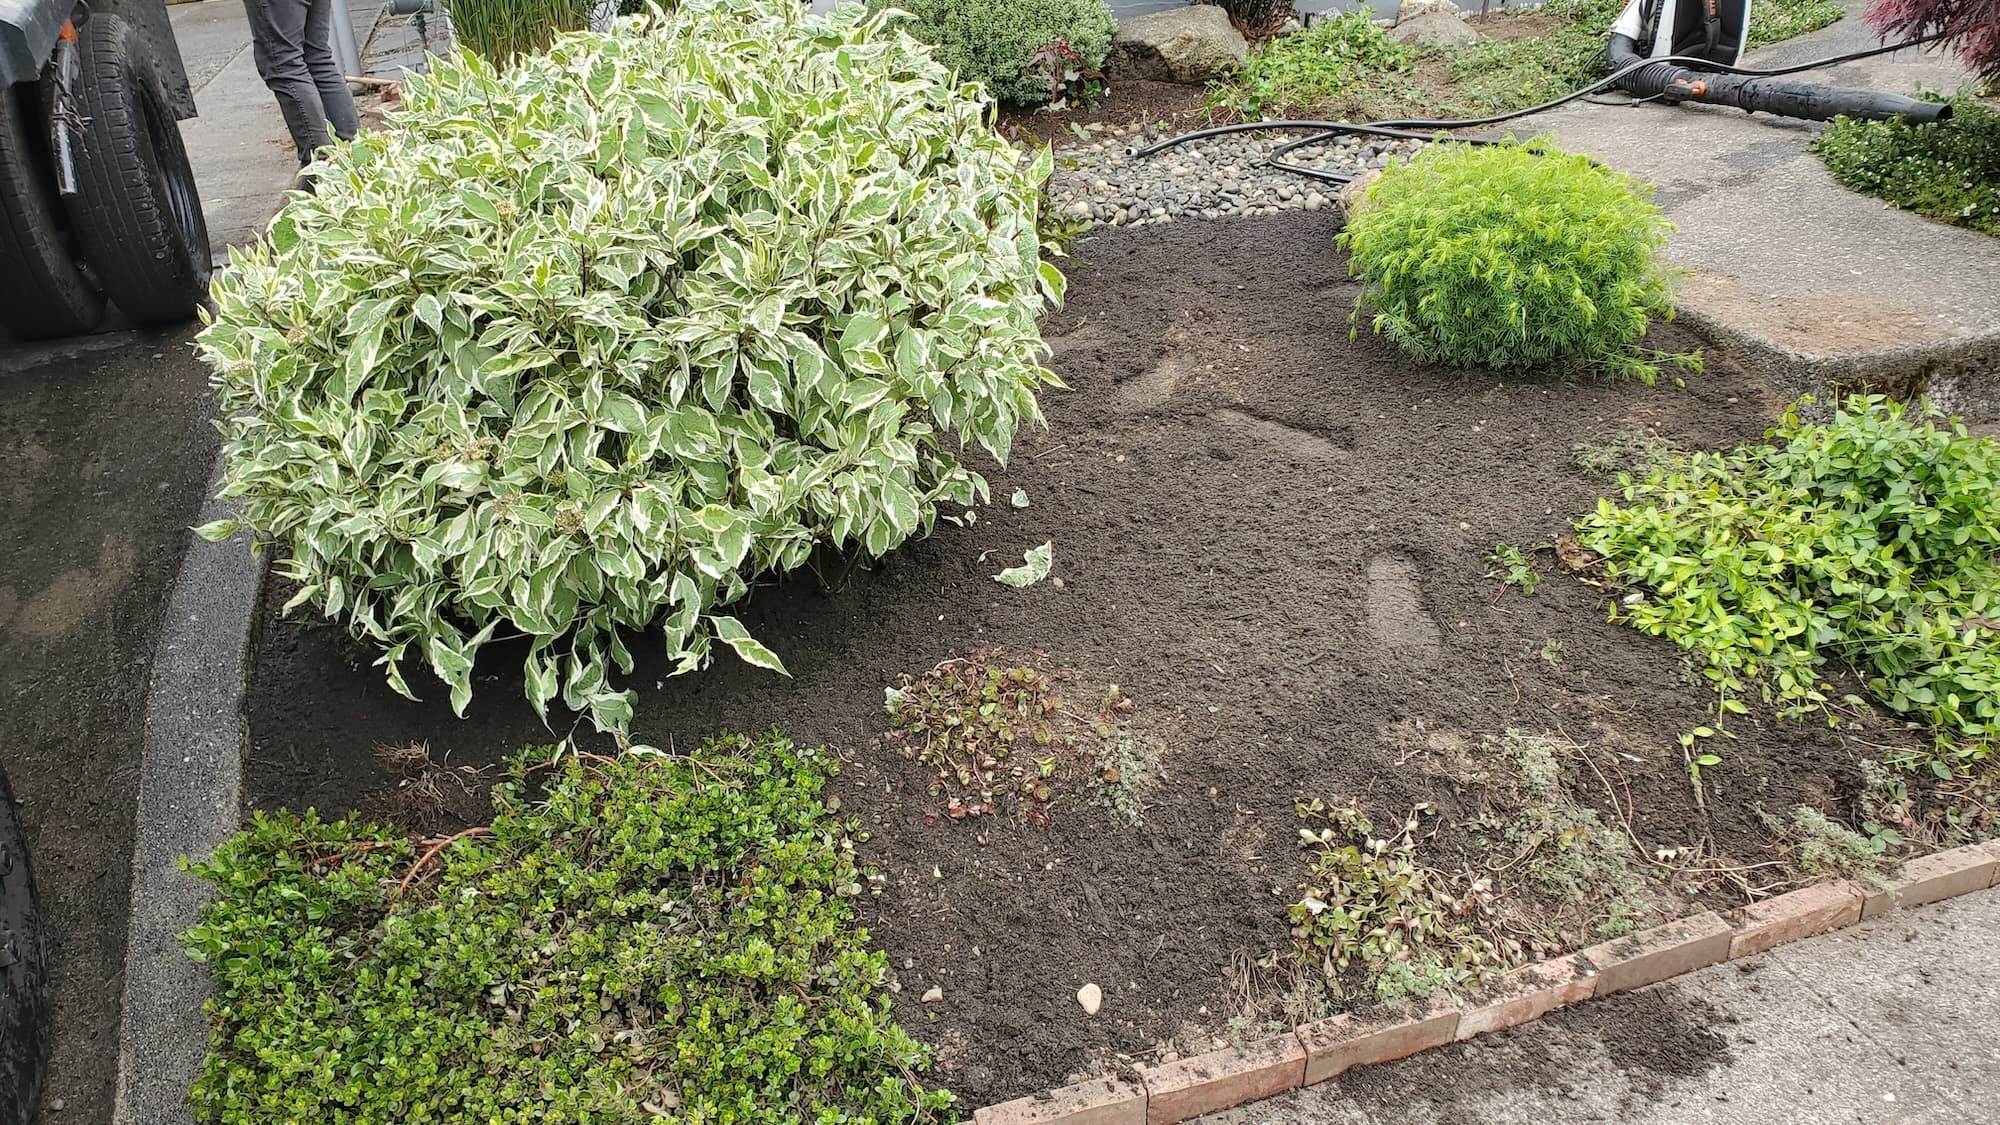
Finish the Edging:
- Backfill around the edging with soil or mulch to secure it.
- Add mulch to the garden bed for moisture retention and aesthetics.
Homeowner Expectations:
- Timeline: Expect the installation to take 1-3 days, depending on the size of the project.
- Clean Worksite: We’ll clean up after ourselves, leaving your yard tidy and beautiful.
We’re a full-service landscaping and hardscaping crew. Our goal is to tidy your yard, protect your property, and give it lasting curb appeal.
Service Pricing
Pricing Structure:
- Flat Rate: For standard installations, you might pay a flat fee based on the linear footage.
- Custom Quotes: For unique designs or larger projects, expect a customized quote.
Variables Affecting Cost:
- Lot size and design complexity
- Volume of debris or old edging
- Access to the site (e.g., narrow pathways)
- Add-on services like planting or mulching
Additional Charges:
- Be aware of potential tax, dump fees, or extra charges for hauling away debris.
What’s Included
Core Services:
- Trimming: Edging the garden beds to remove overgrown grass.
- Edging: Installing chosen materials to define garden beds.
- Weeding: Clearing out unwanted plants before installation.
- Mulching: Adding a layer of mulch for aesthetics and soil health.
- Pruning: Trimming back any overgrown plants for a cleaner look.
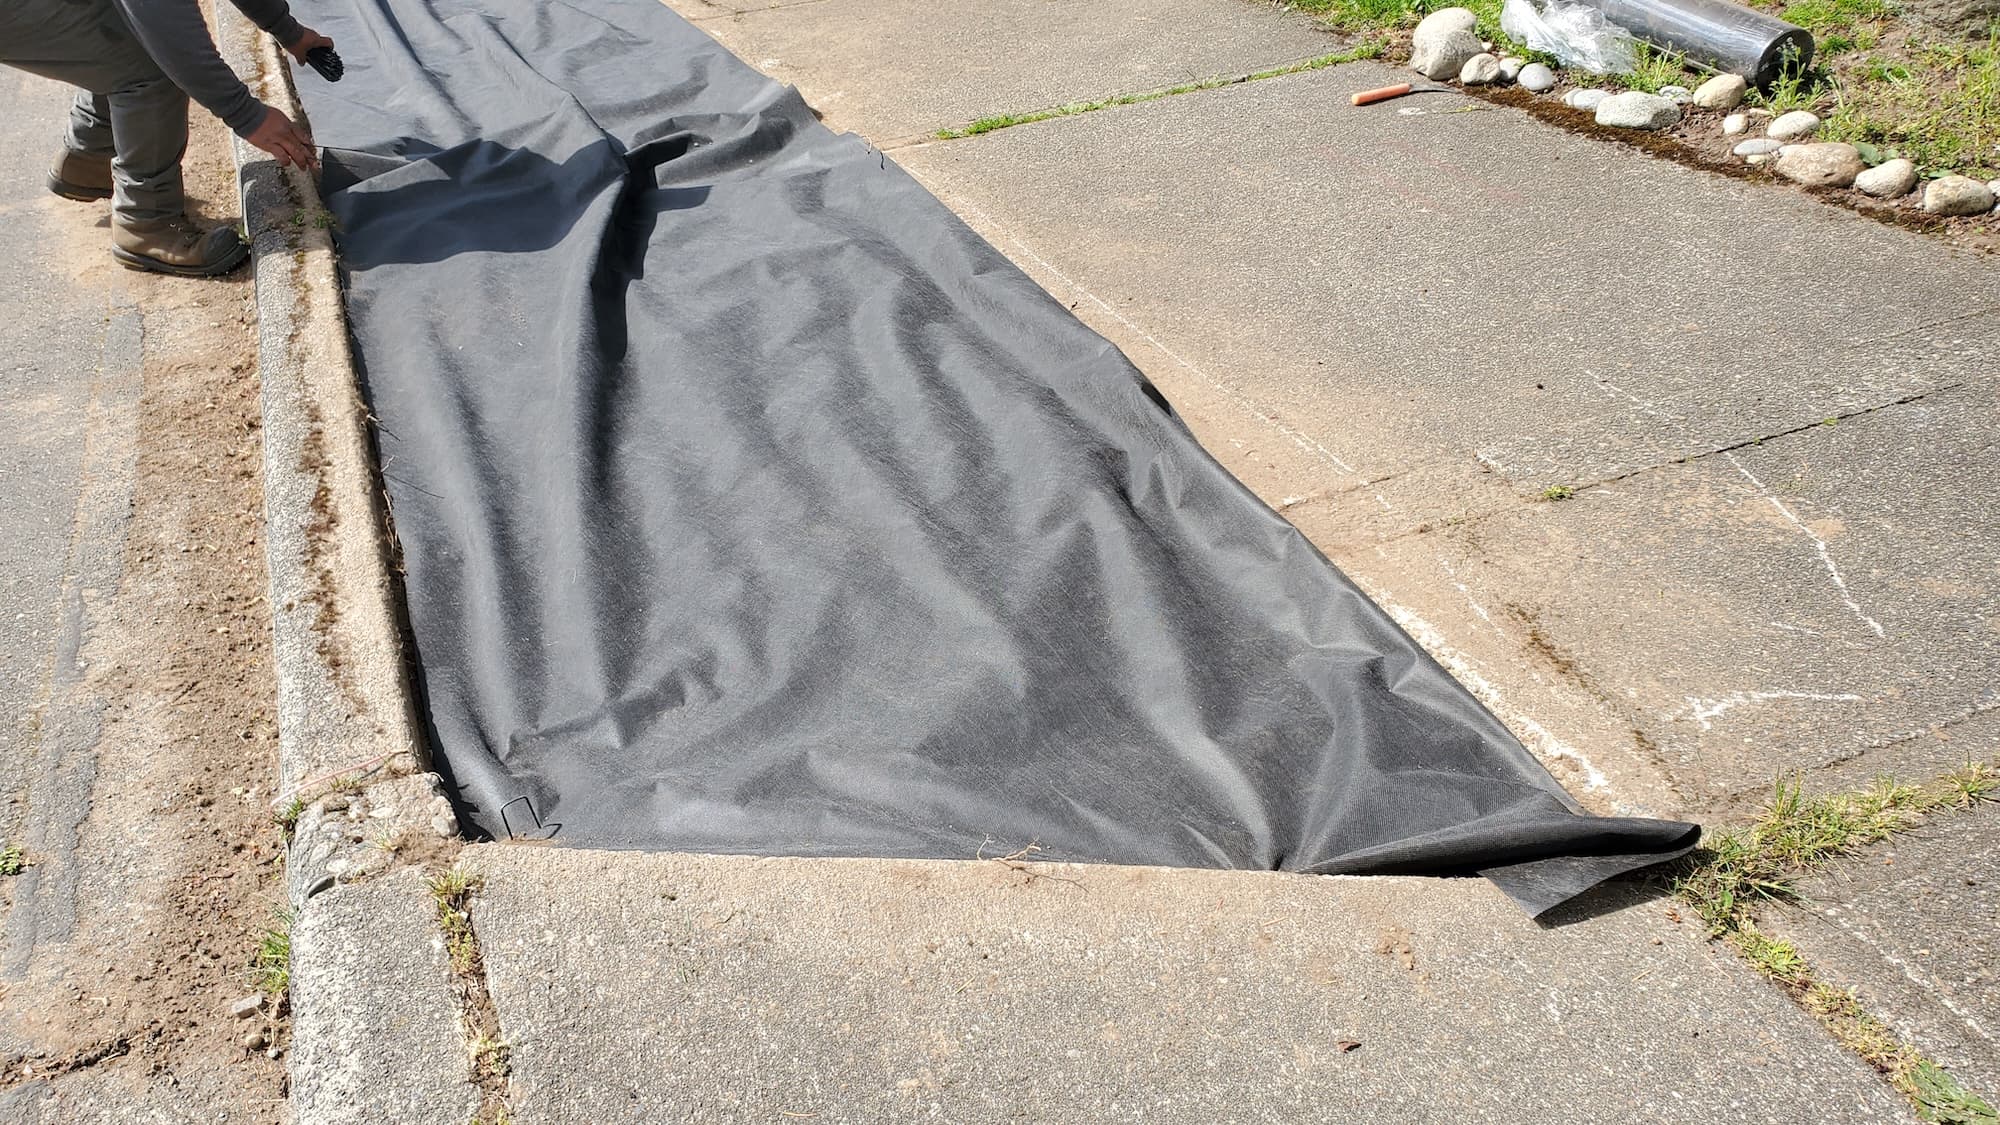
Optional Extras:
- Gravel: For drainage and aesthetics.
- Landscape Fabric: To prevent weed growth under mulch.
- Planting: Introducing new plants along the edges.
- Seasonal Upgrades: Changing plants or mulch with the seasons.
FAQs
Common Customer Concerns:
- Scheduling: We can usually schedule installations within a week, depending on weather and crew availability.
- Turnaround Time: Most installations are completed in a day; larger projects may take longer.
- Dump Fees: Any additional fees for waste disposal will be communicated upfront.
Maintenance Tips:
- Regularly check for weeds and remove them promptly.
- Replenish mulch as needed to maintain moisture and appearance.
- Inspect edging annually for stability and any necessary repairs.
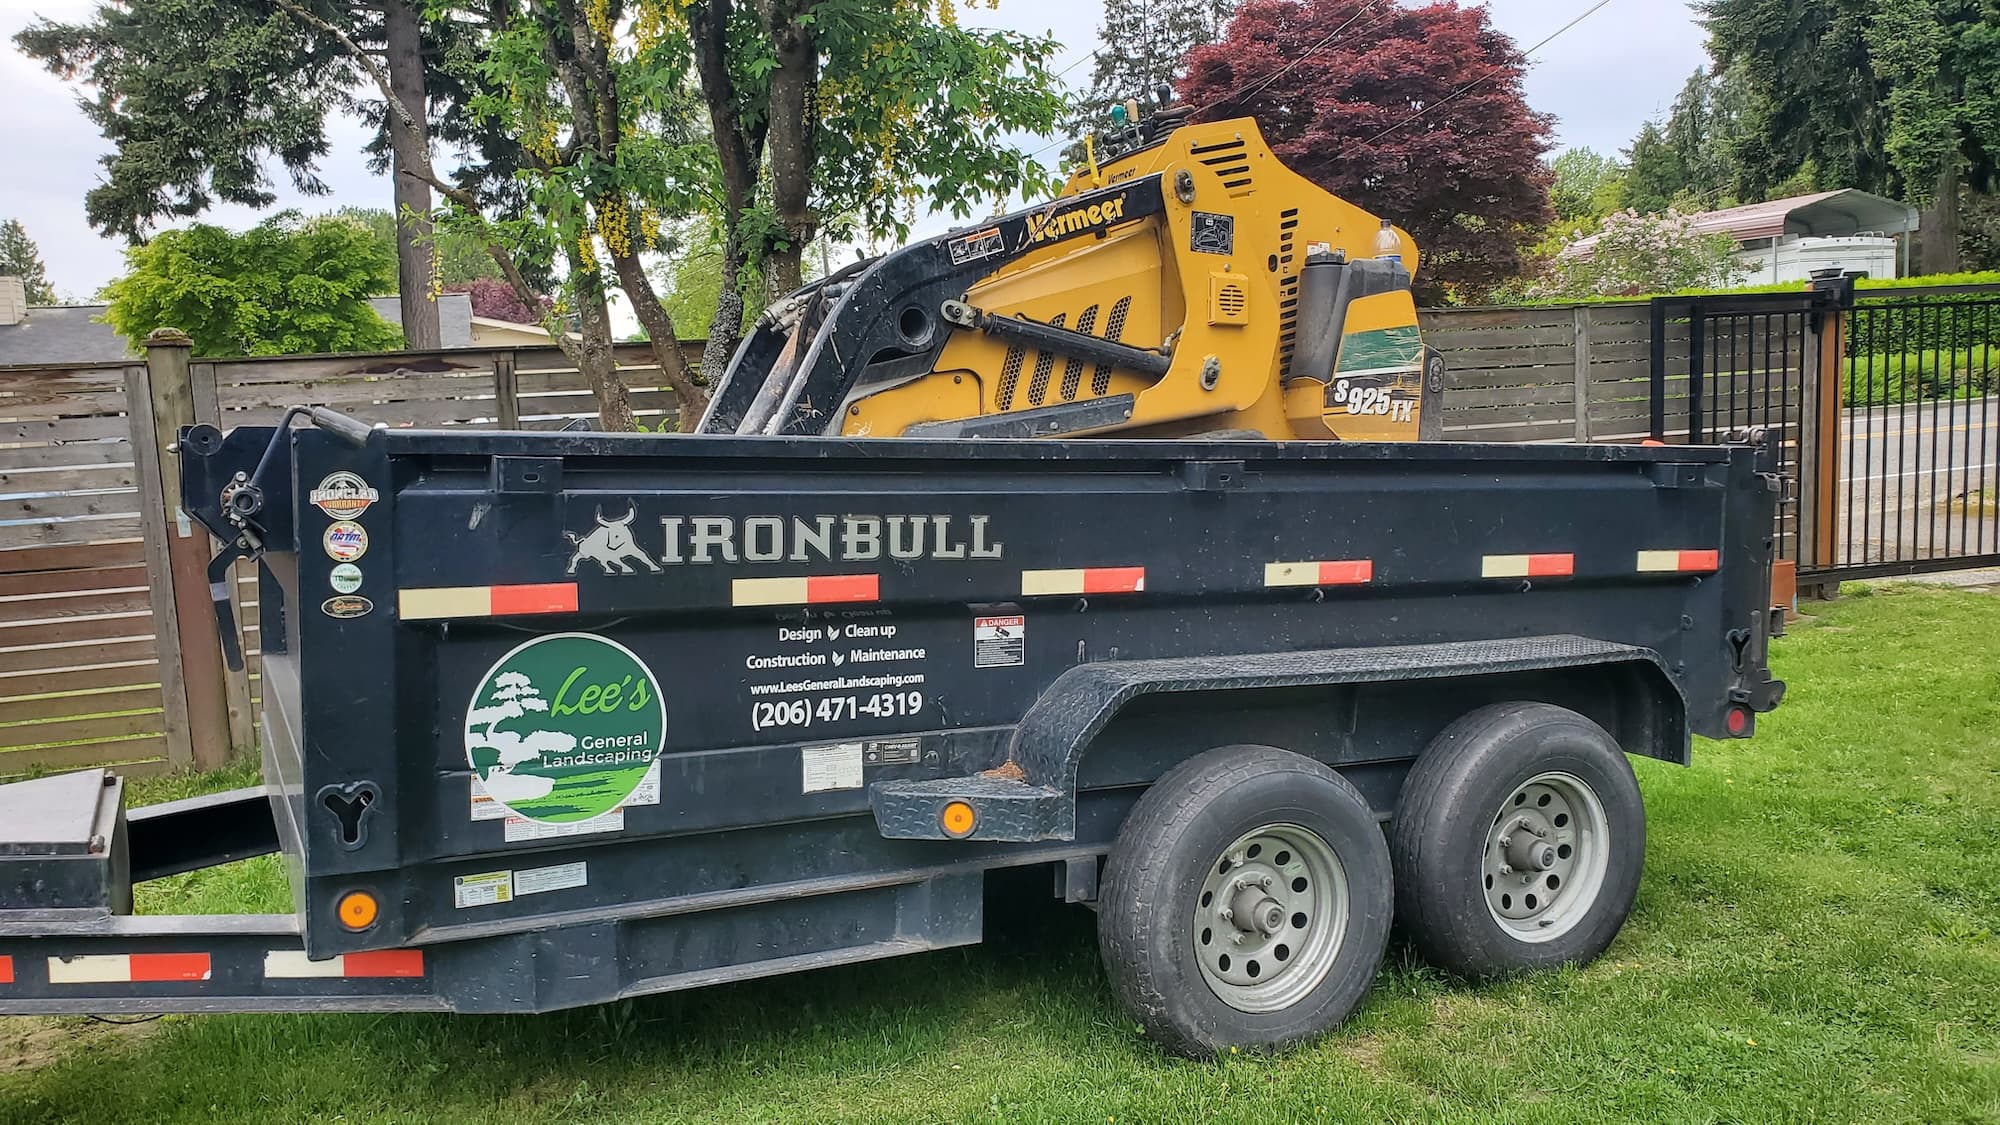
Why Choose Lee’s General Landscaping
- Experienced Local Crew: We know the best practices for your specific region.
- Licensed, Bonded & Insured: Your peace of mind is our priority.
- Hundreds of 5-Star Reviews: Our satisfied customers speak for us on Yelp and Google.
Ready for a yard that stays neat?
Call or text Lee’s General Landscaping for a quick quote and a maintenance plan that fits your property.
⭐⭐⭐⭐⭐ 400+ Yelp Reviews • ⭐⭐⭐⭐⭐ 130+ Google Map Reviews
📧 Email: lees.g.landscaping@gmail.com
📞 Office: 206-259-7919
🕘 Hours: Mon–Sun: 9AM–6PM
🔒 Licensed • Bonded • Insured
Common Mistakes
- Not Planning: Skipping the design phase can lead to uneven edges or poor aesthetics.
- Choosing the Wrong Material: Make sure the edging material suits your climate and garden style.
- Inadequate Depth: Not digging deep enough can result in the edging shifting over time.
By following these guidelines, you can create a beautiful and functional garden bed edging that enhances your property for years to come. Whether you choose to DIY or hire a pro, the benefits will be well worth it!