Driveway Paver Installation
Installing a paver driveway can be a rewarding project that transforms your home’s exterior. However, it’s also a significant challenge that requires planning, skill, and the right materials. The best solution? Professional driveway paver installation. This approach not only enhances your property’s curb appeal but also ensures safety and lowers maintenance in the long run. In this article, we’ll walk you through the installation process, what to expect, and why hiring a pro might be your best bet.
Description
What the Service Includes
- Site Assessment: Evaluating the area for size, slope, and drainage.
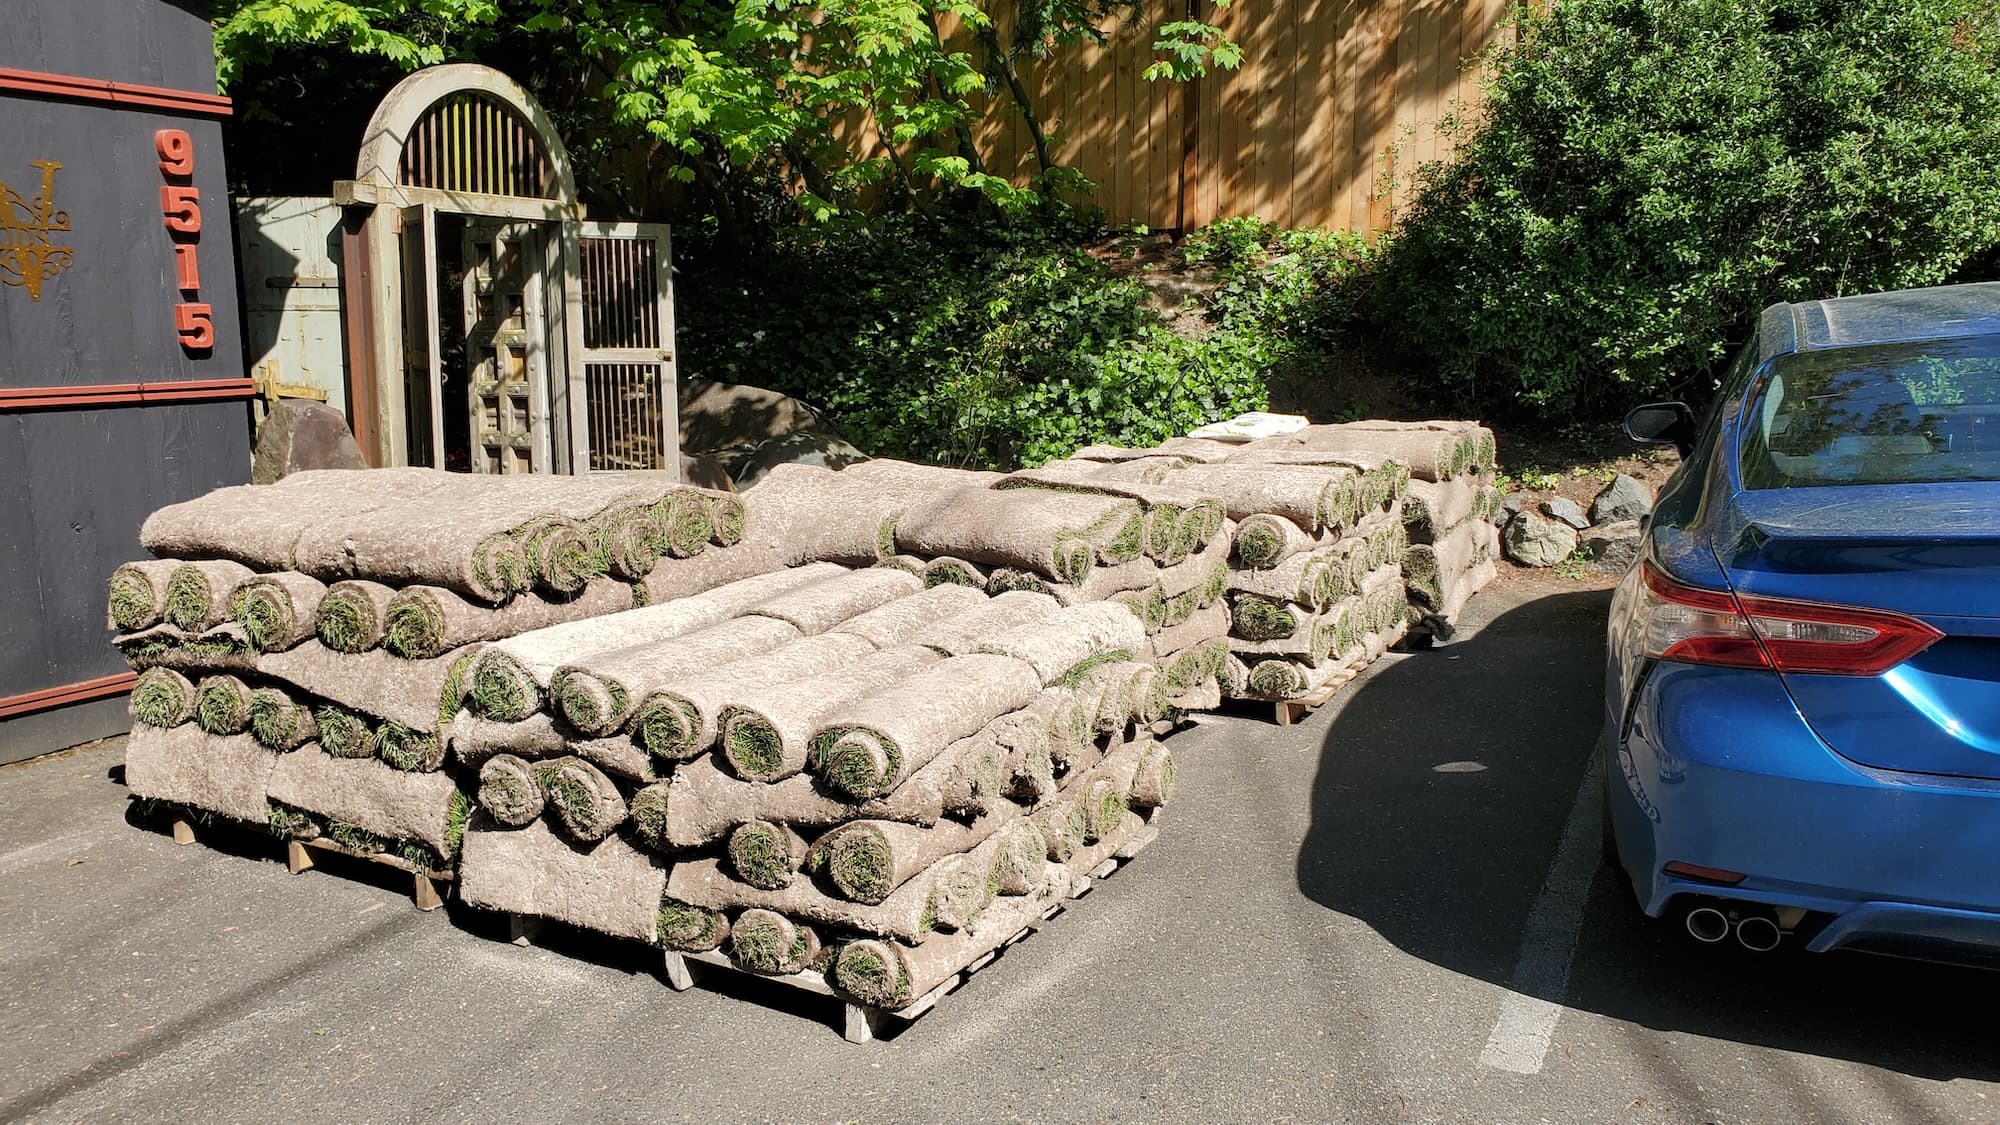
- Material Selection: Choosing the right type of pavers (concrete, brick, stone).
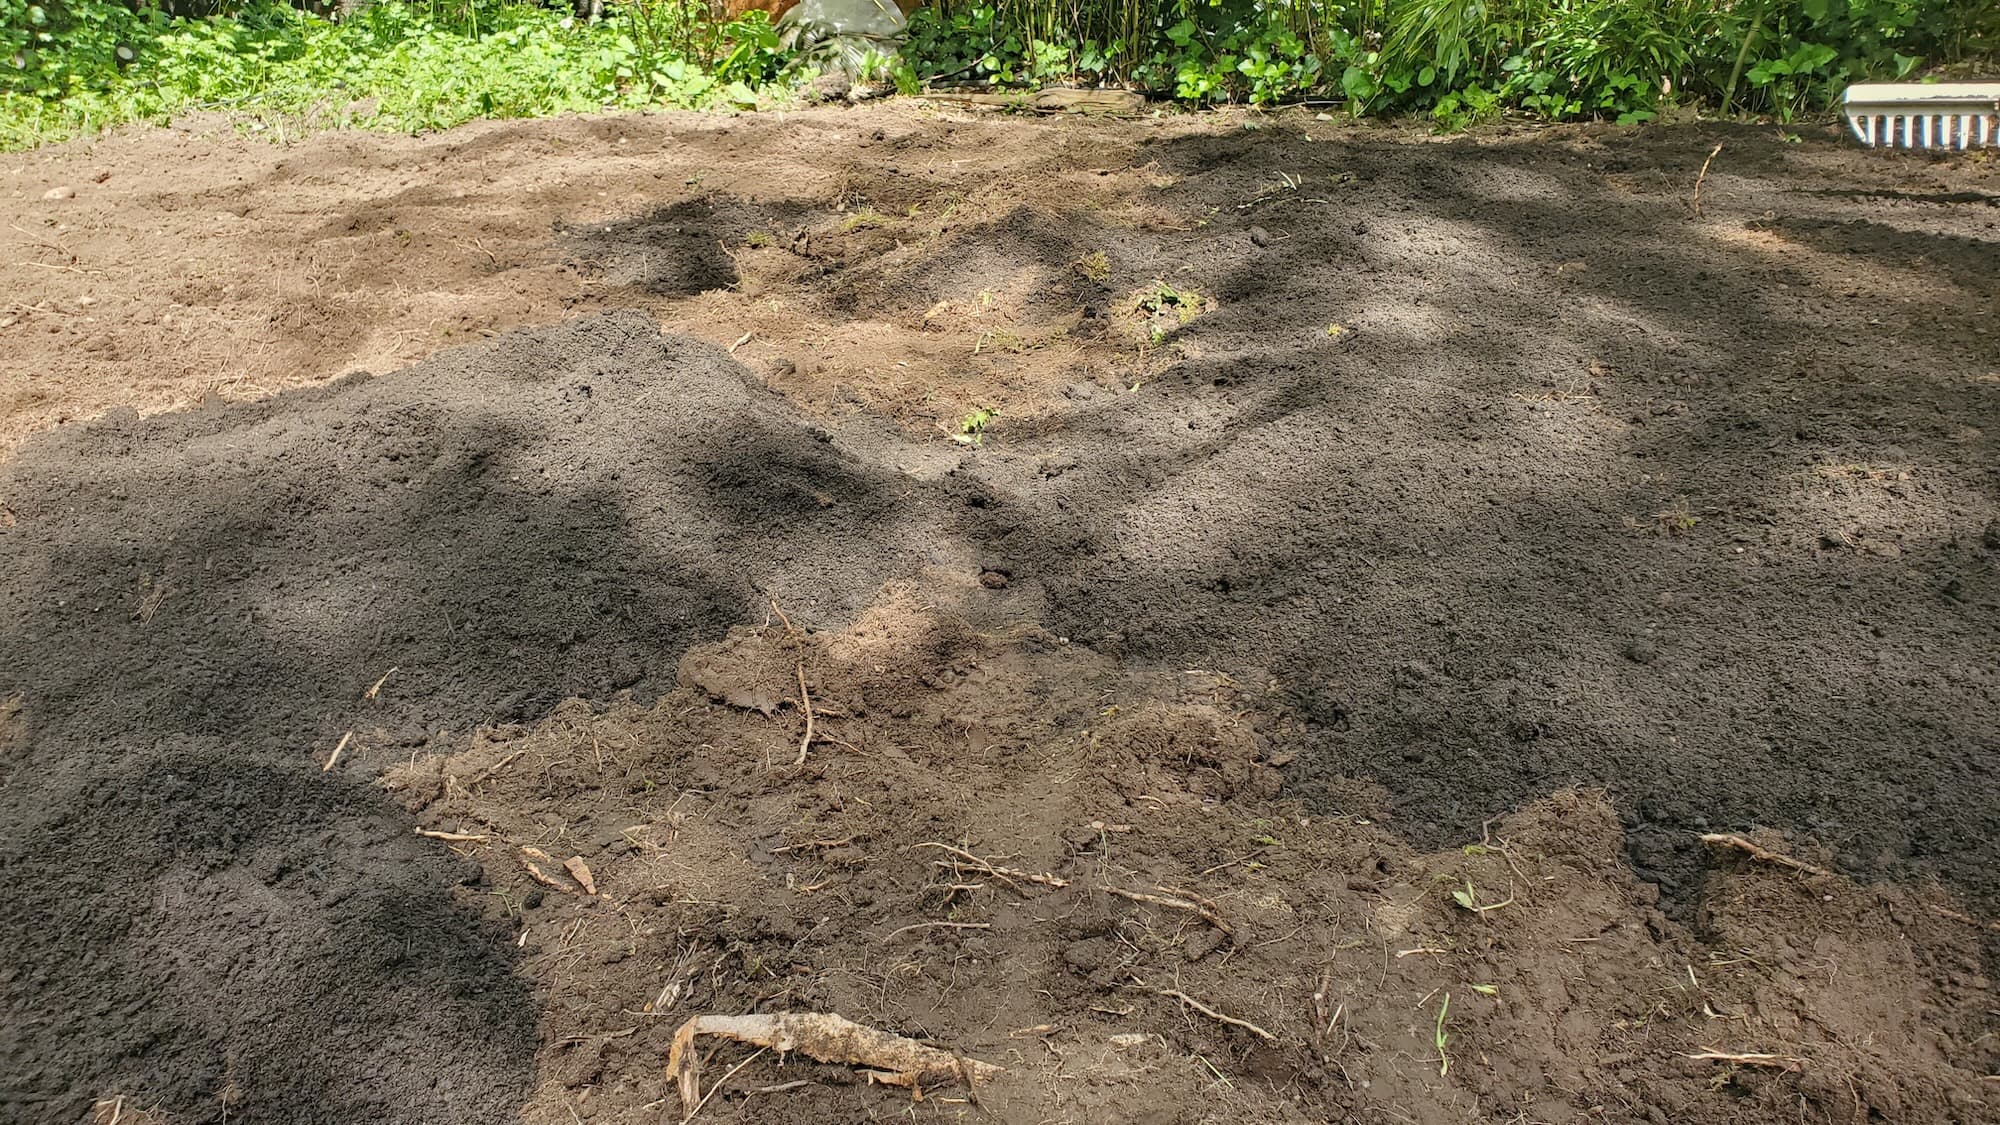
- Excavation: Removing existing materials and prepping the ground.
- Base Preparation: Laying a strong foundation with gravel and sand.
- Paver Installation: Arranging and securing the pavers.
- Finishing Touches: Adding edge restraints and filling gaps with sand.
Key Benefits
- Improved Appearance: Pavers come in various colors and styles, enhancing your home’s look.
- Durability: Pavers can withstand heavy traffic and are resistant to cracking.
- Safety: Textured surfaces provide better traction, reducing slip hazards.
- Eco-Friendly Options: Many pavers allow for water drainage, promoting sustainability.
Why Hire a Pro
- Local Expertise: Knowledge of local climate and soil conditions.
- Licensed & Insured Crew: Peace of mind knowing the job is done right.
- Professional Tools: Access to specialized equipment ensures efficiency and quality.
Our Approach
Step-by-Step Breakdown of Tasks
- Initial Consultation: Discuss your vision and requirements.
- Site Preparation: Clear the area of debris and vegetation.
- Excavation: Dig out the area to the required depth (typically 6-8 inches).
- Base Layer Installation: Lay a 4-6 inch base of compacted gravel.
- Sand Layer: Spread a 1-inch layer of sand for leveling the pavers.
- Paver Placement: Lay pavers in the desired pattern, ensuring they are snug.
- Compaction: Use a plate compactor to set the pavers into the sand.
- Joint Filling: Sweep sand into the joints and compact again.
- Final Inspection: Ensure everything is level and secure.
What Homeowners Can Expect
- A clean worksite before and after the job.
- Regular updates on progress.
- A focus on efficiency to minimize disruption.
We’re a full-service landscaping and hardscaping crew. Our goal is to tidy your yard, protect your property, and give it lasting curb appeal.
Service Pricing
How Pricing Works
- Flat Rate: For straightforward projects with no complications.
- Custom Pricing: Based on specific needs, such as lot size and paver type.
Variables Affecting Cost
- Lot Size: Larger areas require more materials and labor.
- Debris Volume: More excavation means higher costs.
- Access: Difficult-to-reach areas may incur extra fees.
- Add-Ons: Options like drainage systems or decorative borders can increase total costs.
Additional Notes
- Tax and Fees: Be prepared for local taxes, dump fees, and potential hauling charges.
What’s Included
Core Services
- Excavation and Base Preparation
- Paver Installation
- Joint Filling
Optional Extras
- Gravel for Drainage: Helps with water management.
- Landscape Fabric: Prevents weed growth beneath pavers.
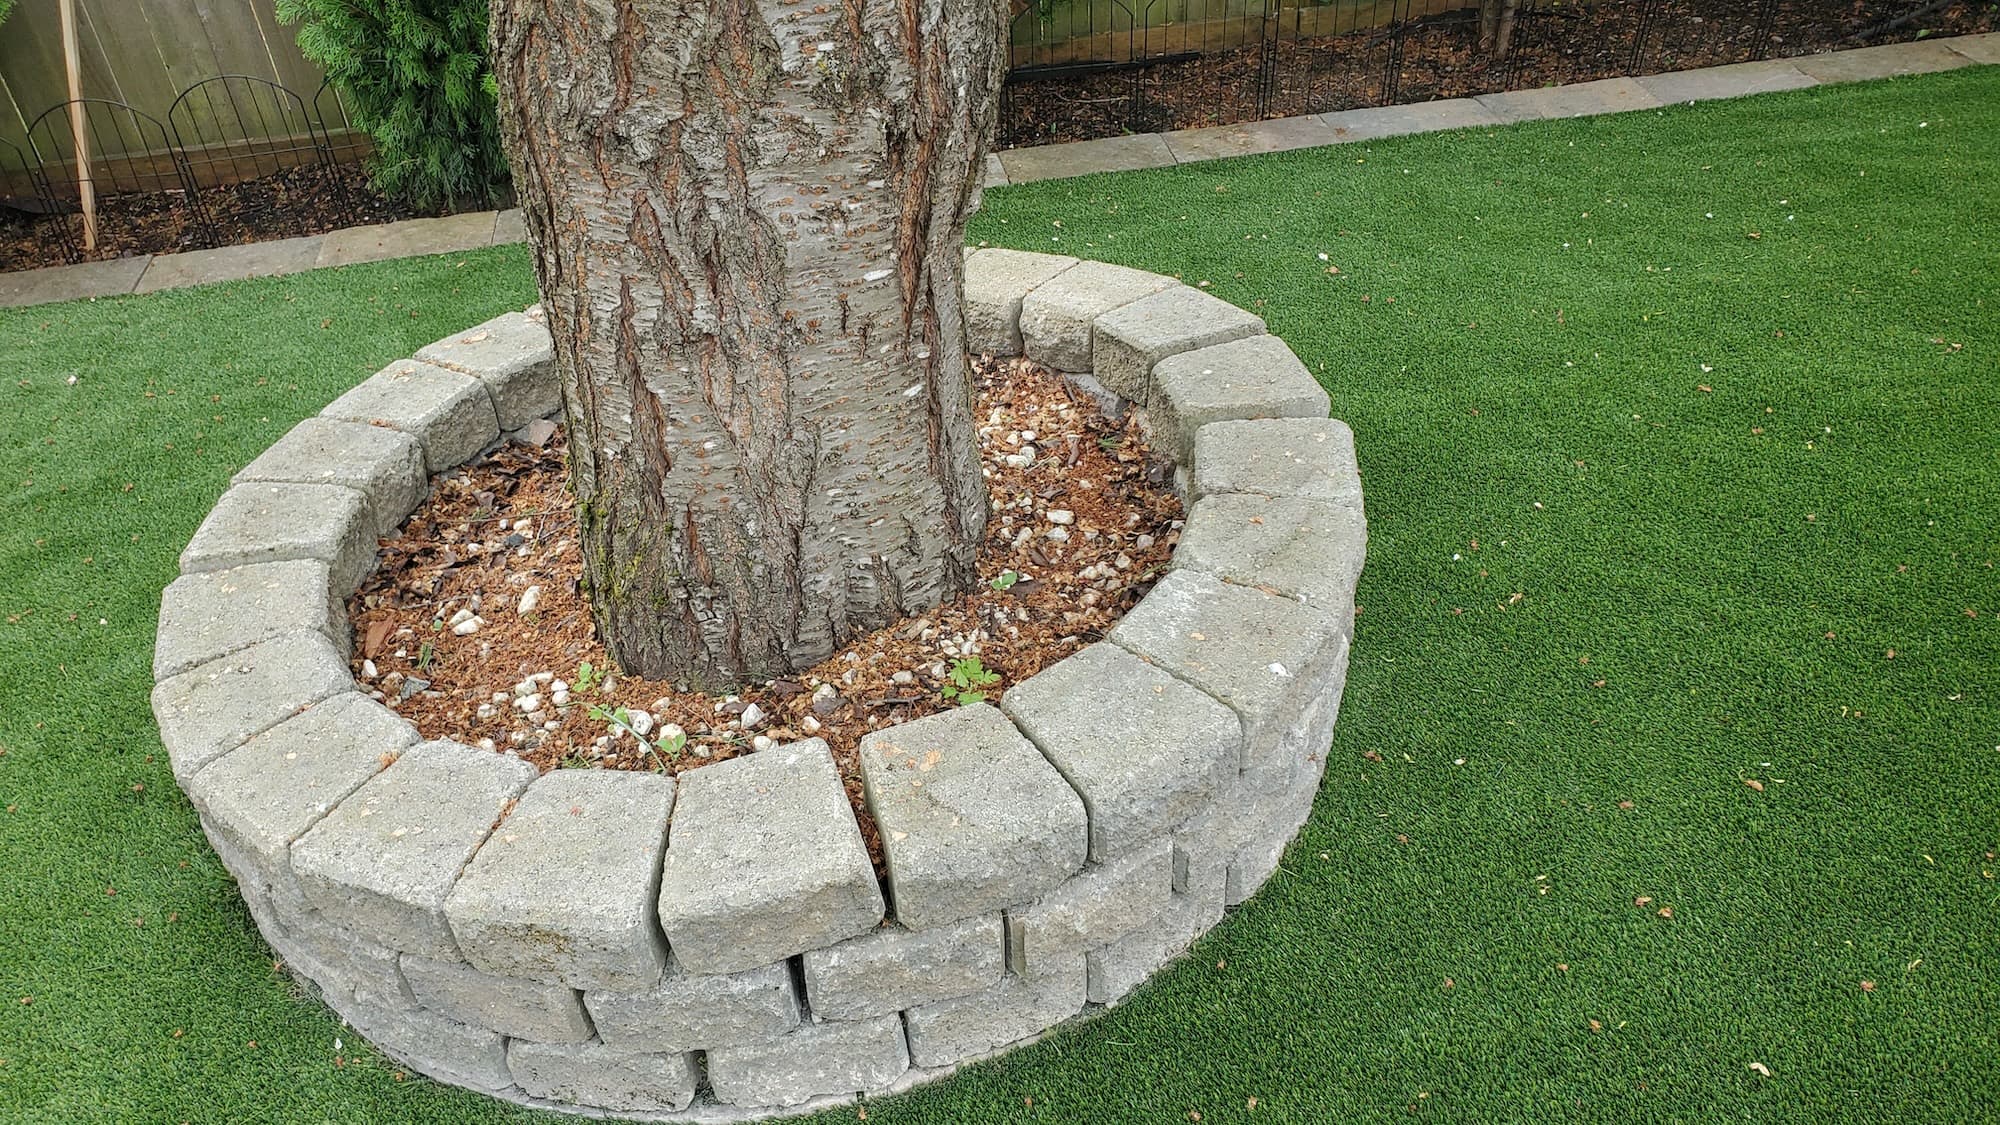
- Planting: Add greenery around your driveway for aesthetics.
- Seasonal Upgrades: Enhanced lighting or decorative elements.
FAQs
Common Customer Concerns
- Scheduling: Expect 1-3 days for installation, depending on the size and complexity.
- Turnaround Time: Most jobs can be completed within a week.
- Dump Fees: Discuss upfront to avoid surprises.
Maintenance Tips
- Regularly sweep debris off your driveway.
- Reseal pavers every 2-3 years to protect against stains and weathering.
- Check for weeds and remove them promptly.
Why Choose Lee’s General Landscaping
- Experienced Local Crew: We know what works best in your area.
- Licensed, Bonded & Insured: You’re protected from unforeseen issues.
- Hundreds of 5-Star Reviews: Our reputation speaks for itself.
Ready for a yard that stays neat?
Call or text Lee’s General Landscaping for a quick quote and a maintenance plan that fits your property.
⭐⭐⭐⭐⭐ 400+ Yelp Reviews • ⭐⭐⭐⭐⭐ 130+ Google Map Reviews
📧 Email: lees.g.landscaping@gmail.com
📞 Office: 206-259-7919
🕘 Hours: Mon–Sun: 9AM–6PM
🔒 Licensed • Bonded • Insured
DIY vs. Pro
DIY Considerations
- Tools Needed: Plate compactor, level, shovel, and pavers.
- Time Investment: Expect several weekends for a DIY project.
- Skill Level: Requires some experience in landscaping.
Pro Advantages
- Speed: Professionals can complete the job in a fraction of the time.
- Quality Assurance: Less chance of mistakes or poor drainage.
- Stress-Free: Let the pros handle the heavy lifting.
Common Mistakes
- Inadequate Drainage: Failing to plan for water runoff can lead to issues.
- Improper Base Preparation: Skipping the base layer can cause pavers to shift.
- Inconsistent Paver Placement: Not following a pattern can lead to an uneven look.
With the right approach and preparation, driveway paver installation can enhance your home’s value and functionality. Whether you choose to tackle it yourself or hire a professional, understanding the process will lead to better results.