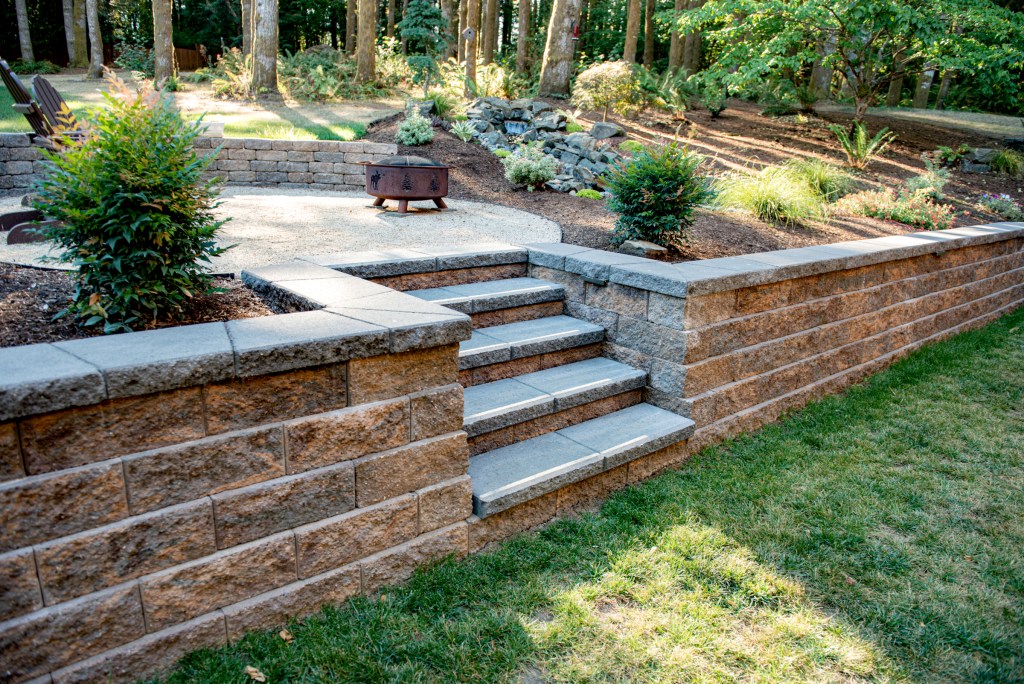
Backyard Paver Stairs to Patios or Lawns
Creating a functional and attractive transition from your backyard to a patio or lawn can be a challenge for many homeowners. Uneven ground, slippery mud, or steep slopes can complicate access and pose safety risks. The best solution? Installing paver stairs. Not only do they enhance curb appeal, but they also provide a durable and low-maintenance pathway. This article will guide you through the process of building paver stairs, covering everything from tools and materials to costs and maintenance tips.
Description
What This Service Includes
- Site Assessment: Evaluate the area for slope, drainage, and design.
- Materials Selection: Choose pavers that suit your style and budget.
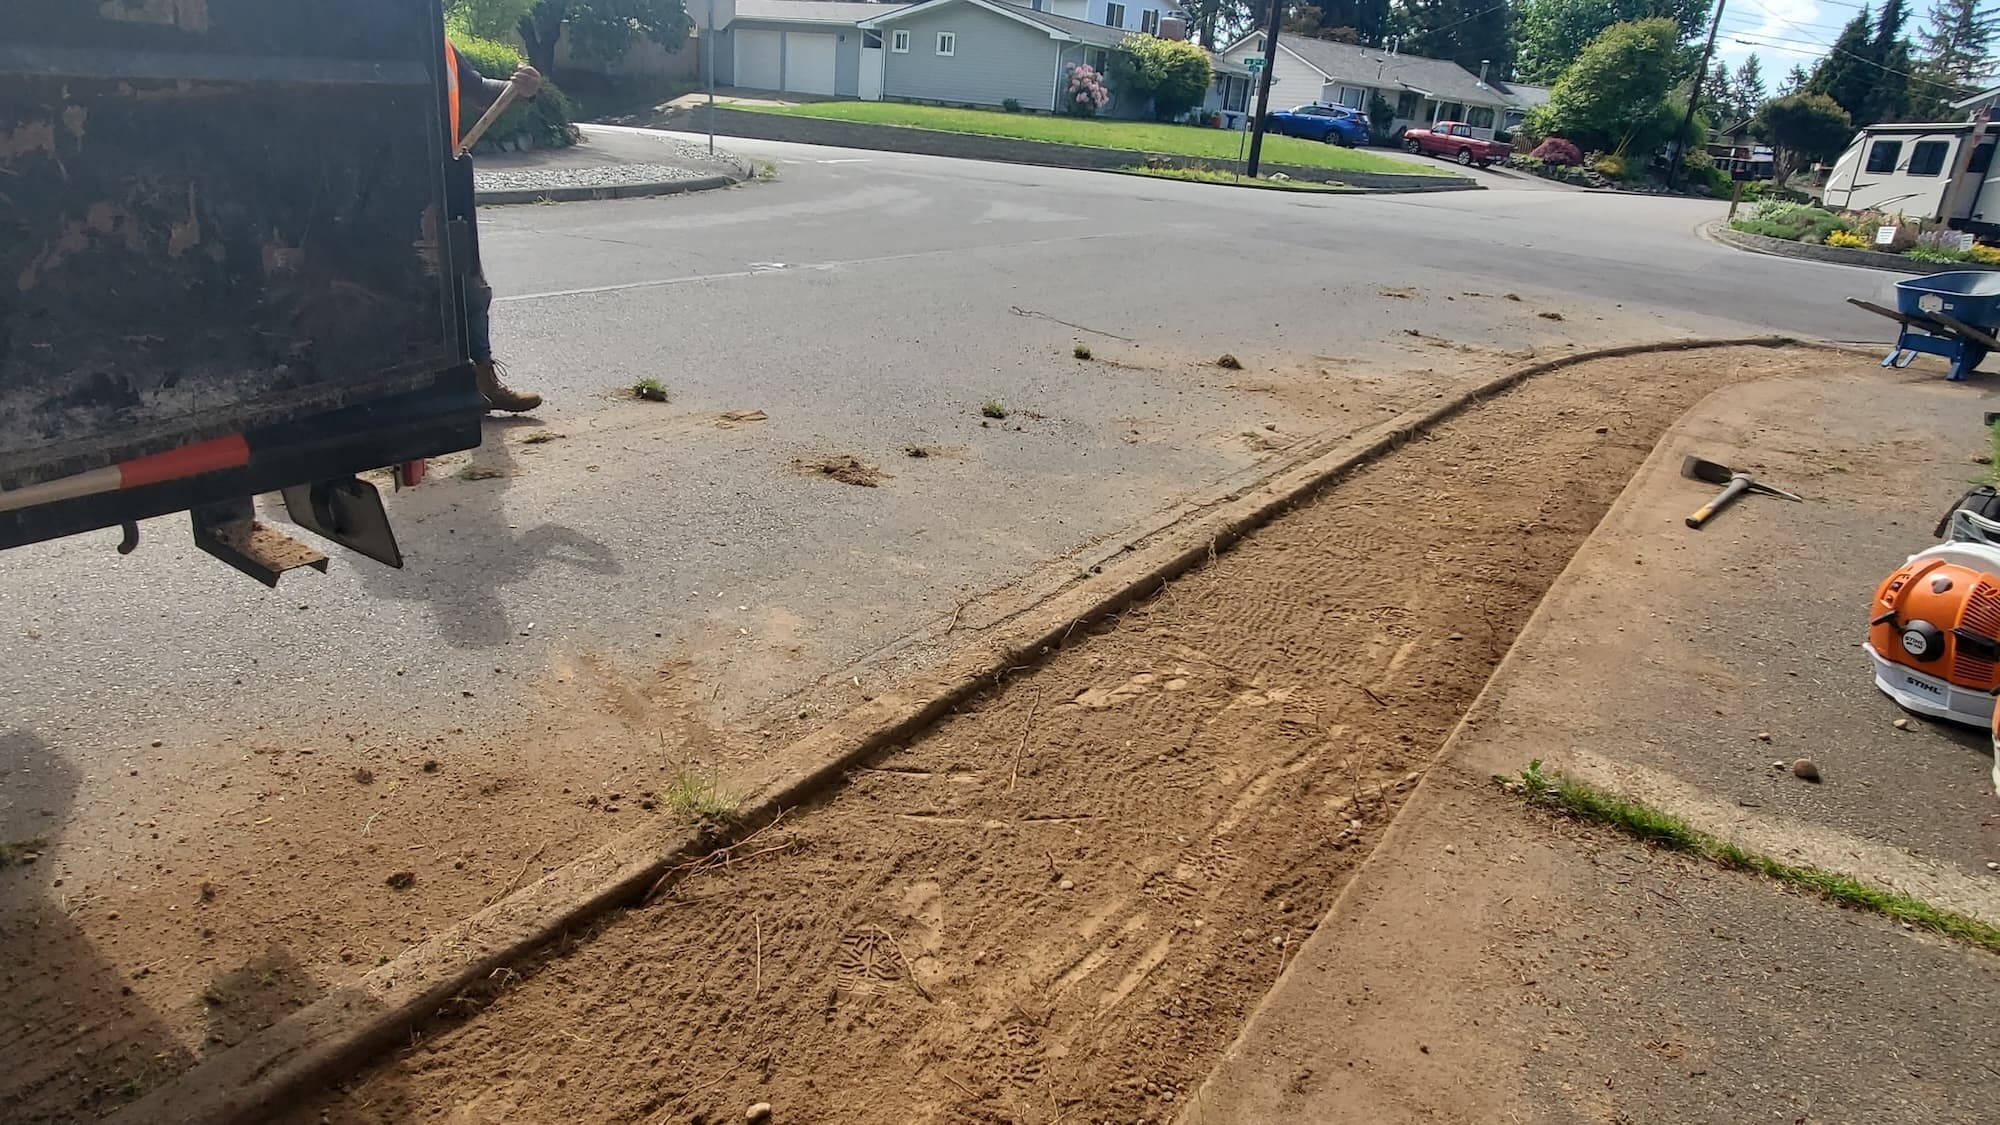
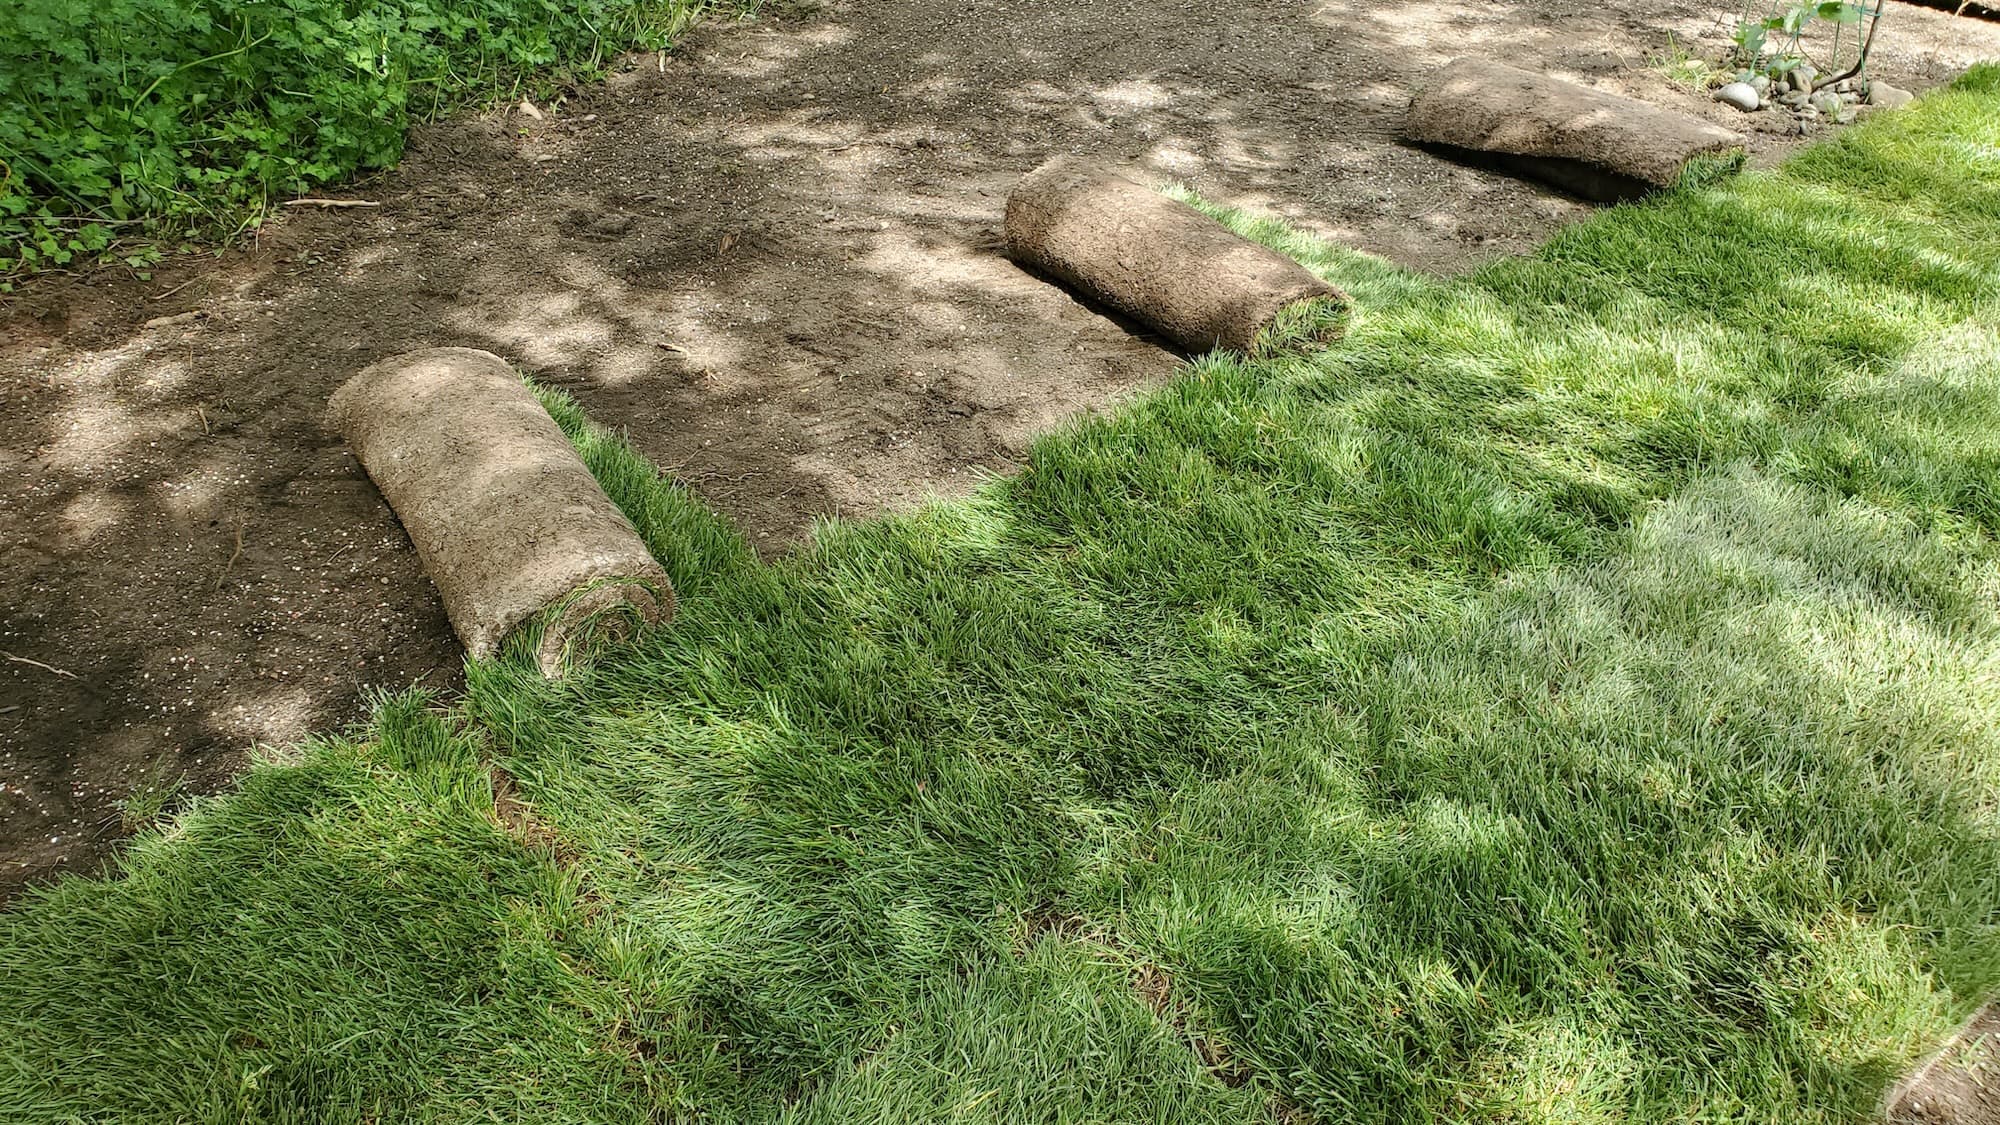
- Excavation: Prepare the site by removing sod and debris.
- Base Layer Installation: Add gravel or sand for stability.
- Paver Placement: Lay the pavers in your desired pattern.
- Finishing Touches: Fill joints with sand and compact for durability.
Key Benefits
- Improved Appearance: Paver stairs add visual interest and elegance to your yard.
- Durability: With proper installation, paver stairs can last for decades.
- Safety: Non-slip surfaces provide a secure footing, reducing the risk of falls.
- Eco-Friendly Options: Many pavers are made from recycled materials.
Why Hire a Pro
- Local Expertise: Knowledge of local regulations and climate conditions.
- Licensed & Insured Crew: Peace of mind knowing the job is done safely and correctly.
- Professional Tools: Access to specialized equipment for efficient and high-quality work.
Our Approach
Step-by-Step Breakdown of Tasks
- Planning: Measure the area and sketch your design.
- Gather Tools & Materials:
- Tools: shovel, level, rubber mallet, tamper, measuring tape, and a saw (if cutting pavers).
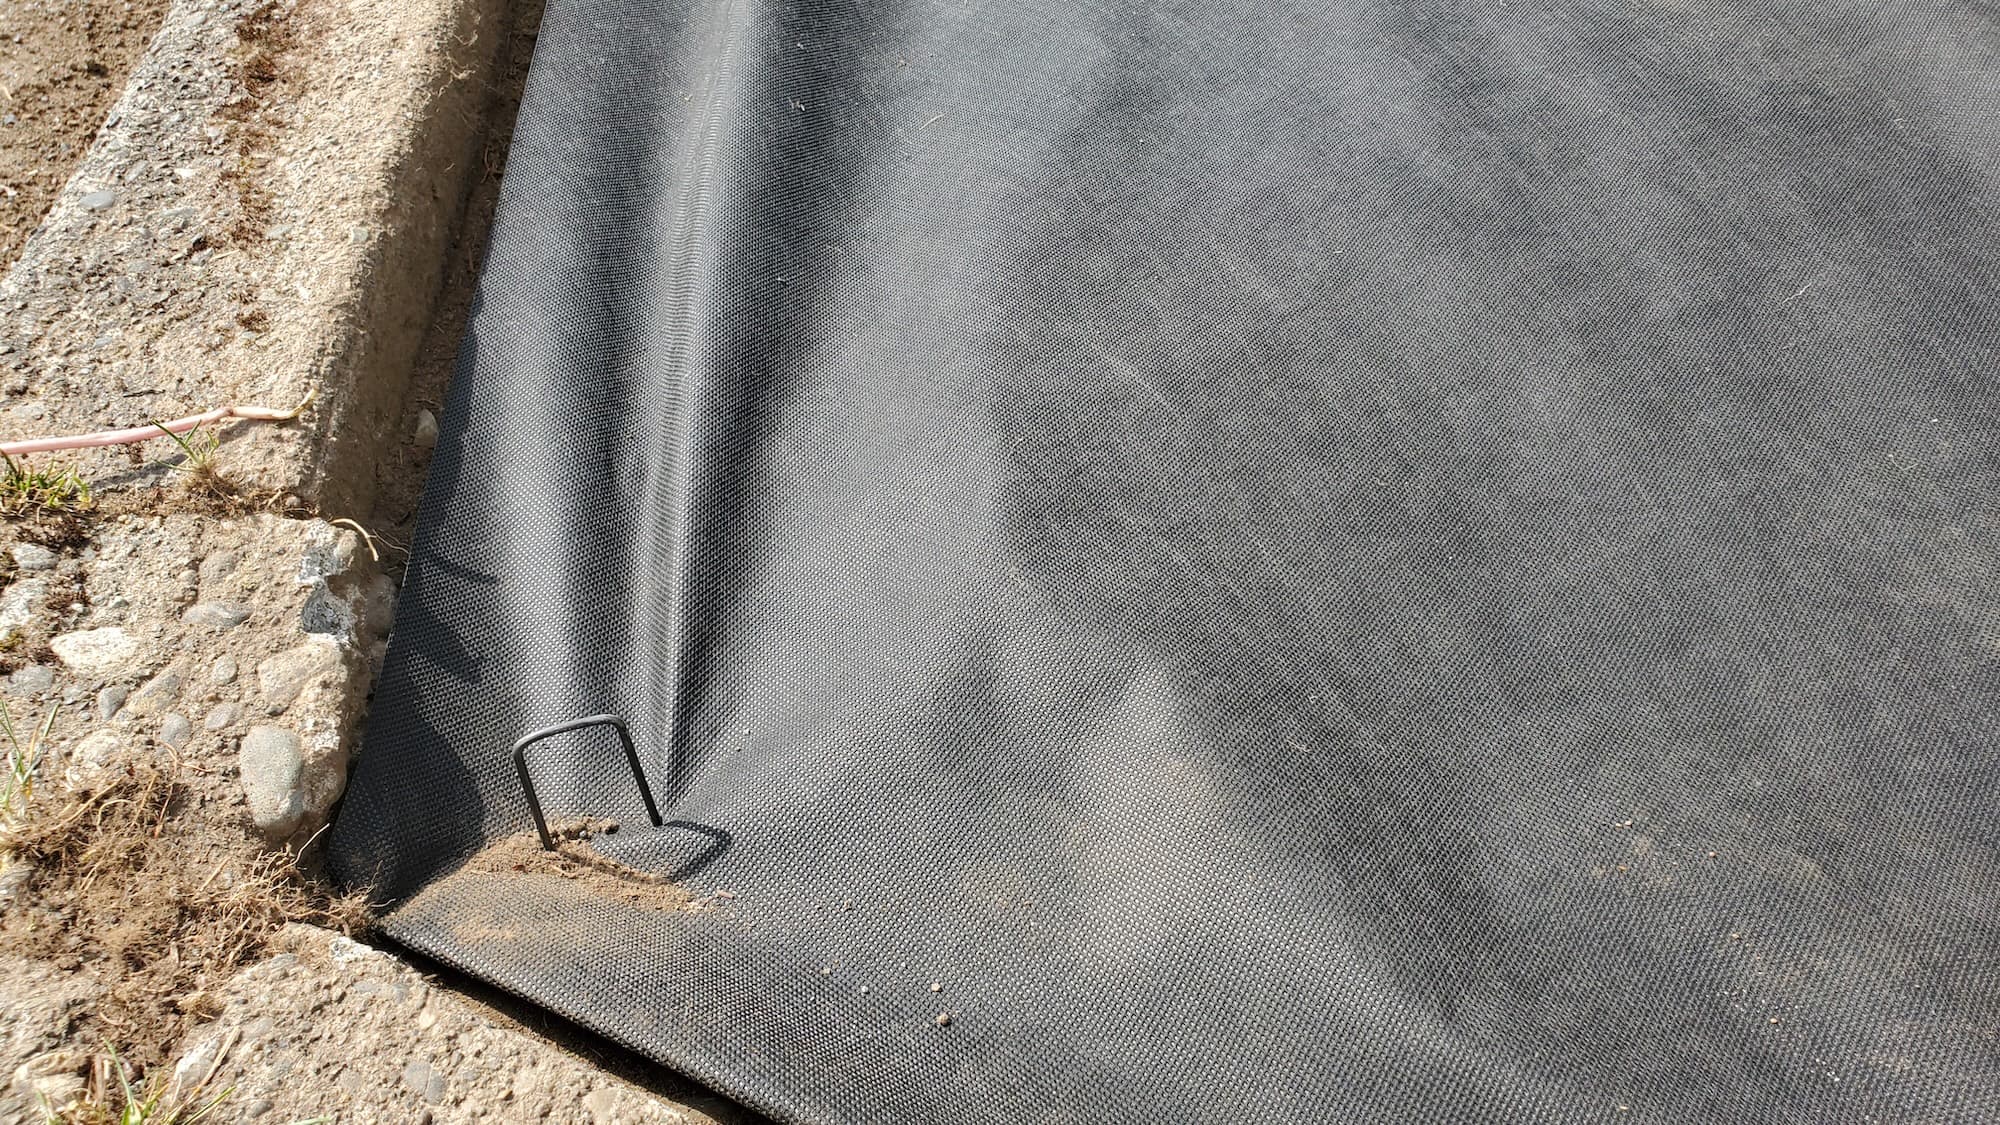
- Materials: pavers, gravel or sand, landscape fabric, and jointing sand.
- Excavation: Clear the area, digging about 6-8 inches deep.
- Base Layer Installation: Lay down a 4-6 inch layer of gravel or sand, leveling it out.
- Paver Placement: Start laying pavers from the bottom to the top, ensuring they fit snugly.
- Finishing Touches: Fill the joints with sand and compact the pavers with a rubber mallet.
What Homeowners Can Expect
- Efficient Work: Our crew will work systematically to ensure a clean and efficient installation.
- Safety Measures: We prioritize safety for both our team and your property.
- Durable Results: Expect a sturdy and visually appealing set of stairs that enhances your landscape.
Service Pricing
Pricing Structure
- Flat Rate vs. Custom: Prices may vary based on complexity and materials.
- Variables to Consider:
- Lot size
- Amount of debris removal
- Accessibility of the site
- Additional features (lighting, railings, etc.)
Cost Ranges
- Basic Installation: $1,500 - $3,000 for standard paver stairs.
- Complex Designs: $3,000 - $5,000 for intricate patterns or larger areas.
- Additional Costs: Be prepared for potential tax, dump fees, or extra hauling charges.
What’s Included
Core Services
- Trimming and Edging: Neatens the surrounding landscape.
- Weeding and Mulching: Keeps the area looking tidy and prevents weed growth.
- Pruning: Ensures nearby plants are healthy and not obstructing the stairs.
Optional Extras
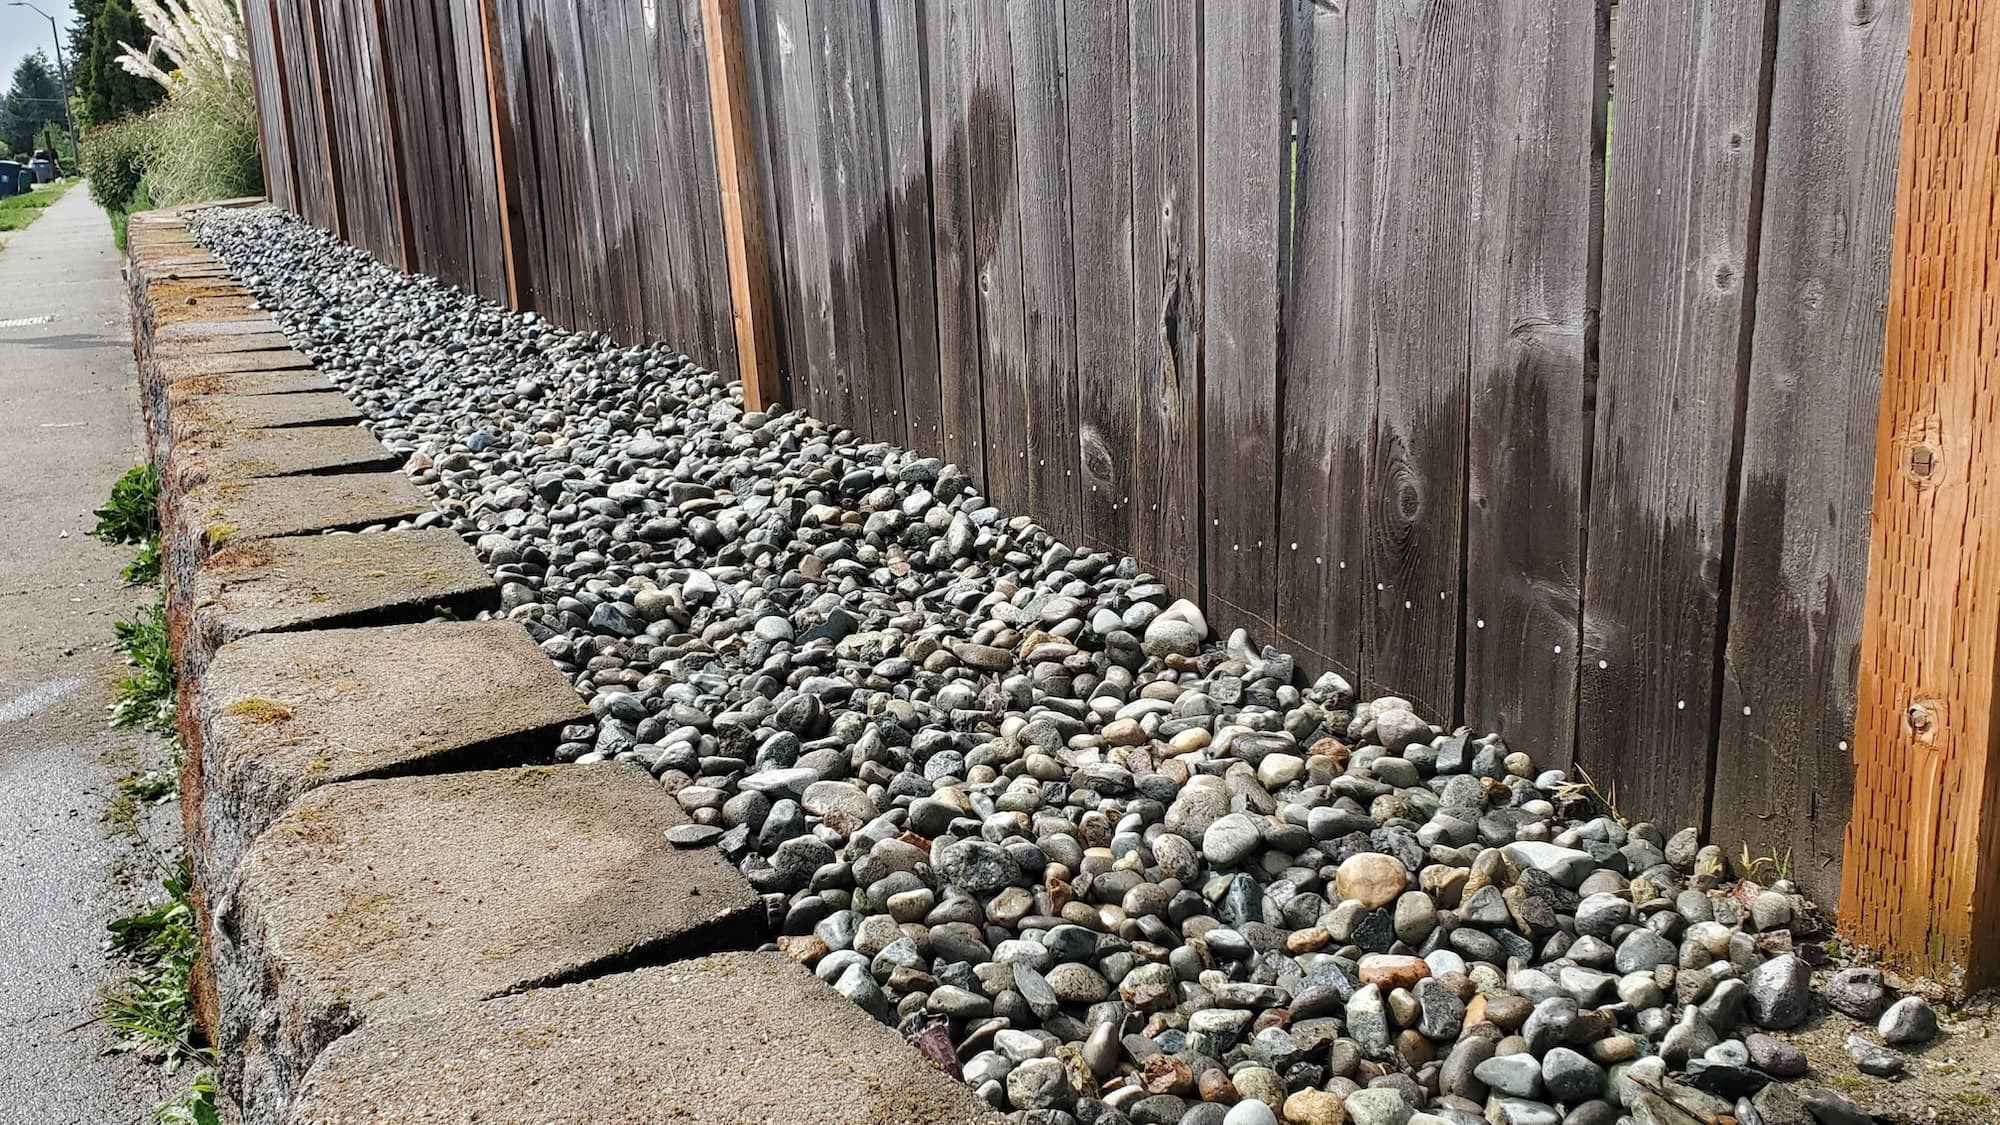
- Gravel: For additional drainage or decorative purposes.
- Landscape Fabric: Prevents weeds from growing up through the pavers.
- Seasonal Upgrades: Lights or plants can enhance the aesthetic appeal.
FAQs
Common Customer Concerns
- Scheduling: We can typically schedule your project within 1-2 weeks, depending on the season.
- Turnaround Time: Most paver stair installations take 1-3 days, depending on the complexity.
- Dump Fees: Additional costs may apply for debris disposal if you have a lot of soil or old materials.
Maintenance Tips
- Regular Cleaning: Sweep away debris and wash with water to prevent staining.
- Joint Sand Replacement: Refill sand in joints every few years to maintain stability.
- Inspect for Settling: Check for any shifting or settling and re-level as necessary.
DIY vs. Pro
While installing paver stairs can be a rewarding DIY project, consider the following:
- Skill Level: Requires knowledge of landscaping and masonry.
- Tools Required: Specialized tools can be costly to rent or purchase.
- Time Commitment: DIY projects may take longer than expected, especially for beginners.
If you’re unsure about any step, hiring a professional can save you time and ensure high-quality results.
Common Mistakes
- Skipping Base Preparation: A poor base can lead to shifting and uneven stairs.
- Incorrect Slope: Ensure proper drainage to avoid water pooling on your stairs.
- Neglecting Maintenance: Regular upkeep is vital to prolong the life of your stairs.
Why Choose Lee’s General Landscaping
- Experienced Local Crew: We work clean and efficiently.
- Licensed, Bonded & Insured: Enjoy peace of mind throughout the project.
- Proven Track Record: Hundreds of 5-star reviews across Yelp and Google.
Ready for a yard that stays neat?
Call or text Lee’s General Landscaping for a quick quote and a maintenance plan that fits your property.
⭐⭐⭐⭐⭐ 400+ Yelp Reviews • ⭐⭐⭐⭐⭐ 130+ Google Map Reviews
📧 Email: lees.g.landscaping@gmail.com
📞 Office: 206-259-7919
🕘 Hours: Mon–Sun: 9AM–6PM
🔒 Licensed • Bonded • Insured