Apply pre-emergent under mulch beds
Keeping your garden beds weed-free can feel like a never-ending battle for homeowners. Weeds can quickly take over, stealing nutrients and water from your plants while creating an unkempt appearance. One of the best solutions is to apply a pre-emergent herbicide under your mulch beds. This proactive approach can help prevent weed seeds from germinating, enhancing your landscape’s curb appeal, safety, and lowering maintenance efforts. In this article, we’ll cover everything you need to know about applying pre-emergent, including a step-by-step process, tools and materials, timelines, costs, safety notes, maintenance tips, and whether you should tackle this as a DIY project or hire a pro.
Description
What the Service Includes
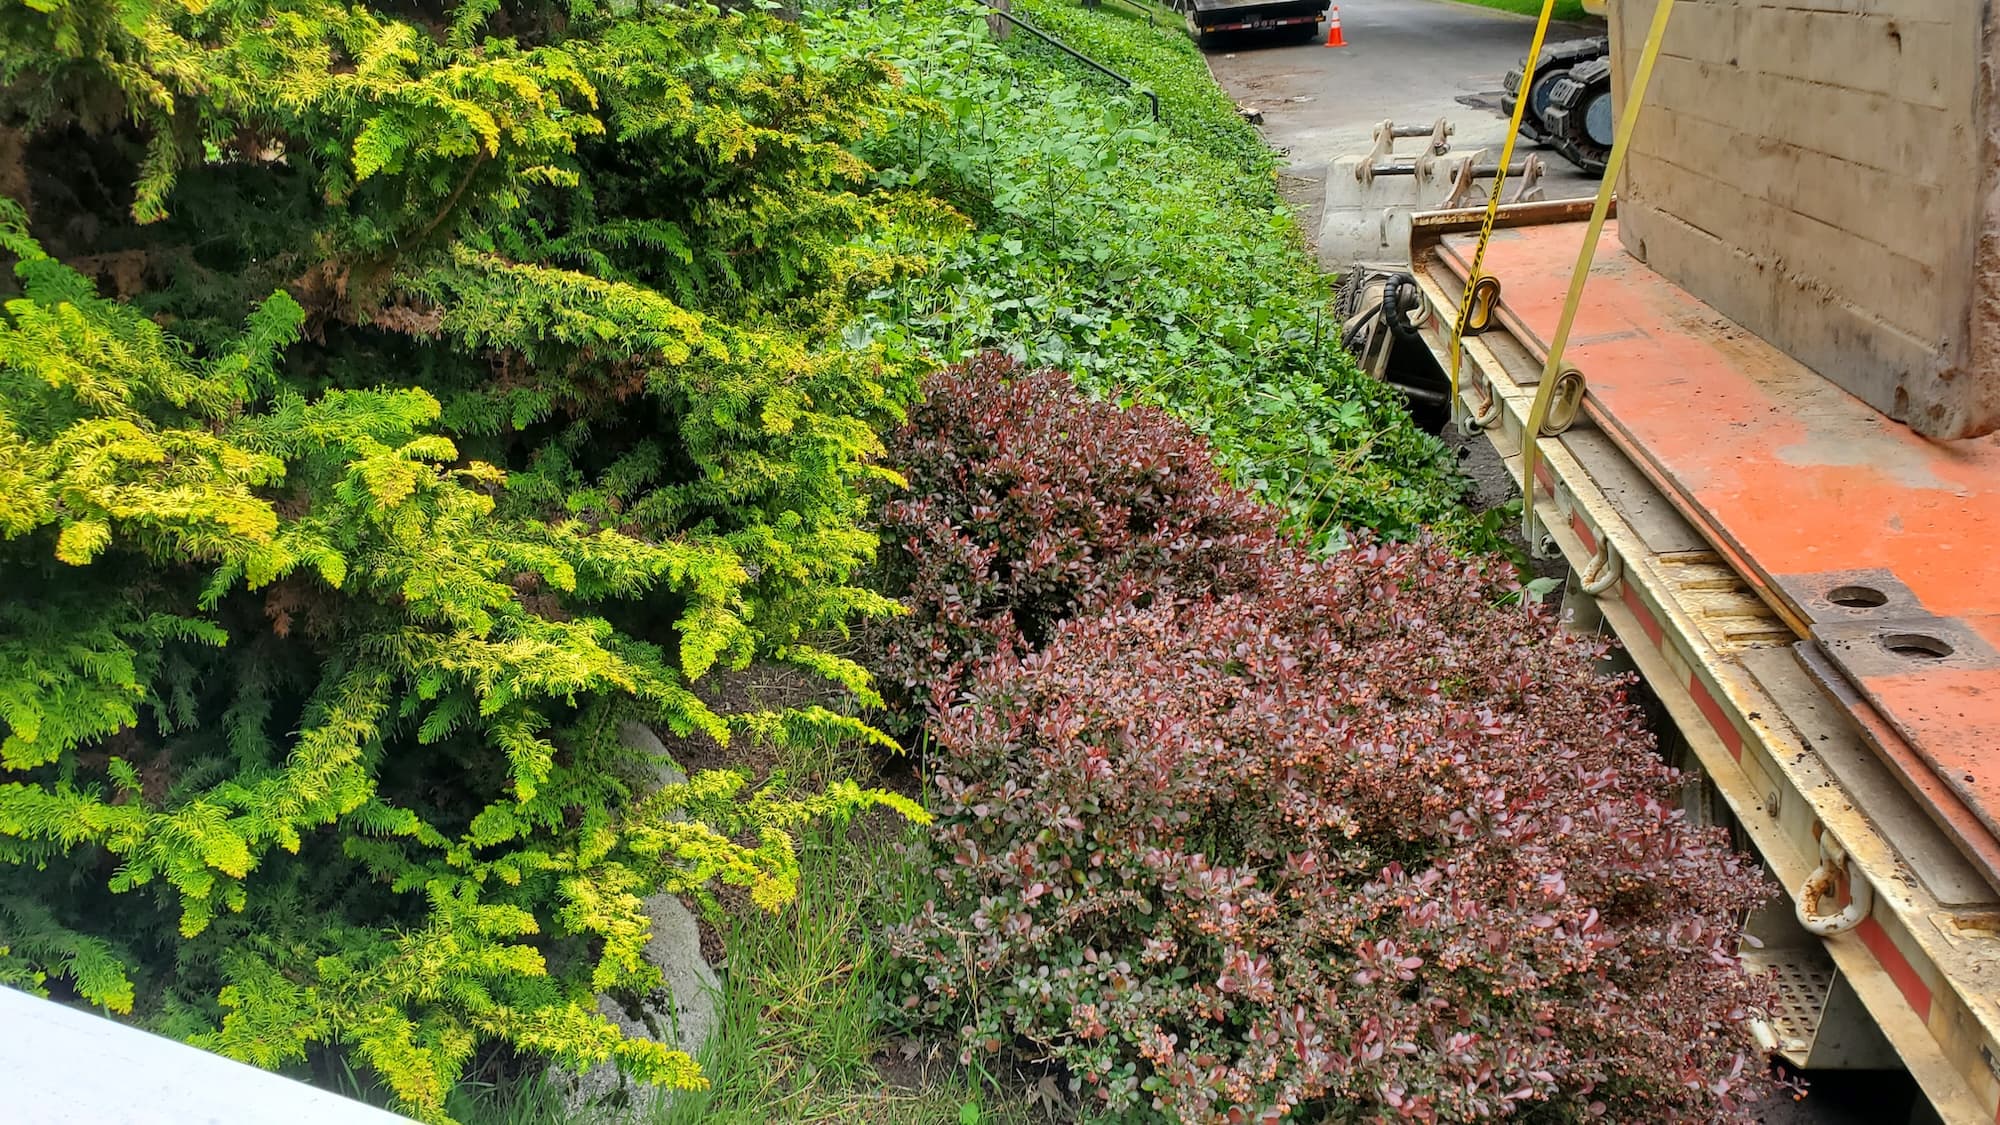
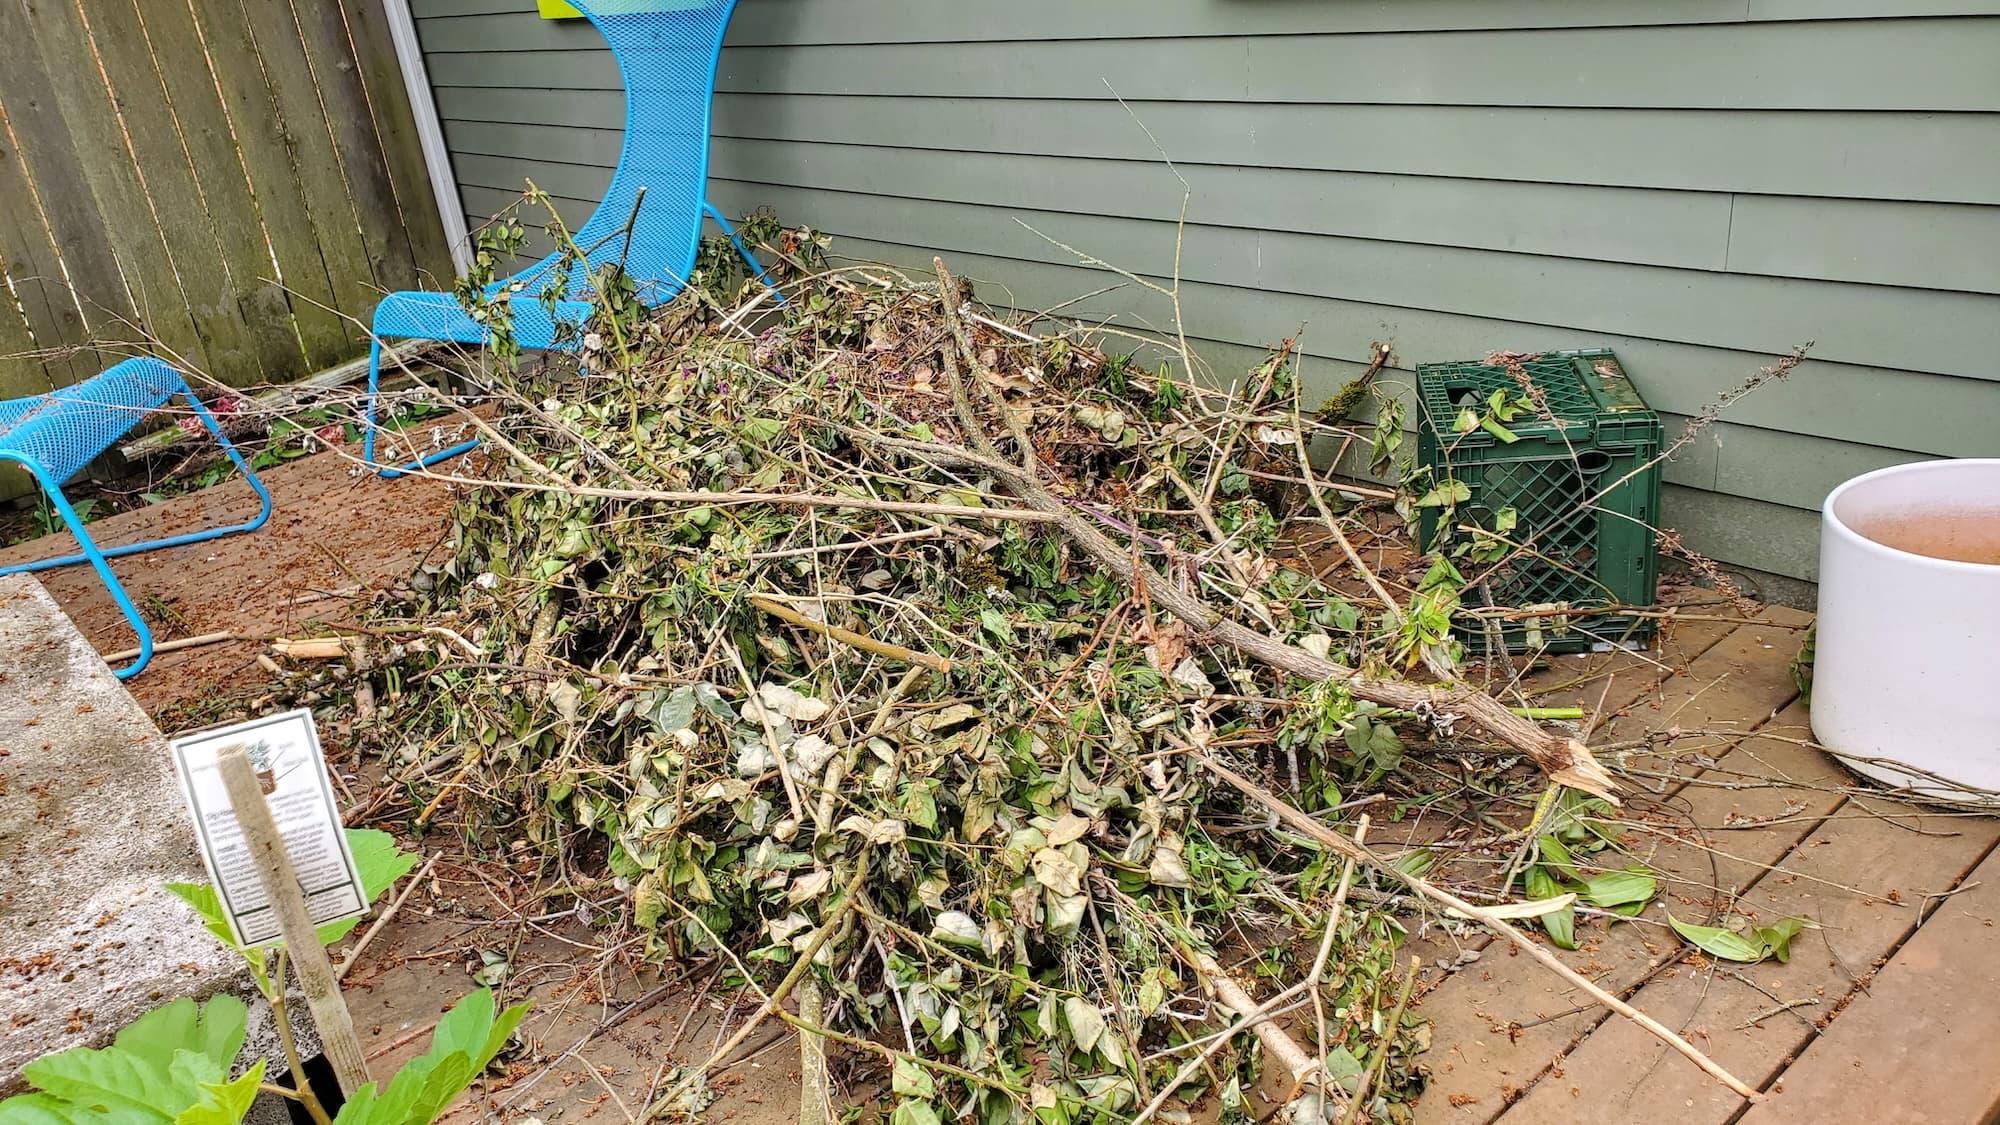
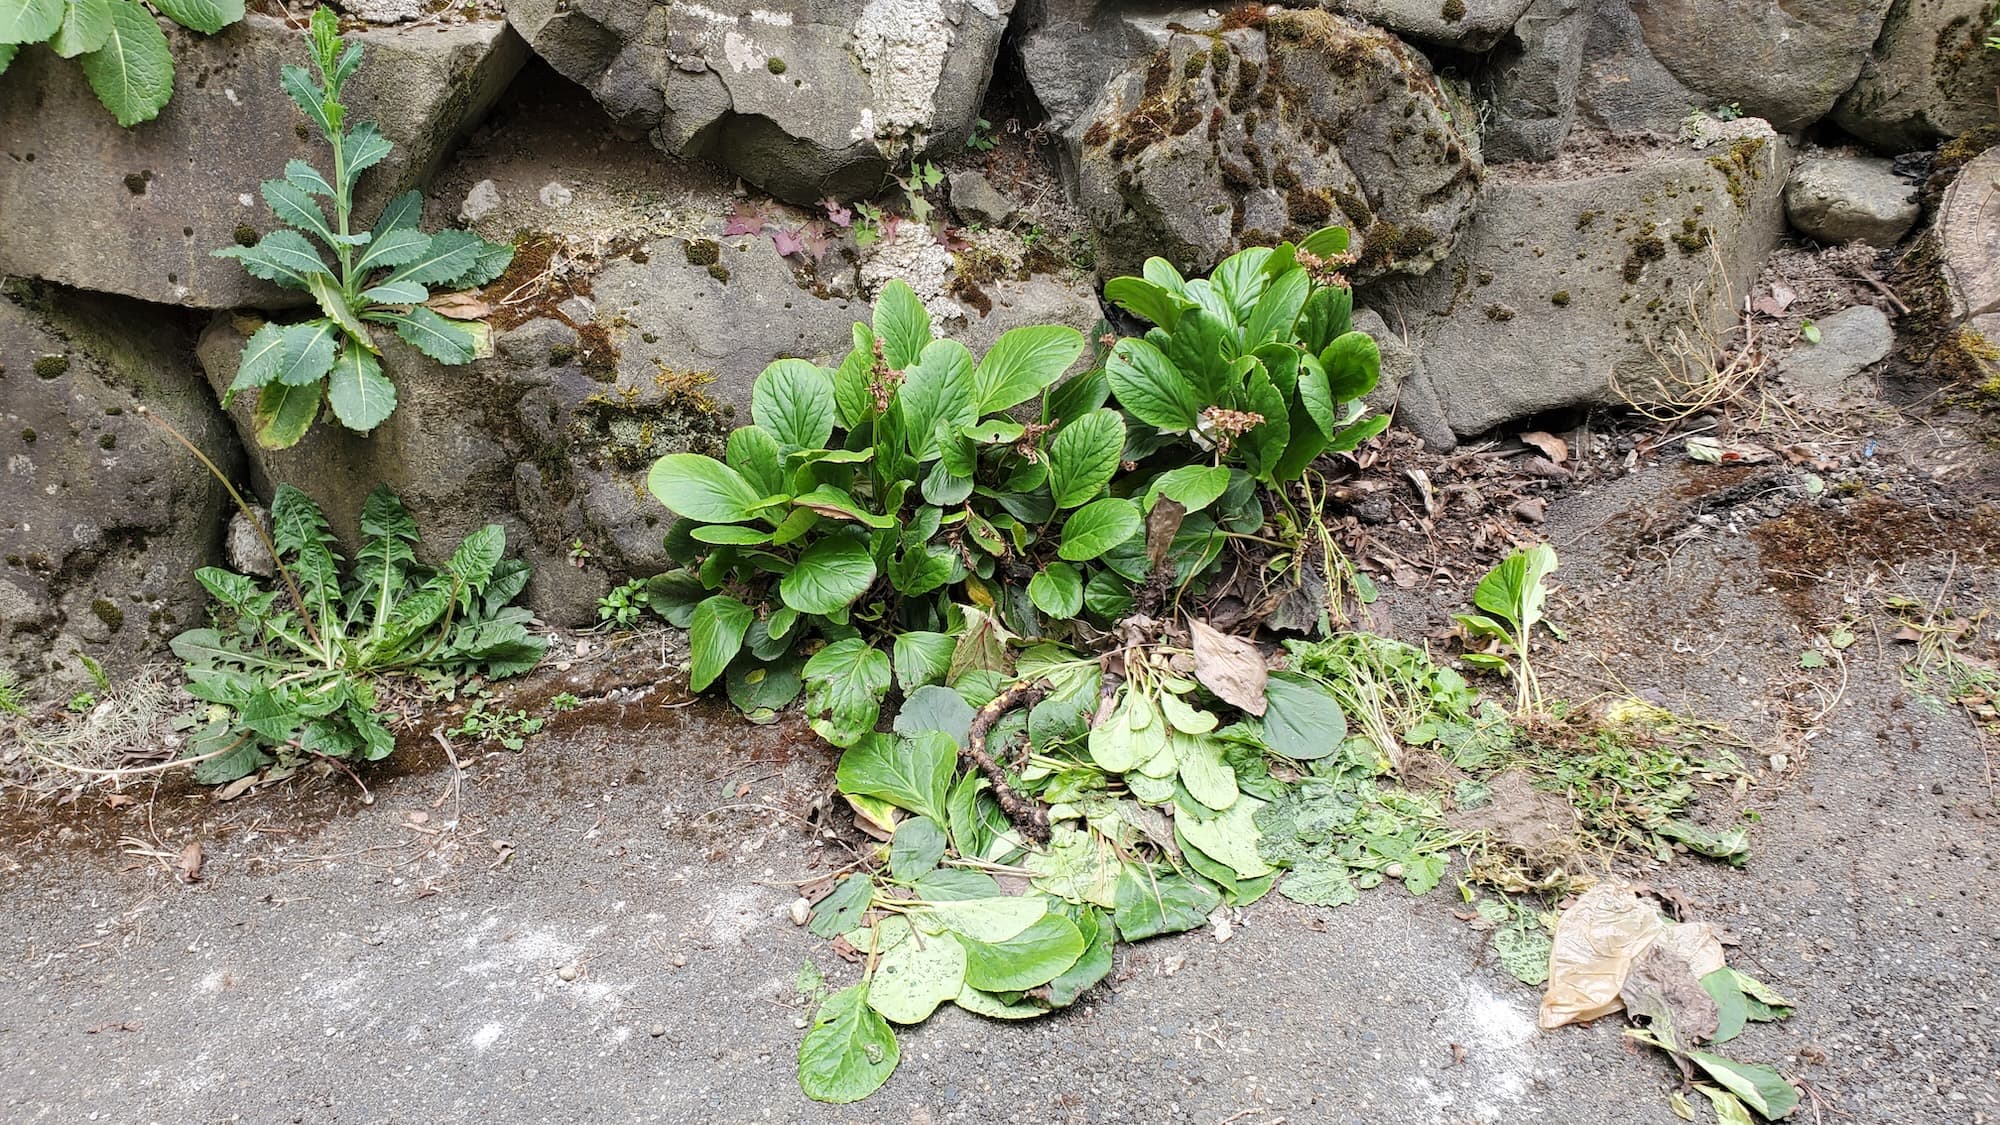
- Site Preparation: Clearing the area of existing weeds and debris.
- Application of Pre-emergent: Distributing the herbicide evenly across the soil.
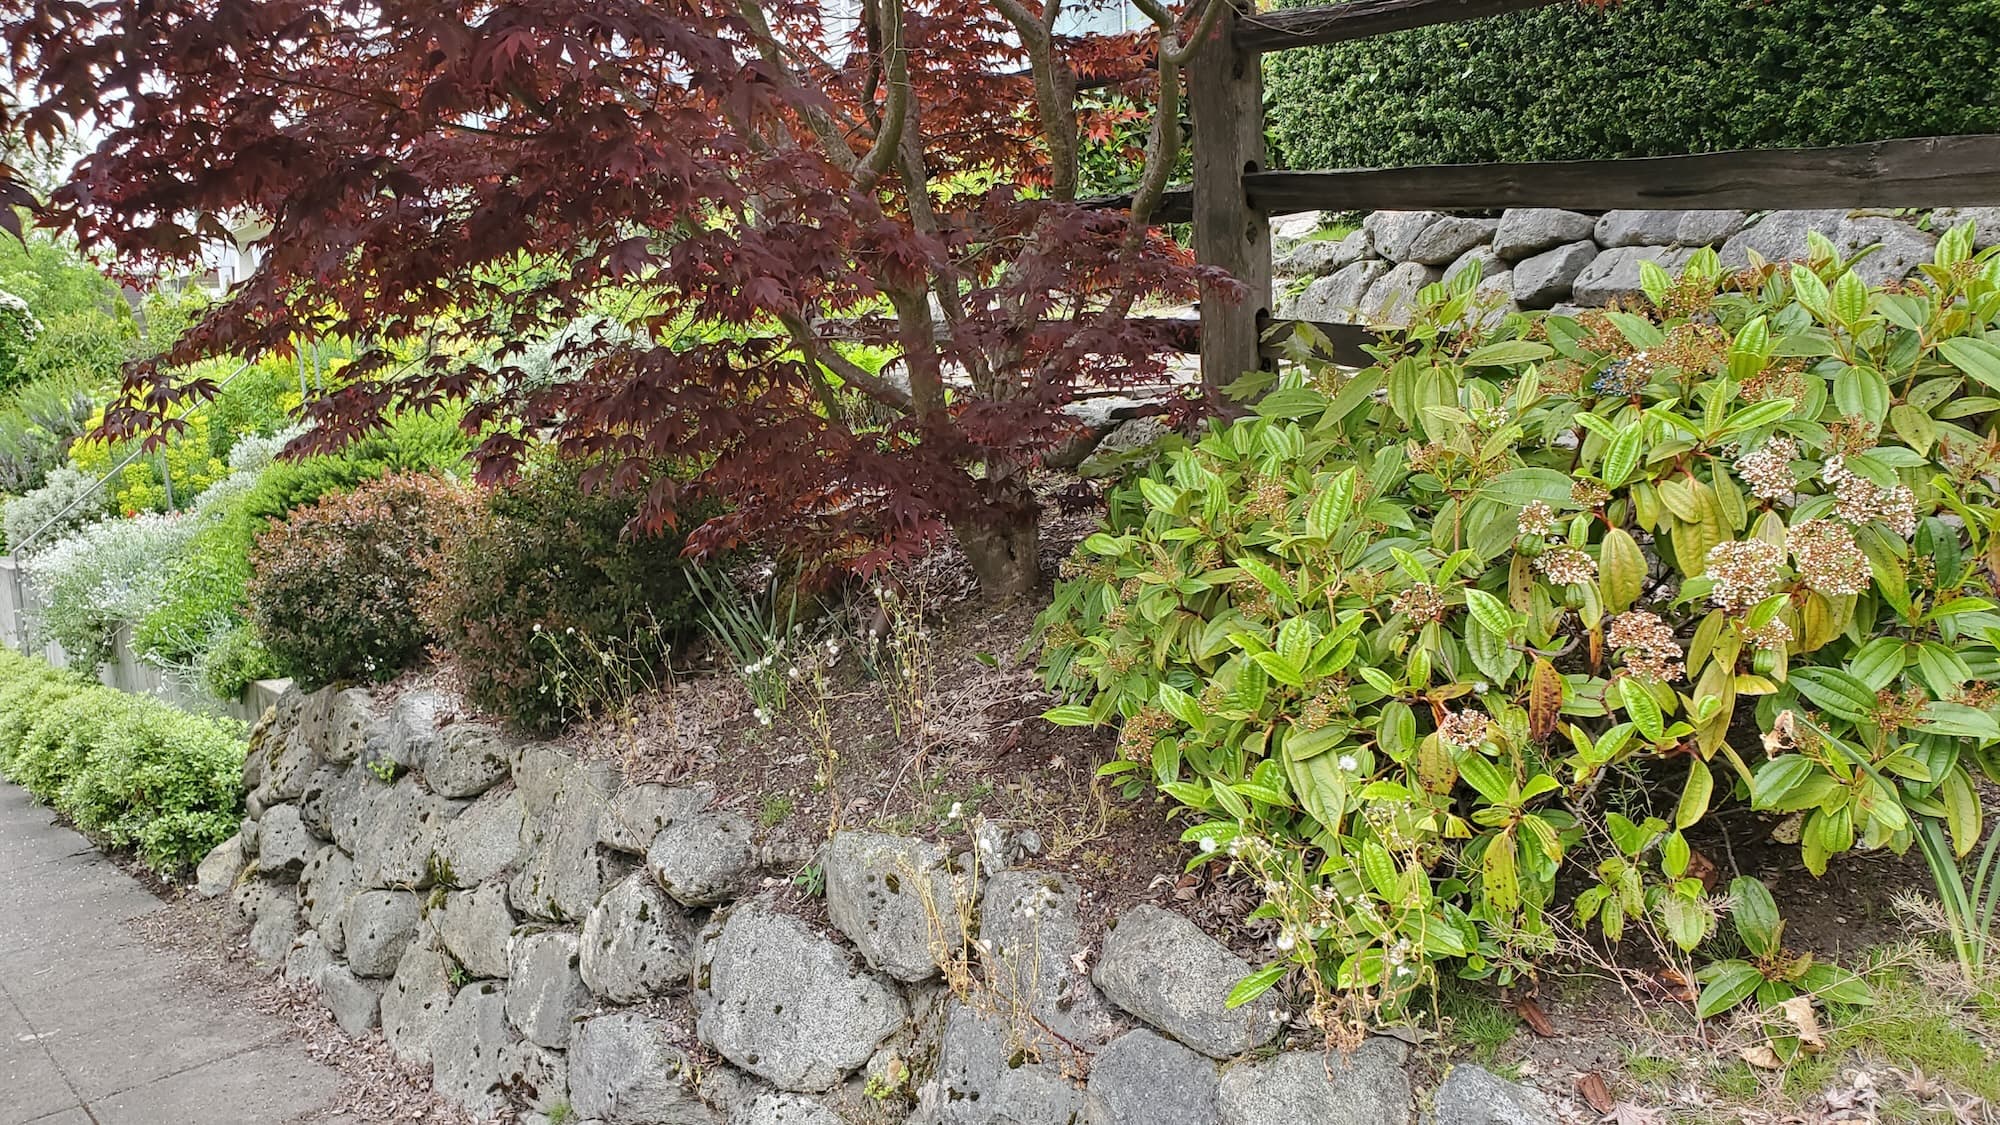
- Mulching: Adding a protective layer of mulch on top of the pre-emergent for added effectiveness and aesthetics.
Key Benefits
- Improved Appearance: A weed-free garden bed enhances the overall look of your property.
- Durability: Protects your plants and soil from erosion and nutrient loss.
- Safety: Reduces the need for manual weeding, minimizing physical strain.
- Eco-friendly Options: Many pre-emergent products are available with organic formulations.
Why Hire a Pro
- Local Expertise: Knowledge of the best products and practices for your specific area.
- Licensed & Insured Crew: Peace of mind knowing you’re working with professionals.
- Professional Tools: Access to high-quality equipment and materials for effective application.
Our Approach
Step-by-Step Breakdown
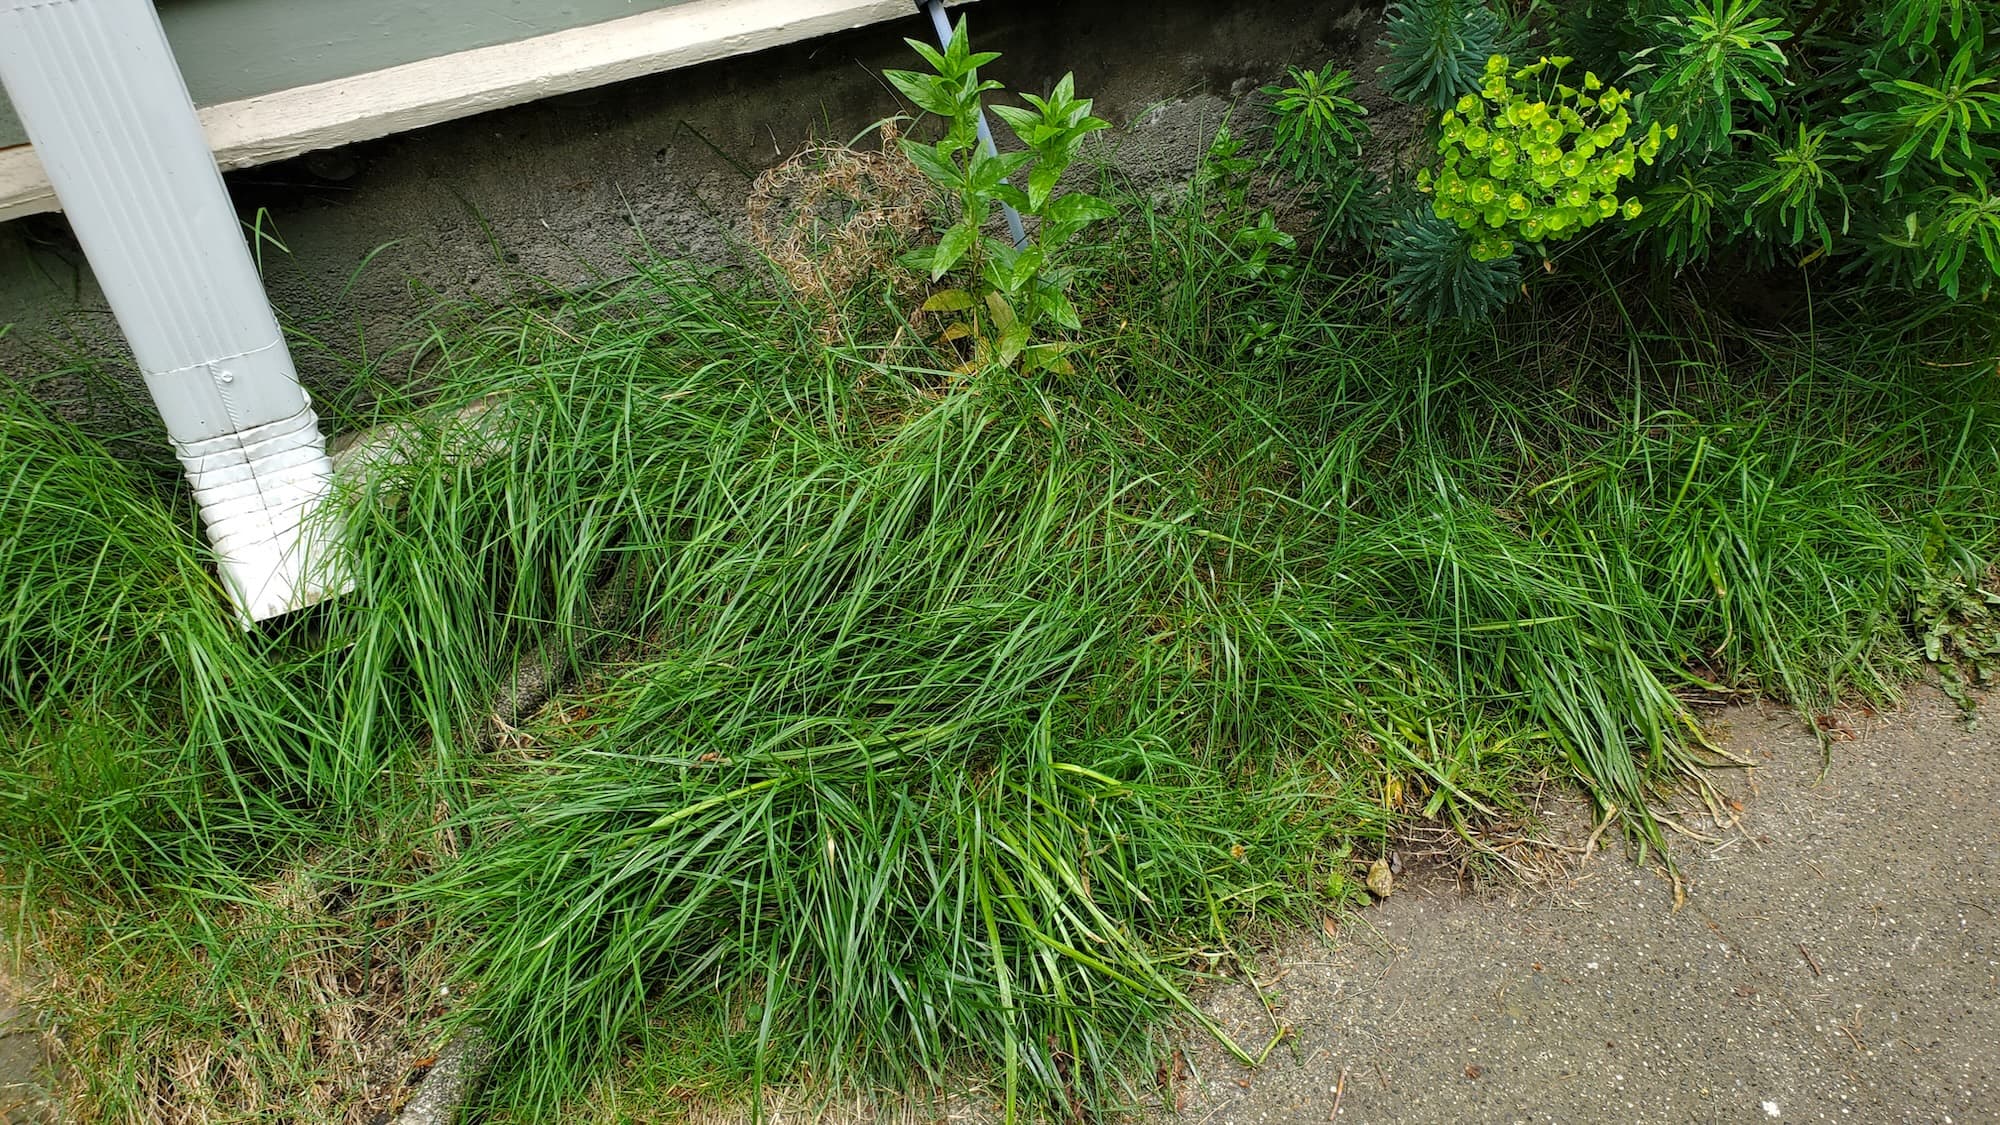
- Assess the Area: Evaluate the garden bed to determine existing weed issues and soil condition.
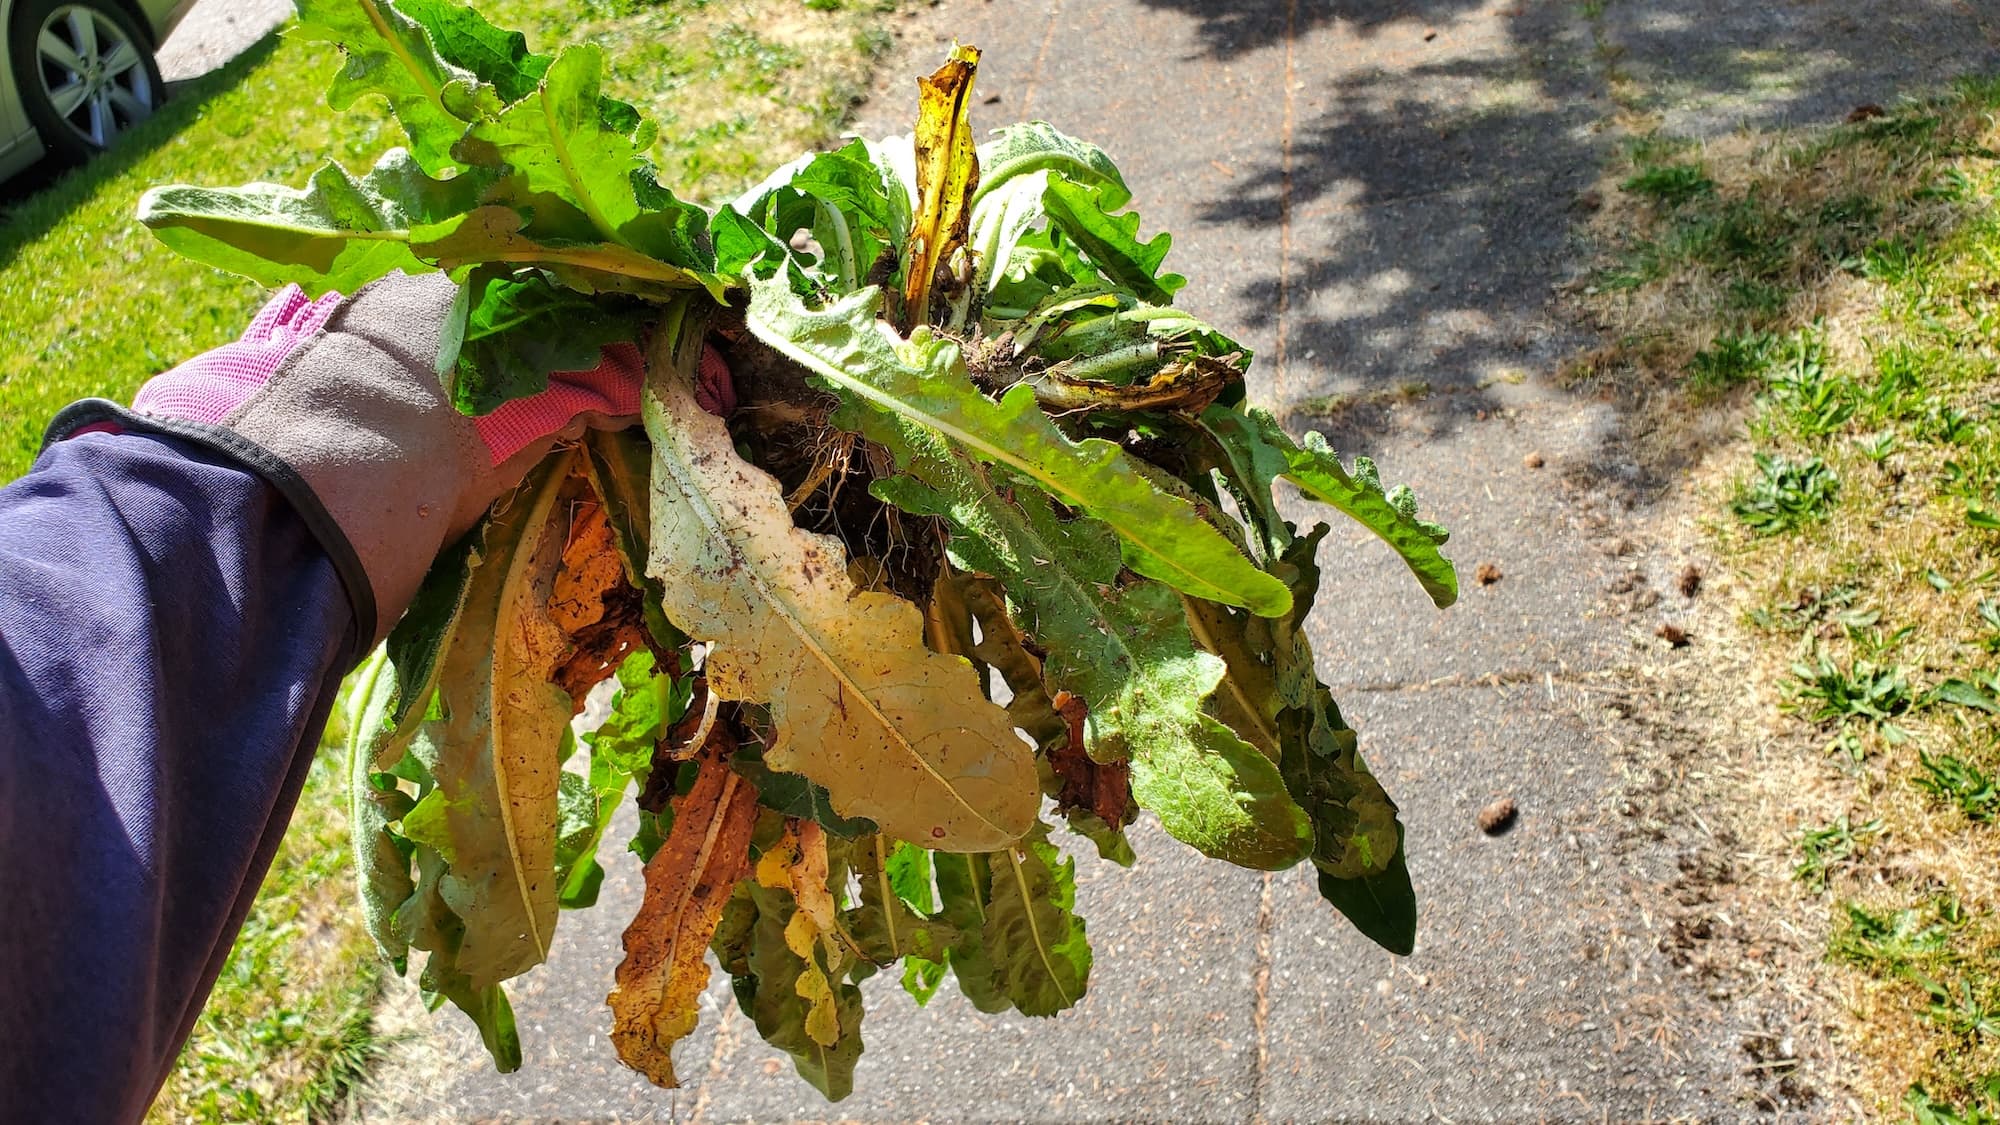
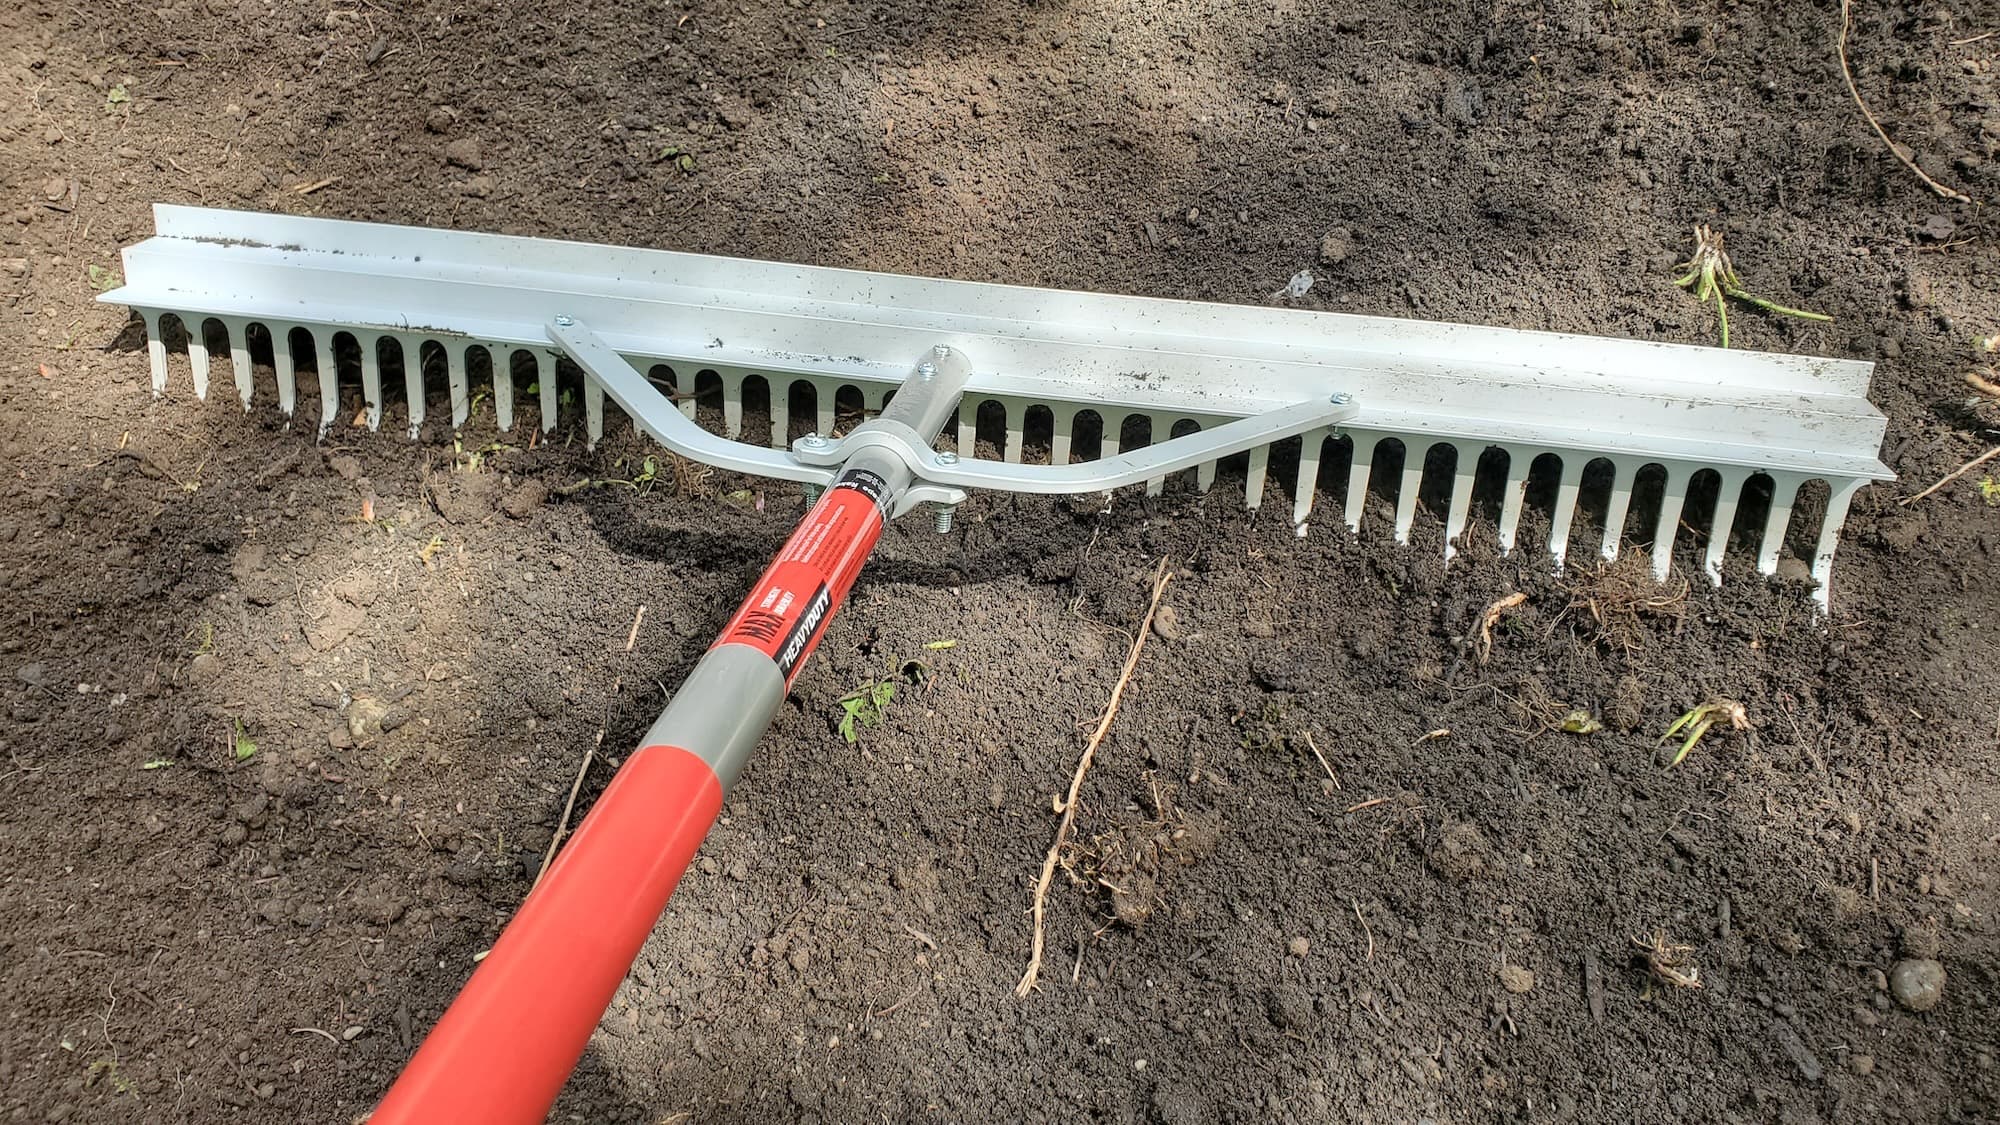
- Clear the Bed: Remove any existing weeds, debris, and old mulch. Use a garden hoe or rake for this task.
- Apply Pre-emergent:
- Choose a suitable pre-emergent herbicide based on your plants and garden type.
- Follow the manufacturer’s instructions for application rates.
- Use a spreader for even distribution if applying granular products.
- Mulch the Area:
- Select mulch that complements your landscape (wood chips, bark, straw).
- Spread a layer of mulch 2-3 inches deep over the pre-emergent.
- Water the Bed: Lightly water the area to activate the pre-emergent without washing it away.
On-Site Expectations
- Our crew will arrive with all necessary tools and materials.
- We’ll work efficiently to ensure minimal disruption to your daily routine.
- You can expect a clean and tidy job site once we’re finished.
We’re a full-service landscaping and hardscaping crew. Our goal is to tidy your yard, protect your property, and give it lasting curb appeal.
Service Pricing
Pricing Structure
- Flat Rate: For standard garden beds, expect a fixed price that covers the whole process.
- Custom Quotes: Larger or more complex areas will require a customized estimate based on:
- Lot size
- Debris volume
- Access issues
- Any additional services requested (e.g., planting or seasonal upgrades)
Extra Costs
- Be aware of potential additional costs such as:
- Tax
- Dump fees for debris
- Extra hauling charges if significant waste is generated.
What’s Included
Core Services
- Trimming: Edging and shaping plants for a polished look.
- Edging: Defining garden bed boundaries.
- Weeding: Removing existing weeds before applying pre-emergent.
- Mulching: Applying a fresh layer of mulch for aesthetics and protection.
- Pruning: Shaping shrubs and plants to promote healthy growth.
Optional Extras
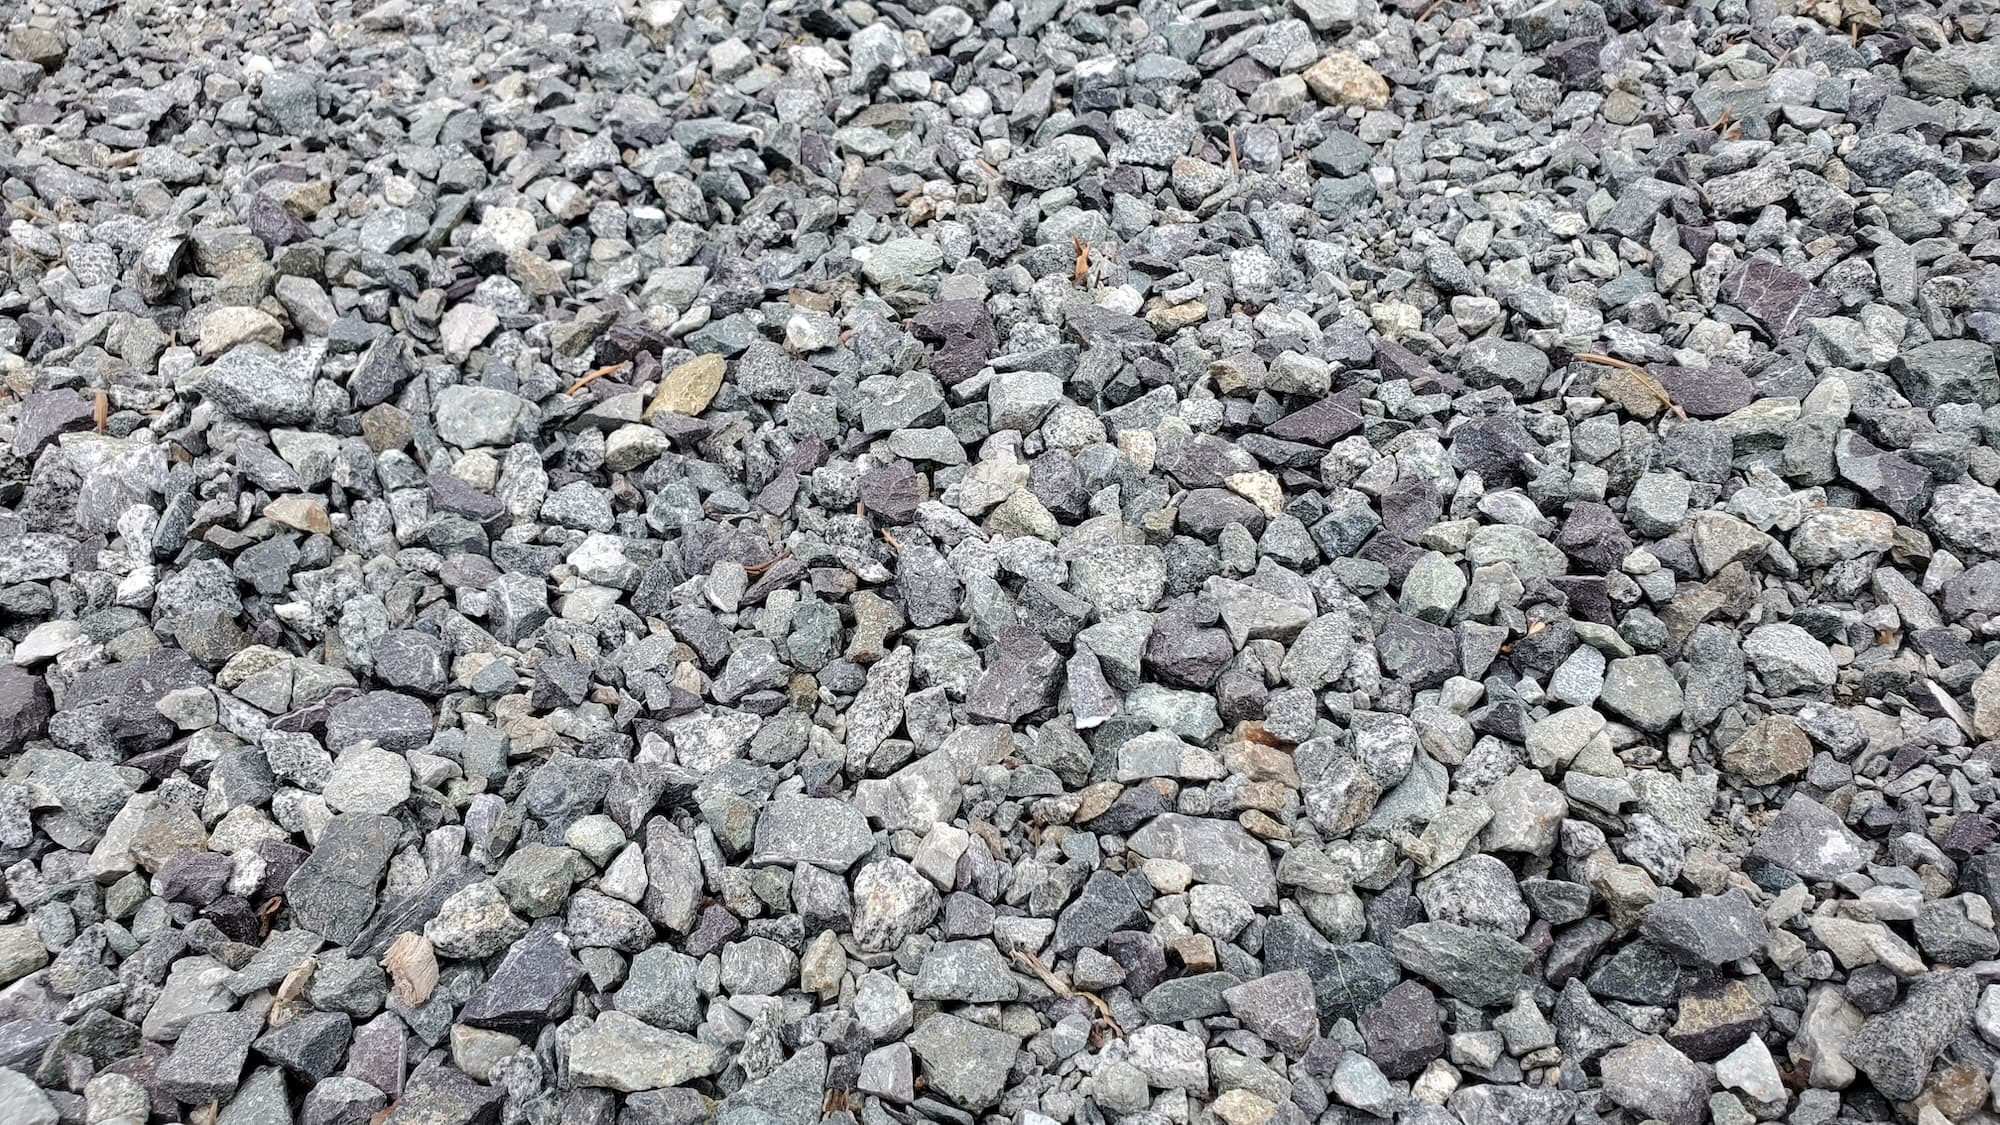
- Gravel: For drainage and added texture.
- Landscape Fabric: An extra layer of protection against weeds.
- Planting: Adding new plants or flowers to enhance your garden.
- Seasonal Upgrades: Additional maintenance services as needed.
FAQs
Common Customer Concerns
- Scheduling: We recommend planning this service in early spring before weeds start germinating.
- Turnaround Time: Most jobs can be completed in a day, depending on size.
- Dump Fees: We’ll inform you upfront if any debris removal will incur additional costs.
Maintenance Tips
- Regularly check mulch depth; replenish as needed to maintain effectiveness.
- Monitor for any signs of weeds breaking through; early intervention is key.
DIY vs. Pro
DIY
- Pros: Cost savings, hands-on experience, and personal satisfaction.
- Cons: Requires time, physical effort, and knowledge of proper application techniques.
Pro
- Pros: Expertise, efficiency, and access to professional-grade products.
- Cons: Higher upfront costs but potentially lower long-term maintenance.
Common Mistakes
- Skipping Soil Preparation: Failing to clear existing weeds can lead to ineffective results.
- Incorrect Application: Not following product instructions can reduce effectiveness and harm desirable plants.
- Neglecting Mulch: A thin layer of mulch won’t provide the necessary barrier against weeds.
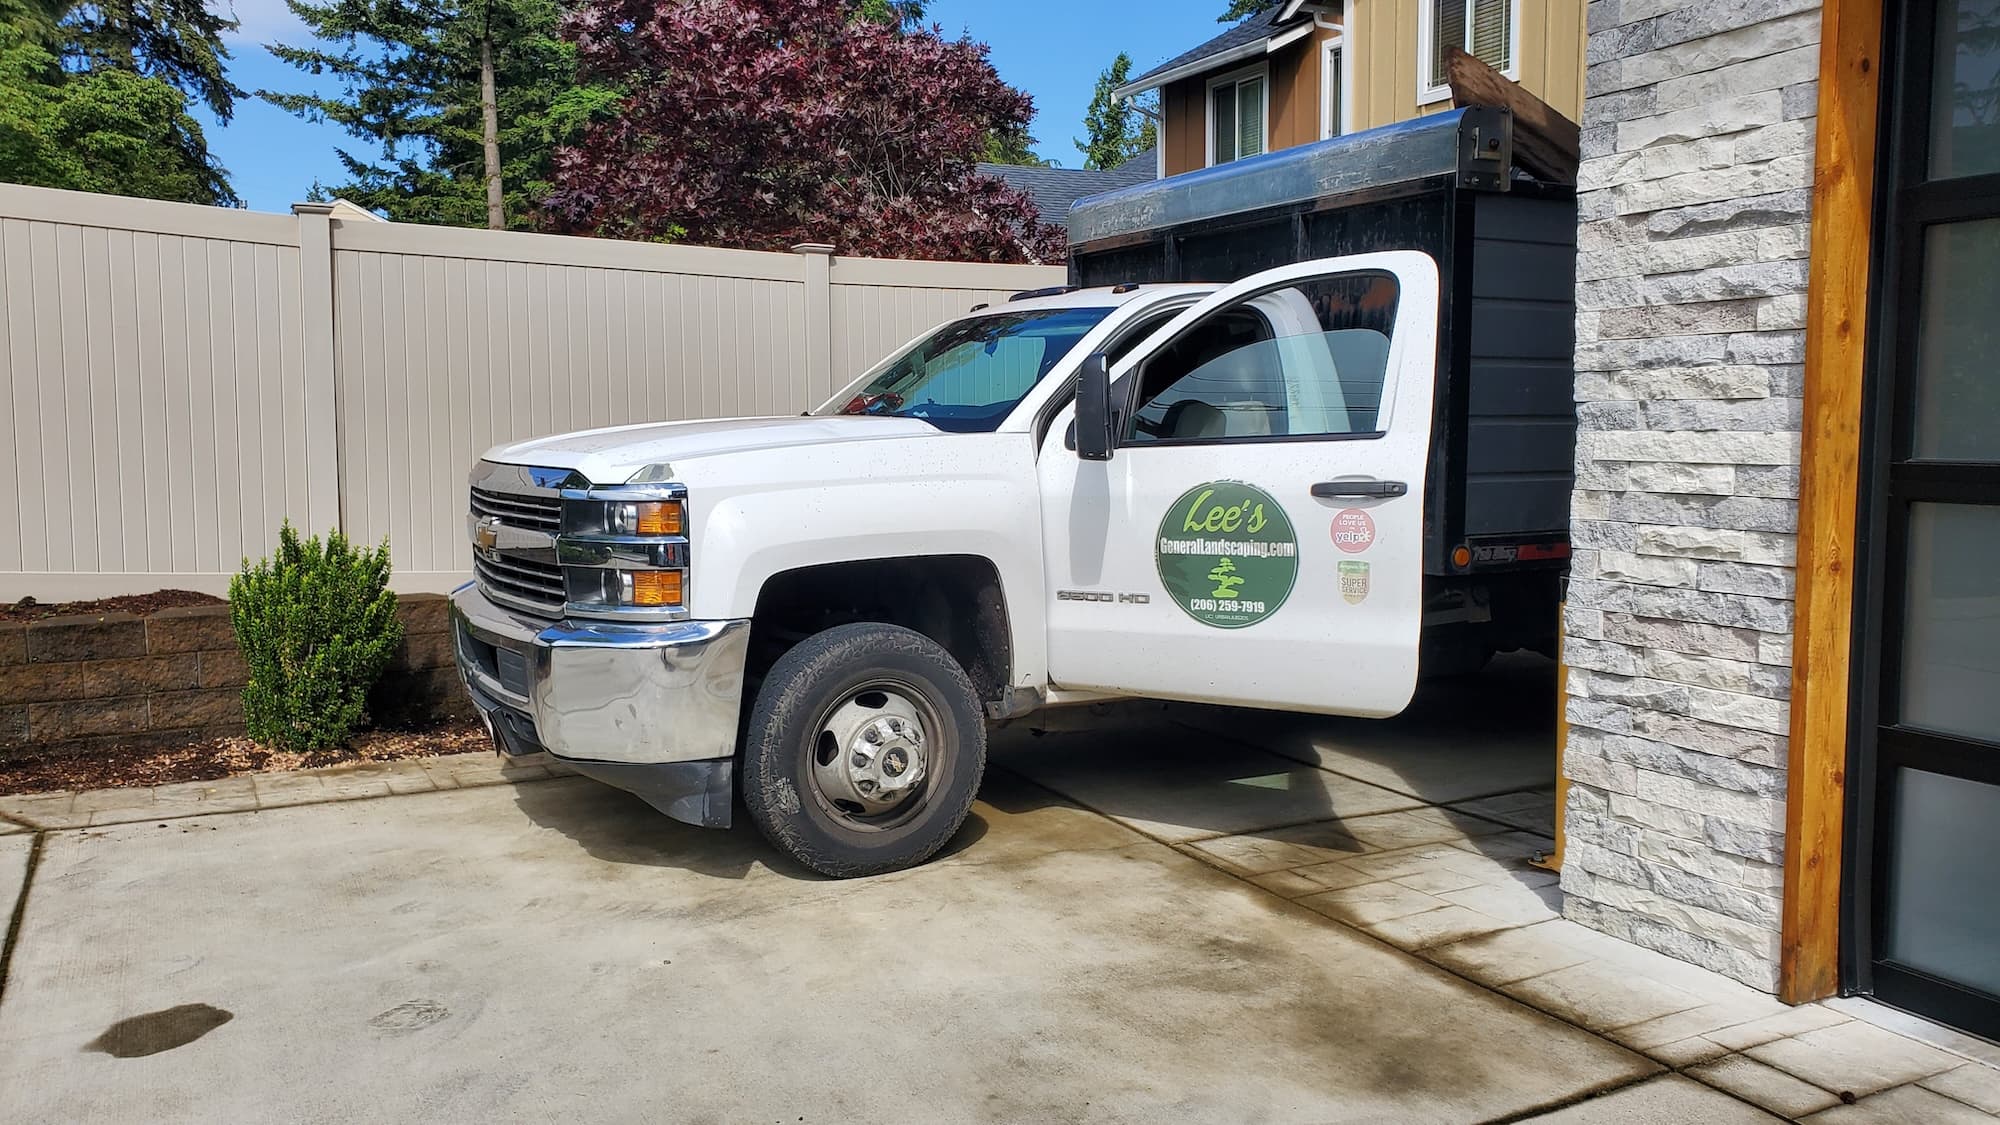
Why Choose Lee’s General Landscaping
- Experienced local crew that works clean and efficient.
- Licensed, bonded & insured for peace of mind.
- Hundreds of 5-star reviews across Yelp and Google.
Ready for a yard that stays neat?
Call or text Lee’s General Landscaping for a quick quote and a maintenance plan that fits your property.
⭐⭐⭐⭐⭐ 400+ Yelp Reviews • ⭐⭐⭐⭐⭐ 130+ Google Map Reviews
📧 Email: lees.g.landscaping@gmail.com
📞 Office: 206-259-7919
🕘 Hours: Mon–Sun: 9AM–6PM
🔒 Licensed • Bonded • Insured