Drip Irrigation Setup & Installation
Setting up a drip irrigation system can be a daunting task for many homeowners. With so many components and steps involved, it’s easy to feel overwhelmed. But don’t worry! An effective drip irrigation system is one of the best solutions for maintaining a healthy garden while conserving water. It not only enhances your yard’s appearance but also reduces maintenance time and effort. In this article, we’ll walk you through the entire process, from planning to installation, so you can enjoy a lush, green landscape without the hassle.
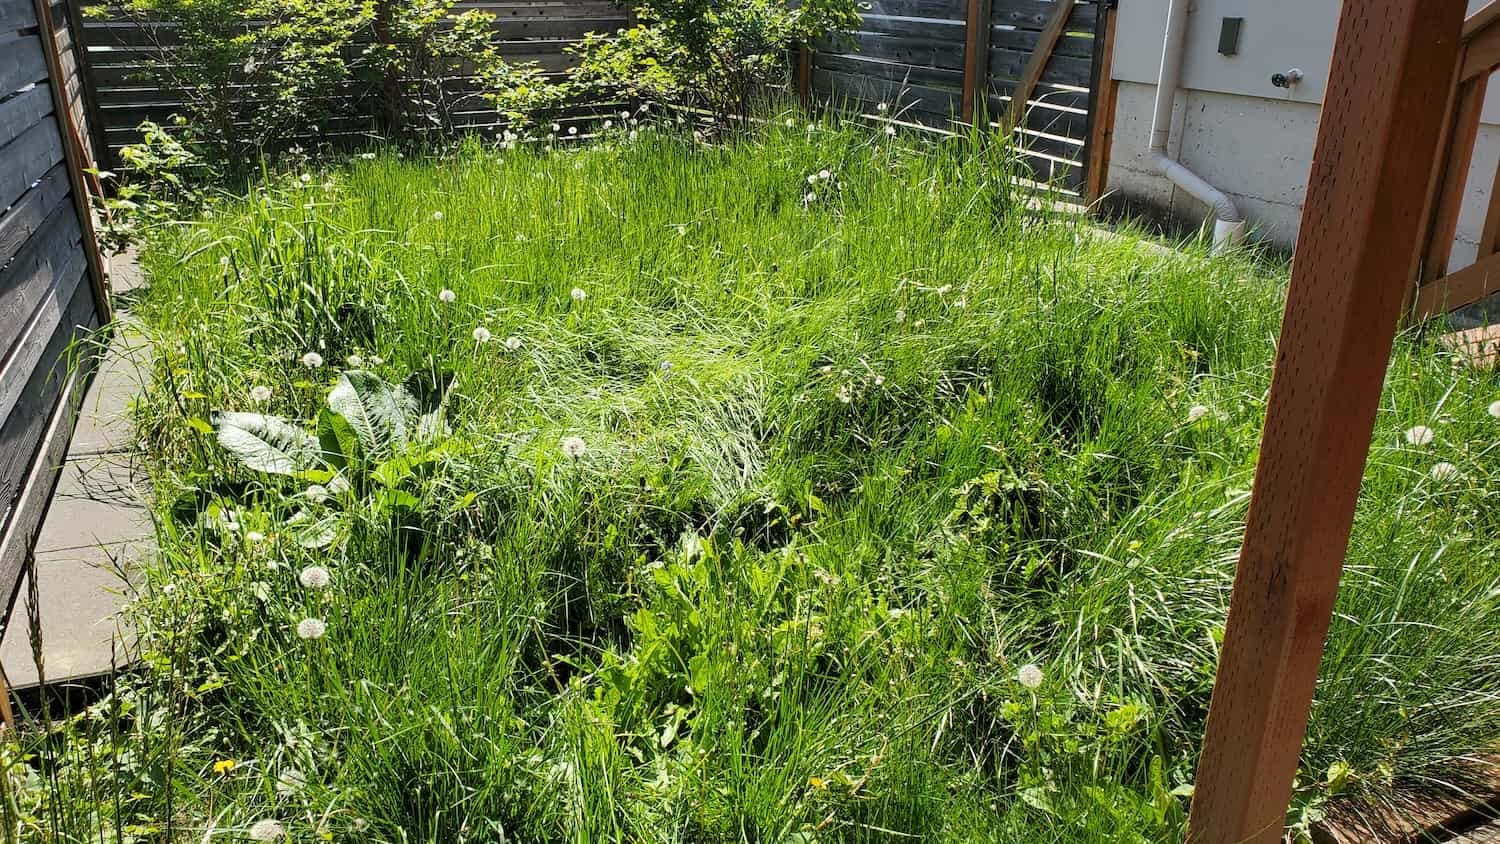
Description
What the Service Includes
- Assessment: Evaluating your garden’s layout and water needs.
- Design: Creating a customized plan for your drip irrigation system.
- Installation: Laying out tubing, emitters, and connectors.
- Testing: Ensuring the system works efficiently.
- Maintenance: Tips for keeping your system in top shape.
Key Benefits
- Improved Appearance: A well-watered garden looks vibrant and healthy.
- Durability: Drip systems are long-lasting and require minimal repairs.
- Safety: Reduces the risk of overwatering, which can lead to slippery surfaces.
- Eco-Friendly Options: Conserves water and minimizes runoff.
Why Hire a Pro
- Local Expertise: Understanding of soil types and climate conditions.
- Licensed & Insured Crew: Peace of mind knowing you’re covered.
- Professional Tools: Access to specialized equipment for a seamless installation.
Our Approach
Step-by-Step Breakdown of Tasks
- Planning: Measure your garden and identify plants’ specific watering needs.
- Designing: Sketch a layout, determining where to place tubing and emitters.
- Gathering Materials: Acquire necessary tools and supplies (see below).
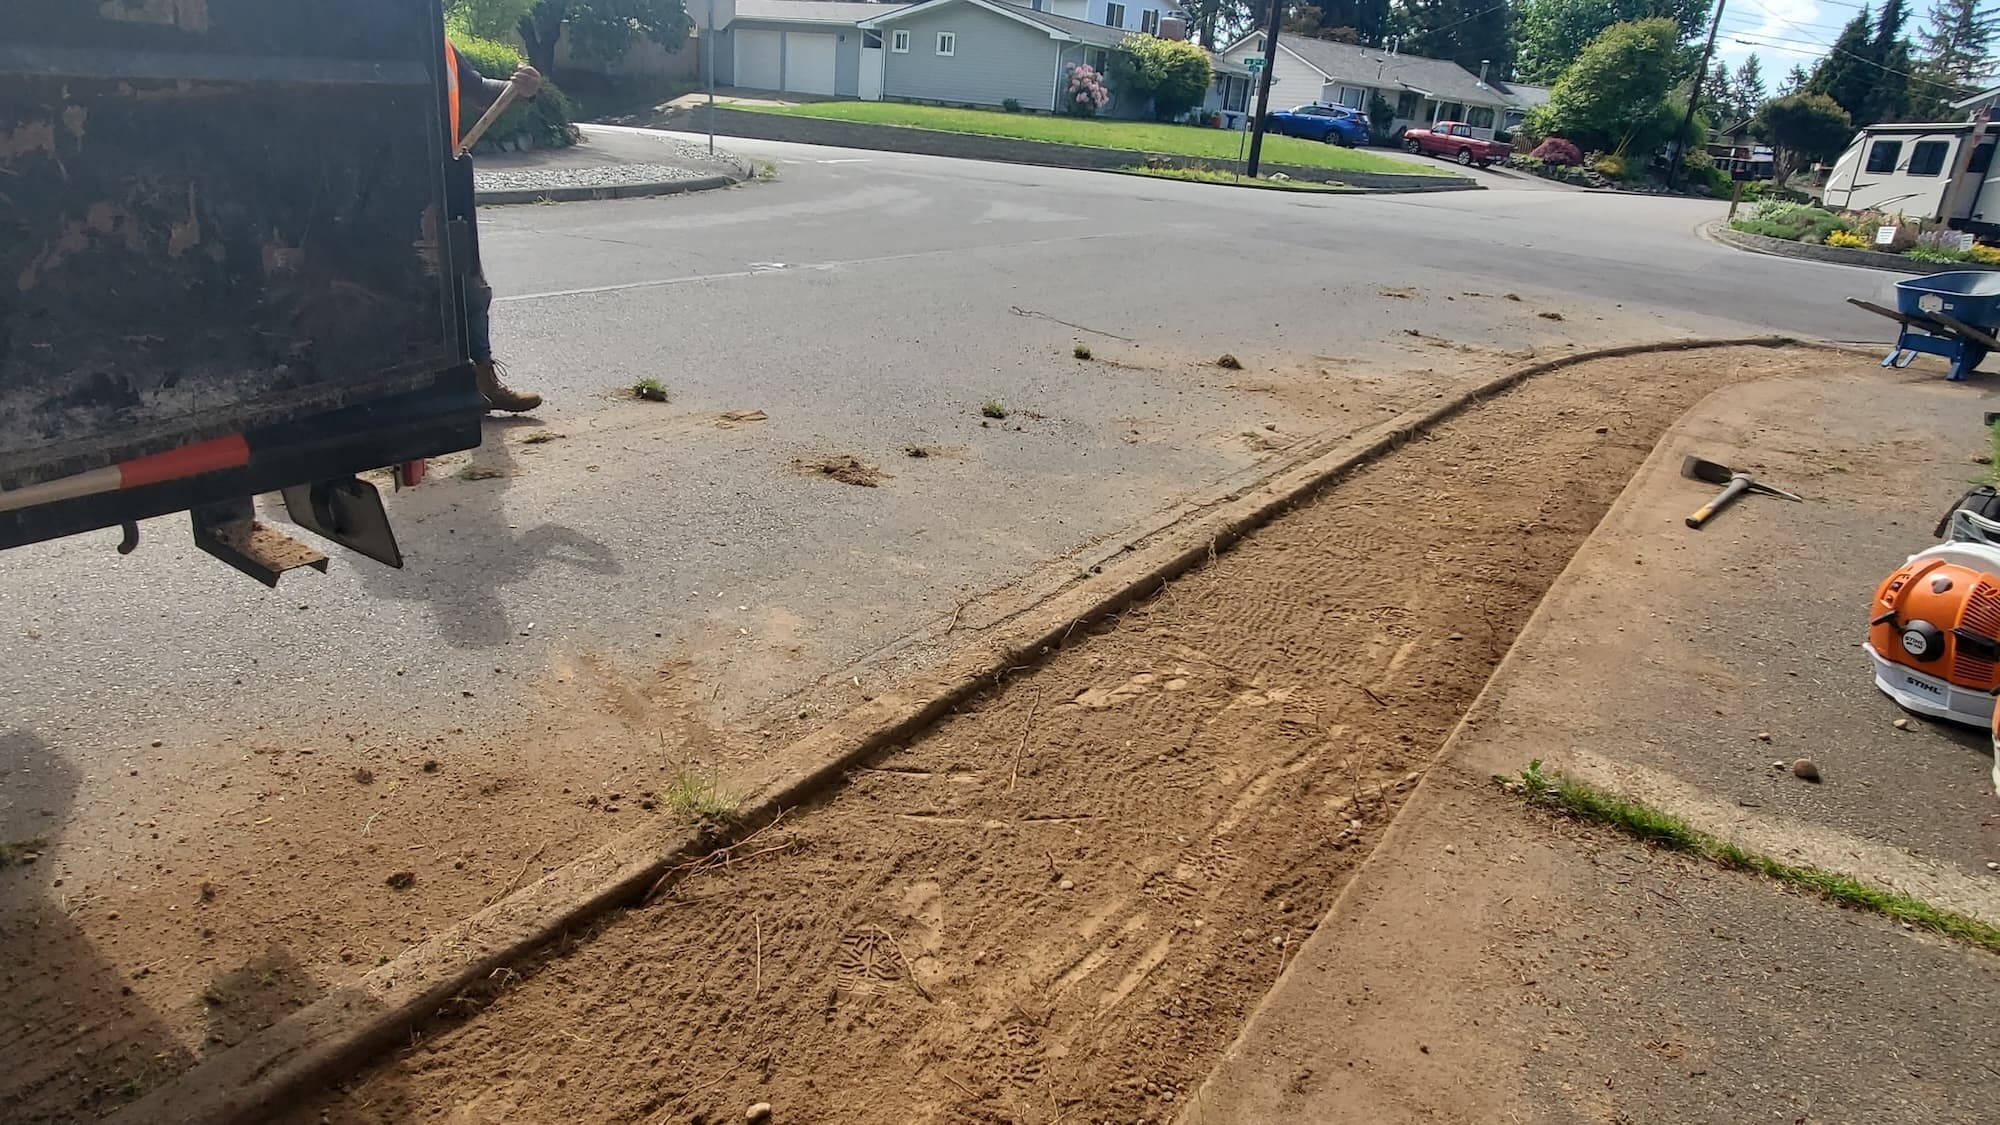
- Installation:
- Lay out main lines and connect to a water source.
- Install drip tubing along plant rows.
- Place emitters at the base of each plant.
- Connect the system to a timer if desired.
- Testing: Run the system to check for leaks or uneven watering.
- Final Adjustments: Make necessary tweaks for optimal performance.
What Homeowners Can Expect
- A friendly, efficient crew that respects your property.
- Clear communication throughout the process.
- A clean work area upon completion.
We’re a full-service landscaping and hardscaping crew. Our goal is to tidy your yard, protect your property, and give it lasting curb appeal.
Tools & Materials
Tools:
- Shovel or spade
- Pipe cutter
- Teflon tape (for sealing connections)
- Drill (for stakes and connectors)
Materials:
- Mainline tubing (usually ½ inch)
- Drip tubing (¼ inch)
- Emitters (variable flow rates)
- Connectors and stakes
- Filter and pressure regulator (if necessary)
- Timer (optional)
Timelines
- Planning and Design: 1-2 days
- Installation: 1-3 days, depending on the size of the garden
- Testing and Adjustments: 1 day
Cost Ranges
- DIY Installation: $100 - $500 for materials, depending on garden size.
- Professional Installation: $500 - $2,000, influenced by complexity and size.
Safety Notes
- Always wear gloves and safety glasses when handling tools.
- Be cautious of underground utilities when digging.
- Ensure the area is clear of debris to prevent tripping hazards.
Maintenance Tips
- Regularly check emitters for clogs.
- Flush the system at the beginning and end of each season.
- Adjust timers based on seasonal changes in rainfall.
- Inspect tubing for leaks or damage.
DIY vs. Pro
- DIY: Ideal for small gardens and budget-conscious homeowners. Requires time and some basic tools.
- Pro: Best for larger or complex setups. Saves time and ensures professional results.
Common Mistakes
- Underestimating Water Needs: Not all plants have the same requirements.
- Improper Layout: Tubing that’s too short or poorly placed can lead to dry spots.
- Neglecting Maintenance: Regular checks are essential for system longevity.
FAQs
- How long will installation take? Typically 1-3 days, depending on garden size.
- Are there any additional fees? Possible tax, dump fees, or extra hauling charges may apply.
- What if I want upgrades later? We offer options for seasonal upgrades or maintenance plans.
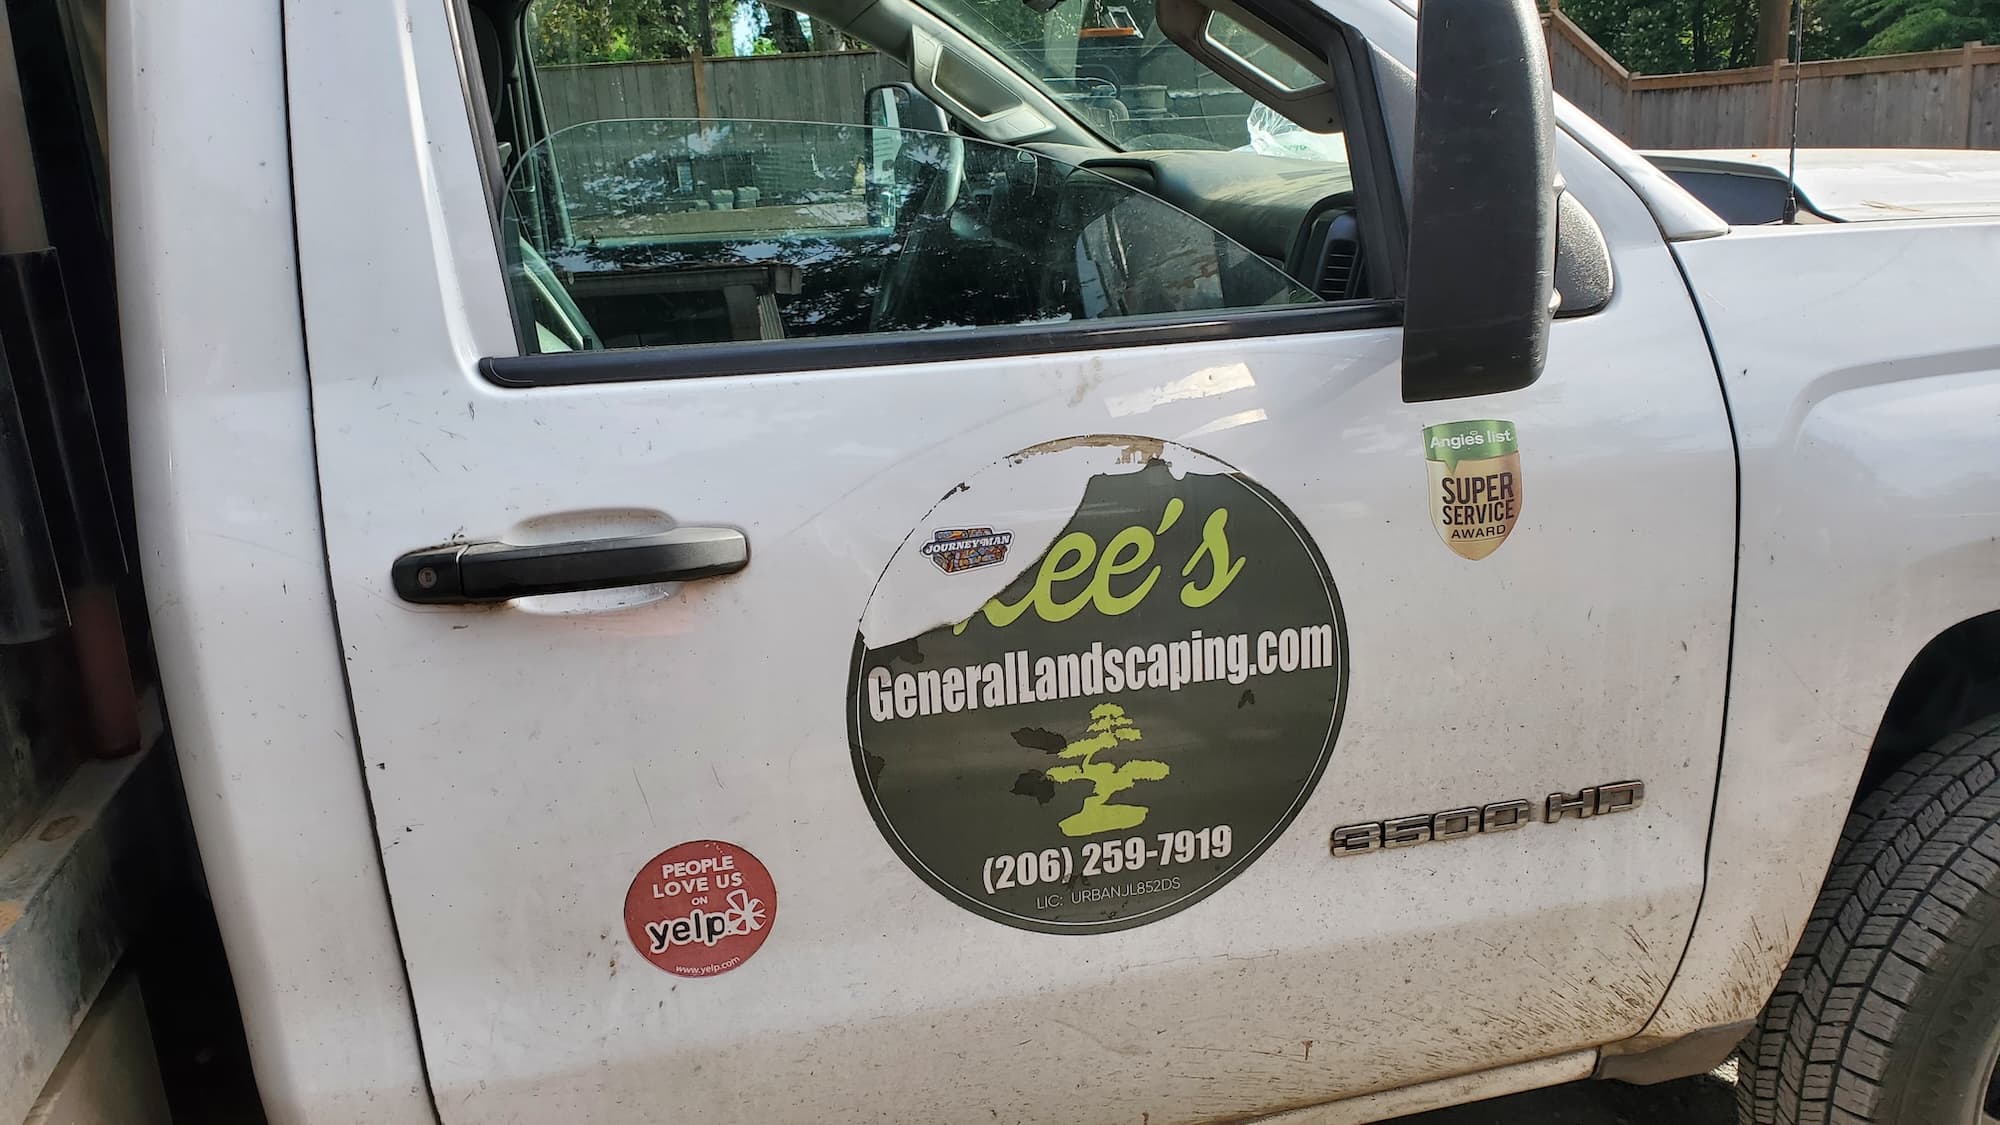
Why Choose Lee’s General Landscaping
- Experienced local crew that works clean and efficient.
- Licensed, bonded & insured for peace of mind.
- Hundreds of 5-star reviews across Yelp and Google.
Ready for a yard that stays neat?
Call or text Lee’s General Landscaping for a quick quote and a maintenance plan that fits your property.
⭐⭐⭐⭐⭐ 400+ Yelp Reviews • ⭐⭐⭐⭐⭐ 130+ Google Map Reviews
📧 Email: lees.g.landscaping@gmail.com
📞 Office: 206-259-7919
🕘 Hours: Mon–Sun: 9AM–6PM
🔒 Licensed • Bonded • Insured