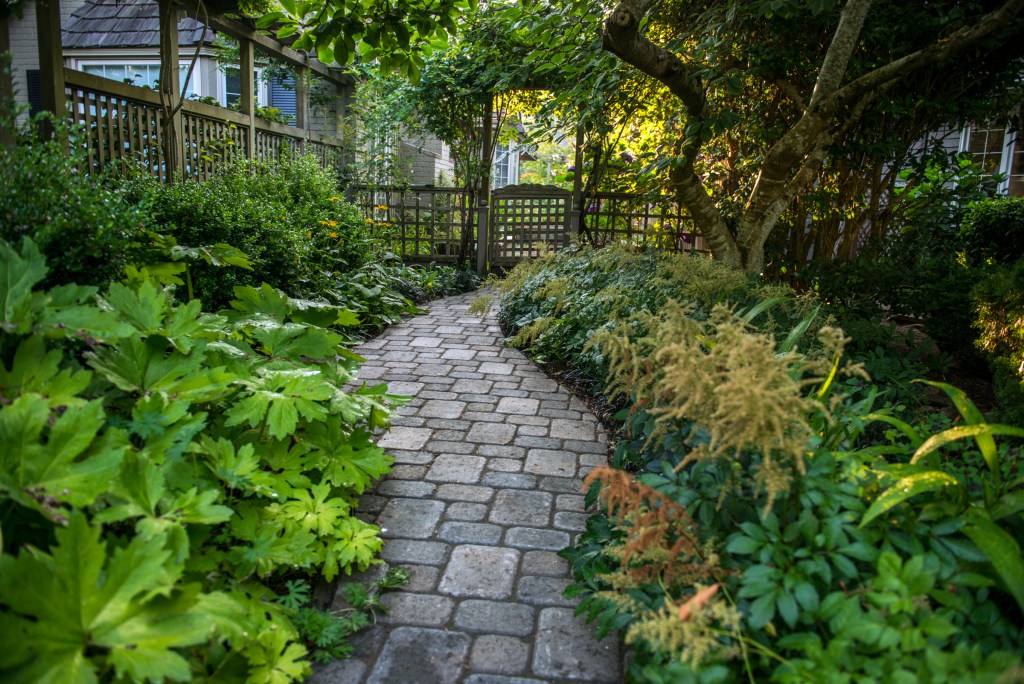
Stepping-Stone Paver Garden Paths
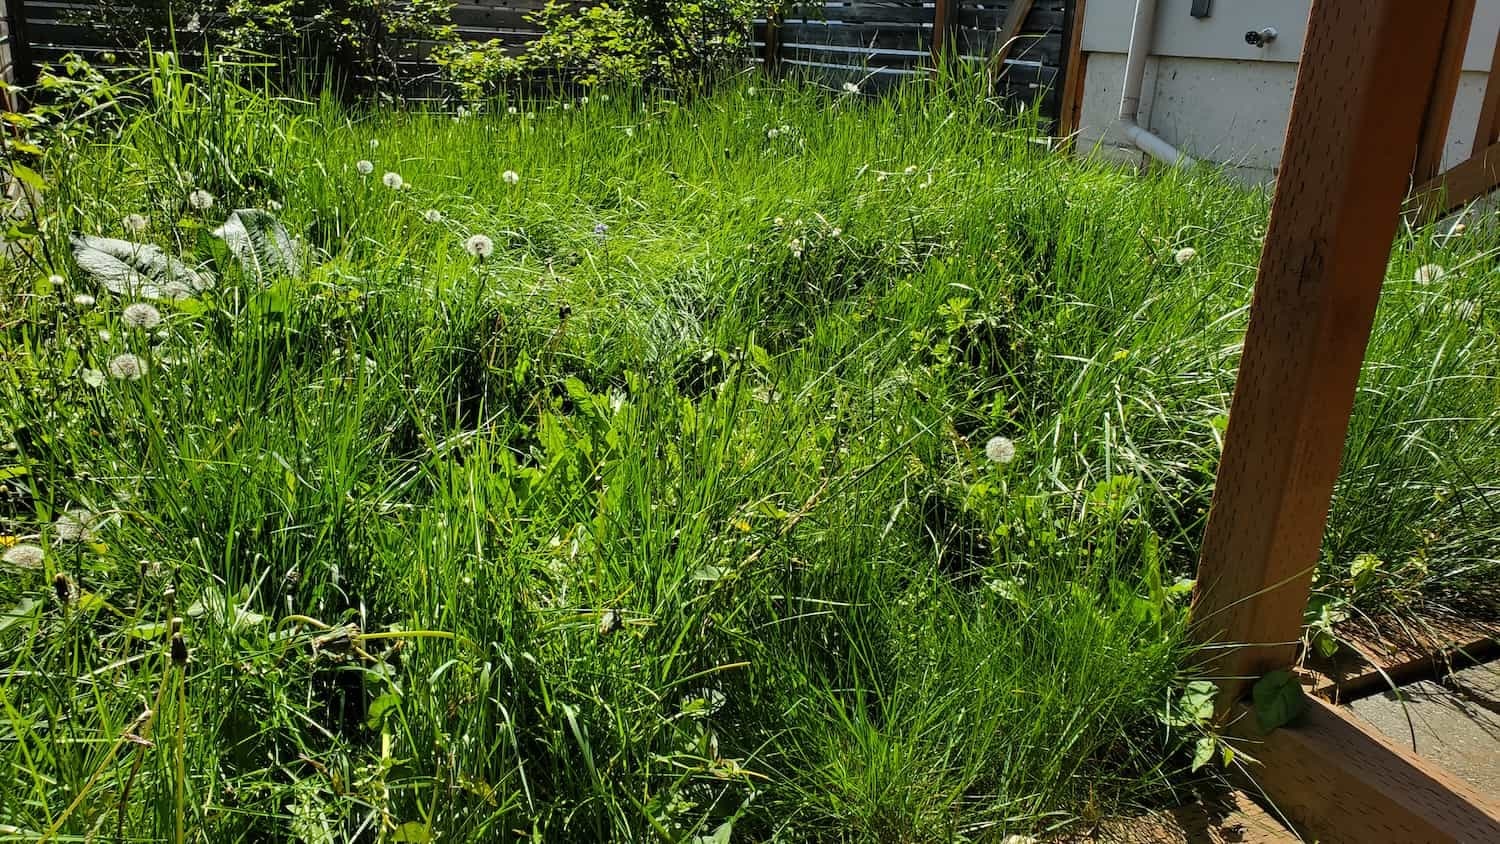
Creating a stepping-stone paver garden path can transform your outdoor space, offering a practical and attractive solution for navigating your yard. Homeowners often struggle with muddy paths, overgrown grass, or uneven terrain. Stepping stones provide a stable walkway, enhance curb appeal, and require less maintenance than traditional paths. In this article, we’ll cover everything you need to know about installing your own stepping-stone path, including a detailed step-by-step process, tools and materials needed, timelines, costs, safety tips, and maintenance advice.
Description
What the Service Includes
A stepping-stone path involves:
- Planning: Designing the layout and selecting materials.
- Excavation: Clearing the area for stones.
- Base Preparation: Adding a stable base for the stones.
- Stone Placement: Laying the stones in the desired pattern.
- Finishing Touches: Filling gaps and ensuring stability.
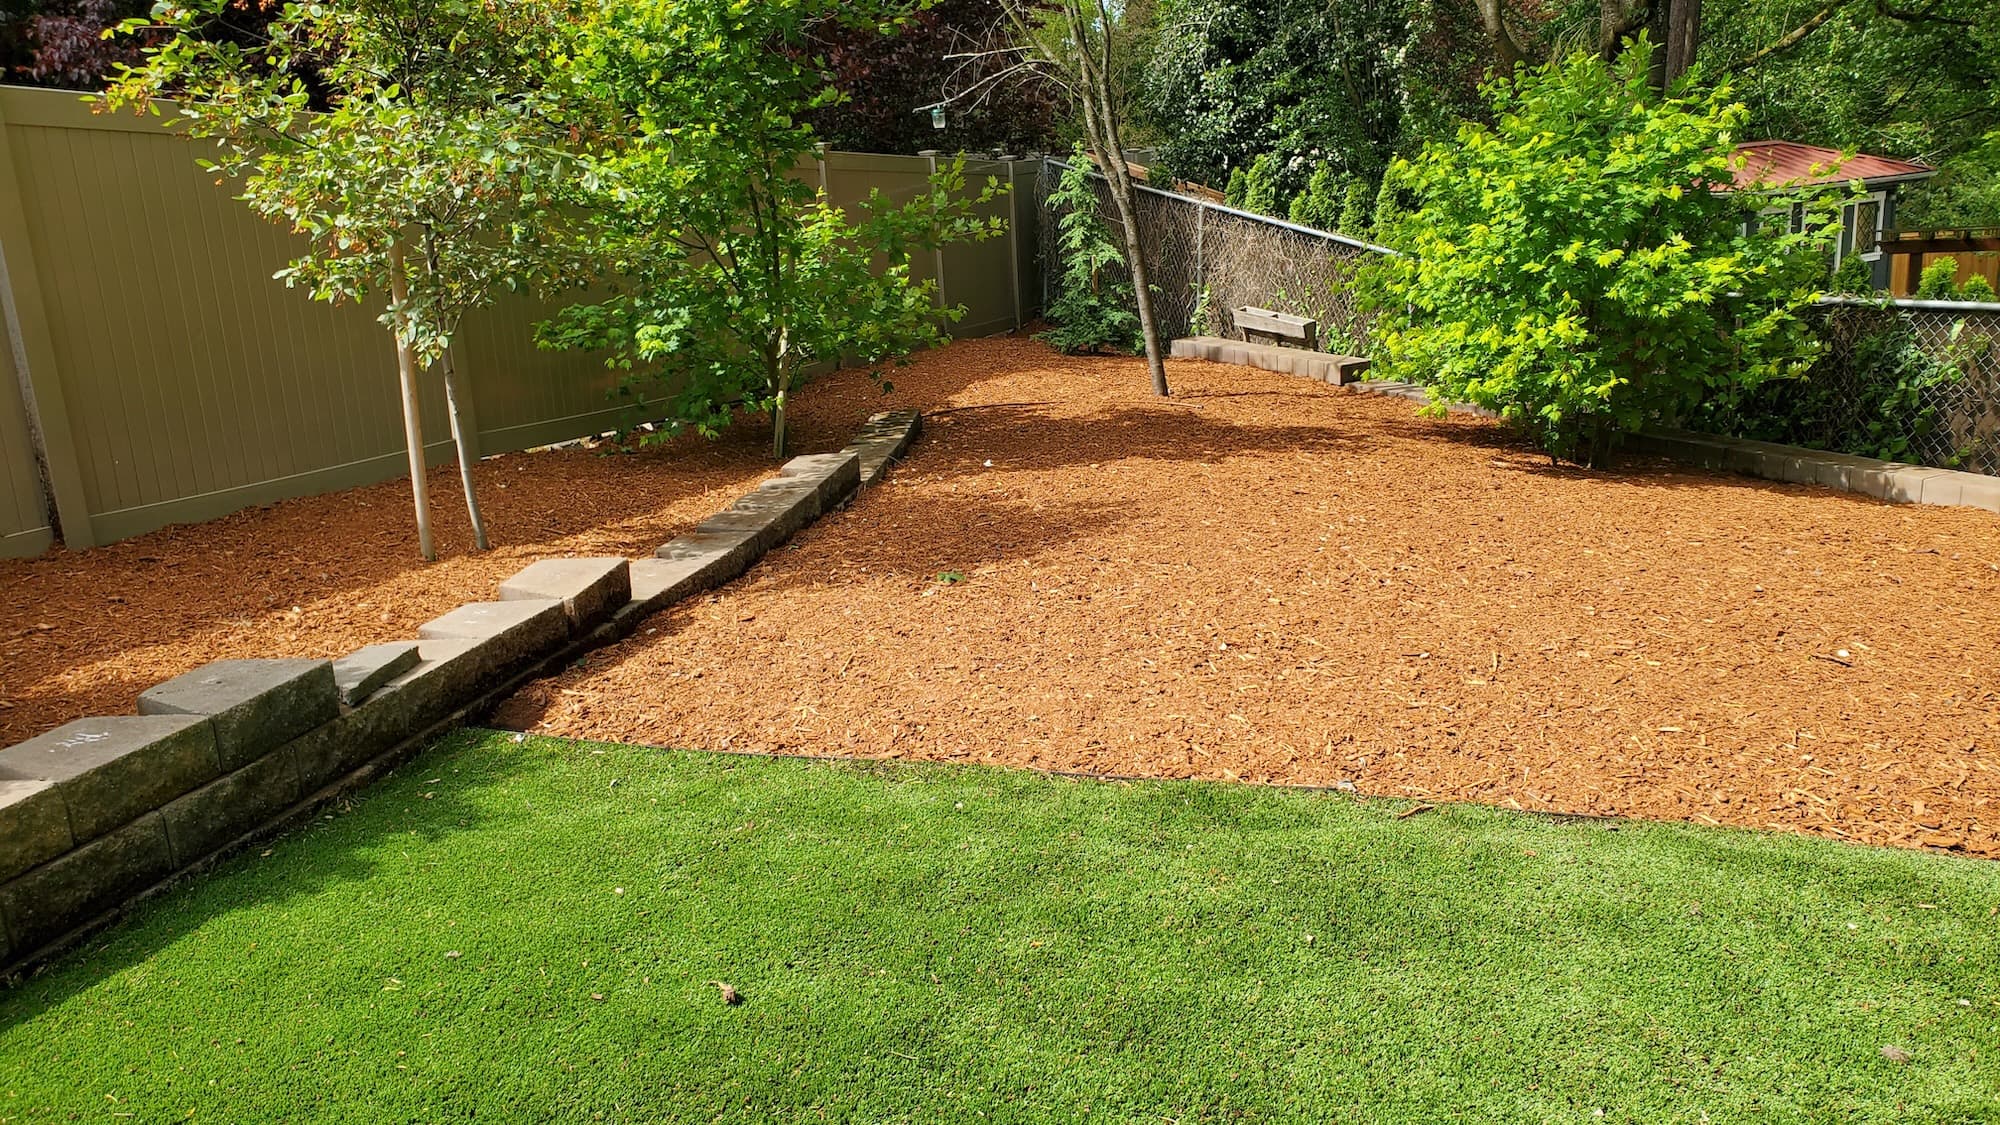
Key Benefits
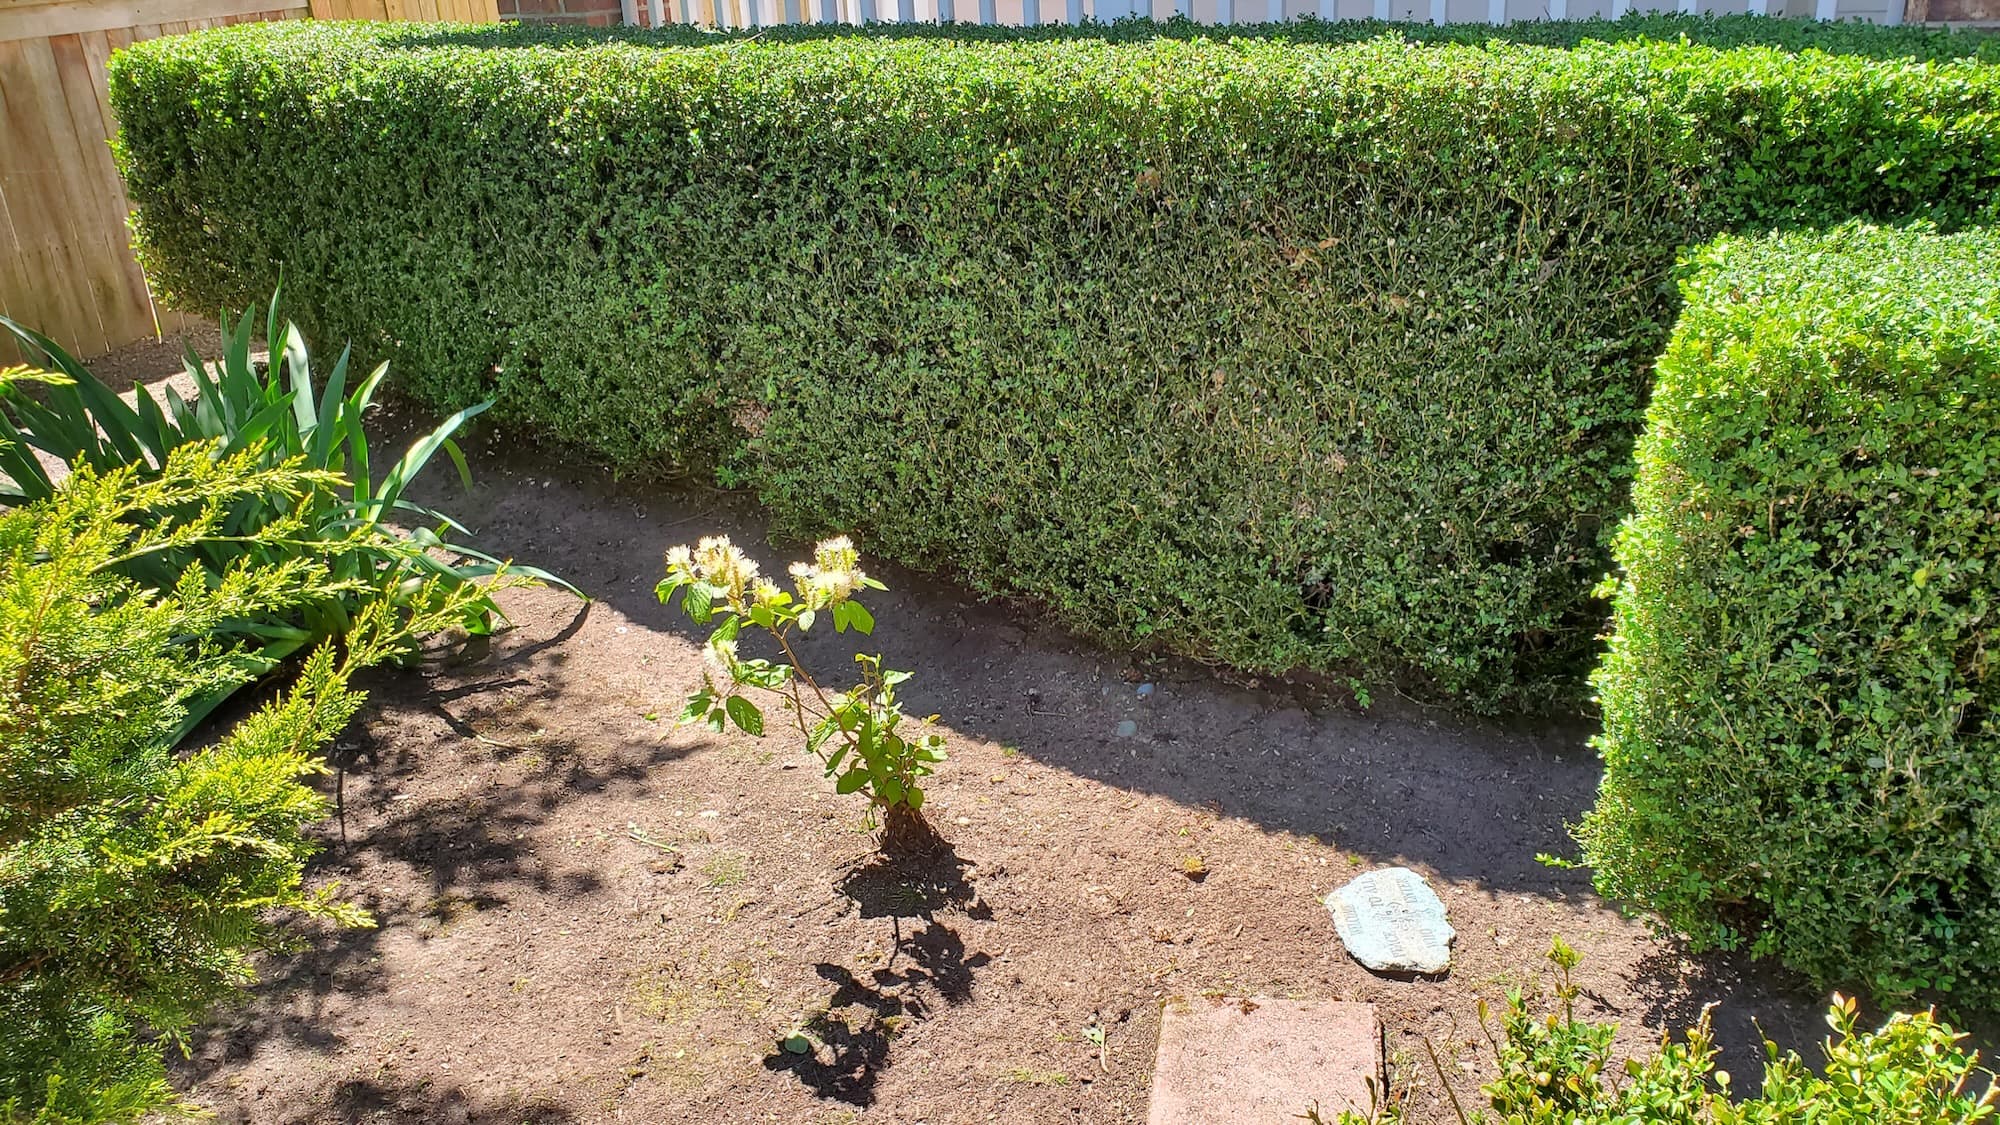
- Improved Appearance: A well-designed path enhances your garden’s look.
- Durability: Pavers are resilient against weather and foot traffic.
- Safety: Reduces the risk of slips and falls.
- Eco-Friendly Options: Natural stones or permeable pavers help with drainage.
Why Hire a Pro
While DIY is possible, hiring a professional team offers:
- Local expertise on materials and design.
- Access to specialized tools.
- Assurance of quality work with licensed and insured crews.
Our Approach
Step-by-Step Breakdown
- Planning: Measure the area and sketch the layout. Choose your stepping stones (concrete, stone, or brick).
- Gather Tools & Materials:
- Tools: Shovel, rake, level, rubber mallet, broom, and garden hose.
- Materials: Stepping stones, gravel or sand for the base, landscape fabric (optional), and edging materials.
- Excavate: Remove grass and topsoil in the path area to a depth of about 4-6 inches.
- Prepare the Base: Add 2-3 inches of gravel or sand and level it out with a rake. Compact the base for stability.
- Lay the Stones: Start placing the stones in your desired pattern. Use a rubber mallet to tap them into place.
- Fill Gaps: Add sand or gravel between the stones to secure them and improve drainage.
- Finishing Touches: Clean the path and ensure all stones are level and stable.
Efficiency and Safety: Always wear gloves and steel-toed boots during installation to protect against injury. Ensure proper lifting techniques to avoid strain.
Homeowner Expectations
During installation, expect a tidy work area and clear communication about progress. Professionals will ensure the path is durable and visually appealing.
Service Pricing
Pricing Explanation
Pricing for a stepping-stone path can vary based on:
- Lot Size: Larger areas require more materials and labor.
- Stone Type: Natural stone is generally more expensive than concrete.
- Access: Difficult access can increase labor costs.
- Add-ons: Additional features like edging or decorative gravel.
Cost Ranges
- Basic paths: $10–$20 per square foot.
- Premium materials: $20–$40 per square foot.
- Expect additional costs for disposal and hauling of old materials.
What’s Included
Core Services
- Excavation and Base Preparation: Ensures a solid foundation.
- Stepping Stone Installation: Lays the stones securely.
- Cleaning and Finishing: Final touches to enhance appearance.
Optional Extras
- Gravel Base: Improves drainage and stability.
- Landscape Fabric: Helps prevent weed growth.
- Planting: Adding plants along the path for aesthetics.
- Seasonal Upgrades: Decorative elements for holidays or events.
FAQs
Common Customer Concerns
- Scheduling: Expect a timeframe of 1-3 days, depending on complexity.
- Turnaround Time: Most paths can be completed in a weekend.
- Dump Fees: Additional charges may apply for debris disposal.
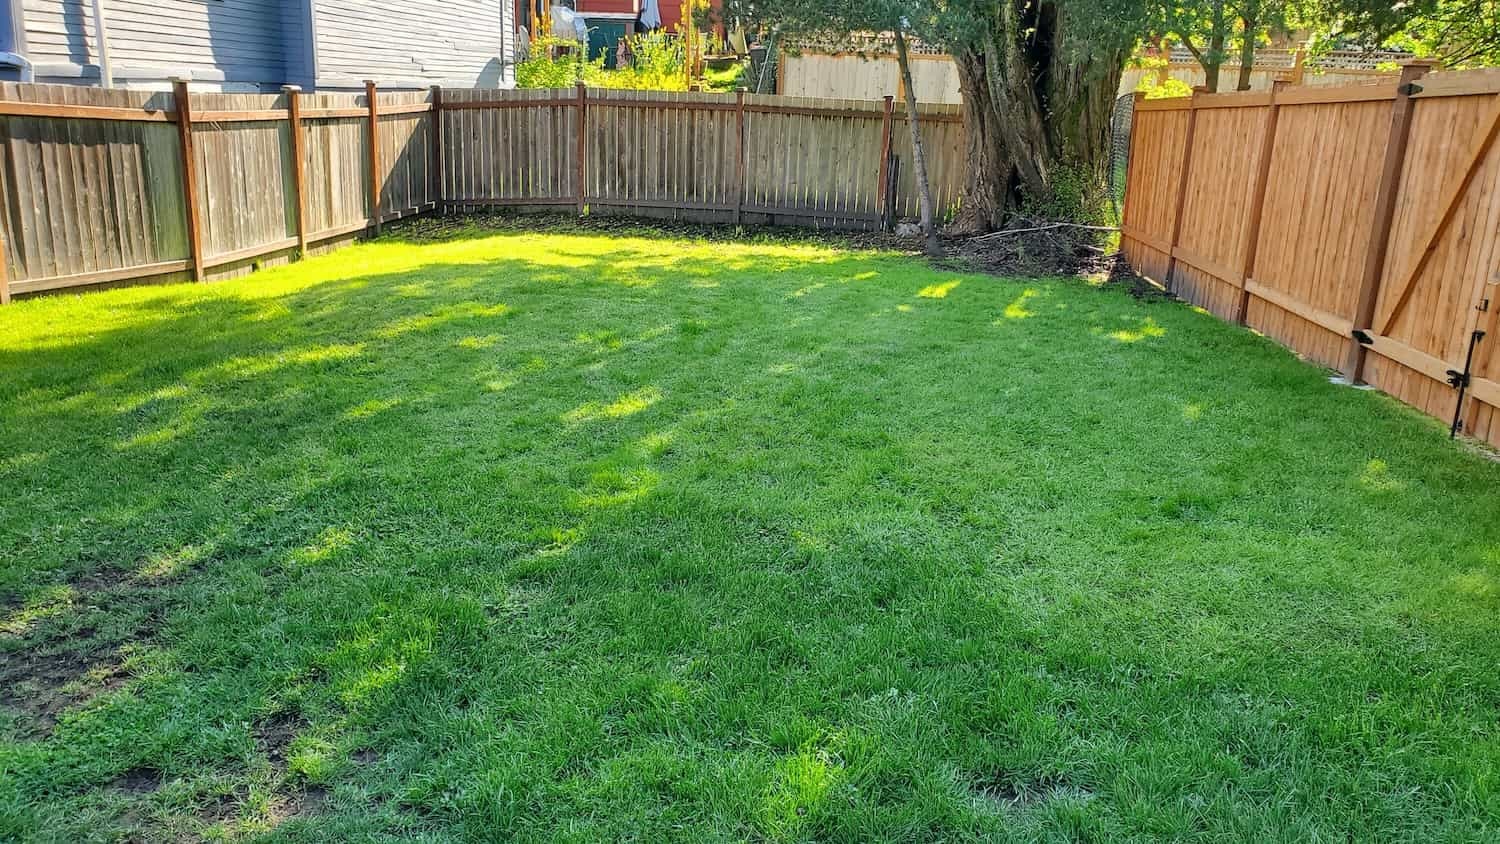
Maintenance Tips
- Regularly check for shifting stones and refill gaps as needed.
- Clear debris and leaves from the path to prevent slipping.
- Consider resealing stones every few years if using concrete.
DIY vs. Pro
DIY Considerations
- Pros: Cost savings, personal satisfaction, and customization.
- Cons: Time-consuming, potential for mistakes, and lack of professional tools.
When to Hire a Pro
- Complex designs or larger areas.
- Limited time or physical ability to complete the project.
- Desire for a guaranteed quality finish.
Common Mistakes
- Improper Base Preparation: Failing to compact the base can lead to uneven stones.
- Ignoring Drainage: Ensure proper spacing and materials to avoid water pooling.
- Choosing the Wrong Stone: Select stones that complement your landscape and are suitable for foot traffic.
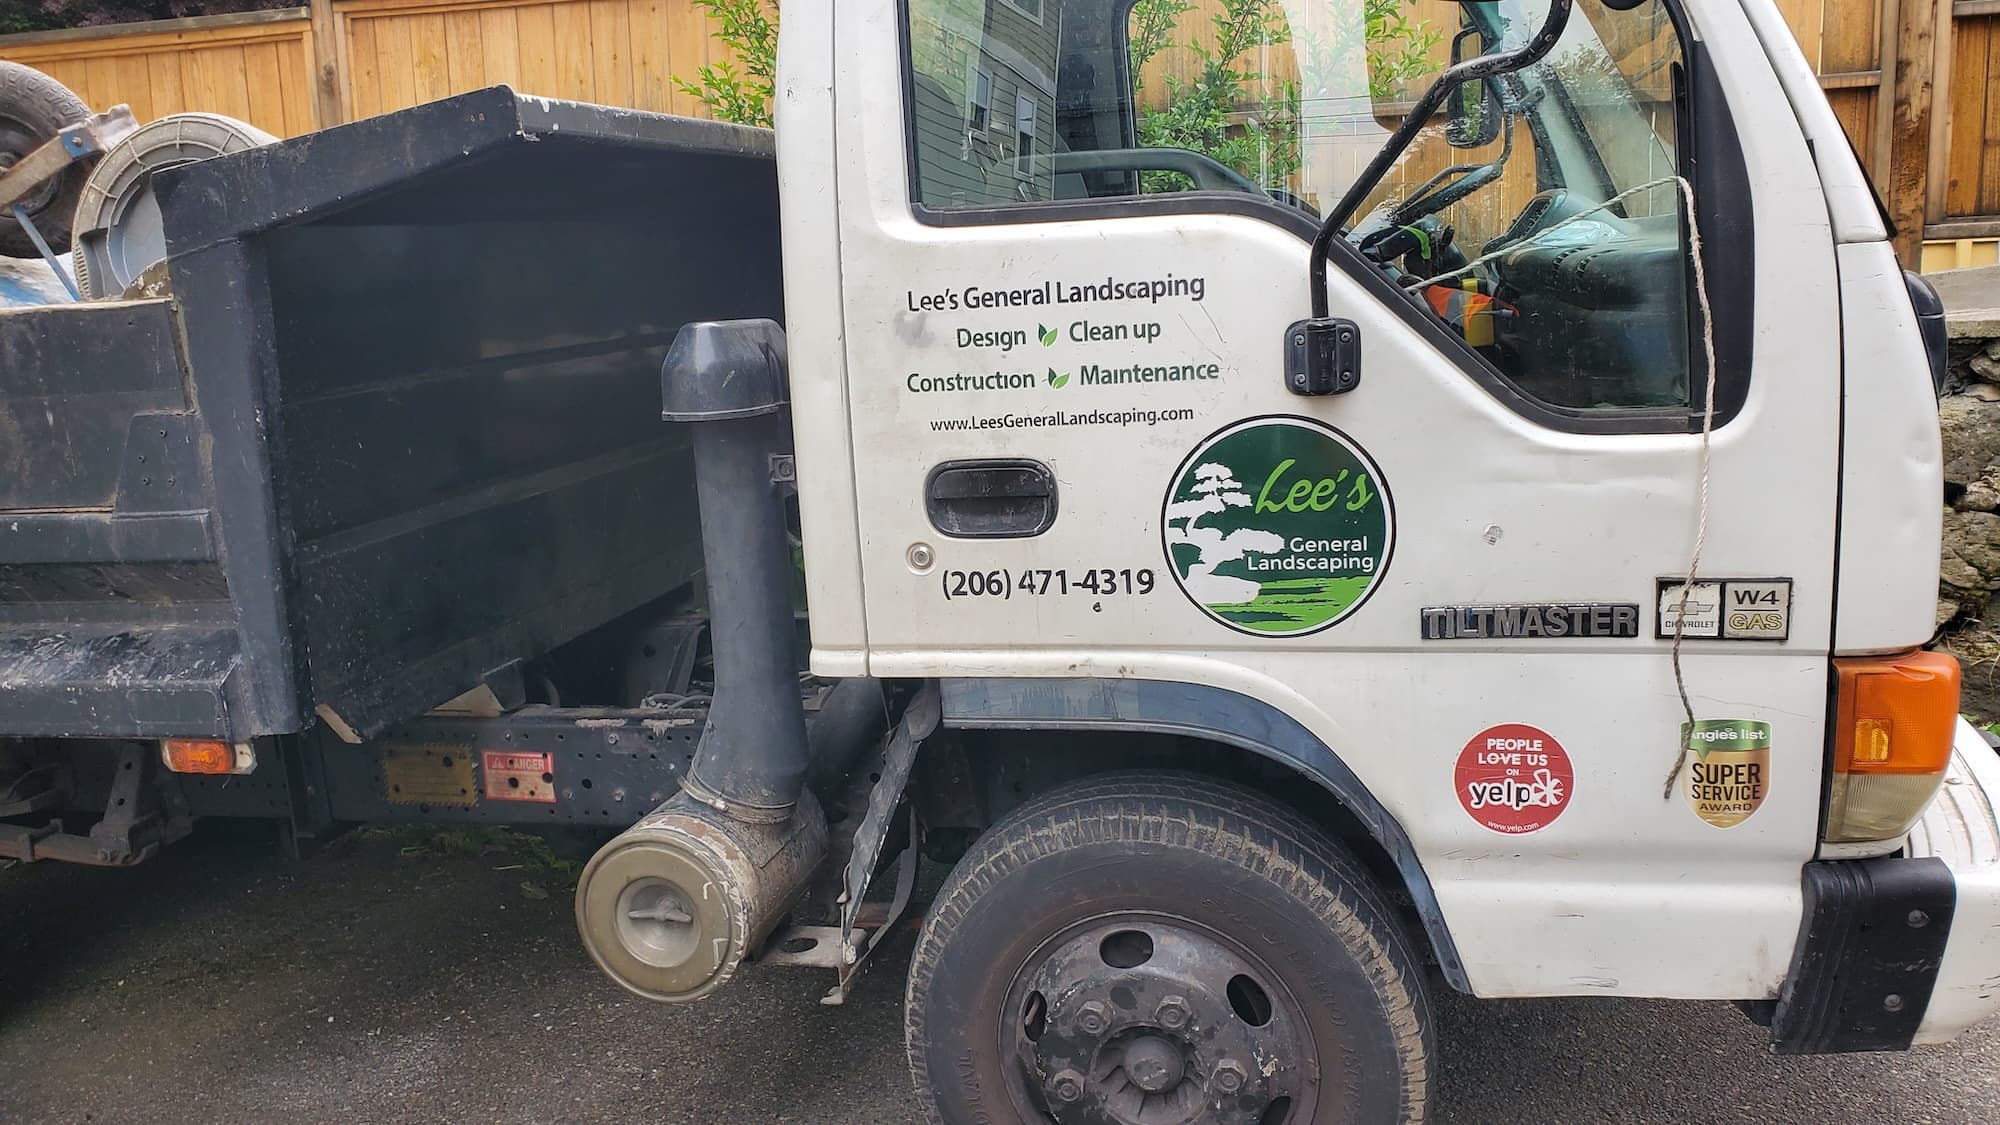
Why Choose Lee’s General Landscaping
With years of experience, our local crew is dedicated to delivering clean and efficient work. We’re licensed, bonded, and insured, providing peace of mind that your project is in capable hands. We have earned hundreds of 5-star reviews on platforms like Yelp and Google, which speaks to our commitment to quality.
Ready for a yard that stays neat?
Call or text Lee’s General Landscaping for a quick quote and a maintenance plan that fits your property.
⭐⭐⭐⭐⭐ 400+ Yelp Reviews • ⭐⭐⭐⭐⭐ 130+ Google Map Reviews
📧 Email: lees.g.landscaping@gmail.com
📞 Office: 206-259-7919
🕘 Hours: Mon–Sun: 9AM–6PM
🔒 Licensed • Bonded • Insured