Raised Planter Walls Built from Paver Blocks
Creating raised planter walls from paver blocks is an effective solution for homeowners looking to enhance their outdoor space. These walls not only improve the aesthetic appeal of your yard but also provide structural benefits, such as better drainage and soil retention. In this article, we’ll guide you through the process of building raised planter walls using paver blocks, covering everything from materials and tools to maintenance tips and common pitfalls.
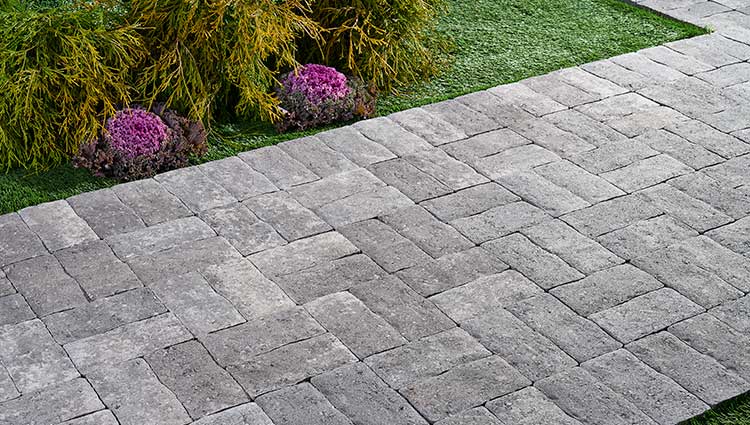
Description
What the Service Includes
Building raised planter walls involves several tasks:
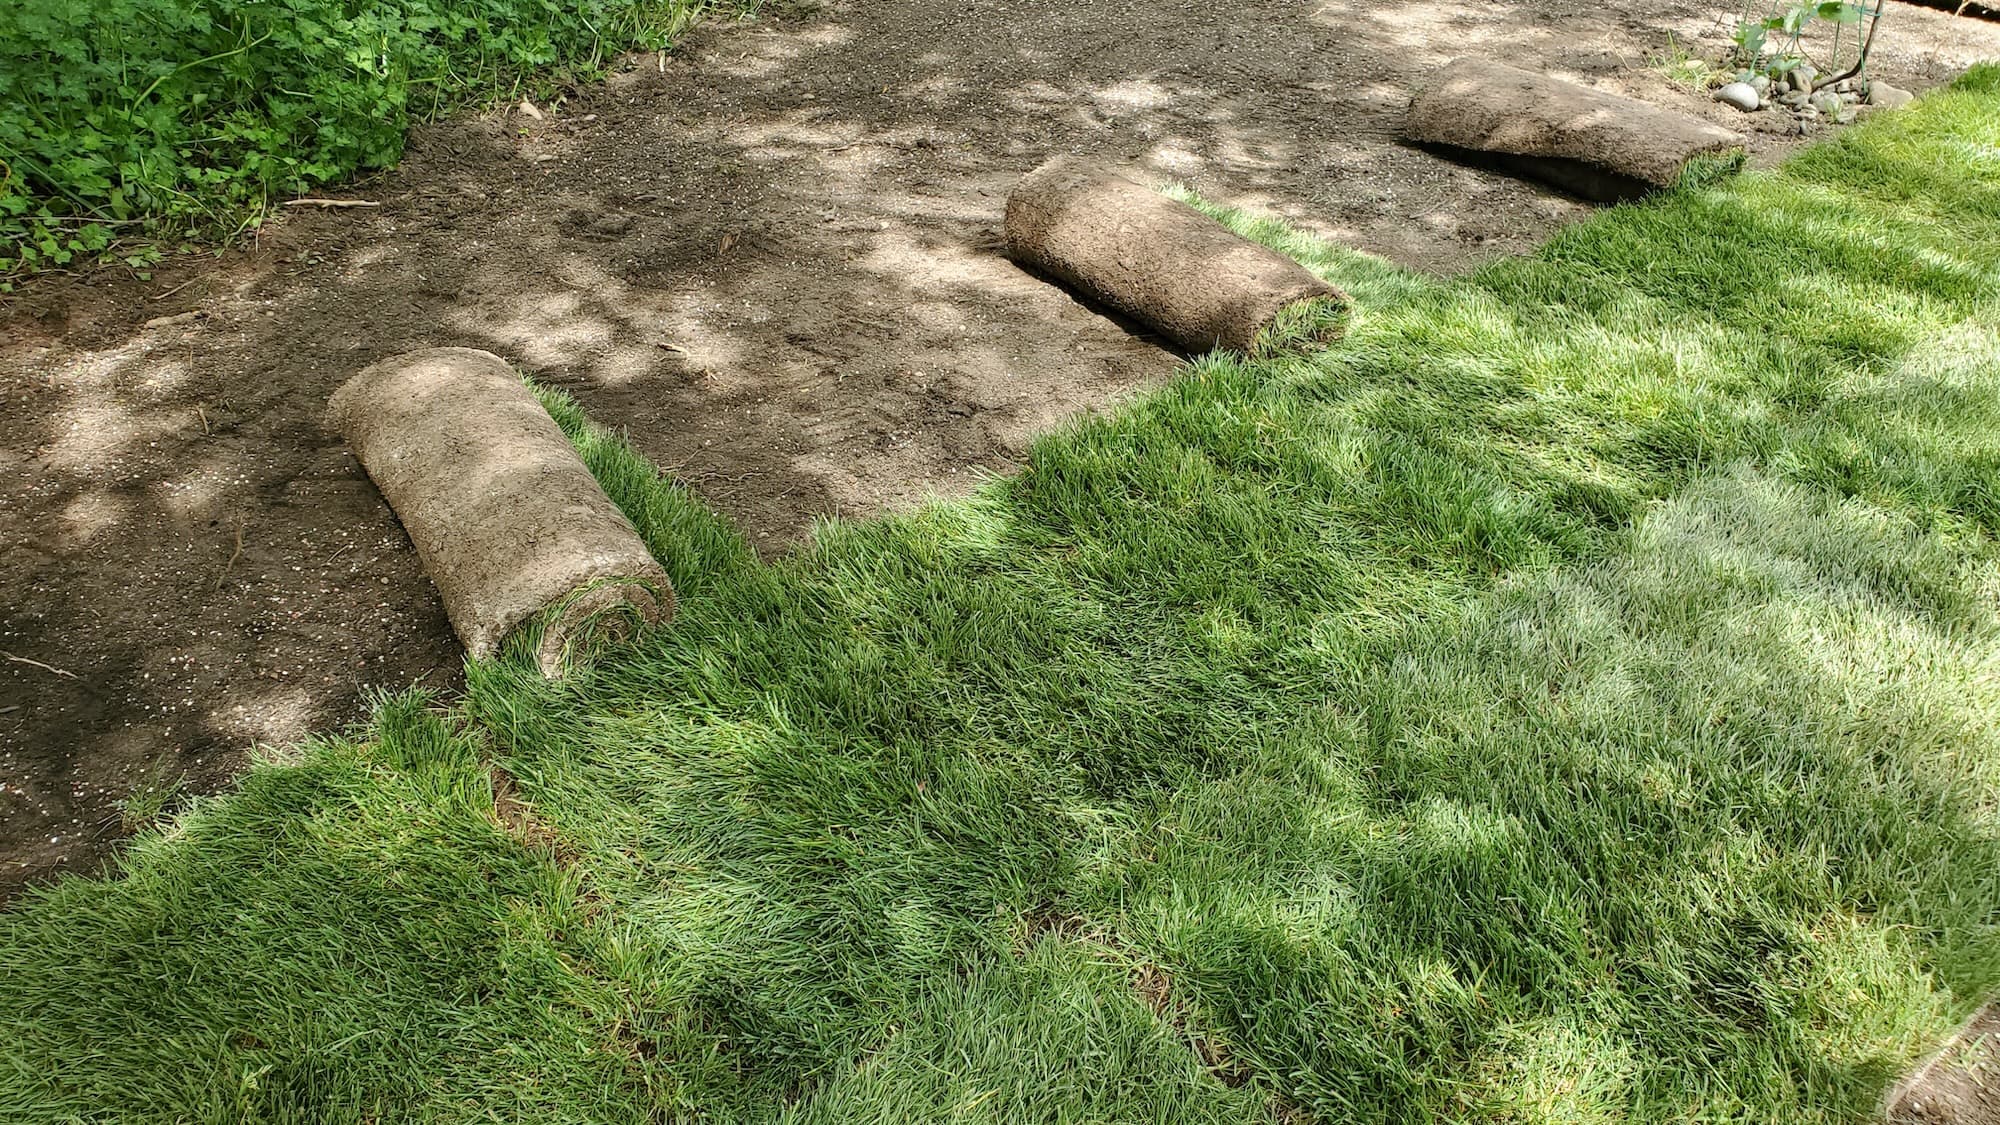
- Site preparation: Clearing the area and leveling the ground.
- Material selection: Choosing paver blocks that suit your style and budget.
- Construction: Laying the blocks in a sturdy and visually appealing configuration.
- Finishing touches: Adding soil and plants, if desired.
Key Benefits
- Improved Appearance: Paver blocks come in various colors and styles, allowing for customization.
- Durability: Paver blocks withstand weather conditions better than traditional wood.
- Safety: Raised planter walls can prevent soil erosion and create a defined garden space.
- Eco-Friendly Options: Many paver blocks are made from recycled materials.
Why Hire a Pro
While DIY is an option, hiring a professional crew ensures:
- Local Expertise: Knowledge of local soil and climate conditions.
- Licensed & Insured Crew: Protection against accidents and damages.
- Professional Tools: Access to specialized equipment for efficient installation.
Our Approach
Step-by-Step Breakdown
- Planning: Assess your yard, decide on the size and location of the planter walls.
- Gather Tools & Materials:
- Materials: Paver blocks, gravel, landscape fabric, soil, and plants.
- Tools: Level, shovel, rubber mallet, measuring tape, and safety gear (gloves, goggles).
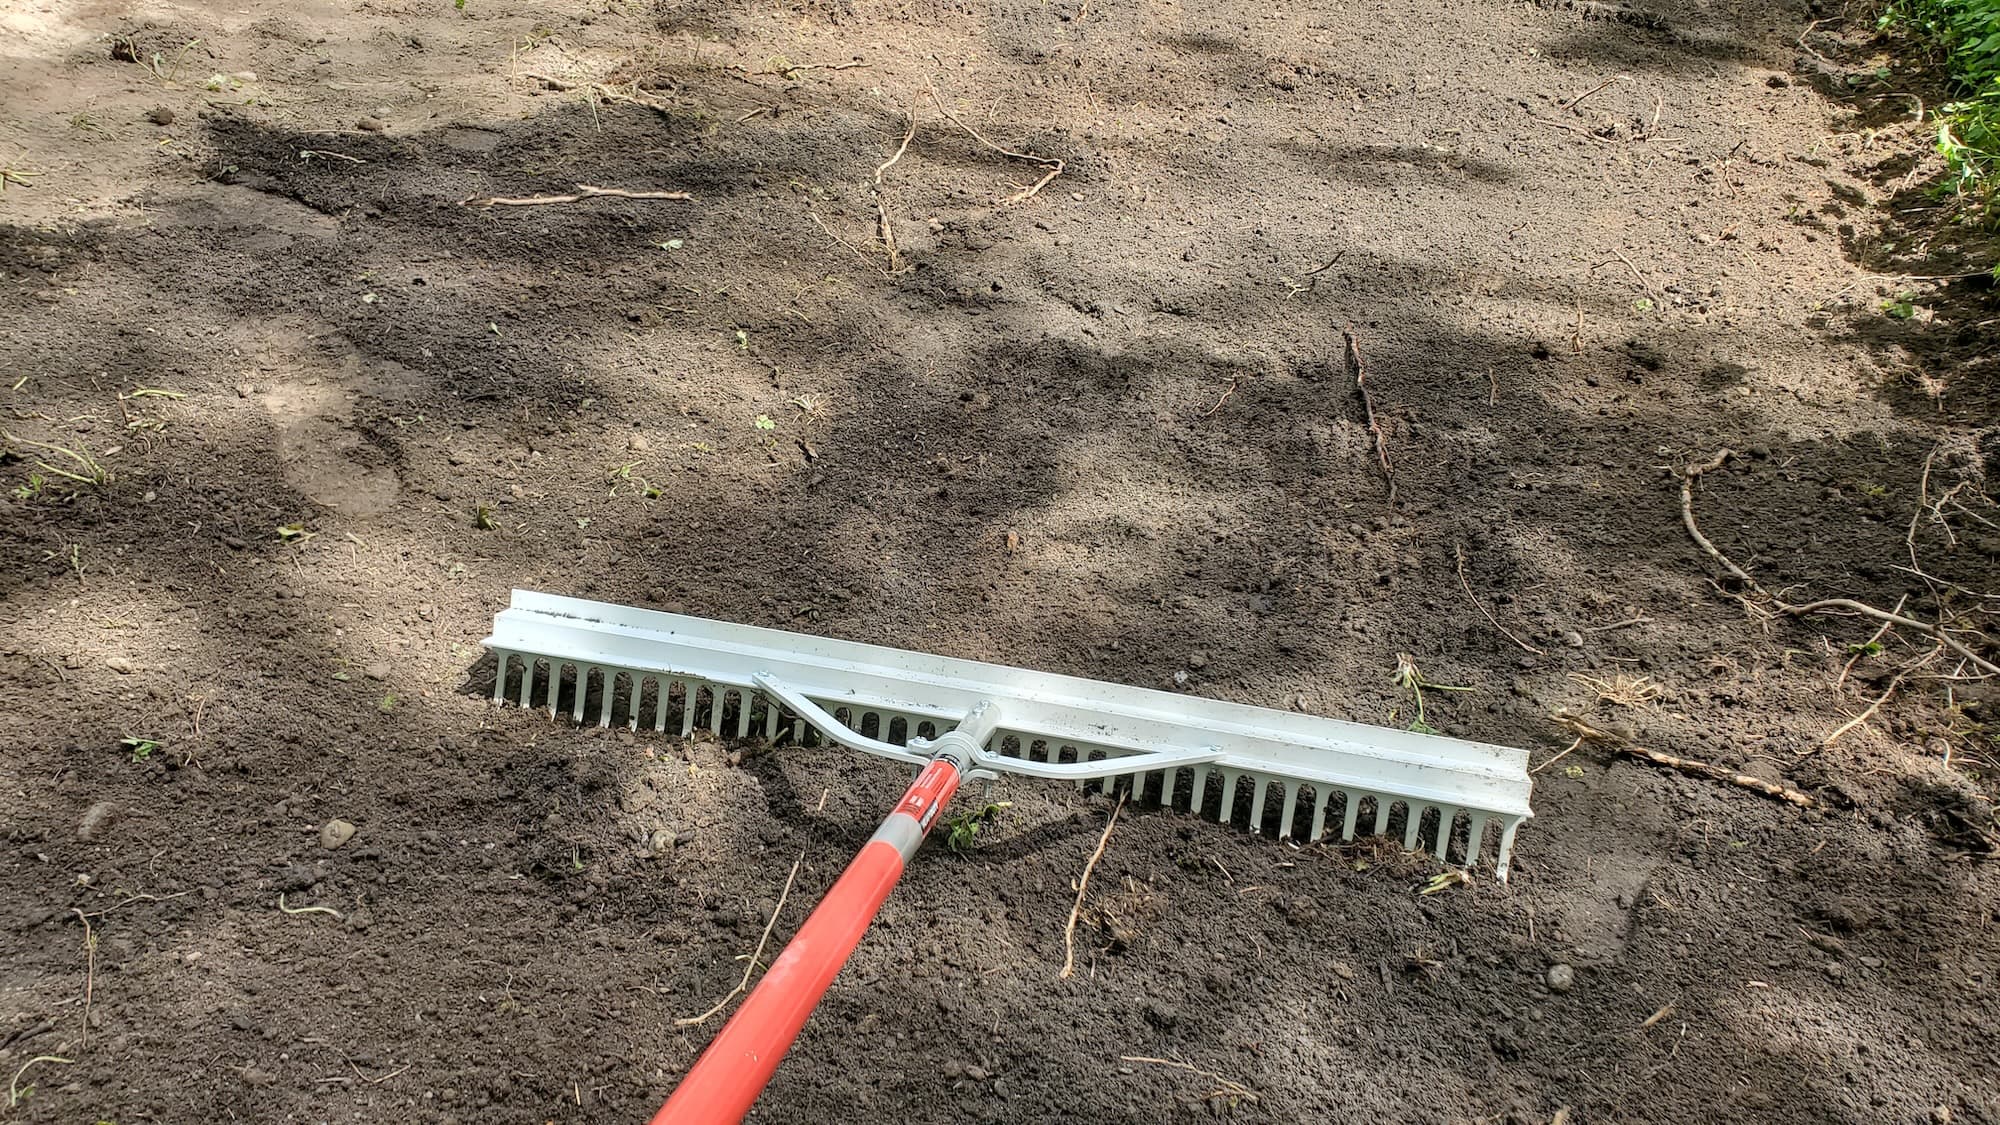
- Site Preparation:
- Clear the area of debris and vegetation.
- Level the ground where the walls will be built.
- Laying the Foundation:
- Create a gravel base for drainage.
- Lay landscape fabric to prevent weeds.
- Constructing the Walls:
- Start laying paver blocks in a staggered pattern for stability.
- Use a level to ensure evenness.
- Secure each block by tapping it with a rubber mallet.
- Finishing Touches:
- Fill the planter with soil and add your choice of plants.
- Water the plants thoroughly.
On-Site Expectations
While we work, homeowners can expect:
- A clean and organized job site.
- Regular updates on progress.
- Minimal disruption to your daily routine.
We’re a full-service landscaping and hardscaping crew. Our goal is to tidy your yard, protect your property, and give it lasting curb appeal.
Service Pricing
Pricing Structure
- Flat Rate: For standard installations based on size and complexity.
- Custom Quotes: For unique designs or additional features.
Variables Impacting Cost
- Lot Size: Larger areas require more materials and labor.
- Debris Volume: More clearing can increase costs.
- Access: Difficult-to-reach areas may incur extra charges.
- Add-Ons: Planting, decorative gravel, or lighting will affect the final price.
Additional Costs
- Tax: Applicable to your total service cost.
- Dump Fees: For disposing of excess materials.
- Extra Hauling Charges: If additional trips are necessary.
What’s Included
Core Services
- Trimming: Keeping plants in shape.
- Edging: Defining the borders of your garden.
- Weeding: Removing unwanted plants.
- Mulching: Adding a protective layer over soil.
- Pruning: Encouraging healthy growth.
Optional Extras
- Gravel: For improved drainage.
- Landscape Fabric: To suppress weeds.
- Planting: Adding greenery to your new walls.
- Seasonal Upgrades: Enhancements for different times of the year.
FAQs
Common Customer Concerns
- Scheduling: We’ll agree on a timeline that works for you.
- Turnaround Time: Basic installations typically take 1-3 days.
- Dump Fees: Discussed upfront to avoid surprises.
Maintenance Tips
- Regularly check for weeds and remove them.
- Water plants adequately, especially during dry spells.
- Inspect the walls for any shifting or settling.
Why Choose Lee’s General Landscaping
- Experienced Local Crew: We know the ins and outs of landscaping in your area.
- Licensed, Bonded & Insured: Peace of mind for our clients.
- Hundreds of 5-Star Reviews: Our reputation speaks for itself.
Ready for a yard that stays neat?
Call or text Lee’s General Landscaping for a quick quote and a maintenance plan that fits your property.
⭐⭐⭐⭐⭐ 400+ Yelp Reviews • ⭐⭐⭐⭐⭐ 130+ Google Map Reviews
📧 Email: lees.g.landscaping@gmail.com
📞 Office: 206-259-7919
🕘 Hours: Mon–Sun: 9AM–6PM
🔒 Licensed • Bonded • Insured
DIY vs. Pro
- DIY: A rewarding experience but can be labor-intensive. Perfect for handy homeowners with time and patience.
- Pro: Fast, efficient, and ensures quality. Ideal for those who want a polished look without the hassle.
Common Mistakes
- Skipping Site Preparation: A level base is crucial for stability.
- Choosing the Wrong Paver Blocks: Ensure they are suitable for outdoor use.
- Neglecting Drainage: Improper drainage can lead to soil erosion and plant death.
By following the steps outlined in this article, you can create beautiful raised planter walls that enhance your outdoor space while enjoying the benefits of improved safety and curb appeal.