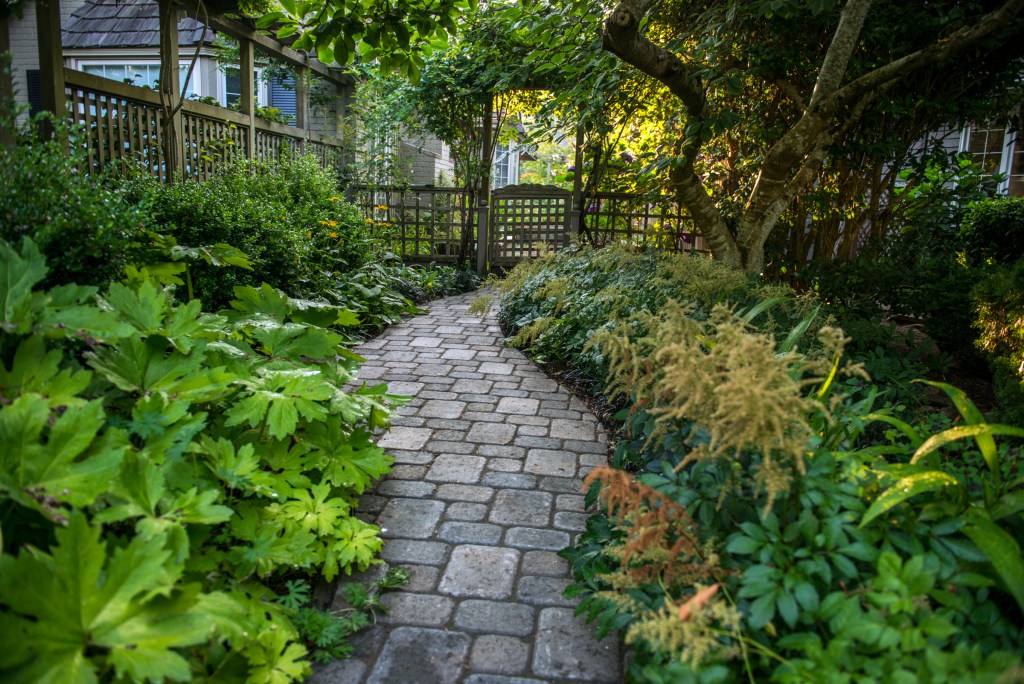
Cobblestone-Look Paver Paths (Old-World Style)
Creating a beautiful cobblestone-look paver path can enhance your home’s charm while providing a safe and durable walking area. Many homeowners face the challenge of balancing aesthetics with functionality—wanting a pathway that complements their landscape without constant upkeep. The good news? Cobblestone-look paver paths offer a stylish solution that boosts curb appeal, ensures safety, and reduces maintenance. This article will guide you through the process of installing these paths, including the tools and materials needed, step-by-step instructions, cost estimates, and maintenance tips.
Description
What the Service Includes
- Design Consultation: Discussing your vision and layout options.
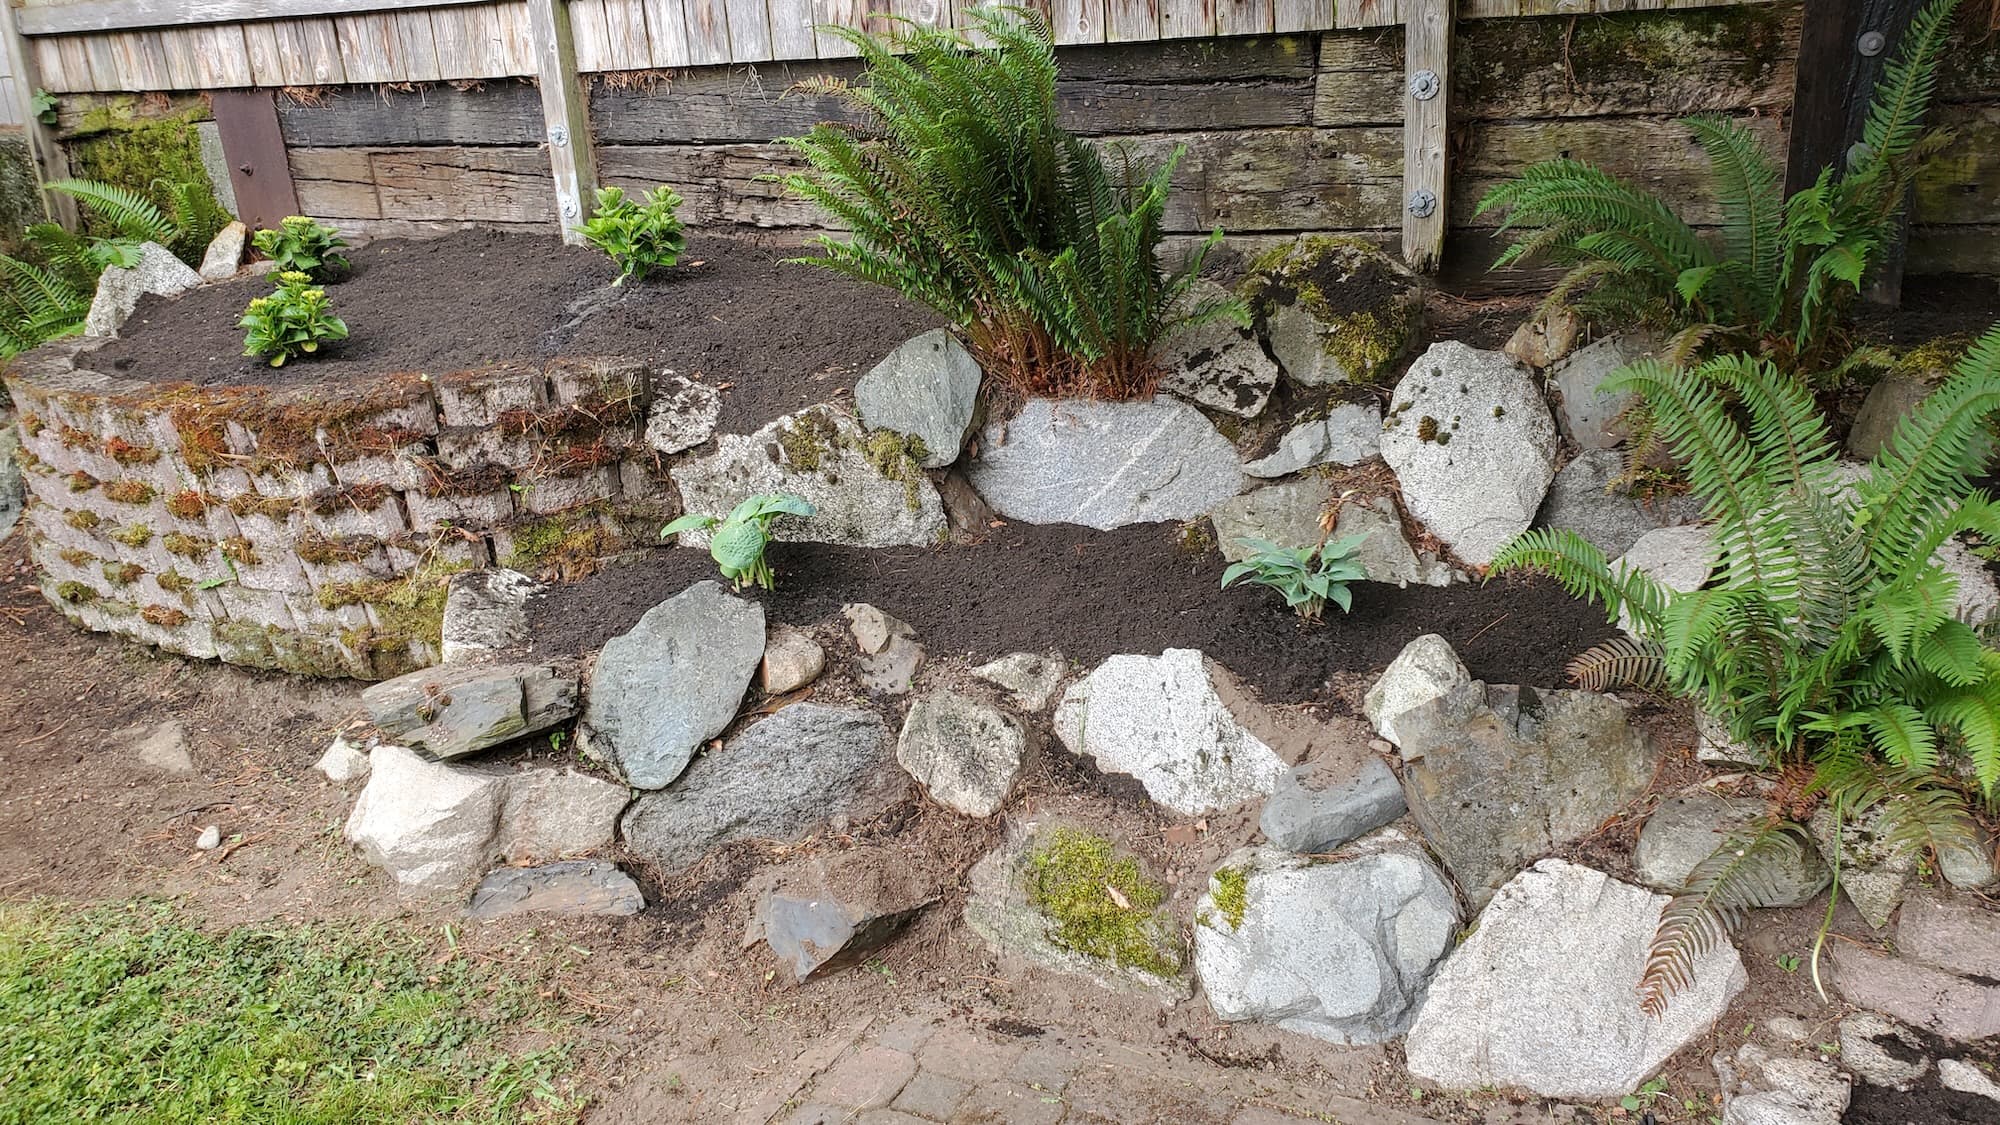
- Site Preparation: Clearing the area of existing debris and vegetation.
- Base Layer Installation: Laying down gravel for drainage and stability.
- Paver Installation: Arranging and securing the pavers in place.
- Finishing Touches: Adding sand between pavers and sealing if desired.
Key Benefits
- Improved Appearance: Instantly elevates the look of your yard.
- Durability: Pavers withstand heavy traffic and weather conditions.
- Safety: Non-slip surfaces reduce the risk of falls.
- Eco-Friendly Options: Many pavers are made from recycled materials.
Why Hire a Pro
- Local Expertise: Knowledge of regional climate and soil conditions.
- Licensed & Insured Crew: Protects you from liability during installation.
- Professional Tools: Access to heavy-duty equipment for a flawless finish.
Our Approach
Step-by-Step Breakdown of Tasks
- Design Planning: Collaborate on the shape and material selection.
- Site Preparation:
- Clear the pathway area of grass, roots, and debris.
- Excavate to a depth of 6-8 inches for a solid base.
- Base Layer Installation:
- Lay down a 4-inch layer of crushed stone or gravel.
- Compact the base with a plate compactor.
- Paver Installation:
- Spread a layer of sand (1 inch) over the base.
- Lay the pavers in your chosen pattern, ensuring they are level.
- Use a rubber mallet to tap them into place.
- Finishing Touches:
- Fill gaps with polymeric sand and sweep off excess.
- Optionally seal the pavers for added durability.
On-Site Expectations
- Our crew will arrive on time and communicate throughout the process.
- Expect a clean worksite; we respect your property.
- We prioritize safety with proper gear and equipment.
Service Pricing
Pricing Structure
- Flat Rate or Custom Pricing: Depends on the complexity of the design and materials chosen.
- Variables Affecting Cost:
- Lot size: Larger areas will cost more.
- Debris volume: More extensive clean-up can increase labor.
- Access: Difficult-to-reach areas may require additional effort.
- Additional Charges: Be aware of potential tax, dump fees, or extra hauling charges.
Cost Estimates
- Basic Installation: $15–$30 per square foot, including materials.
- Premium Pavers: $30–$50 per square foot for high-end options.
What’s Included
Core Services
- Excavation and site preparation.
- Base installation with gravel and sand.
- Paver placement and leveling.
- Final cleaning and inspection.
Optional Extras
- Gravel: For drainage or decorative purposes.
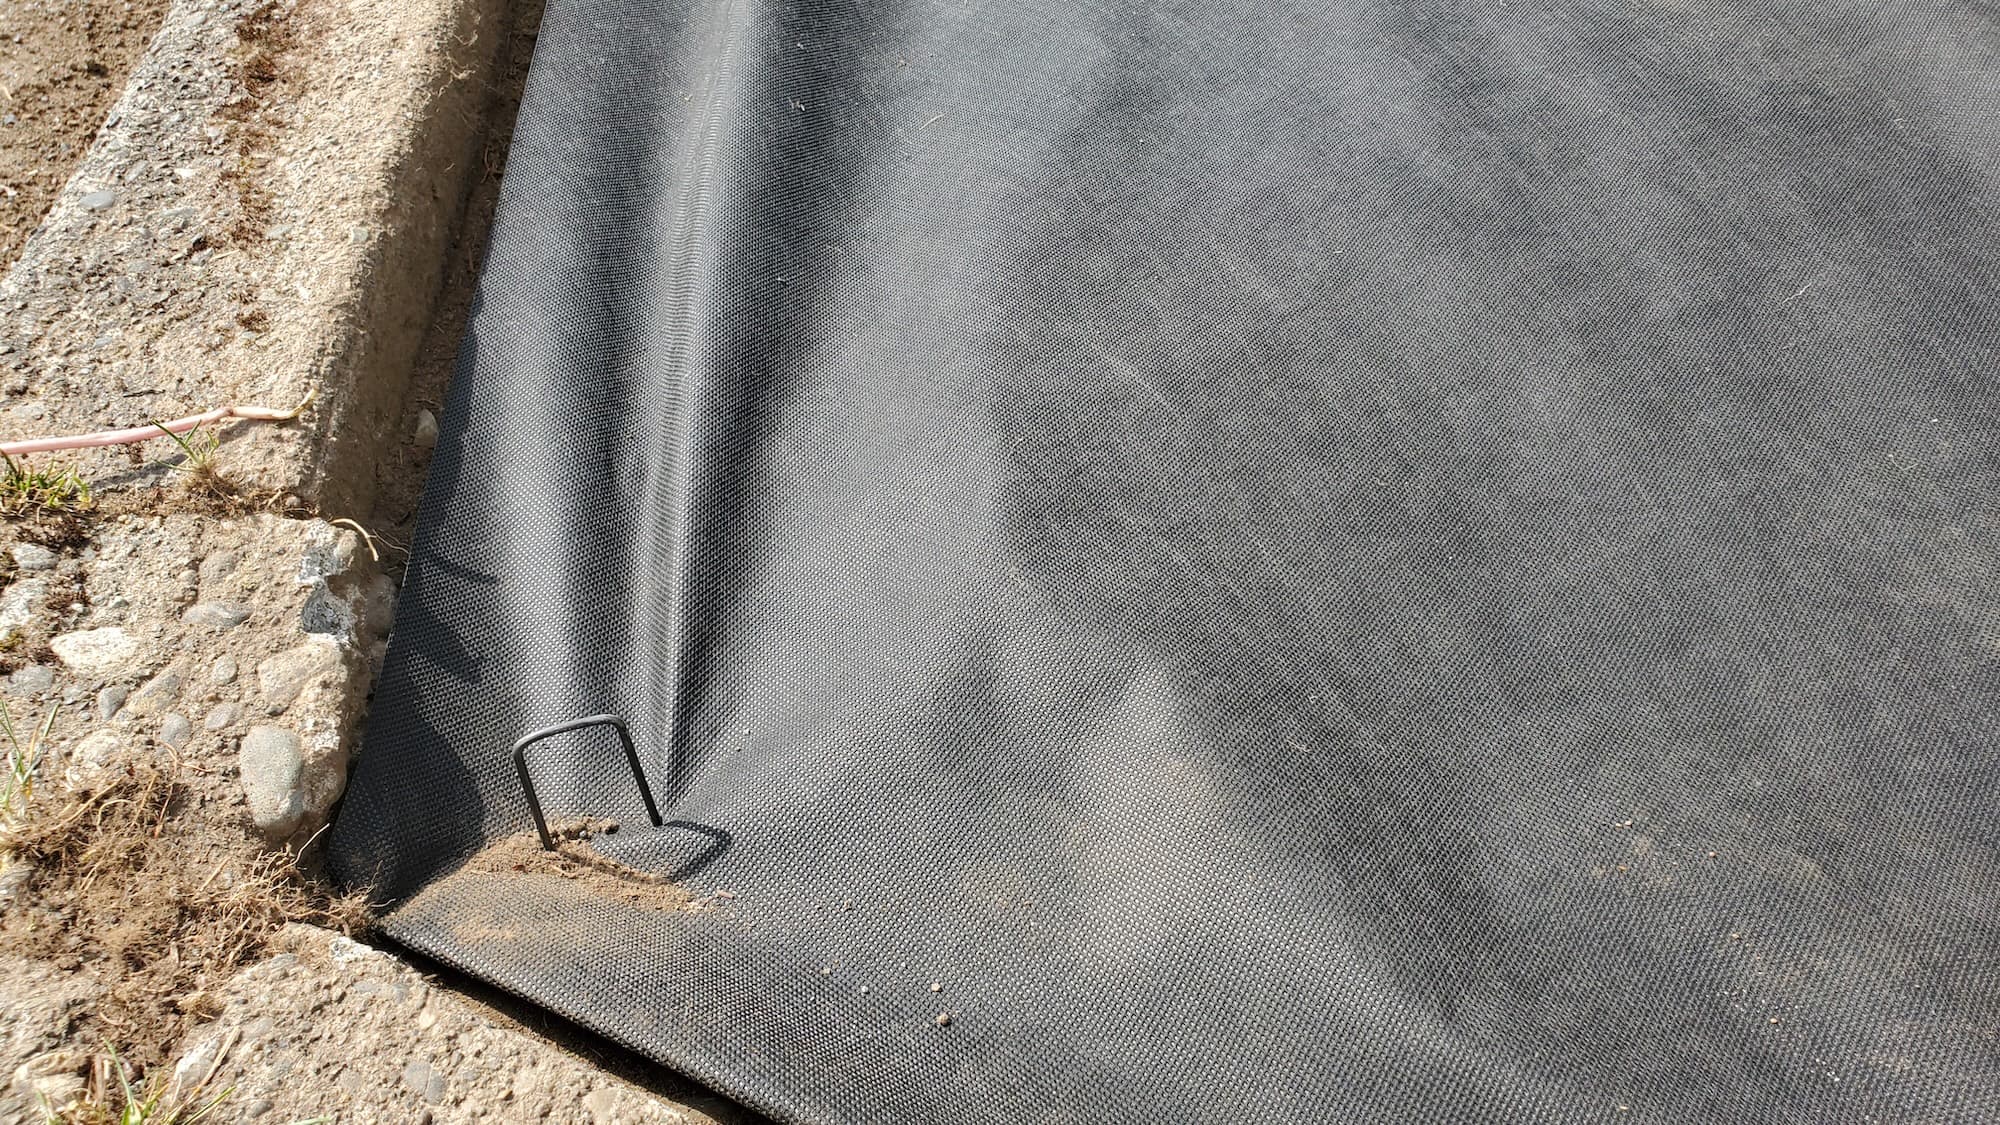
- Landscape Fabric: To prevent weed growth.
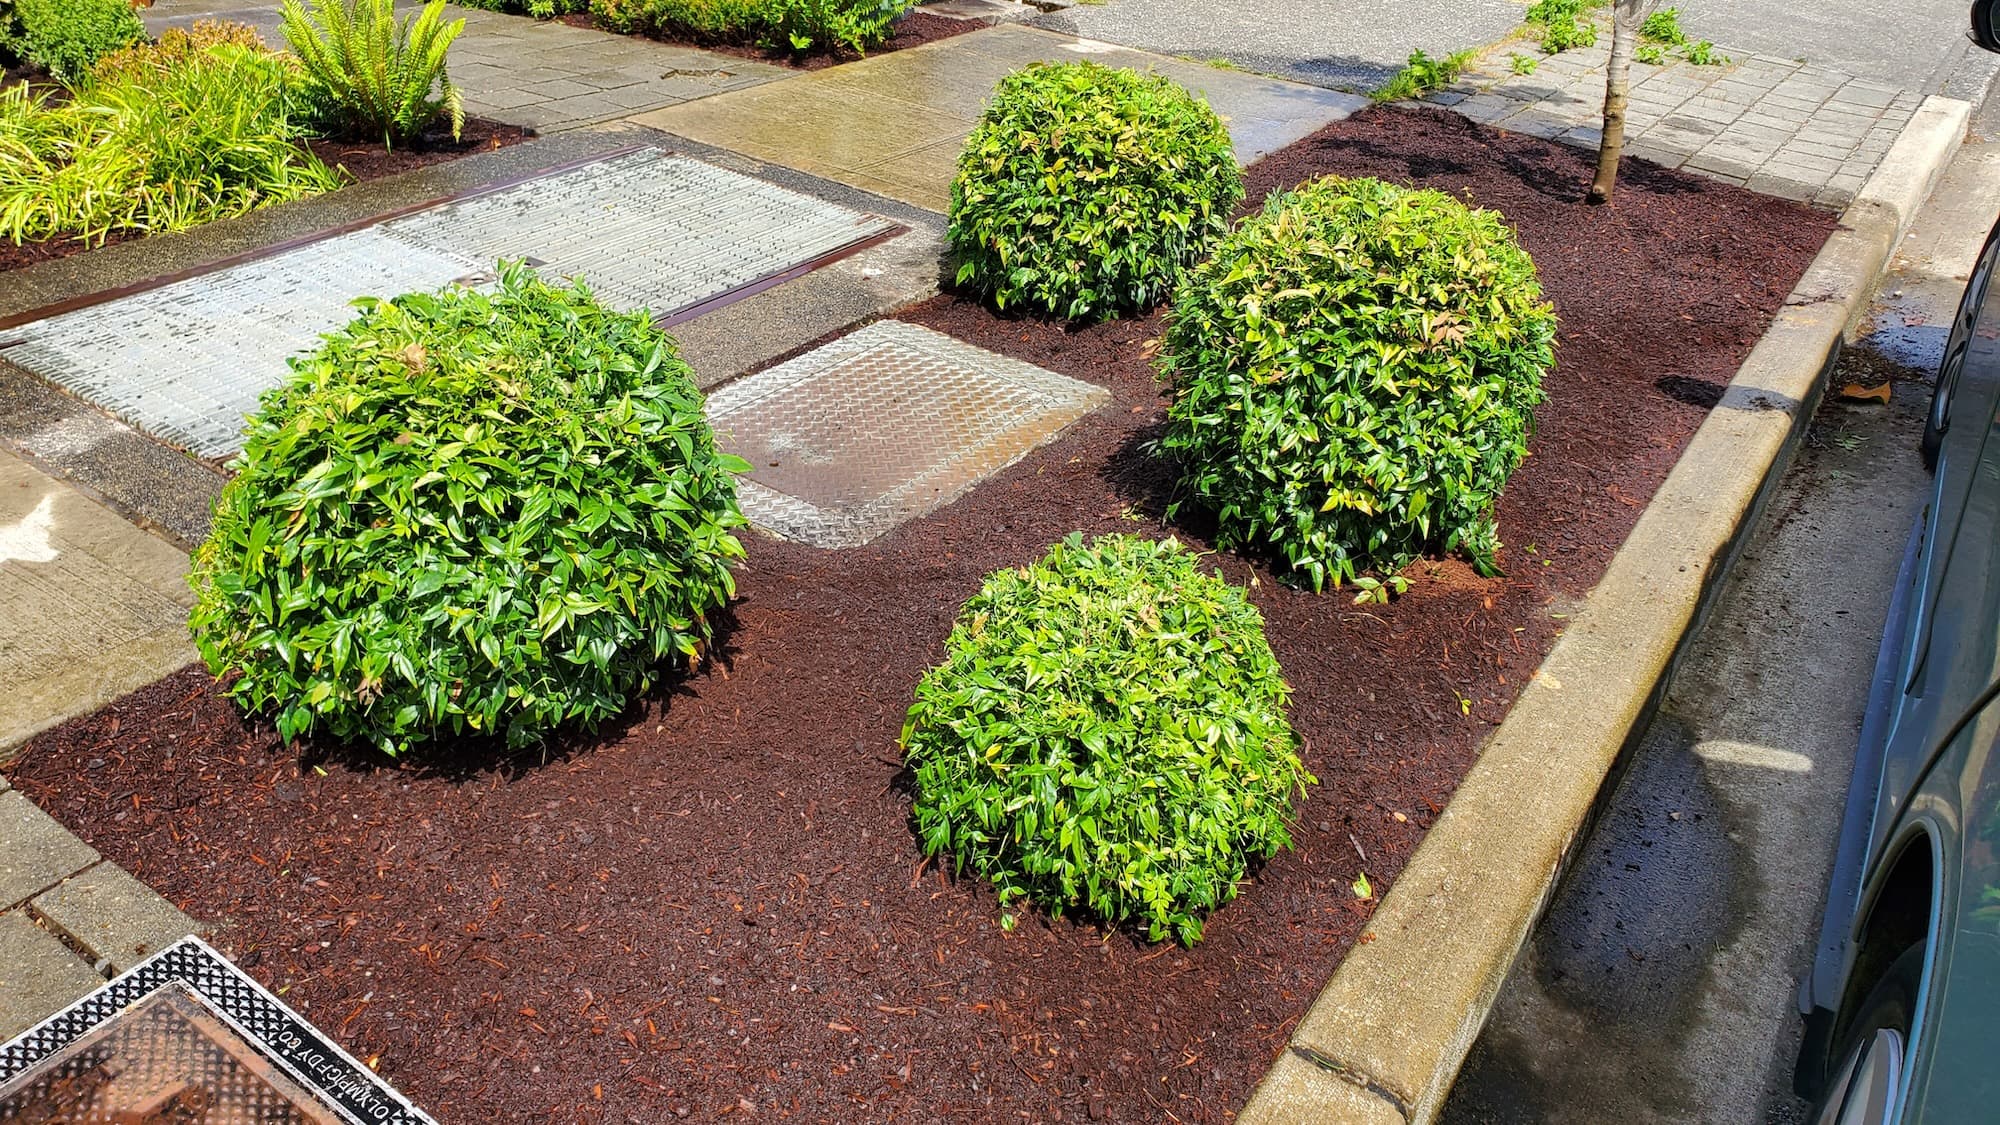
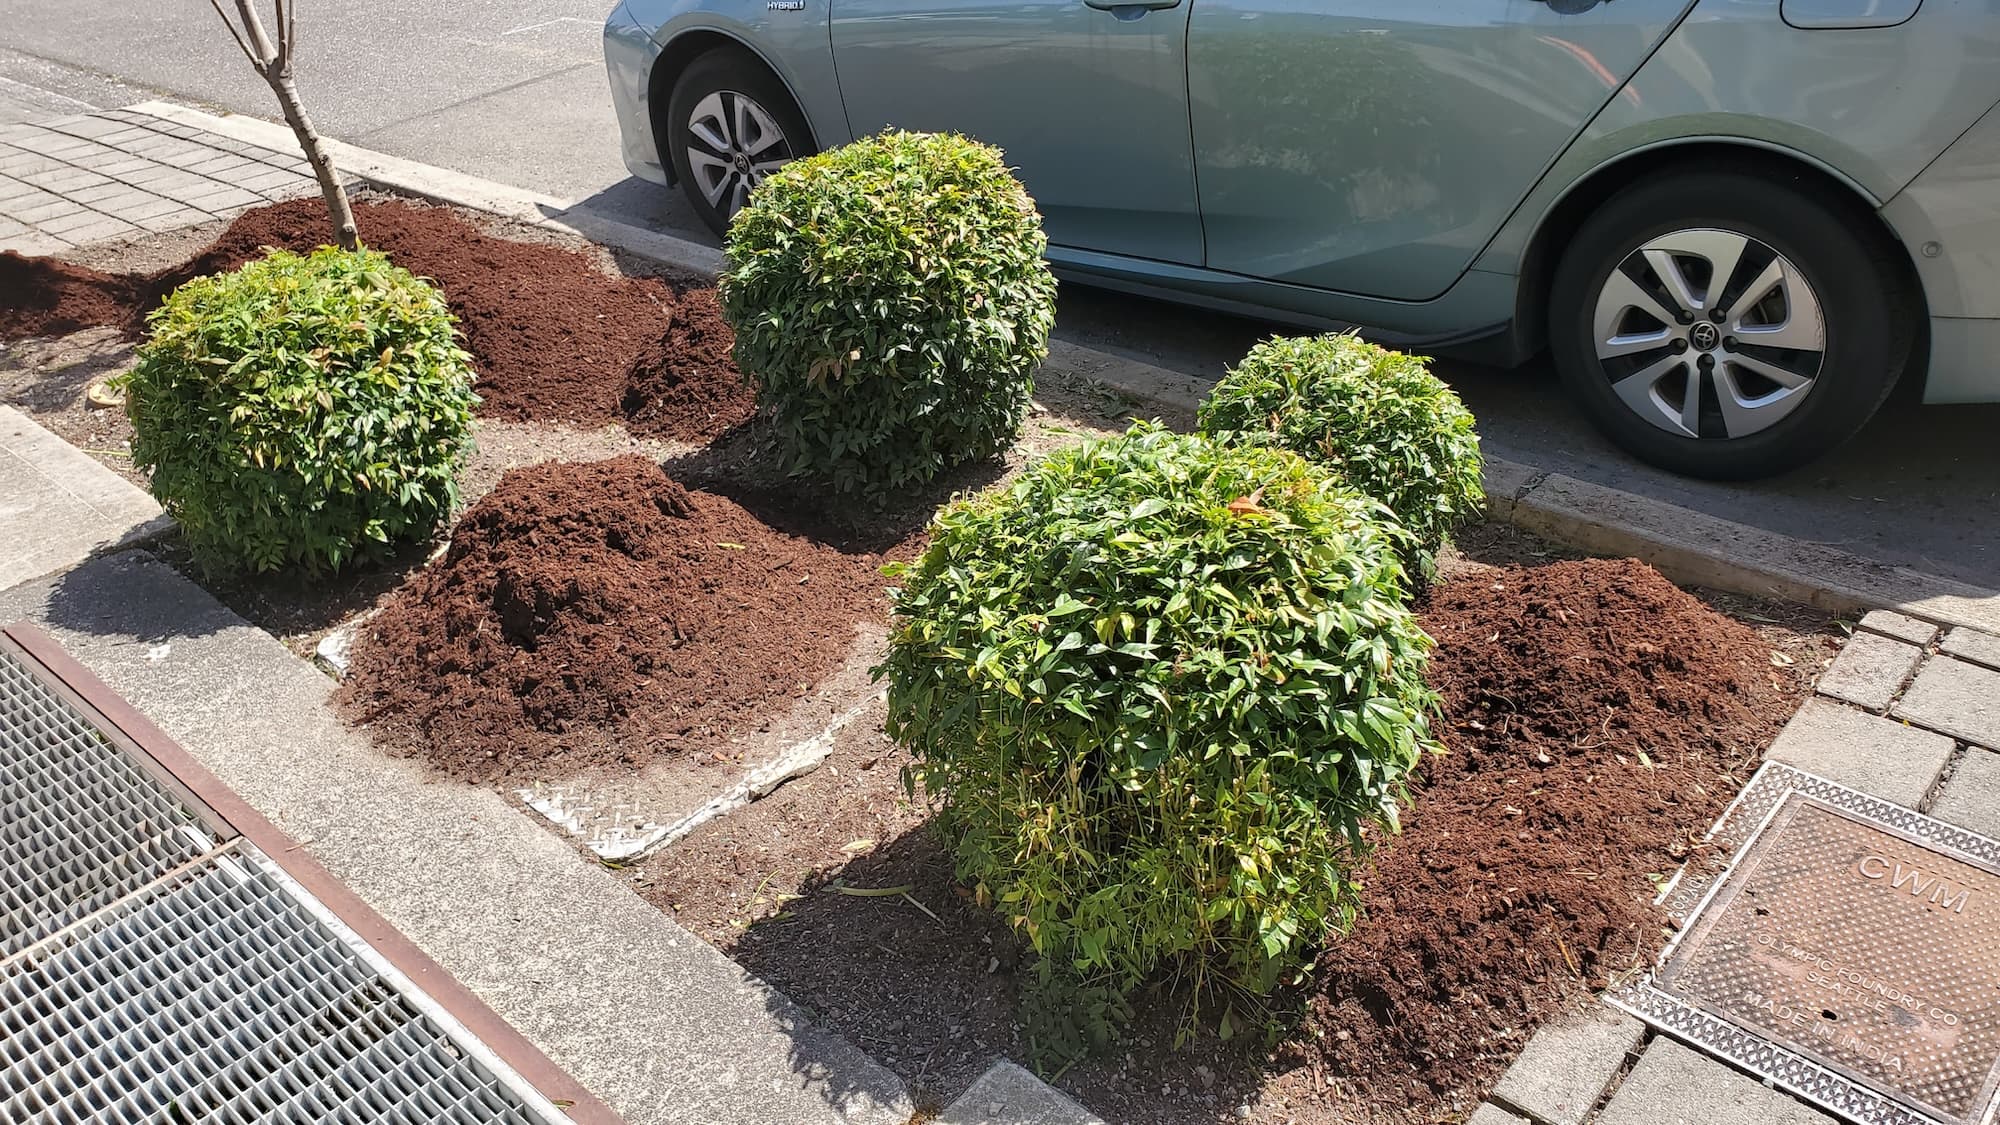
- Planting: Adding flora around the pathway for aesthetics.
- Seasonal Upgrades: Lighting or decorative edging.
FAQs
Common Customer Concerns
- Scheduling: We typically schedule projects within 1-2 weeks.
- Turnaround Time: Most paths can be completed in 1-3 days, depending on size.
- Dump Fees: These may apply if we need to remove excess soil or debris. We’ll inform you upfront.
Maintenance Tips
- Sweep the path regularly to remove debris.
- Reseal the pavers every few years to maintain their appearance.
- Check for shifting pavers and re-level as needed.
DIY vs. Pro
DIY: If you’re handy and have the time, this project can be a rewarding challenge. However, it requires significant effort, proper tools, and a good understanding of drainage.
Pro: Hiring a professional saves time and ensures a polished look. You’ll also avoid potential pitfalls like improper drainage or uneven surfaces.
Common Mistakes
- Neglecting Drainage: Ensure proper grading to avoid water pooling.
- Skipping Base Preparation: A solid base is crucial for longevity.
- Overlooking Leveling: Uneven pavers can create tripping hazards.
Why Choose Lee’s General Landscaping
- Experienced local crew that works clean and efficient.
- Licensed, bonded & insured for peace of mind.
- Hundreds of 5-star reviews across Yelp and Google attest to our quality.
Ready for a yard that stays neat?
Call or text Lee’s General Landscaping for a quick quote and a maintenance plan that fits your property.
⭐⭐⭐⭐⭐ 400+ Yelp Reviews • ⭐⭐⭐⭐⭐ 130+ Google Map Reviews
📧 Email: lees.g.landscaping@gmail.com
📞 Office: 206-259-7919
🕘 Hours: Mon–Sun: 9AM–6PM
🔒 Licensed • Bonded • Insured