Hey everyone, Mr. Lee here! Laying a patio isn’t just about stacking stones; it’s about setting the stage for backyard barbecues, morning coffees, and family get‑togethers that last a lifetime. Do it right the first time, and you’ll save yourself from headaches—and sweaty afternoons—down the road.
Sure, compaction is the golden rule, but there’s plenty more to nail before you pop on those sunglasses and admire your handiwork. Let’s walk through the ten best practices every installer—DIY or pro—should follow. Ready? Let’s go!
1. Plan Your Layout Carefully
- Know the rules
- Check HOA or city limits—many cap patios at 10×10 ft without extra permits.
- Think ahead: if you shrink the footprint to 8×12, you stay legal and gain 16 sq ft of real usable space.
- Future‑proof your design
- Mark irrigation, gas lines, even future wiring for lighting or a fire pit—digging up fresh concrete later is nobody’s idea of fun.
- Visualize foot traffic patterns: will you access from the house, the garden, or under that big maple tree?
2. Demo & Site Prep
- Clear the area
- Remove old concrete, pavers, or wooden decks cleanly—no jagged edges left behind.
- Haul debris out fast with wheelbarrows or a mini skid‑steer. Every minute saved hauling is a minute earned relaxing later!
- Protect existing systems
- Cap off irrigation drip lines or utility pipes just outside your work zone.
- Lay down plywood sheets to keep lawn and garden beds safe from heavy equipment.
3. Excavate & Establish Your Sub‑grade
- Thin‑lift digging
- Remove soil in successive 2–3 in lifts rather than gouging deep in one go. This preserves your grade control.
- Depth accounting
- Aim for uniform depth: sub‑base (4–6 in) + bedding sand (1 in) + paver thickness (usually 2 ¼ in) = total excavation.
- Know your soil
- Clay‑heavy soils hold water—plan extra drainage or a thicker stone base in soggy spots.
4. Build a Permeable, Well‑Pitched Sub‑base
- First lift: Spread 3/4″ crushed stone, compact it, then roll out a layer of geotextile fabric.
- Second lift: Add another 3–4 in of 3/4″ crushed stone, compact again.
- Set your pitch: Aim for 1/8″ drop per foot in all directions so rainwater always runs away from your house.
- Eco‑friendly twist: Consider permeable pavers and a fully open‑graded base to recharge groundwater and reduce runoff.
5. Compact, Compact, Compact
- Plate compactor: After every lift, at least 4–6 passes with a plate compactor will lock that stone tight.
- Why it matters: Under‑compacted bases settle over time—leading to dips, trip hazards, and stones that wiggle when you step on them. Trust me, your back—and your guests—will thank you.
6. Set Screed Rails & Bedding Layer
- Rail setup
- Use straight, pitched rails (galvanized pipe or aluminum screed rails) spaced just outside your paver area.
- Bedding
- Pour ¼″ washed concrete sand between rails.
- Drag a straight‑edge across rails to achieve a uniform, feather‑smooth 1 in bedding layer.
- Pro tip: Keep sand slightly damp so it compacts nicely but doesn’t turn to mush when you screed.
7. Lay the Pavers Thoughtfully
- Start smart
- Begin at a straight edge or corner. If you’re against the house, work outward so every cut falls at the perimeter.
- Patterns & borders
- Pick one consistent pattern (running bond, herringbone, basketweave).
- Add a contrasting border or soldier course for that “wow” factor.
- Joint spacing
- Aim for 1/16″–1/8″ gaps—consistent spacing makes sweeping in joint sand a breeze.
8. Edge Restraint Matters
- Concrete curbs
- Best long‑term solution: trench around the perimeter and pour a 4″ wide, angled concrete bead that locks in both bedding sand and pavers.
- Plastic or aluminum
- For smaller patios, heavy‑duty plastic or aluminum edging stakes can work—just make sure they’re firmly anchored and buried.
9. Joint Filling & Final Compaction
- Sweep in your joint material
- Polymeric sand for a stable, weed‑and‑ant‑resistant finish.
- Or fines from chip‑stone if you need full permeability.
- Final compaction
- Run the plate compactor one more time—use a protective pad so you don’t chip pavers.
- This locks stones into the bedding and forces sand deep into every joint.
- Top off
- After compaction, sweep in more sand to fill any low spots, then brush off the excess.
10. Finishing Touches & Quality Check
- Clean and inspect
- Wipe or pressure‑wash scuff marks from install equipment.
- Pull any stray stones or debris from joints.
- Test your work
- Run a hose on a gentle stream—water should roll off in your pitched direction, never pool.
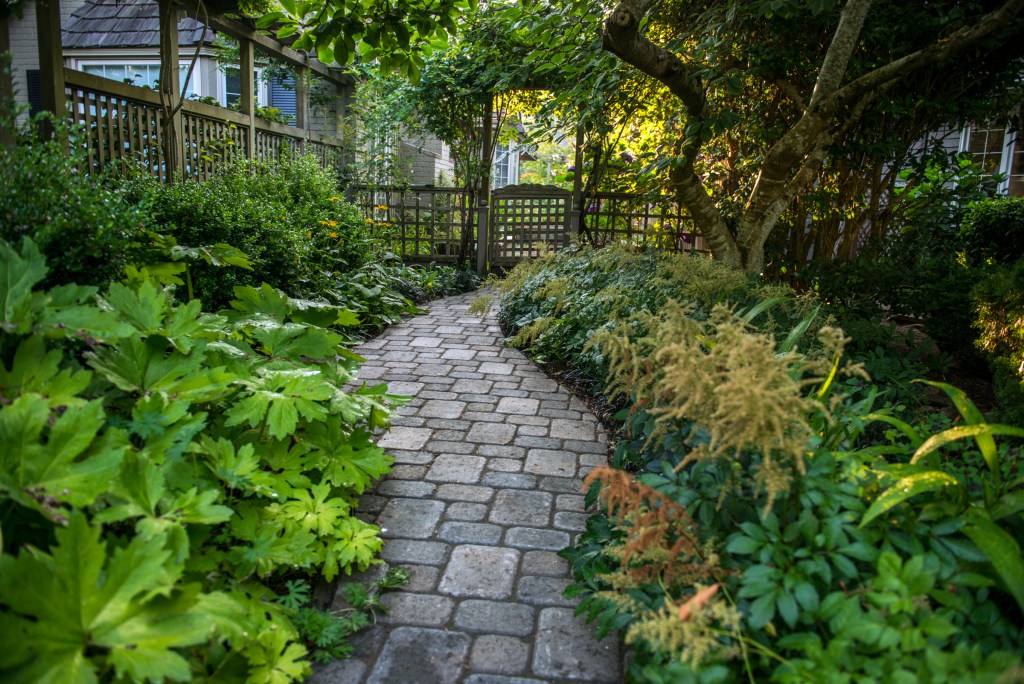
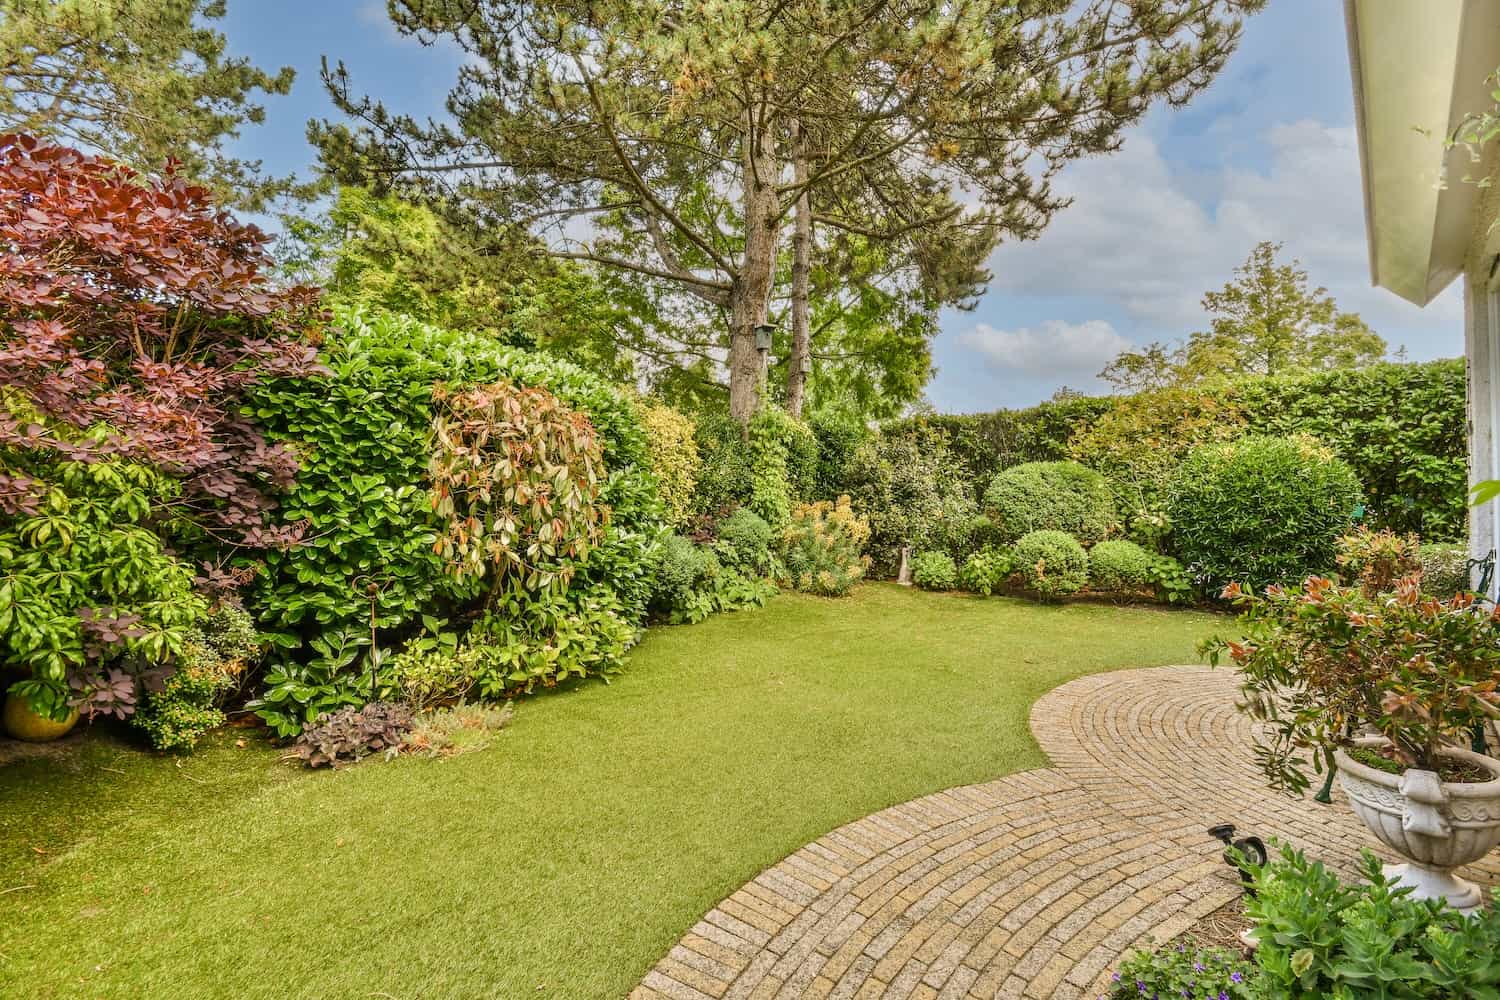
- Landscaping tie‑ins
- Edge with groundcover, gravel, or a row of low‐maintenance shrubs to soften transitions and keep soil from washing onto the pavers.
Bottom Line
A flawless patio install is all about prep, pitch, and perfection in your compaction. Nail these steps, and you’ll enjoy a stable, low‑maintenance outdoor living space that still looks sharp decades down the road. Ready to get started? I’m here to help—just give me a shout, and let’s build your dream patio together!
Check out Kyle’s (The Christian Hardscaper) Video of this process from beginning to end